How to Grow Sugar Cane: A Complete Guide for Home Gardens and Plots
Are you interested in growing your own sugar cane at home? This versatile crop isn’t just for commercial production—you can successfully grow it in your backyard, garden, or small plot with the right knowledge and techniques. Sugar cane (Saccharum officinarum) offers not only a sweet harvest but also serves as an attractive ornamental plant with its tall, graceful stalks and feathery plumes.
In this comprehensive guide, you’ll discover everything you need to know about planting, growing, and harvesting sugar cane in various settings across the United States.
Understanding Sugar Cane: The Basics
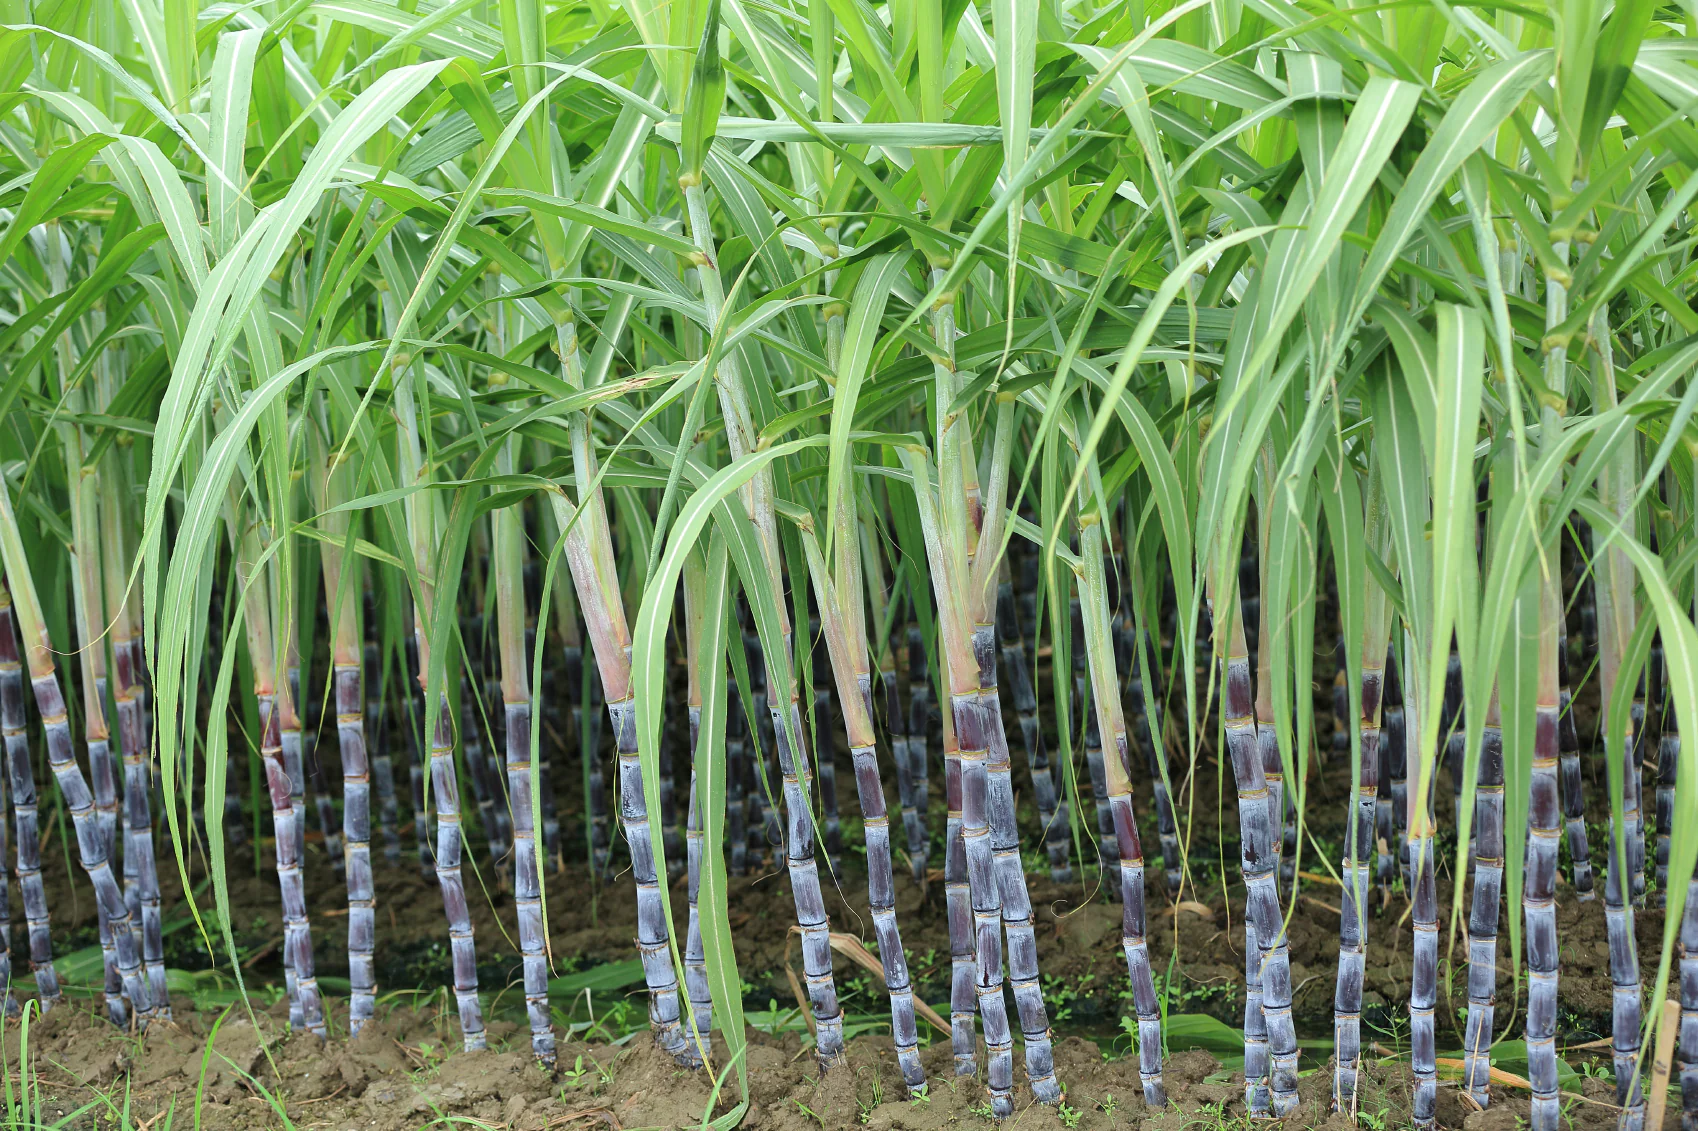
Sugar cane is a perennial grass native to tropical regions that can grow 8-20 feet tall under ideal conditions. Before diving into planting methods, it’s important to understand where sugar cane can thrive in the US.
According to the USDA Agricultural Research Service, sugar cane primarily grows commercially in Florida, Louisiana, Texas, and Hawaii, but home gardeners in USDA zones 8-11 can successfully cultivate this crop with proper care and seasonal protection.
Sugar Cane Varieties for Home Growers
Not all sugar cane varieties are created equal when it comes to home growing. Here are some varieties well-suited for US gardens:
- Louisiana Purple: Cold-hardy and disease-resistant
- Georgia Red: Adaptable to various soil types with striking red stalks
- Blue Ribbon: High sugar content and good for chewing
- POJ 2878: Drought tolerant and widely grown in Texas
- Cayana 10: Suitable for container growing
How to Plant Sugar Cane in Your Home Garden
Growing sugar cane at home is remarkably straightforward once you understand the process. Follow these steps for successful sugar cane cultivation in your backyard or garden.

When to Plant Sugar Cane
Timing your planting is crucial for success:
- Southern states (zones 9-11): Plant from September to November
- Transitional regions (zone 8): Plant in early spring after the last frost
- Container planting: Can be done year-round if protected from cold
Preparing Your Planting Material
Unlike many crops, sugar cane isn’t grown from seeds but from sections of mature cane called “seed cane” or “seed pieces.”
- Obtain quality seed cane: Purchase from reputable nurseries or online specialty suppliers
- Prepare the cuttings: Cut mature canes into 12-18 inch sections, ensuring each has at least 3-4 nodes (buds)
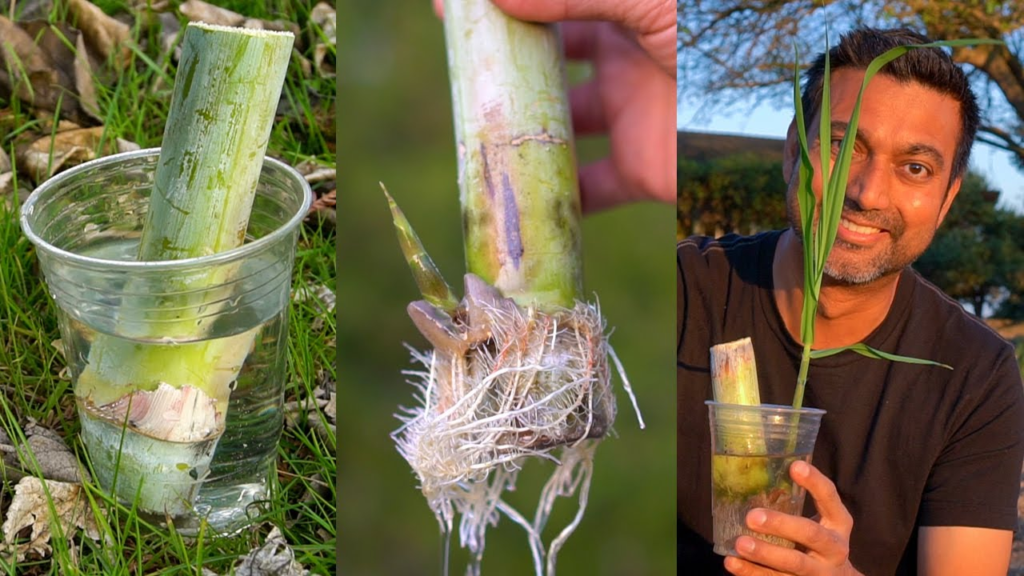
- Pre-sprout (optional): Place cuttings horizontally in moist sand for 2-3 weeks until buds swell
Site Selection and Soil Preparation
Sugar cane thrives in specific conditions:
- Location: Choose a sunny spot with at least 8 hours of direct sunlight
- Soil type: Well-draining, fertile soil with pH 6.0-7.5
- Soil preparation:
- Dig soil to 12-18 inches deep
- Mix in 2-3 inches of compost
- For clay soils, add additional organic matter to improve drainage
Planting Process
Follow these steps for planting your sugar cane:
- Dig trenches: Create furrows 6-8 inches deep and 4-5 feet apart
- Position cuttings: Lay cane sections horizontally in the trench, buds facing sideways or upward
- Spacing: Place cuttings end-to-end or with slight overlap
- Cover: Add 2-3 inches of soil over the canes (not the full 6-8 inches)
- Watering: Water thoroughly after planting
- Gradual covering: As shoots emerge and grow, gradually fill in the remainder of the trench
Container Planting for Limited Spaces
Don’t have a large garden? No problem! Sugar cane grows surprisingly well in containers:
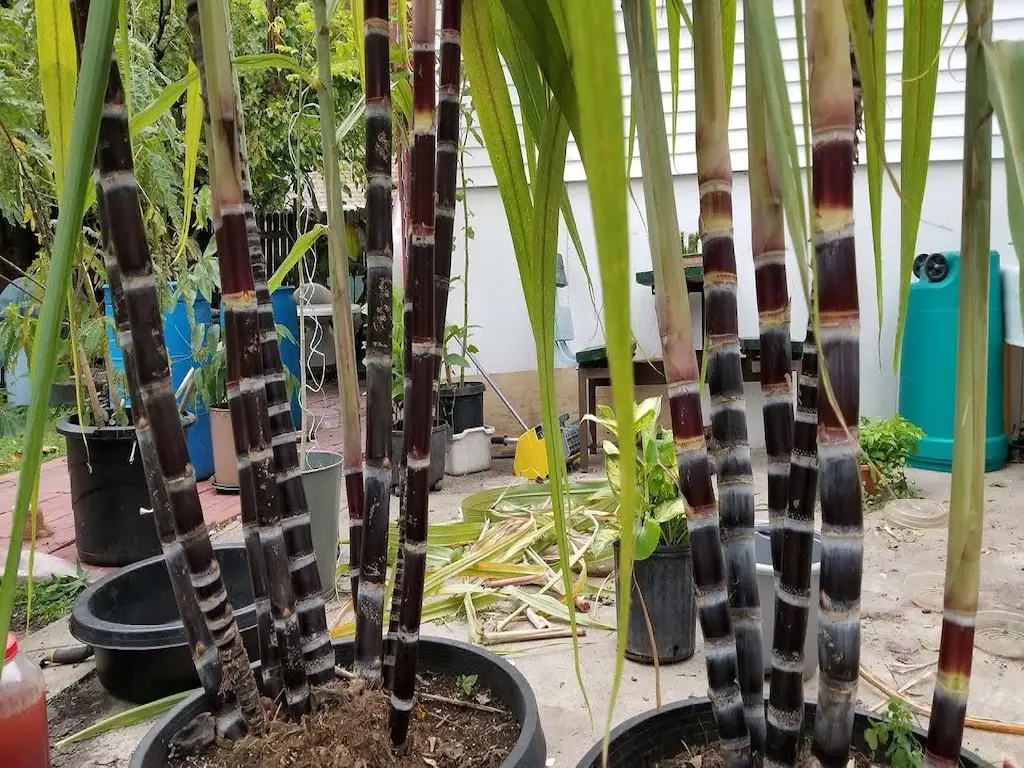
- Container selection: Choose a container at least 24 inches deep and 18 inches in diameter
- Potting mix: Use a high-quality, well-draining potting mix with added compost
- Planting: Place 1-2 cane sections horizontally just below the soil surface
- Placement: Position in full sun with protection from strong winds
- Watering: Keep soil consistently moist but not waterlogged
- Overwintering: Move containers indoors or to a protected area when temperatures drop below 40°F
Growing Sugar Cane in Small Agricultural Plots
For those with larger spaces or small agricultural plots, here’s how to scale up your sugar cane production:
Plot Preparation
- Soil testing: Have your soil tested through your local extension office to determine precise amendments needed
- Tillage: Plow or till to a depth of 10-12 inches
- Amendment incorporation: Mix in recommended fertilizers and soil conditioners based on test results
- Row formation: Create raised rows 4-6 feet apart to facilitate drainage and harvesting
Planting in Plots
The planting process for plots follows similar principles as home gardens but with consideration for mechanical operations:
- Seed cane quantity: Calculate approximately 2-3 tons of seed cane per acre
- Mechanization: For plots over 1/4 acre, consider renting a mechanical planter
- Row alignment: Plant rows north to south where possible to maximize sun exposure
- Edge protection: Consider windbreaks on plot perimeters in windy locations
Care and Maintenance of Sugar Cane
Proper care throughout the growing season ensures healthy plants and bountiful harvests:
Water Requirements
Sugar cane needs consistent moisture to thrive:
- Establishment phase: Keep soil consistently moist for the first 30-45 days
- Growing season: Provide 1-2 inches of water weekly
- Critical periods: Increase watering during tasseling and when temperatures exceed 90°F
- Water conservation: Consider drip irrigation to reduce water usage while maintaining adequate moisture

Fertilization Schedule
Follow this fertilization timeline for optimal growth:
| Growth Stage | Timing | Fertilizer Type | Application Rate (per 100 sq ft) |
|---|---|---|---|
| Planting | At planting | 10-10-10 | 1-2 lbs |
| Early growth | 30-45 days after sprouting | High nitrogen (21-0-0) | 1 lb |
| Mid-season | 3-4 months after planting | Balanced (10-10-10) | 1-2 lbs |
| Late season | 6-7 months after planting | High potassium (10-10-40) | 1 lb |
Weed Control and Mulching
Weed competition can significantly reduce sugar cane yields:
- Initial weeding: Keep the area weed-free for the first 90 days after planting
- Mulching: Apply 2-3 inches of organic mulch between rows
- Mechanical control: Carefully cultivate between rows until plants are established
- Hand weeding: Remove weeds close to plants by hand to avoid damaging roots
Pest and Disease Management
Sugar cane can face several challenges from pests and diseases. According to the USDA National Institute of Food and Agriculture, integrated pest management practices are recommended:
- Common pests: Sugarcane borers, aphids, wireworms
- Prevention: Maintain plant vigor through proper fertilization and watering
- Monitoring: Check plants weekly for signs of pest damage
- Treatment: Use insecticidal soaps for minor infestations; consult extension services for severe cases
- Disease prevention: Plant resistant varieties and avoid overhead watering
Harvesting Your Sugar Cane
With proper care, your sugar cane will be ready for harvest in approximately 10-12 months:
Harvest Indicators
Look for these signs that your sugar cane is ready:
- Stalks reach full height (typically 8-12 feet for home varieties)
- Lower leaves begin to dry and fall off
- Stalks change from green to yellow, tan, or reddish (variety dependent)
- Sugar content peaks (traditionally tested by chewing a small piece)
Harvesting Process
- Tool selection: Use a sharp machete, cane knife, or pruning saw
- Cutting technique: Cut stalks at ground level with a clean, angled cut
- Trimming: Remove top green portion and leafy material
- Sectioning: Cut harvested canes into manageable lengths for processing
Post-Harvest Handling
Sugar cane should be processed quickly after harvest:
- Short-term storage: Keep cut cane in a cool, shaded area
- Processing timeframe: Ideally within 24-48 hours of harvest
- Ratoon crops: Leave roots and 2-3 inches of stalk in the ground for regrowth (second-year crop)
Using Your Homegrown Sugar Cane
After harvesting, you can enjoy your sugar cane in various ways:
Fresh Consumption
- Peel and chew fresh cane sections for a sweet treat
- Cut into sticks for use as natural sweeteners in beverages
- Press for fresh cane juice using a manual or electric press
Sugar Production
While commercial sugar production requires specialized equipment, you can make simple syrup:
- Juice extraction: Press cane to extract juice
- Filtration: Strain juice through fine mesh
- Reduction: Simmer juice until thickened to desired consistency
- Storage: Refrigerate syrup in sterile containers for up to 3 months
Ornamental and Practical Uses
- Use dried leaves for mulch or composting
- Create natural screens or windbreaks with growing canes
- Use mature canes for garden stakes or trellis material

Sugar Cane in the US Market
The sugar cane industry plays a significant role in the US agricultural economy:
- The US produces approximately 33 million tons of sugar cane annually
- Florida leads production with about 50% of the national total
- The industry generates over $3 billion in economic activity
- Small-scale and specialty sugar cane products represent a growing niche market
For home growers, this presents opportunities to connect with:
- Farmers markets for fresh cane or juice sales
- Local restaurants seeking specialty ingredients
- Health food stores interested in natural sweeteners
- Educational demonstrations at garden centers or schools
Troubleshooting Common Issues
Even with proper care, you might encounter some challenges:
Slow Growth or Yellowing
Potential causes and solutions:
- Nutrient deficiency: Apply balanced fertilizer and consider foliar micronutrient spray
- Improper pH: Test soil and amend as needed to achieve 6.0-7.5 pH
- Insufficient light: Relocate plants or remove competing vegetation
Cold Damage
If plants experience frost:
- Minor damage: Prune affected leaves and protect remaining growth
- Severe damage: Cut canes to ground level and heavily mulch for regrowth in spring
- Prevention: Cover with frost cloth when temperatures below 40°F are expected
Poor Sprouting
If cuttings fail to sprout:
- Check cutting quality: Ensure nodes are healthy and undamaged
- Temperature issues: Soil should be at least 60°F for sprouting
- Moisture levels: Keep soil consistently moist but not waterlogged
Conclusion
Growing sugar cane at home, in your garden, or in a small agricultural plot can be a rewarding experience that connects you with this historically significant crop. While it requires patience and attention to detail, the unique satisfaction of harvesting your own canes—whether for fresh consumption, juice, or simply as an ornamental—makes it well worth the effort.
By following the guidelines in this article and adapting them to your specific growing conditions, you can join the growing community of home sugar cane enthusiasts across the United States. Start with a few canes in a sunny corner of your yard, and you might just discover a sweet new passion for growing this versatile grass.
Remember that local agricultural extension offices can provide region-specific advice and potentially connect you with other sugar cane growers in your area. Happy planting!

