How to Plant Spinach: A Complete Guide for Home Gardeners
Spinach is one of the most nutritious and versatile leafy greens you can grow in your garden. Whether you’re a beginner or experienced gardener, learning how to plant spinach properly can lead to bountiful harvests of this nutrient-packed vegetable. In this comprehensive guide, we’ll walk you through everything you need to know about growing spinach in various settings—from containers on your windowsill to larger garden plots.
Why Grow Your Own Spinach?
Before diving into the planting process, let’s consider why growing your own spinach is worthwhile:
- Fresh Flavor: Home-grown spinach offers superior taste compared to store-bought options
- Cost-Effective: A single packet of seeds can produce dozens of harvests for a fraction of grocery store prices
- Nutritional Value: Freshly harvested spinach retains more nutrients
- Year-Round Growing Potential: With proper planning, you can grow spinach in most seasons
- Reduced Environmental Impact: Growing at home eliminates packaging waste and transportation emissions
According to the USDA Nutritional Database, spinach is an excellent source of vitamins A, C, K, folate, and minerals like iron and magnesium, making it one of the most nutrient-dense vegetables you can grow.
Understanding Spinach Varieties
Choosing the right spinach variety for your growing conditions is crucial for success. There are three main types of spinach:
1. Savoy
Savoy spinach has crinkled, dark green leaves with a crisp texture. These varieties tend to be cold-hardy but can bolt (flower) quickly in heat.
Popular varieties include:
- Bloomsdale
- Regiment
- Winter Bloomsdale
2. Semi-Savoy
Semi-savoy varieties offer a good balance of disease resistance and texture with partially crinkled leaves.
Popular varieties include:
- Tyee
- Catalina
- Indian Summer
3. Smooth-Leaf
Smooth-leaf spinach has flat, easy-to-clean leaves that are perfect for salads and cooking.
Popular varieties include:
- Space
- Red Cardinal
- Olympia
When to Plant Spinach
Timing is essential when planting spinach. As a cool-season crop, spinach thrives in temperatures between 50°F and 70°F (10°C-21°C).
Spring Planting
Plant spinach seeds outdoors 4-6 weeks before the last expected frost in your area. For spring crops, you can start planting as soon as the soil can be worked.
Fall Planting
For a fall harvest, plant spinach 6-8 weeks before the first expected frost. Fall-planted spinach often produces the best flavor due to cooling temperatures.
Winter Planting
In USDA zones 8 and warmer, you can grow spinach throughout winter with minimal protection. In colder areas, use cold frames or row covers.
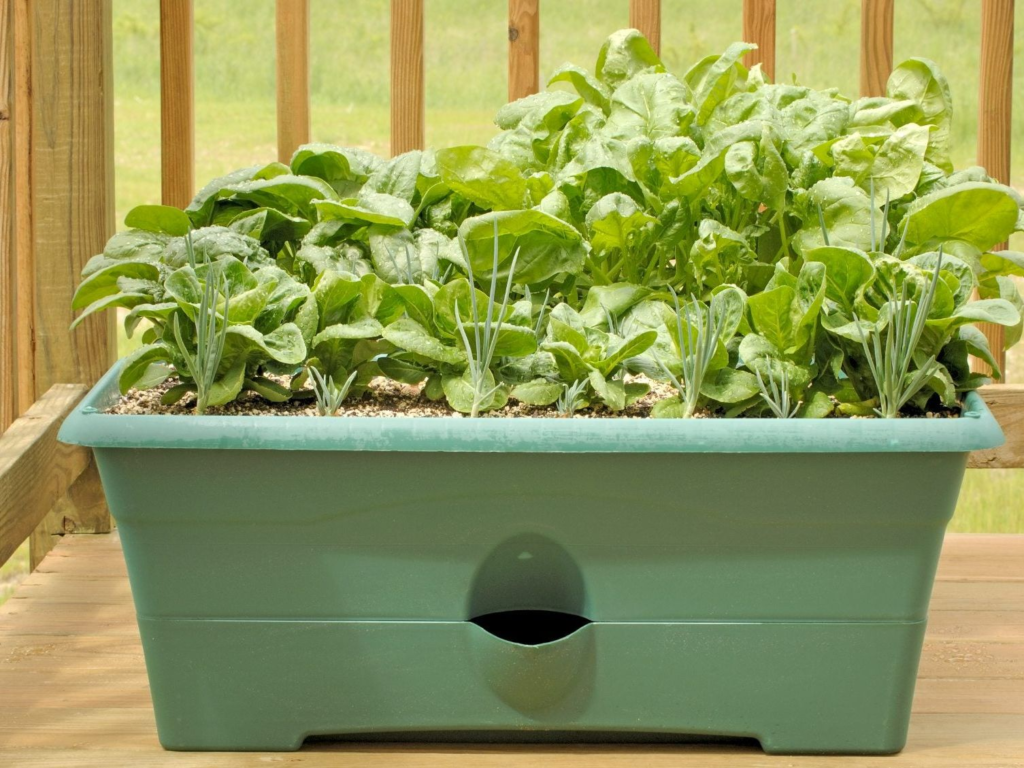
How to Plant Spinach at Home (Indoor Containers)
Growing spinach indoors allows you to enjoy fresh greens regardless of outdoor conditions.
What You’ll Need:
- Spinach seeds
- Containers (at least 6 inches deep)
- Potting mix
- Grow lights (optional)
- Spray bottle for watering
Steps:
- Select containers with drainage holes that are at least 6 inches deep.
- Fill containers with high-quality potting mix, leaving about 1/2 inch of space from the top.
- Sow seeds 1/2 inch deep and 2 inches apart.
- Water gently using a spray bottle to avoid displacing seeds.
- Place containers near a sunny window or under grow lights. Spinach needs 6-8 hours of light daily.
- Maintain consistent moisture in the soil—never let it dry out completely.
- Thin seedlings to 3-4 inches apart once they develop true leaves.
- Harvest outer leaves once they’re large enough to eat (typically 3-5 inches).
Pro Tip: Succession planting (sowing new seeds every 10-14 days) ensures a continuous harvest of fresh spinach.
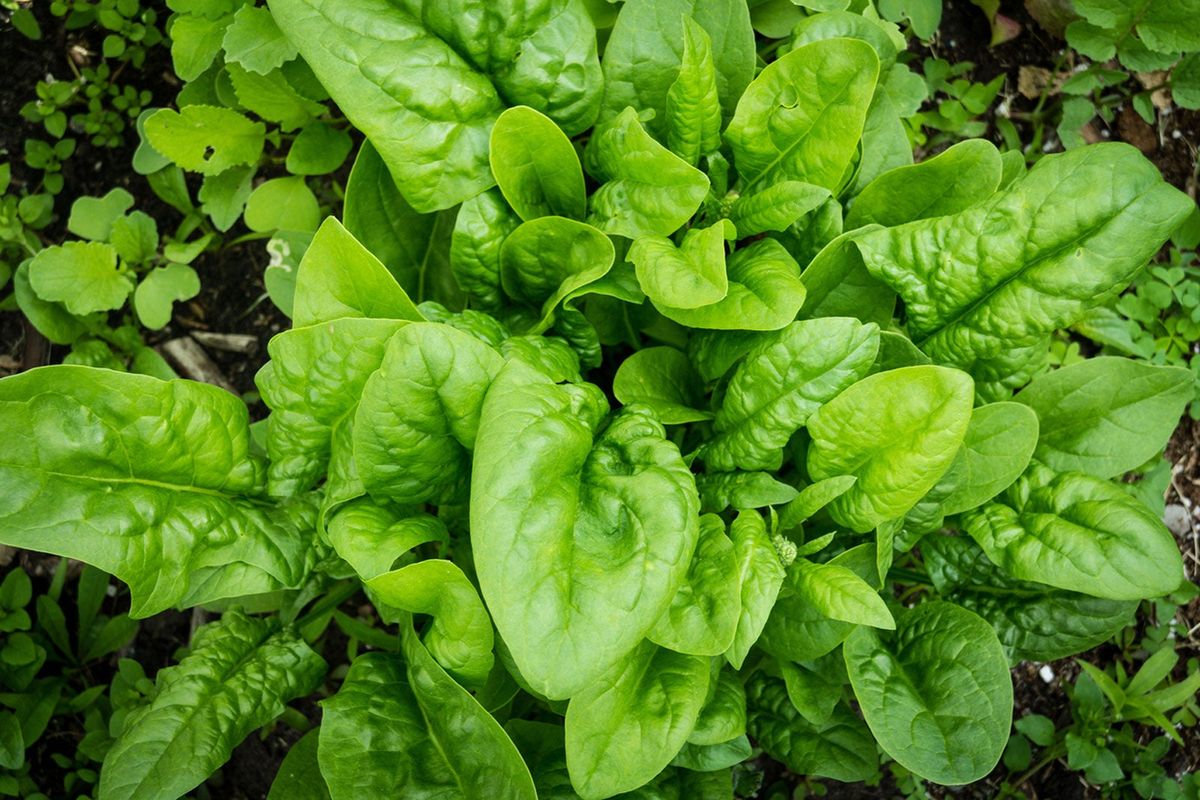
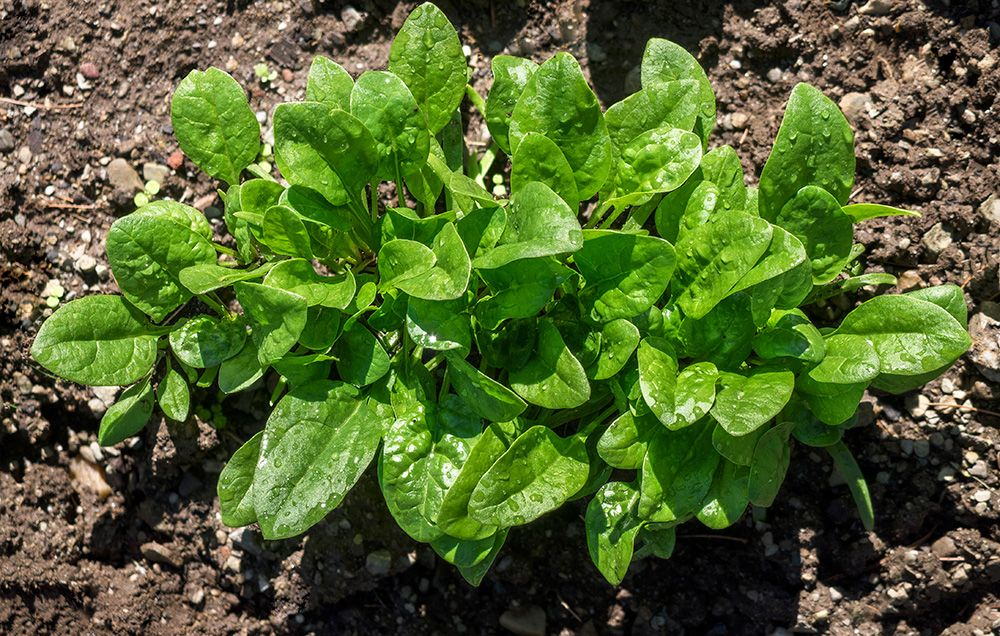
How to Plant Spinach in Your Garden
Garden-grown spinach typically produces larger yields with less maintenance than container-grown plants.
Soil Preparation
Spinach prefers well-draining, fertile soil with:
- pH between 6.5 and 7.0
- High organic matter content
- Good moisture retention
Step-by-Step Soil Preparation:
- Test your soil using a home testing kit or through your local extension service. The USDA Cooperative Extension Service provides soil testing resources.
- Add compost or aged manure (2-4 inches) and work into the top 6 inches of soil.
- If soil pH is too acidic, add lime as recommended by your soil test.
- Level the soil surface with a rake.
Direct Sowing Method
- Create shallow trenches about 1/2 inch deep and 12-18 inches apart.
- Sow seeds 1 inch apart within the row.
- Cover lightly with fine soil.
- Water thoroughly using a gentle spray to avoid washing away seeds.
- Maintain soil moisture until germination (typically 5-10 days).
- Thin seedlings to 3-5 inches apart when they have developed true leaves.
Transplanting Method
Starting spinach indoors and transplanting can give you a head start:
- Start seeds indoors 3-4 weeks before planting outdoors.
- Use biodegradable pots to minimize root disturbance during transplanting.
- Harden off seedlings by gradually exposing them to outdoor conditions over 7-10 days.
- Transplant seedlings 3-5 inches apart in rows 12-18 inches apart.
- Water thoroughly after transplanting.
How to Plant Spinach in a Large Plot
For market gardens or larger plantings, efficiency becomes important:
Bed Preparation for Larger Plots
- Test and amend soil as needed based on soil test results.
- Create raised beds 3-4 feet wide and 8-12 inches high for better drainage and easier harvesting.
- Use a broadfork or tiller to loosen soil without disrupting beneficial soil life.
- Incorporate 2-3 inches of compost into the top 6 inches of soil.
- Level and smooth the planting surface.
Efficient Seeding Methods
- Use a precision seeder for consistent spacing and seed depth.
- Plant in dense bands rather than single rows to maximize yield.
- Space rows 12-18 inches apart.
- Consider using row covers for season extension and pest protection.
Spinach Growing Conditions and Care
Light Requirements
- Spring/Fall: Full sun (6+ hours direct sunlight)
- Summer: Partial shade (3-4 hours direct sunlight)
Water Requirements
Spinach needs consistent moisture. Aim for:
- 1-1.5 inches of water per week
- More frequent watering during hot weather
- Drip irrigation or soaker hoses work best to keep leaves dry
Fertilizing
- Before planting: Apply balanced organic fertilizer according to package directions
- During growth: Side-dress with compost tea or diluted fish emulsion when plants are 3-4 inches tall
- Avoid high-nitrogen fertilizers which can increase nitrate levels in leaves
Temperature Management
Spinach is sensitive to temperature extremes:
- Ideal growth temperature: 50-70°F (10-21°C)
- Growth slows: Below 40°F (4°C)
- Bolting triggers: Above 80°F (27°C) or more than 14 hours of daylight
Spinach Growing Timeline
Here’s a helpful table showing the typical growth timeline for spinach:
| Growth Stage | Days After Planting | Plant Size | Care Notes |
|---|---|---|---|
| Germination | 5-10 days | Emerging seedlings | Keep soil consistently moist |
| Seedling | 10-21 days | 1-2 inches tall | Thin to proper spacing |
| Early growth | 22-35 days | 3-4 inches tall | Begin harvesting outer leaves |
| Full maturity | 35-45 days | 6-8 inches tall | Regular harvests every 5-7 days |
| Bolting | 45+ days* | 8+ inches, central stalk forming | Remove plants or collect seeds |
*Varies greatly depending on temperature and day length
Common Spinach Growing Problems and Solutions
Pest Management
Common pests affecting spinach include:
- Aphids: Spray with strong water stream or insecticidal soap
- Leafminers: Remove affected leaves and use row covers
- Slugs and Snails: Apply diatomaceous earth around plants or use beer traps
Disease Prevention
- Downy Mildew: Improve air circulation and avoid overhead watering
- Damping Off: Use sterile seed starting mix and avoid overwatering
- Leaf Spot: Practice crop rotation and remove infected plants
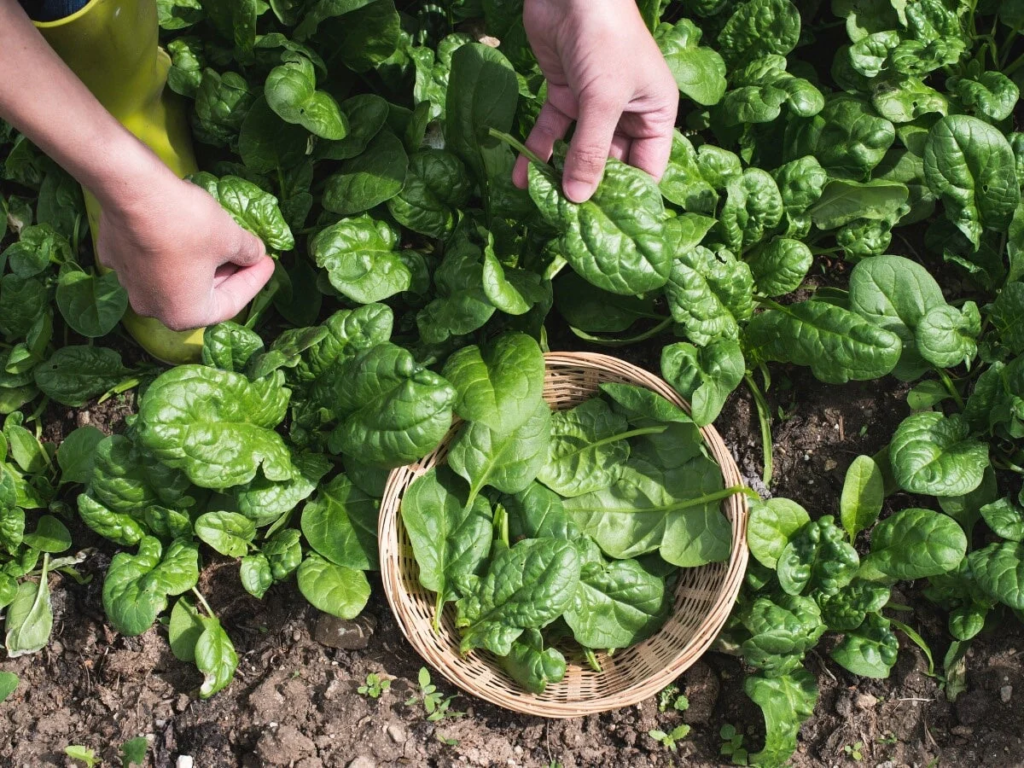
Harvesting and Storage
When to Harvest
Spinach is ready to harvest when leaves are 3-6 inches long:
- For baby spinach: Harvest at 3-4 inches
- For mature leaves: Harvest at 5-6 inches
- Harvest in the morning for best flavor and storage life
Harvesting Methods
- Cut-and-come-again: Harvest outer leaves, allowing plant to continue growing
- Single harvest: Cut entire plant 1 inch above soil level
- Root harvest: Pull entire plant when weather warms for spring plantings
Storage Tips
- Refrigeration: Wash, spin dry, and store in perforated plastic bags for 7-10 days
- Freezing: Blanch for 2 minutes, cool quickly, and freeze in airtight containers
- Dehydrating: Dry at 125°F (52°C) until crisp, then store in airtight containers
Spinach in the US Market
Spinach is a significant crop in the US agricultural landscape. According to the USDA Economic Research Service, spinach production has increased substantially over the past decade due to growing consumer awareness of its health benefits.
California leads US spinach production, accounting for over 70% of the commercially grown spinach in the country. Arizona, Texas, and New Jersey are also significant producers.
For home gardeners, growing your own spinach provides substantial cost savings. A 2-ounce packet of spinach seeds (approximately $3-4) can yield 25+ pounds of spinach—a value of $75-100 at current organic market prices.
Conclusion
Growing spinach at home is a rewarding experience that provides nutritional, economic, and environmental benefits. By following the guidelines in this article, you’ll be well-equipped to grow abundant spinach harvests whether you’re planting in containers, garden beds, or larger plots.
Remember that spinach is adaptable to various growing conditions, but it performs best with consistent moisture, moderate temperatures, and fertile soil. Start with small plantings, observe what works in your specific conditions, and adjust your approach accordingly.
With regular succession plantings and attention to timing, you can enjoy fresh, homegrown spinach nearly year-round—a healthy addition to your diet and a satisfying gardening achievement.