How to Cultivate Air Plants That Thrive Without Soil
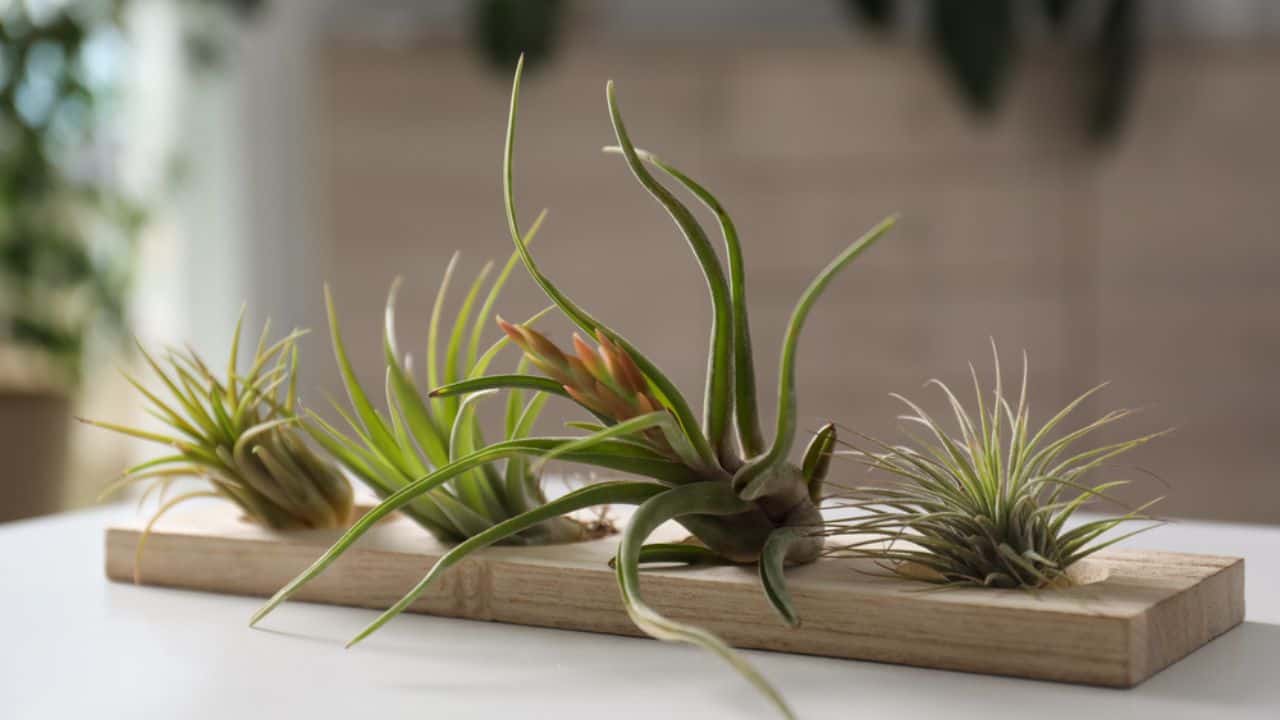
Air plants, scientifically known as Tillandsia, have captivated the hearts of plant enthusiasts across the United States with their unique ability to thrive without soil. These fascinating epiphytes naturally grow attached to trees and rocks in tropical and subtropical regions of the Americas, absorbing nutrients and moisture directly from the air through specialized scales on their leaves. If you’re looking to add these low-maintenance beauties to your home collection, you’re in for a treat. This comprehensive guide will walk you through everything you need to know about nurturing these fascinating plants to ensure they not only survive but truly thrive in your care.
Understanding Air Plants: Nature’s Soil-Free Wonders
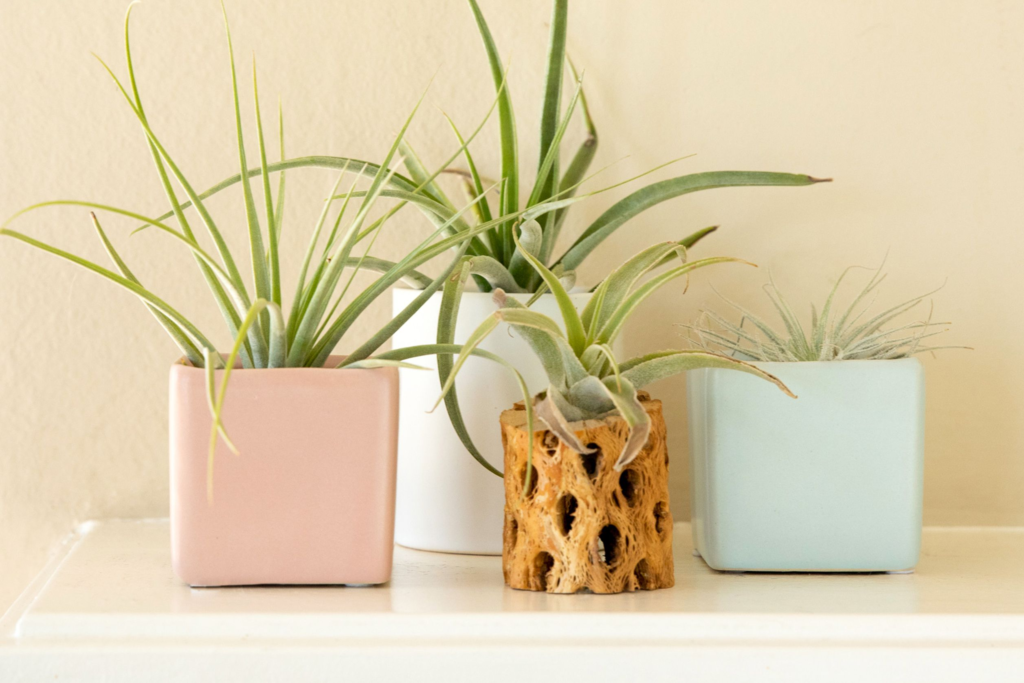
Before diving into cultivation techniques, it’s essential to understand what makes air plants so special. Unlike conventional houseplants that require soil as a growing medium, Tillandsias have evolved to survive in environments where traditional rooting isn’t possible. According to the USDA’s Agricultural Research Service, these adaptive plants are part of the bromeliad family and have developed specialized trichomes—tiny hair-like structures on their leaves—that capture moisture and nutrients directly from the atmosphere (USDA Plant Database).
Types of Air Plants Popular in the US Market
The air plant market in the United States has expanded significantly over the past decade, with certain varieties becoming particularly sought-after for their unique appearances and adaptability to indoor environments:
- Tillandsia ionantha (Sky Plant): Known for its compact size and striking color changes when blooming, turning from silvery-green to vibrant pink and red.
- Tillandsia xerographica: Often called the “king of air plants,” featuring thick, silvery-gray leaves that curl into a graceful rosette.
- Tillandsia bulbosa: Recognized by its bulbous base and tentacle-like leaves that grow outward, creating an otherworldly appearance.
- Tillandsia harrisii: Prized for its soft, silver leaves that form a fuzzy-looking rosette.
- Tillandsia caput-medusae: Named after Medusa’s head of snakes from Greek mythology due to its twisting, serpentine foliage.
Each species has its own specific care requirements, but the general principles of air plant care remain consistent across varieties.
Essential Care Techniques for Thriving Air Plants
Now that you understand the basics, let’s explore the key aspects of air plant care that will help your Tillandsias flourish in your home environment.
Finding the Perfect Light Balance
Light is crucial for air plants, but finding the right balance can be tricky. Most air plants thrive in bright, indirect light—similar to their natural habitat under the canopy of trees. Direct sunlight, especially during the intense midday hours, can burn their leaves, while insufficient light leads to poor growth and faded coloration.
For optimal results:
- Position your air plants near east or west-facing windows where they’ll receive bright, filtered light.
- If using south-facing windows (which receive the most intense light), keep plants at least 3-5 feet away from the glass or filter the light with sheer curtains.
- Rotate your plants occasionally to ensure even light exposure on all sides.
- Consider supplementing with grow lights during winter months in northern regions where natural light is limited.
According to research from the University of Florida Extension Service, air plants generally need 12-16 hours of appropriate light daily for optimal photosynthesis and growth (University of Florida IFAS Extension).
Mastering the Watering Technique
Perhaps the most critical aspect of air plant care is proper watering. The approach differs significantly from traditional houseplants, as overwatering can quickly lead to rot, while underwatering causes dehydration and decline.
The two primary watering methods for air plants are:
1. Dunking/Soaking Method:
- Submerge your air plants completely in room-temperature water for 20-30 minutes once a week.
- For plants in extremely dry environments, you might need to extend this to 1-2 hours.
- After soaking, gently shake excess water from the base of the plant to prevent rot.
- Place the plants upside down on a towel to drain thoroughly for 1-4 hours before returning them to their display.
2. Misting Method:
- Use a spray bottle to thoroughly mist your air plants 2-3 times per week.
- This method works best as a supplement between soakings or for plants in more humid environments.
- Ensure the mist reaches the base of the leaves where absorption primarily occurs.
Your watering frequency should be adjusted based on your specific climate conditions. The following table provides a helpful guide for adjusting your watering schedule based on your home environment:
| Home Environment | Air Humidity | Soaking Frequency | Misting Frequency | Signs to Watch For |
|---|---|---|---|---|
| Dry (Desert/AC/Heating) | 10-30% | Every 5-7 days | Daily | Curling, closed leaves, whitened appearance |
| Average Indoor | 30-50% | Every 7-10 days | 2-3 times weekly | Tips browning may indicate underwatering |
| Humid | 50-70% | Every 10-14 days | As needed | Watch for signs of rot at the base |
| Very Humid (Bathroom/Terrarium) | 70%+ | Every 14-21 days | Rarely needed | Potential rot issues; ensure good airflow |
Providing Proper Air Circulation
Despite their name, air plants don’t just need air—they need good air circulation. Stagnant air creates conditions where moisture can remain trapped against the plant, potentially leading to rot or fungal issues. To ensure proper circulation:
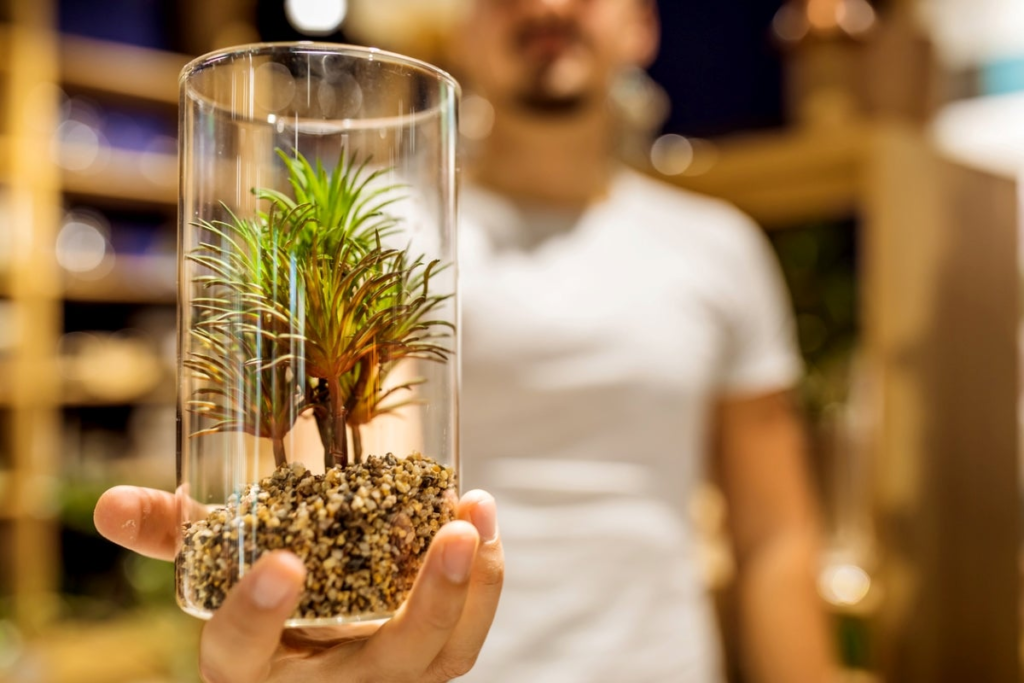
- Avoid enclosed terrariums without ventilation
- Place plants where they receive natural airflow
- If displaying in glass containers, keep the opening large or leave the top off
- Use small fans in spaces with limited natural air movement
- Ensure plants dry completely within 4 hours after watering
Temperature and Humidity Considerations
Most air plants thrive in temperatures between 50-90°F (10-32°C), with the ideal range being 60-80°F (15-27°C). They can tolerate brief periods outside this range but should be protected from extreme temperature fluctuations, particularly cold drafts and intense heat sources.
Humidity plays a crucial role in air plant health. While they can adapt to average household humidity (around 40-60%), they generally prefer higher humidity levels. In dry climates or during winter when heating systems reduce indoor humidity, consider these approaches:
- Group plants together to create a microclimate with higher humidity
- Place plants in naturally humid areas like kitchens or bathrooms (with adequate light)
- Use humidity trays (water-filled trays with pebbles) near your display areas
- Run a humidifier during extremely dry periods
Mounting and Displaying Your Air Plants
One of the most appealing aspects of air plants is their versatility in display options. Since they don’t require soil, you can showcase them in countless creative ways:
Mounting Materials
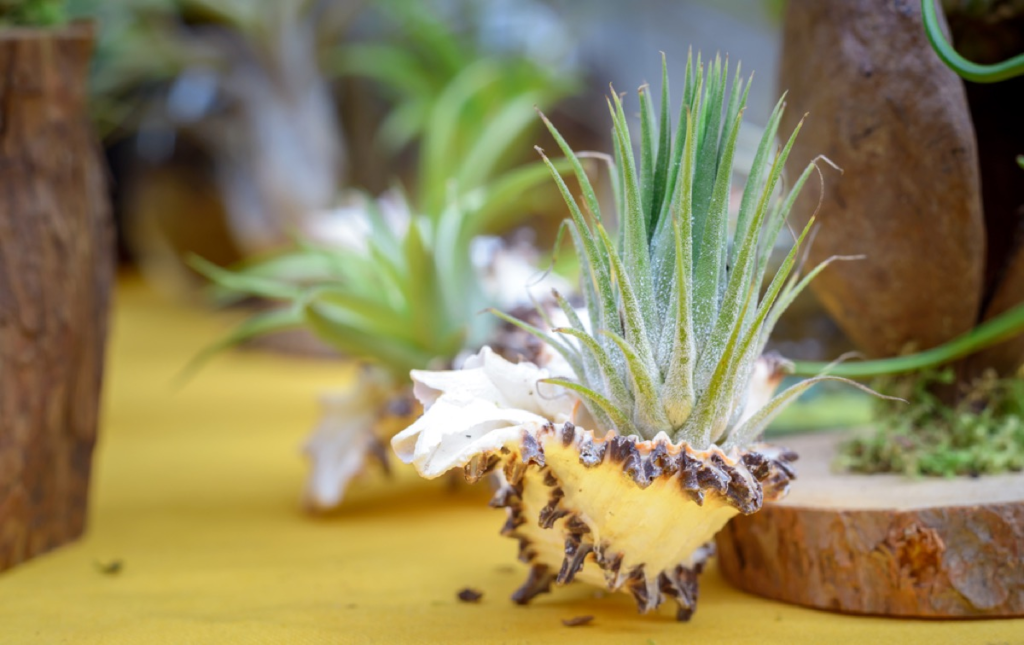
You can secure air plants to various mounting materials using non-toxic glue, fishing line, or wire:
- Driftwood pieces
- Cork bark
- Grapevine
- Rocks and crystals
- Seashells
- Ceramic holders
- Wire frames
When mounting, ensure the attachment method doesn’t damage the plant and allows for easy removal for watering.
Display Ideas
The US air plant market has exploded with creative display options, including:
- Hanging glass terrariums with proper ventilation
- Wall-mounted frames with multiple plants
- Tabletop displays incorporating natural elements
- Suspended air plant “chandeliers”
- Metal geometric holders
For optimal plant health, choose displays that allow for easy removal for watering and provide adequate airflow.
Fertilizing for Optimal Growth and Blooming
While air plants can survive without supplemental feeding, they’ll grow more vigorously and produce more spectacular blooms with occasional fertilization. The National Gardening Association recommends using fertilizers specifically formulated for epiphytes or bromeliads, which typically have an NPK ratio with lower nitrogen content (National Gardening Association).
For best results:
- Dilute air plant or bromeliad fertilizer to 1/4 the recommended strength
- Apply monthly during active growing seasons (spring and summer)
- Reduce to quarterly application during fall and winter
- Apply after watering, never to dry plants
- Avoid fertilizers containing copper, as this element is toxic to air plants
Propagation: Growing Your Air Plant Collection
One of the most rewarding aspects of air plant cultivation is propagation. After flowering, most air plants produce offsets (called “pups”) around their base. These can be separated to create new plants once they reach about 1/3 the size of the parent plant.
To propagate:
- Wait until pups are at least 1/3 the size of the parent plant
- Gently separate the pup by twisting or using sharp, clean scissors to cut at the connection point
- Ensure each pup has a stable base for support
- Care for the pups as you would mature plants, with slightly more frequent misting
Some air plant species can also be grown from seeds, though this process is considerably more time-consuming, often taking years before plants reach maturity.
Troubleshooting Common Air Plant Problems
Even with proper care, you might encounter challenges with your air plants. Here are solutions to the most common issues:
Brown Leaf Tips or Edges
Possible causes:
- Underwatering
- Low humidity
- Fertilizer burn
- Sunburn
Solution: Increase watering frequency, improve humidity, flush the plant with clean water if fertilizer burn is suspected, or reduce light intensity.
Rotting Base
Possible causes:
- Water trapped in the plant base
- Inadequate drying after watering
- Poor air circulation
Solution: Improve drying techniques by placing plants upside down after soaking, increase air circulation, and remove any clearly rotted portions with clean scissors.
Faded, Lackluster Appearance
Possible causes:
- Insufficient light
- Nutrient deficiency
- Aging plant
Solution: Gradually increase light exposure, implement a proper fertilization schedule, or note that the plant may be reaching the end of its lifecycle after blooming.
Seasonal Care Adjustments
Your air plant care routine should adapt to seasonal changes:
Spring/Summer:
- Increase watering frequency as temperatures rise
- Apply fertilizer monthly
- Protect from intense direct sunlight
- Watch for blooming and pup formation
Fall/Winter:
- Reduce watering as growth slows
- Decrease fertilization to quarterly
- Supplement with grow lights if natural light diminishes
- Protect from cold drafts and heating vents
Conclusion: Enjoying Your Soil-Free Garden
Air plants represent a remarkable fusion of beauty and adaptability. By understanding their unique needs and providing the right care, you can enjoy these fascinating plants for years to come. Whether you’re a seasoned plant enthusiast or just beginning your journey into the world of houseplants, Tillandsias offer an accessible, rewarding experience that brings a touch of the extraordinary to any space.
Their soil-free nature makes them ideal for modern, minimalist interiors, creative displays, and spaces where traditional potted plants aren’t practical. As you develop your air plant cultivation skills, you’ll discover the joy of watching these remarkable plants thrive and reproduce, expanding your collection with minimal investment.
Remember that observation is key—pay attention to how your specific plants respond to your care routine and environment, and don’t hesitate to make adjustments accordingly. With the right balance of light, water, air, and occasional nutrients, your air plants will reward you with healthy growth, spectacular blooms, and a truly unique addition to your indoor garden.
