How to Plant Bell Peppers: A Complete Guide for Home Gardeners
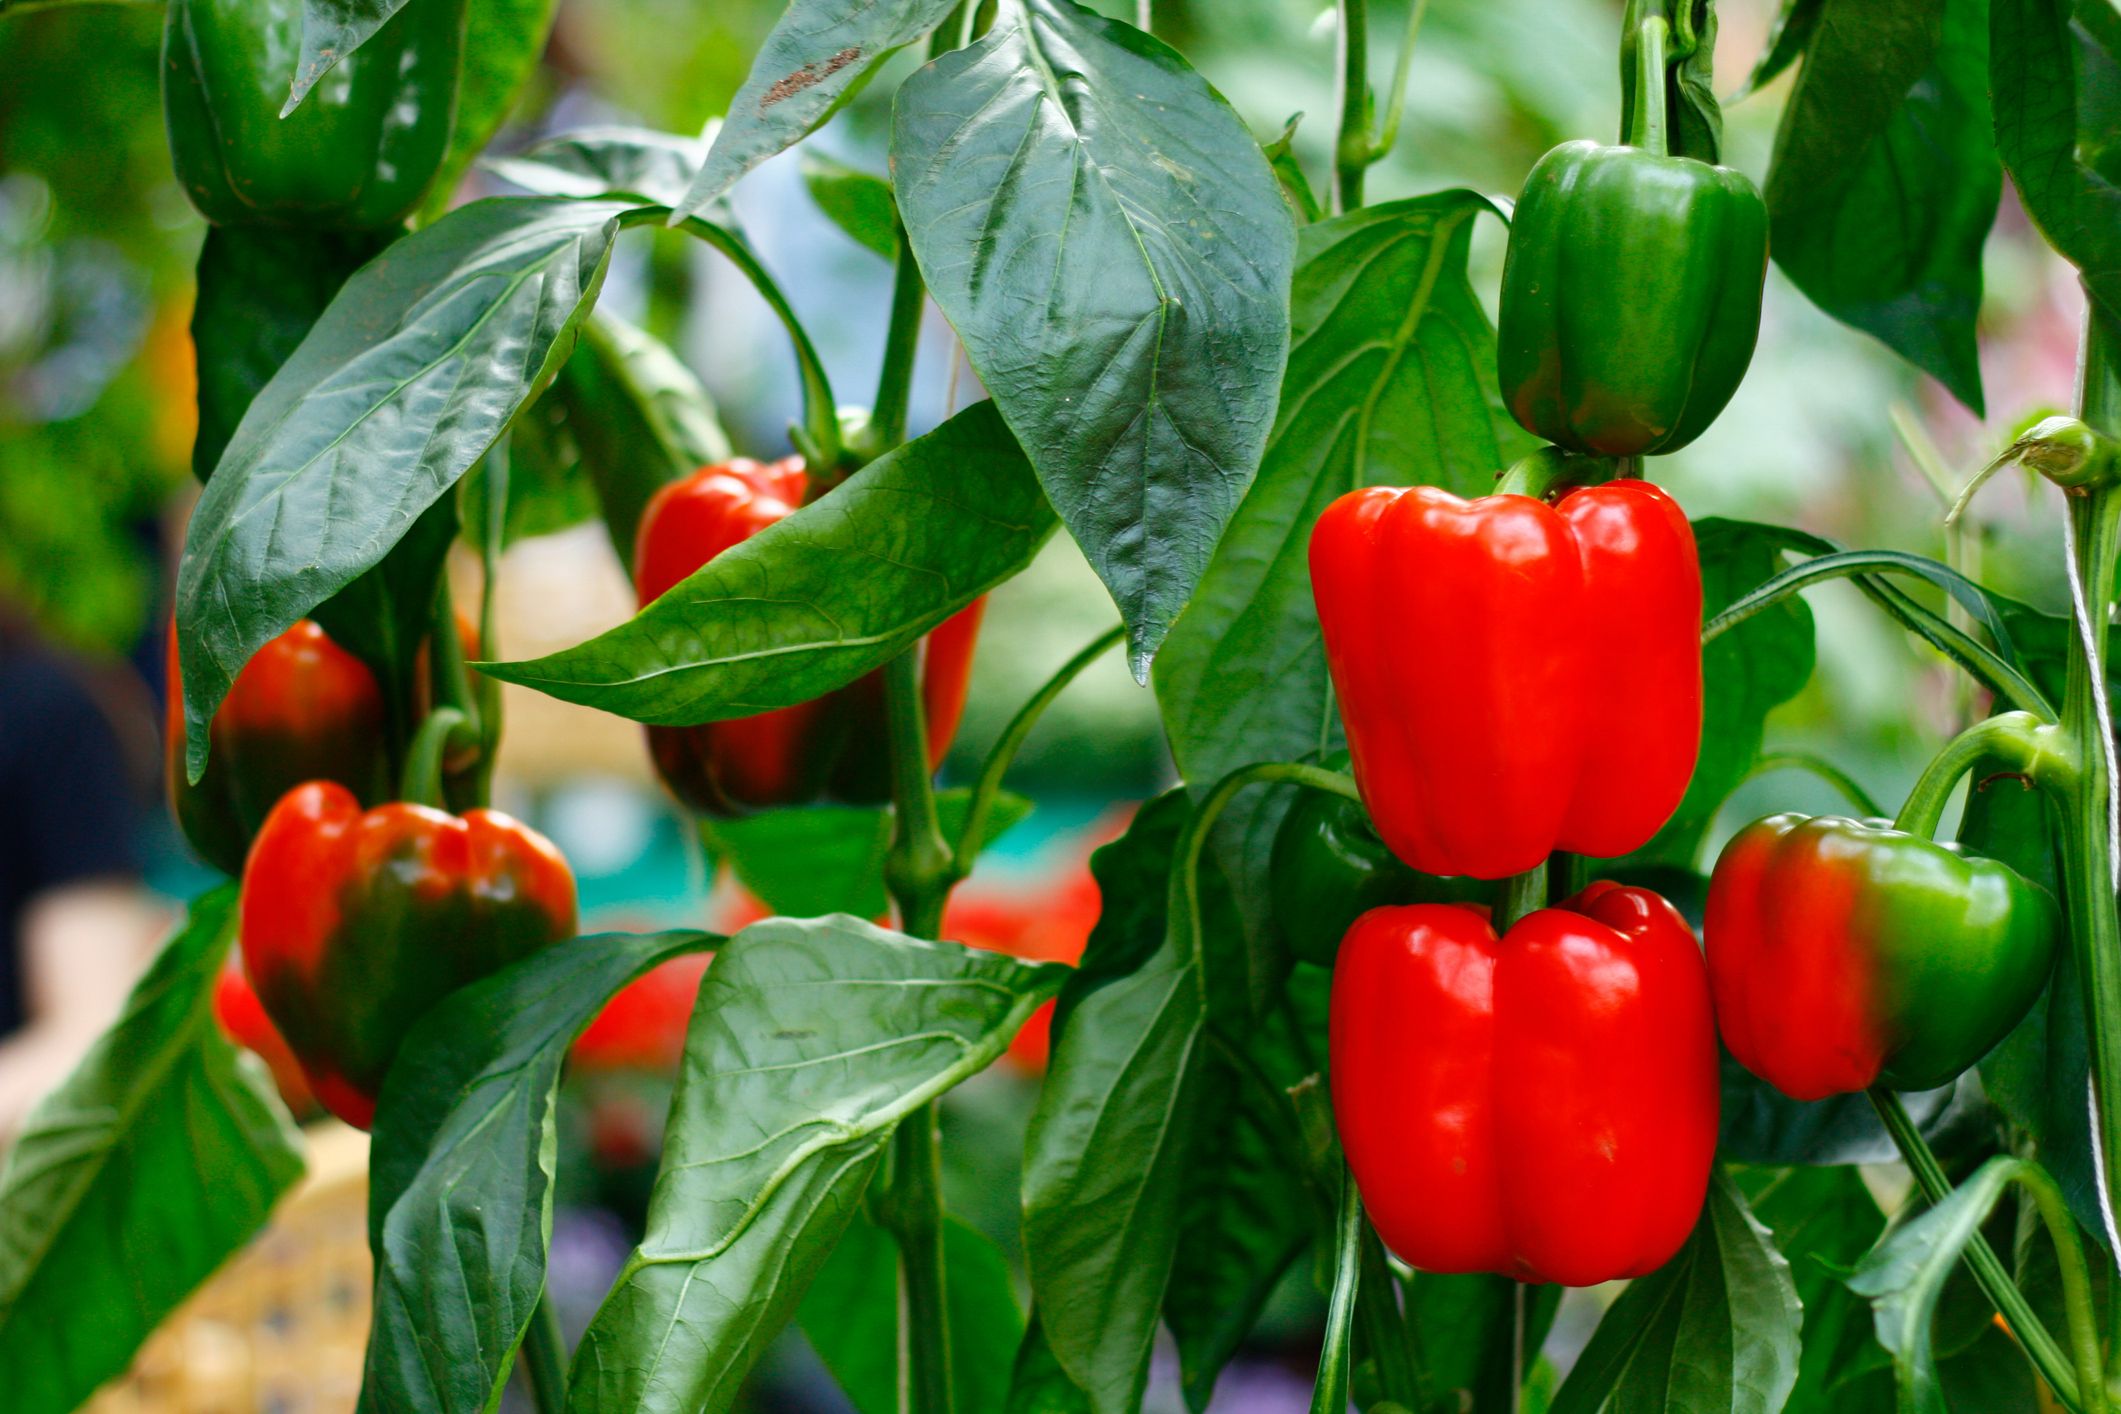
Bell peppers are versatile vegetables that can thrive in home gardens, containers, or larger plots. Whether you’re a novice gardener or experienced, growing bell peppers can be a rewarding experience that provides fresh, flavorful harvests throughout the growing season. This guide will walk you through everything you need to know about planting bell peppers successfully.
Getting Started with Bell Peppers
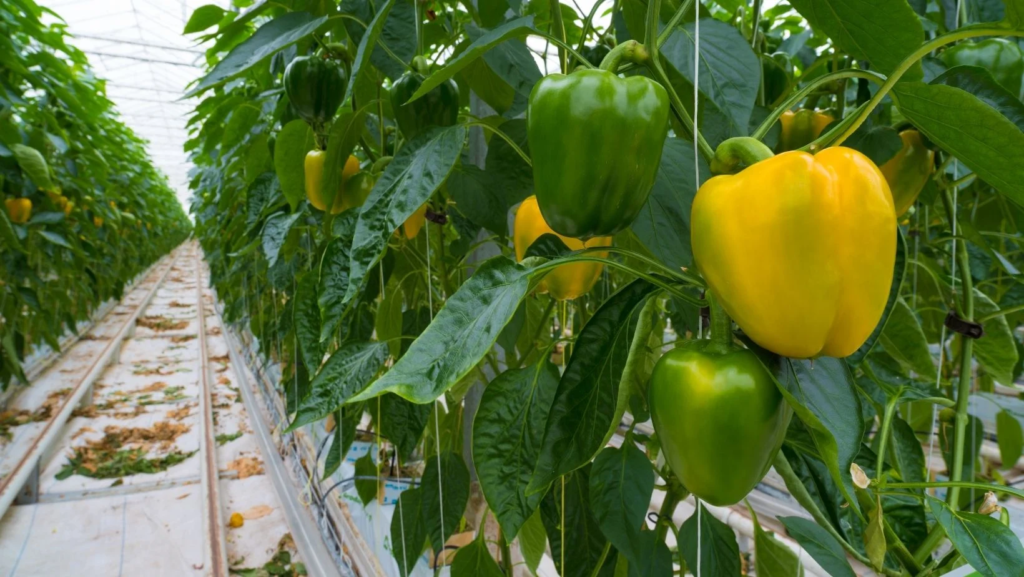
Bell peppers (Capsicum annuum) are warm-season crops that produce colorful, nutritious fruits perfect for cooking and fresh eating. Before diving into planting, it’s important to understand their basic requirements:
Bell Pepper Varieties for US Gardens
The US market offers numerous bell pepper varieties, each with unique characteristics:
| Variety | Days to Maturity | Color When Ripe | Special Features |
|---|---|---|---|
| California Wonder | 70-75 days | Green to red | Traditional bell shape, thick walls |
| King Arthur | 60-65 days | Green to red | Early producer, disease resistant |
| Purple Beauty | 70-75 days | Purple | Unique color, sweet flavor |
| Golden California Wonder | 70-75 days | Green to gold | Sunny yellow peppers |
| Chocolate Bell | 70-85 days | Green to brown | Rich, sweet flavor |
| Orange Sun | 75-80 days | Green to orange | High vitamin C content |
When to Plant Bell Peppers
Timing is crucial for successful bell pepper cultivation. According to the USDA Agricultural Research Service, peppers require warm soil temperatures to germinate properly (at least 70°F or 21°C). For most of the US, this means:
- Northern regions: Start seeds indoors 8-10 weeks before the last spring frost
- Central regions: Start seeds indoors 6-8 weeks before the last spring frost
- Southern regions: Direct sowing possible after soil temperatures remain above 70°F
You can check your specific frost dates through the USDA Plant Hardiness Zone Map: https://planthardiness.ars.usda.gov/
Starting Bell Peppers from Seeds
Starting your bell peppers from seeds gives you access to more varieties and can be more economical.
What You’ll Need:
- Quality bell pepper seeds
- Seed-starting trays or small pots
- Seed-starting mix
- Grow lights (optional but recommended)
- Heat mat (optional but helpful)
- Water spray bottle
Steps to Start Bell Pepper Seeds:
- Fill your seed-starting containers with moistened seed-starting mix.
- Plant seeds about ¼ inch deep, placing 2-3 seeds per cell or pot.
- Cover lightly with additional mix and mist with water.
- Cover trays with plastic to create a mini-greenhouse effect.
- Place in a warm location (75-85°F) or on a heat mat.
- Keep soil consistently moist but not soggy.
- Once seedlings emerge (usually 7-14 days), remove the plastic cover.
- Provide 14-16 hours of light daily using grow lights or a sunny window.
- When seedlings develop their first true leaves, thin to the strongest plant per cell.
- When seedlings have 2-3 sets of true leaves, transplant to larger containers if needed.
Preparing Your Garden for Bell Peppers
Whether you’re planting in containers, raised beds, or traditional garden plots, proper preparation is essential.
Soil Requirements
Bell peppers prefer:
- Well-draining, loamy soil
- pH between 6.0 and 6.8
- Rich in organic matter
According to the National Gardening Association, peppers perform best in soil enriched with compost. For specific recommendations on soil testing and amendments, visit the USDA Natural Resources Conservation Service website: https://www.nrcs.usda.gov/conservation-basics/natural-resource-concerns/soils
Garden Bed Preparation
- Choose a location that receives at least 6-8 hours of direct sunlight daily.
- Clear the area of weeds and debris.
- Add 2-3 inches of compost and work it into the top 8-10 inches of soil.
- Consider adding balanced organic fertilizer according to package directions.
- For clay soils, add additional organic matter to improve drainage.
Container Preparation
If you’re growing in containers:
- Select containers at least 12 inches deep and wide.
- Ensure containers have adequate drainage holes.
- Use high-quality potting mix specifically formulated for vegetables.
- Consider adding perlite or vermiculite for improved drainage.
Transplanting Bell Peppers Outdoors
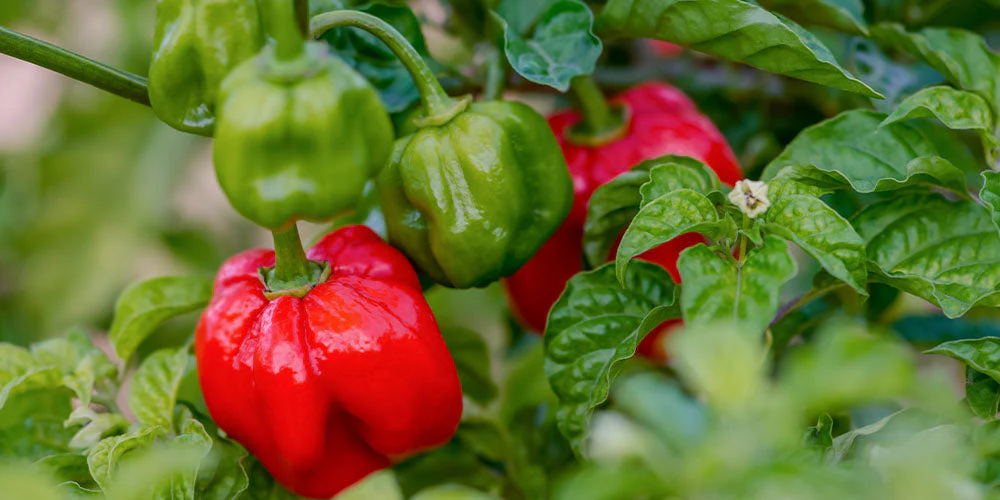
Proper transplanting technique is crucial for bell pepper success.
When to Transplant
Wait until:
- All danger of frost has passed
- Nighttime temperatures consistently stay above 55°F
- Soil temperature is at least 65°F
Hardening Off Process
Before transplanting, seedlings need to be gradually acclimated to outdoor conditions:
- Begin hardening off 7-10 days before planned transplant date.
- Start with 1-2 hours of outdoor exposure in a sheltered location.
- Gradually increase outdoor time by 1-2 hours daily.
- Avoid direct sunlight and wind initially.
- By day 7-10, seedlings should be able to handle full sun and overnight outdoor exposure.
Transplanting Steps
- Choose an overcast day or evening for transplanting to reduce stress.
- Space plants 18-24 inches apart in rows 24-36 inches apart.
- Dig holes slightly larger than the root ball of your seedlings.
- Remove seedlings from containers carefully, disturbing roots as little as possible.
- Place in holes at the same depth they were growing previously.
- Firm soil gently around plants.
- Water thoroughly after planting.
- Apply 2-3 inches of organic mulch to conserve moisture and suppress weeds.
Bell Pepper Care and Maintenance
Proper care after planting ensures healthy plants and abundant harvests.
Watering Requirements
Bell peppers need consistent moisture:
- Water deeply when the top inch of soil feels dry.
- Aim for 1-2 inches of water per week, including rainfall.
- Water at the base of plants to avoid wetting foliage.
- Use drip irrigation or soaker hoses when possible.
During hot periods, container peppers may need daily watering. According to the United States Environmental Protection Agency’s WaterSense program, proper watering techniques not only benefit your plants but conserve water. Learn more at: https://www.epa.gov/watersense/outdoors
Fertilizing Schedule
Peppers are moderate feeders:
- At planting: Incorporate balanced fertilizer into soil.
- When first fruits set: Apply a side dressing of balanced fertilizer or compost tea.
- Monthly thereafter: Light applications of fertilizer during the growing season.
Avoid excessive nitrogen, which promotes foliage at the expense of fruit production.
Support Systems
Though not always necessary, support can be beneficial:
- Stake taller varieties to prevent breakage from heavy fruit.
- Use tomato cages for bushy varieties.
- Install supports at planting time to avoid root damage later.
Common Bell Pepper Problems and Solutions
Knowing how to identify and address common issues ensures a successful harvest.
Pest Management
Common bell pepper pests include:
- Aphids: Spray with strong water stream or insecticidal soap
- Pepper hornworms: Handpick or use Bacillus thuringiensis (Bt)
- Spider mites: Increase humidity and use insecticidal soap
- Flea beetles: Use floating row covers or diatomaceous earth
The USDA Integrated Pest Management program provides resources for identifying and managing garden pests in environmentally responsible ways: https://www.ars.usda.gov/oc/br/ipm/index/
Disease Prevention
Common diseases affecting bell peppers include:
- Bacterial leaf spot: Use disease-free seeds and practice crop rotation
- Phytophthora blight: Improve drainage and avoid overhead watering
- Blossom end rot: Maintain consistent watering and ensure adequate calcium
- Powdery mildew: Improve air circulation and avoid overhead watering
Harvesting Your Bell Peppers
One of the most rewarding aspects of growing bell peppers is harvesting them at their peak.
When to Harvest
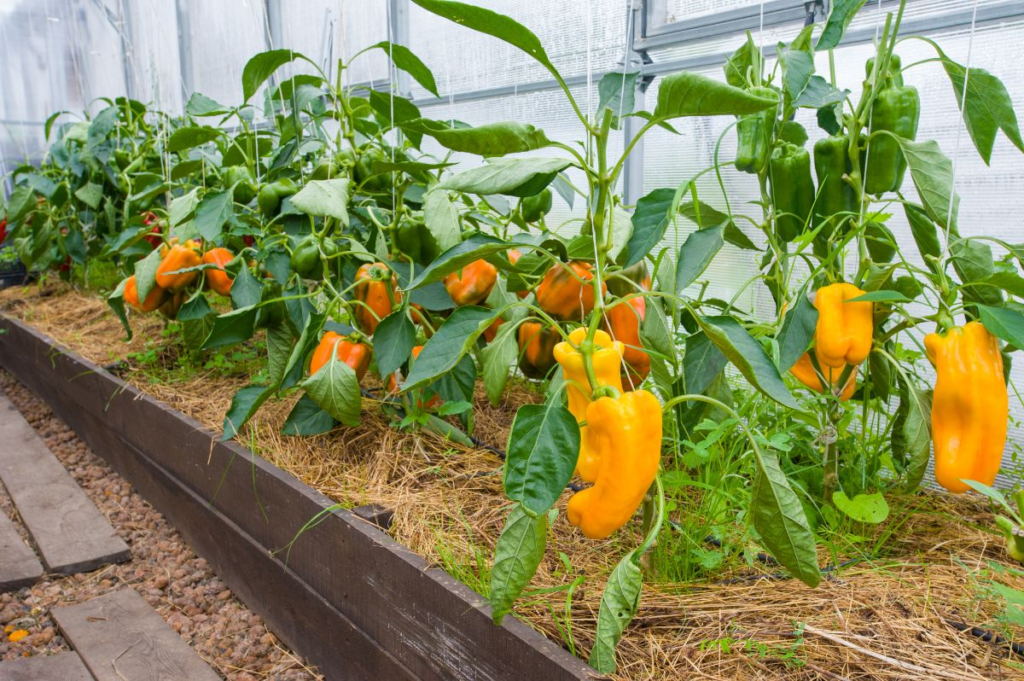
Bell peppers can be harvested at various stages:
- Green peppers: Harvest when firm and glossy, about 70-75 days after transplanting
- Colored peppers: Allow to ripen fully on the plant for maximum sweetness and nutrition
The longer peppers remain on the plant, the sweeter they become and the more their nutrient content increases.
Harvesting Technique
- Use clean, sharp scissors or pruners.
- Cut the stem about ¼ inch above the fruit.
- Handle peppers carefully to avoid bruising.
- Harvest regularly to encourage continued production.
Enjoying Your Bell Pepper Harvest
After all your hard work, it’s time to enjoy the fruits of your labor.
Storage Tips
- Fresh peppers: Store unwashed in the refrigerator crisper drawer for up to 1-2 weeks
- Freezing: Chop or slice clean peppers and freeze in airtight containers
- Drying: Slice thinly and dry in a food dehydrator or oven on low heat
- Roasting: Roast and freeze for ready-to-use peppers year-round
Culinary Uses
Bell peppers are incredibly versatile:
- Raw in salads and vegetable platters
- Stuffed with grains, meat, or other vegetables
- Roasted for sandwiches, pasta dishes, and sauces
- Sautéed as a side dish or part of stir-fries
- Blended into soups, salsas, and dips
Conclusion
Growing bell peppers at home provides you with fresh, nutritious vegetables while saving money on grocery bills. With proper planning, preparation, and care, you can enjoy abundant harvests of these colorful fruits throughout the growing season. Whether you’re planting in containers on a balcony or in a larger garden plot, following these guidelines will help ensure your bell pepper growing success.
Remember that local conditions may require some adaptation of these general guidelines. For specific advice tailored to your region, contact your local USDA Cooperative Extension Service office, which can provide soil testing services and region-specific planting information.
