Transform Your Backyard: Building Durable Cinder Block Garden Beds
Creating raised garden beds with cinder blocks offers an affordable, long-lasting solution that combines industrial charm with practical functionality. These sturdy structures can elevate your growing space while providing excellent drainage, soil protection, and ergonomic accessibility. Whether you’re a seasoned gardener looking to expand or a newcomer with limited space, cinder block garden beds offer remarkable versatility for growing everything from ornamentals to vegetables.
Why Cinder Blocks Make Excellent Garden Beds
Cinder blocks (also called concrete blocks or cement blocks) have become increasingly popular for garden construction due to their impressive durability and relatively low cost. Unlike wooden raised beds that rot over time, concrete block beds can last for decades with minimal maintenance. This longevity makes them an excellent investment for any gardener looking to establish permanent growing spaces.
Beyond their durability, cinder blocks offer structural advantages that benefit your plants. The thermal mass of concrete helps moderate soil temperature fluctuations, providing protection against sudden freezes or heat waves. The blocks also create natural barriers against lawn equipment, pets, and some pests while defining clear garden boundaries in your landscape design.
Materials & Tools You’ll Need
Before starting your cinder block garden project, gather these essential materials:
- Standard cinder blocks (8″×8″×16″) – calculate quantity based on your design
- Landscape fabric (heavy-duty, permeable)
- Cardboard (plain, no glossy print)
- Garden soil mix (topsoil, compost, and amendments)
- Level
- Tape measure
- Garden gloves
- Shovel and rake
- Wheelbarrow
- Rubber mallet
Optional materials for enhanced designs:
- Construction adhesive (exterior grade)
- Capstones or pavers (for creating a seating edge)
- Exterior paint or sealer (if decorating the blocks)
- Gravel or drainage material (for base layer)
Step-by-Step Construction Process
1. Plan Your Garden Bed Layout
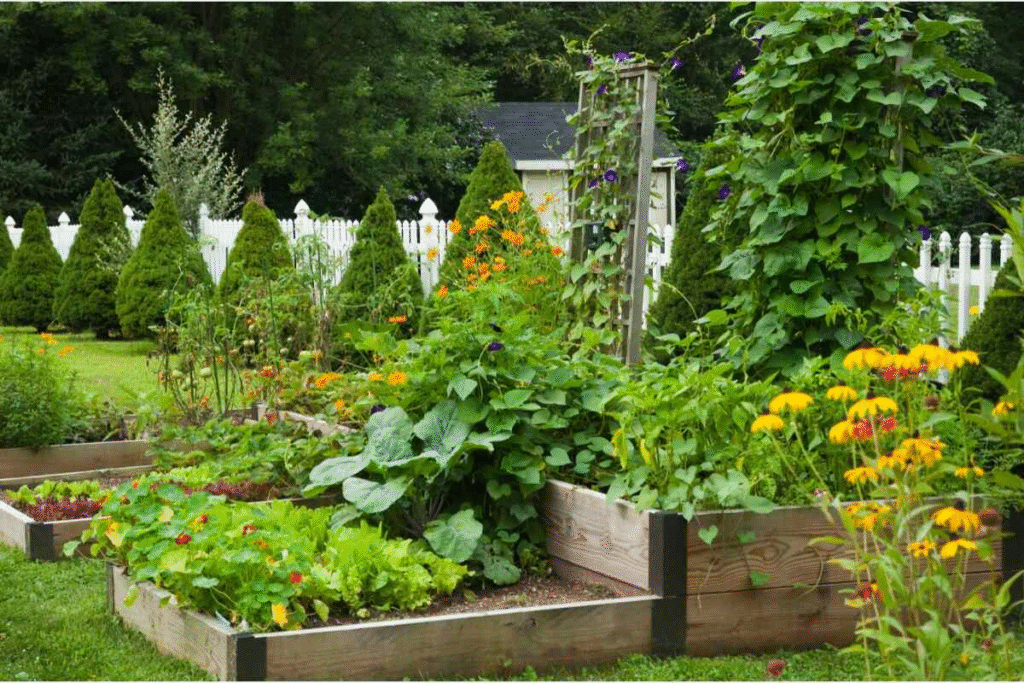
Begin by determining the ideal location and dimensions for your raised bed. Consider sunlight exposure (most vegetables need 6-8 hours of direct sun), proximity to water sources, and accessibility for maintenance. Sketch your design, noting dimensions and block quantities.
Expert Tip: Standard cinder blocks measure 8″×8″×16″, so plan your garden bed dimensions in increments compatible with these measurements to minimize cutting. Rectangular beds with widths between 3-4 feet allow easy access from both sides without stepping into the bed.
2. Prepare the Ground Surface

Clear the area of existing vegetation, rocks, and debris. For persistent weeds, consider placing cardboard as an additional barrier layer. The key is creating a level surface, as unevenness can cause structural issues over time.
Mark the perimeter of your planned bed with stakes and string to ensure straight lines. If building on a slope, determine whether you’ll create terraced beds or level a specific area.
3. Establish a Solid Foundation
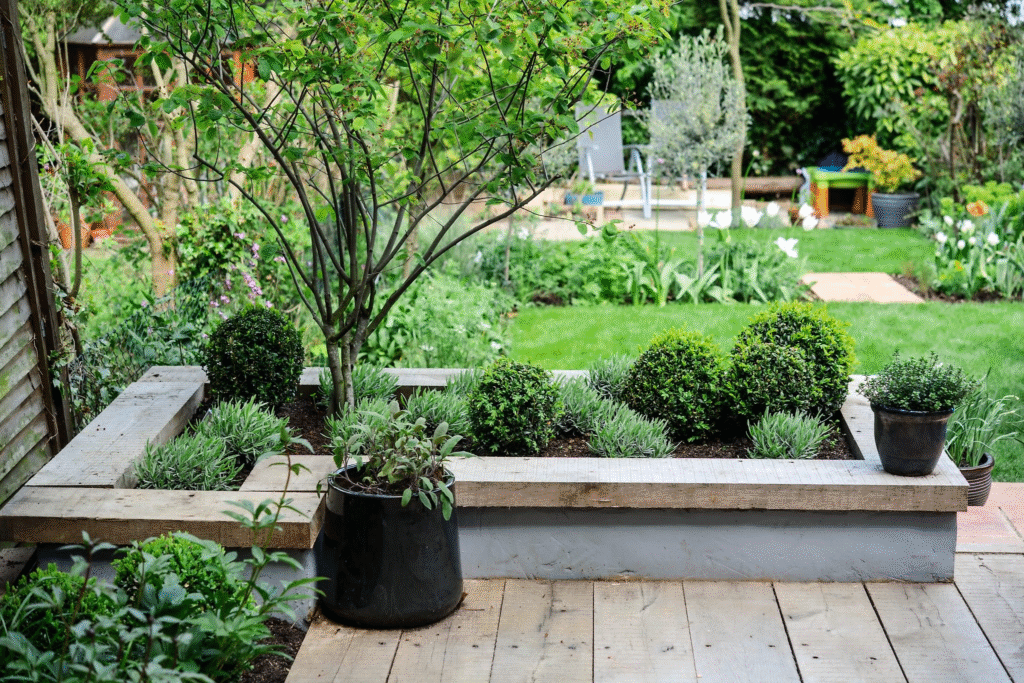
For the most stable construction, consider these foundation options:
- Basic setup: Clear and level soil, then lay landscape fabric
- Enhanced drainage: Add 2-3 inches of gravel before placing landscape fabric
- Maximum stability: Create a shallow trench (2-3 inches deep) along the perimeter, fill with gravel, then place blocks
Common Mistake: Skipping proper ground preparation leads to uneven settling and potential collapse. Take time to ensure your foundation is level and stable.
4. Lay the First Course of Blocks
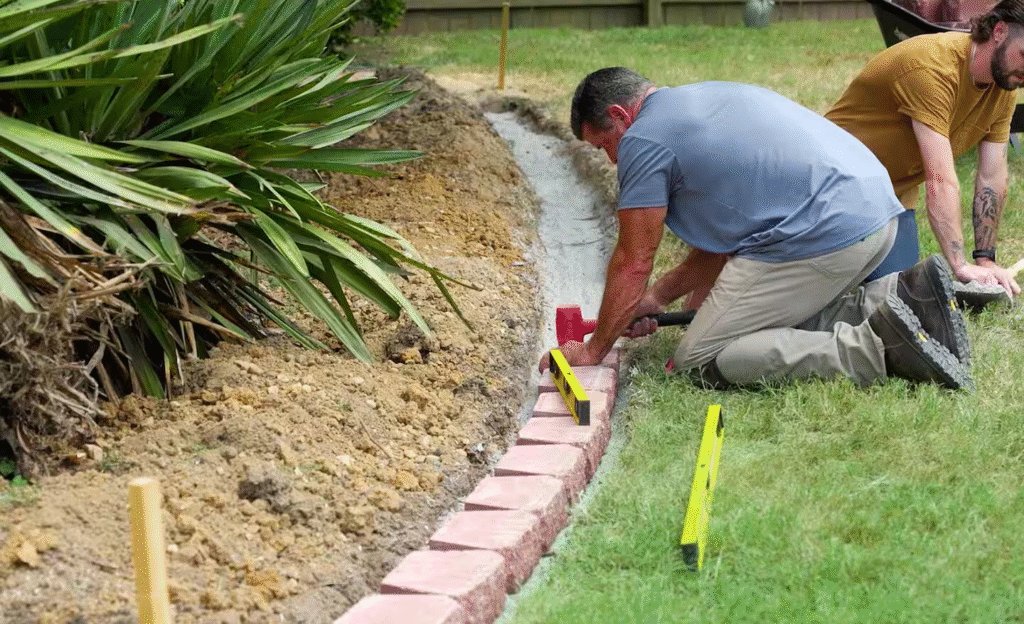
Place your first cinder block at one corner of the planned bed, ensuring it’s level and properly positioned according to your design. Continue placing blocks around the perimeter, checking that each one is level and aligned with adjacent blocks. Use a rubber mallet to make minor adjustments.
For a standard raised bed, position blocks with the hollow cores facing upward. This orientation provides additional planting pockets and maximizes soil volume.
5. Add Subsequent Courses (Optional)

For taller garden beds:
- Stagger the blocks in a bricklaying pattern for maximum stability
- Apply construction adhesive between courses for additional strength
- Consider placing rebar through the hollow cores for reinforcement in areas with high winds or freeze-thaw cycles
- Check level and alignment with each new course
Expert Tip: Two courses (approximately 16 inches tall) create an ergonomic working height that reduces back strain while gardening. This height works well for most vegetables and herbs.
6. Install Landscape Fabric
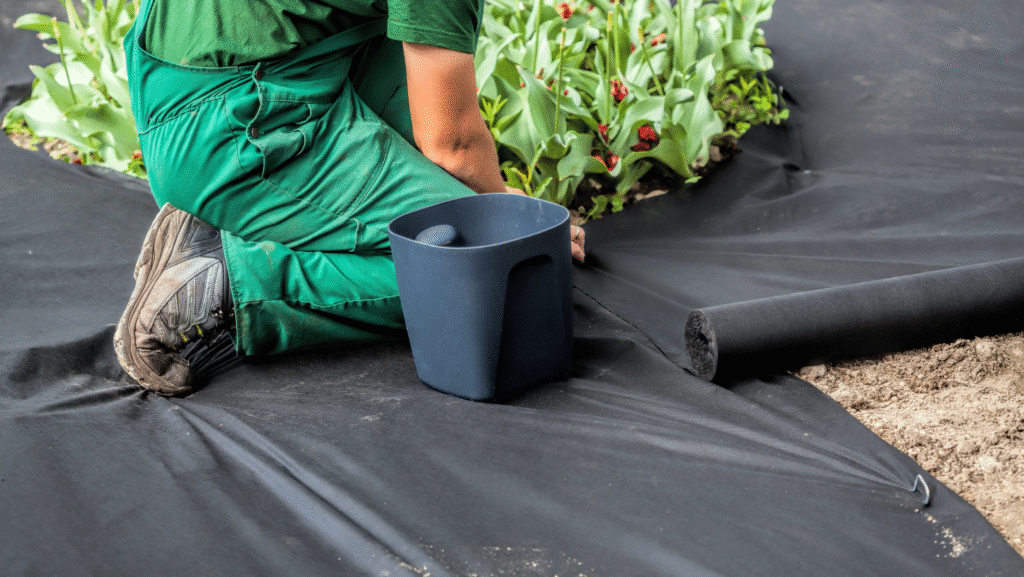
Line the interior of your completed block structure with landscape fabric, extending it up the sides and overlapping seams by at least 6 inches. This barrier prevents soil from washing out through the gaps between blocks while allowing proper drainage.
For beds with hollow openings in the blocks, decide whether to cover these with fabric (preventing soil loss) or leave them open for additional planting pockets.
7. Fill With Quality Soil

Fill your new garden bed with high-quality soil appropriate for your intended plants. For versatile vegetable gardening, use a mix of:
- 60% topsoil
- 30% compost (well-aged)
- 10% perlite, vermiculite, or coarse sand for drainage
Add soil in layers, gently tamping down each layer to prevent excessive settling after planting. Fill to approximately 1-2 inches below the rim to allow for mulching and prevent overflow during watering.
8. Add Finishing Touches
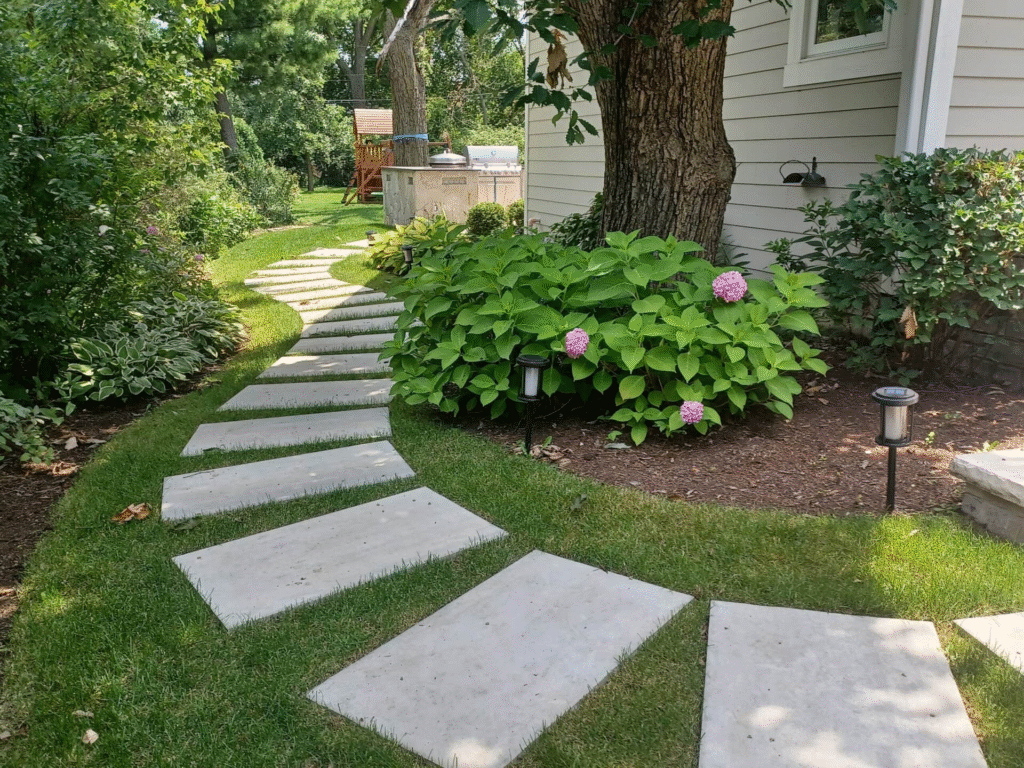
Consider these enhancements to improve functionality and aesthetics:
- Install capstones or flat pavers across the top edge for comfortable seating
- Paint exterior surfaces with concrete-safe exterior paint for visual interest
- Add drip irrigation systems for efficient watering
- Create trellises by inserting poles into hollow cores for climbing plants
Creative Design Variations
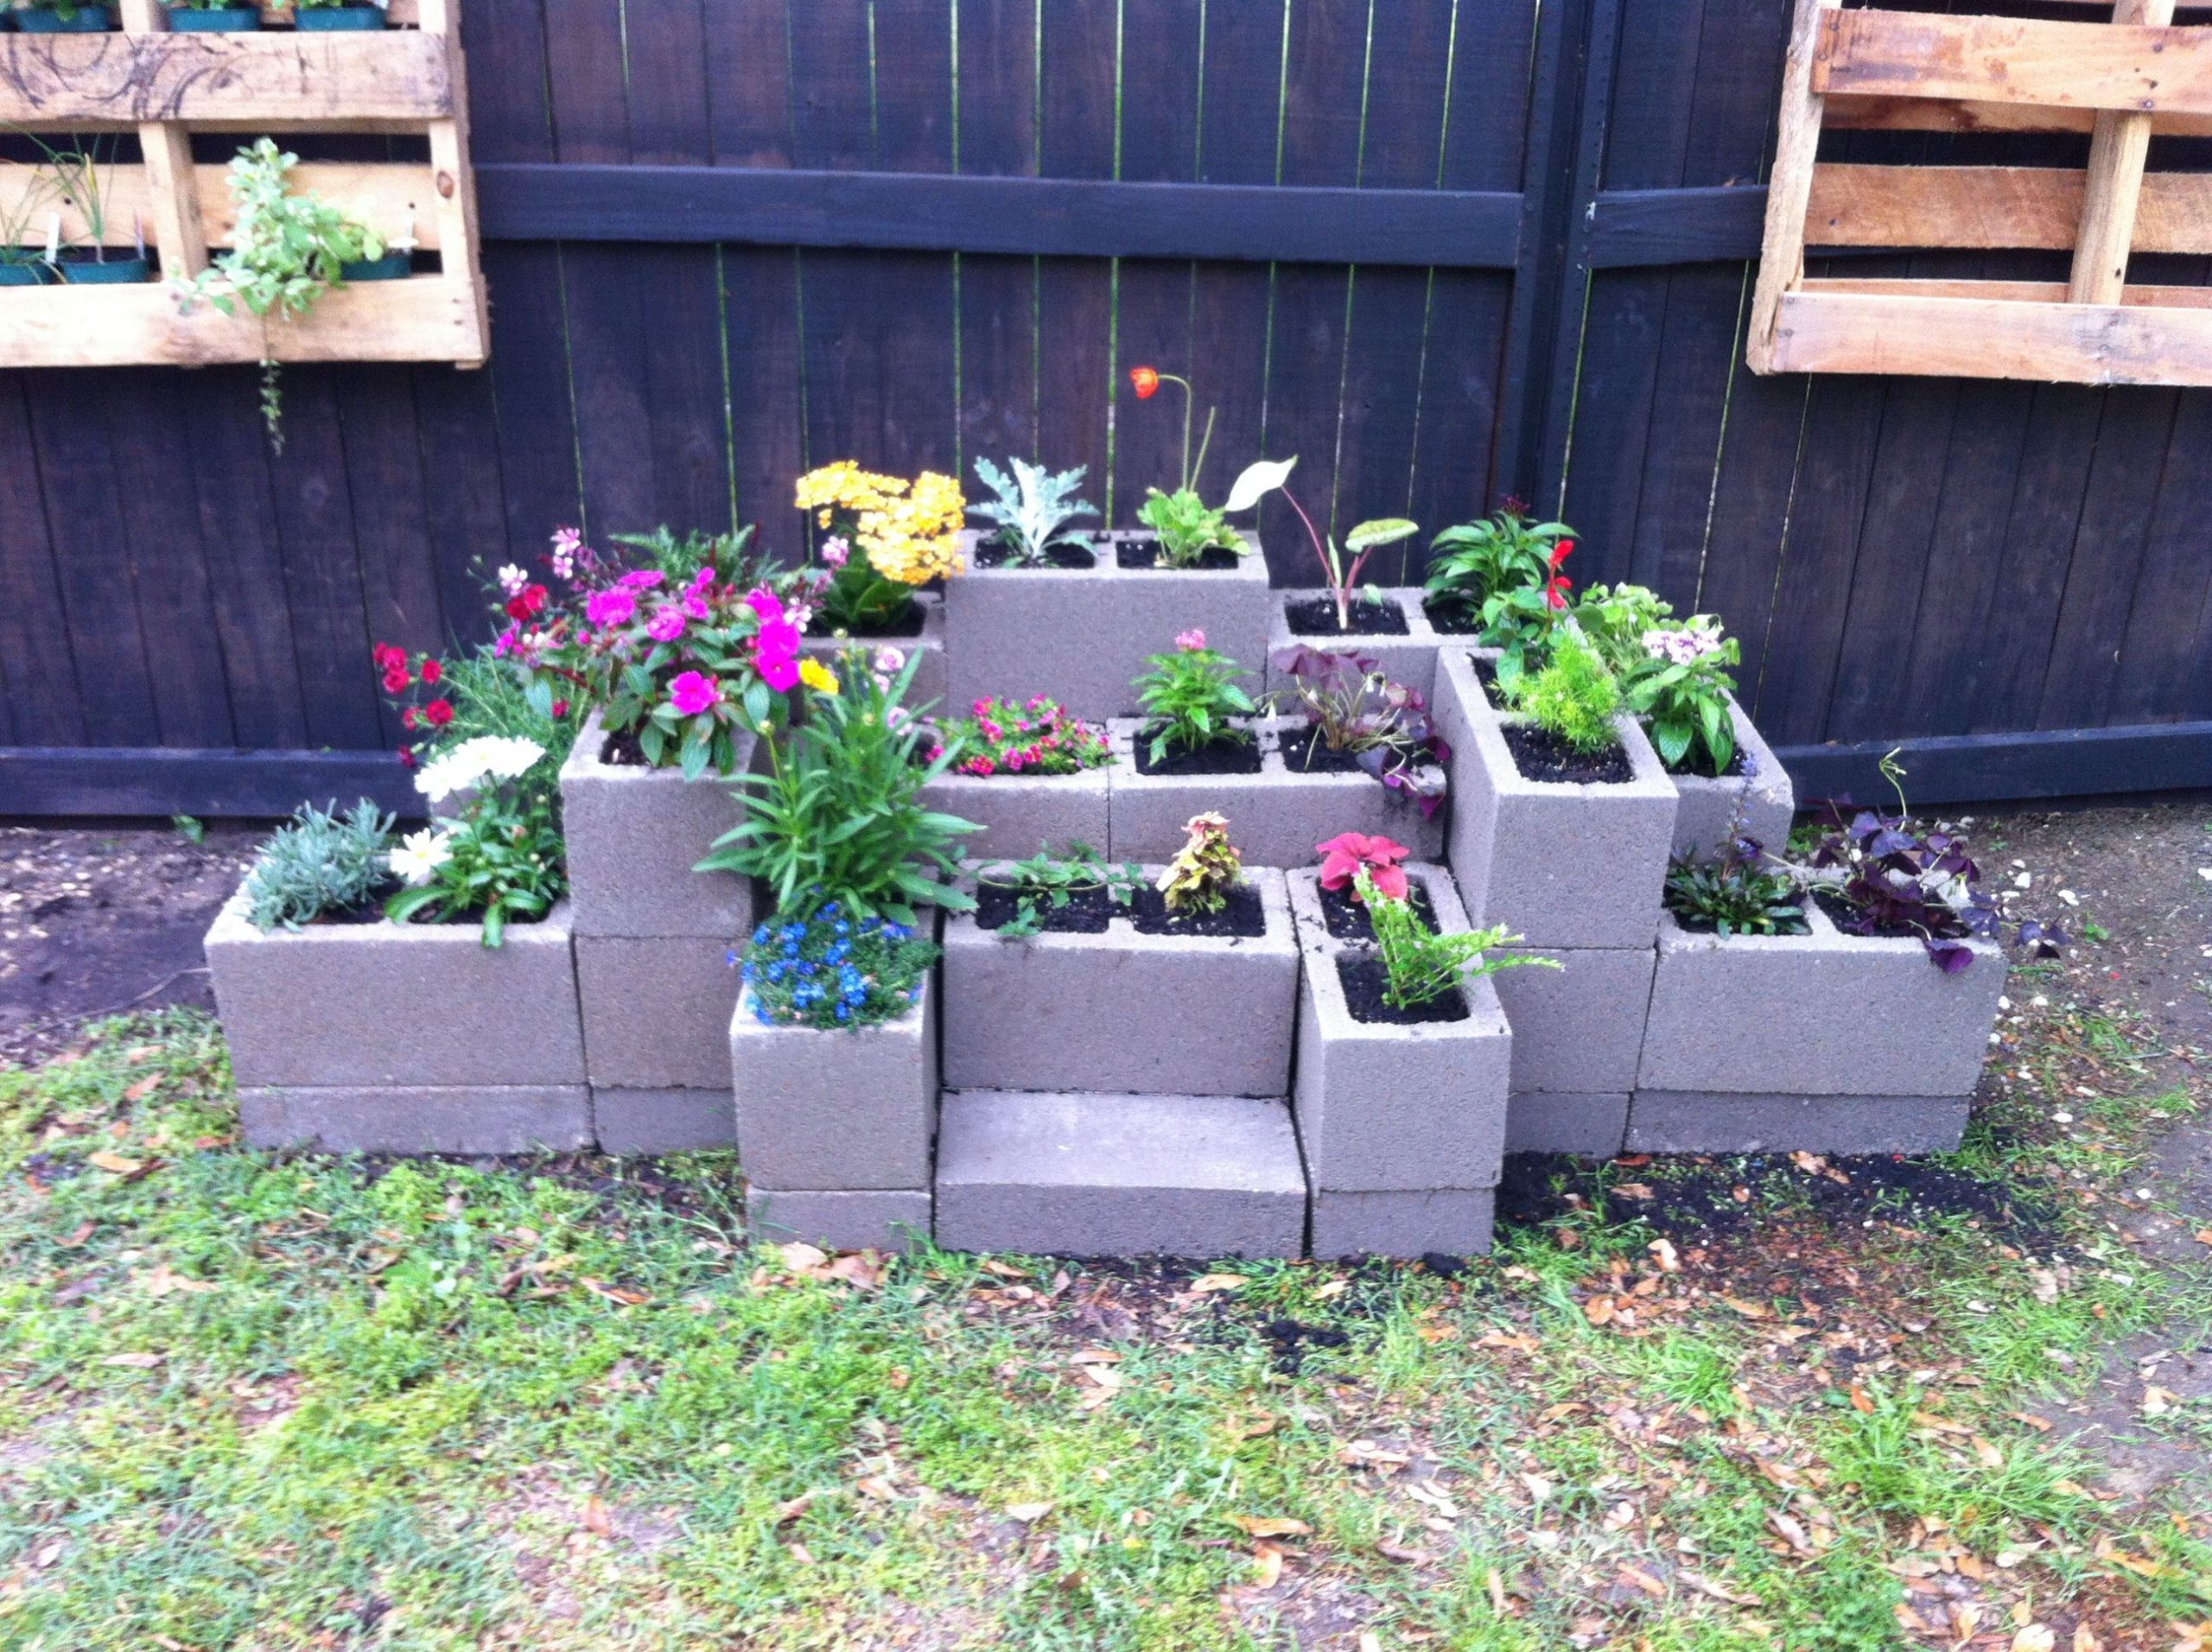
Tiered Cinder Block Gardens
Create visual interest by staggering block heights to form tiered planting areas. This approach works exceptionally well on gentle slopes and creates natural microclimates for different plant varieties.
- Begin with a wider base layer
- Create narrower second and third tiers
- Fill each level before constructing the next higher tier
- Consider a cascading design with trailing plants at each level
U-Shaped or L-Shaped Designs
For maximum growing space in corner locations, consider U-shaped or L-shaped configurations that provide easy access while maximizing growing area.
Design Consideration: Ensure all areas remain within comfortable reaching distance (generally 2 feet from any edge) to prevent the need to step into planted areas.
Integrated Seating and Storage
Transform your garden bed into a multifunctional space by incorporating:
- Wider top courses for casual seating
- Storage areas created by covering selected hollow cores with wood or stone
- Built-in tool holders using vertical blocks
- Attached benches using additional blocks and wooden seats
Honeycomb or Geometric Patterns
Create artistic designs by arranging blocks in honeycomb patterns, spirals, or other geometric shapes. These arrangements can become striking landscape features while providing excellent growing conditions.
Planting Strategies for Cinder Block Gardens
Utilizing Hollow Cores
The hollow openings in cinder blocks create perfect planting pockets for:
- Herbs that benefit from root restriction (mint, oregano)
- Shallow-rooted strawberries
- Flowering annuals for border color
- Pollinator-attracting plants around vegetable gardens
Expert Tip: Line the cores with landscape fabric before filling with soil to prevent drainage issues, and ensure each core has adequate drainage holes.
Companion Planting Layouts
Design your planting layout to maximize growth and minimize pest issues:
- Central areas for taller plants (tomatoes, peppers)
- Mid-height plants in middle sections (bush beans, kale)
- Trailing varieties along edges (cucumbers, squash)
- Beneficial companions in block openings (marigolds, nasturtiums)
Succession Planting
Maximize your harvest by planning successive plantings throughout the growing season:
- Early spring: Lettuce, spinach, radishes
- Late spring: Beans, cucumbers, summer squash
- Mid-summer: Second plantings of quick-growing crops
- Fall: Cold-tolerant greens, root vegetables
Maintaining Your Cinder Block Garden
Seasonal Maintenance
Spring:
- Check for block shifting from winter freeze-thaw cycles
- Realign any displaced blocks before major planting
- Add fresh compost to rejuvenate soil
- Check and repair landscape fabric if necessary
Fall:
- Clean debris from hollow cores
- Consider covering with row covers for extended growing
- Apply mulch to bare soil for winter protection
- Inspect for cracking or damage to repair before winter
Long-Term Considerations
While extremely durable, cinder block gardens may eventually show signs of wear:
- Inspect annually for cracks or deterioration
- Apply concrete sealer every 3-5 years if desired
- Replace any damaged blocks promptly
- Add soil amendments yearly to maintain fertility
Common Mistake: Forgetting that concrete leaches lime over time, which can raise soil pH. Test soil pH annually and amend with sulfur if needed for acid-loving plants.
Cost Analysis and Return on Investment
Comparing Material Costs
| Material | Initial Cost | Lifespan | Notes |
|---|---|---|---|
| Cinder Blocks | $1.50-3.00 each | 20+ years | Approximately 20-30 blocks for a 4’x8′ bed |
| Cedar Wood | $40-60 per bed | 7-10 years | Requires regular maintenance |
| Composite | $100+ per bed | 15+ years | Higher upfront cost |
Cost-Saving Tip: Check with construction sites, online marketplaces, or salvage yards for used or surplus blocks at significant discounts.
Long-Term Value
While the initial investment for cinder block beds may be slightly higher than basic wooden constructions, their exceptional longevity and minimal maintenance requirements provide superior value over time. A properly constructed cinder block garden can remain productive for decades with minimal additional expense.
Environmental Considerations
Sustainability Factors
When considering cinder blocks for garden construction, weigh these environmental factors:
Positive Impacts:
- Extremely long lifespan reduces replacement waste
- Can utilize recycled or repurposed blocks
- Creates permanent growing spaces that sequester carbon
- Reduces the need for treated lumber
Considerations:
- Concrete production has a significant carbon footprint
- Not biodegradable at end of life
- May slightly affect soil pH over very long periods
Expert Opinion: Landscape architect Jennifer Rogers notes, “The environmental impact of cinder block gardens should be considered alongside their longevity. Their decades-long service life typically offsets the initial carbon footprint, especially when using repurposed materials.”
Safe Growing Practices
Modern concrete blocks are generally considered safe for food production, containing primarily cement, aggregate, and water. However, some gardeners prefer additional precautions:
- Line beds with heavy-duty landscape fabric to create a barrier
- Use blocks made after the 1970s, which have stricter manufacturing standards
- Consider using natural sealants on the interior surfaces
- Focus on ornamentals rather than edibles if concerned
Troubleshooting Common Issues
Structural Problems
Problem: Uneven settling causing leaning walls Solution: Disassemble affected section, improve foundation with gravel or sand, and rebuild making sure each course is level
Problem: Block deterioration in harsh climates Solution: Apply concrete sealer designed for freeze-thaw protection every 2-3 years
Growing Challenges
Problem: Poor drainage causing waterlogged soil Solution: Ensure adequate drainage holes in landscape fabric; add coarse material to bed bottom
Problem: Excessive soil heating in hot climates Solution: Paint exterior blocks with light colors; add thick mulch layer; install shade cloth during peak summer heat
Real-World Success: A Before and After Transformation
The Walker Family Garden Renovation
The Walker family transformed their barren backyard into a productive garden space using cinder blocks. Their journey demonstrates the practical benefits of this approach:
Before: Compacted clay soil with patchy grass, poor drainage, and limited growing success
After: Six 4’×8′ cinder block beds producing over 300 pounds of vegetables annually
Key Changes:
- Created defined growing spaces with excellent drainage
- Improved soil quality with controlled amendments
- Established ergonomic working height for easier maintenance
- Incorporated seating areas using capped block edges
- Added trellis systems attached to block cores
“The cinder block construction allowed us to create a garden that works with our challenging clay soil rather than fighting against it,” notes homeowner Sarah Walker. “The durability means we spend our time gardening instead of rebuilding, and the thermal properties extend our growing season by several weeks each year.”
Conclusion: Creating Garden Beds That Last
Cinder block garden beds represent an excellent investment for gardeners seeking durable, versatile growing spaces. Their structural stability, customization potential, and decades-long lifespan make them particularly valuable for establishing permanent landscape features. While requiring some initial labor and material investment, these gardens reward your effort with years of productive growing with minimal maintenance.
Whether you’re creating a small herb garden or transforming your entire backyard into a productive growing space, concrete block construction offers a reliable foundation for your gardening ambitions. By following proper construction techniques and utilizing creative design approaches, you’ll create growing spaces that not only produce beautiful plants but also enhance your landscape with distinctive architectural elements that stand the test of time.
Have you built a cinder block garden in your yard? Share your experience or questions in the comments below!
