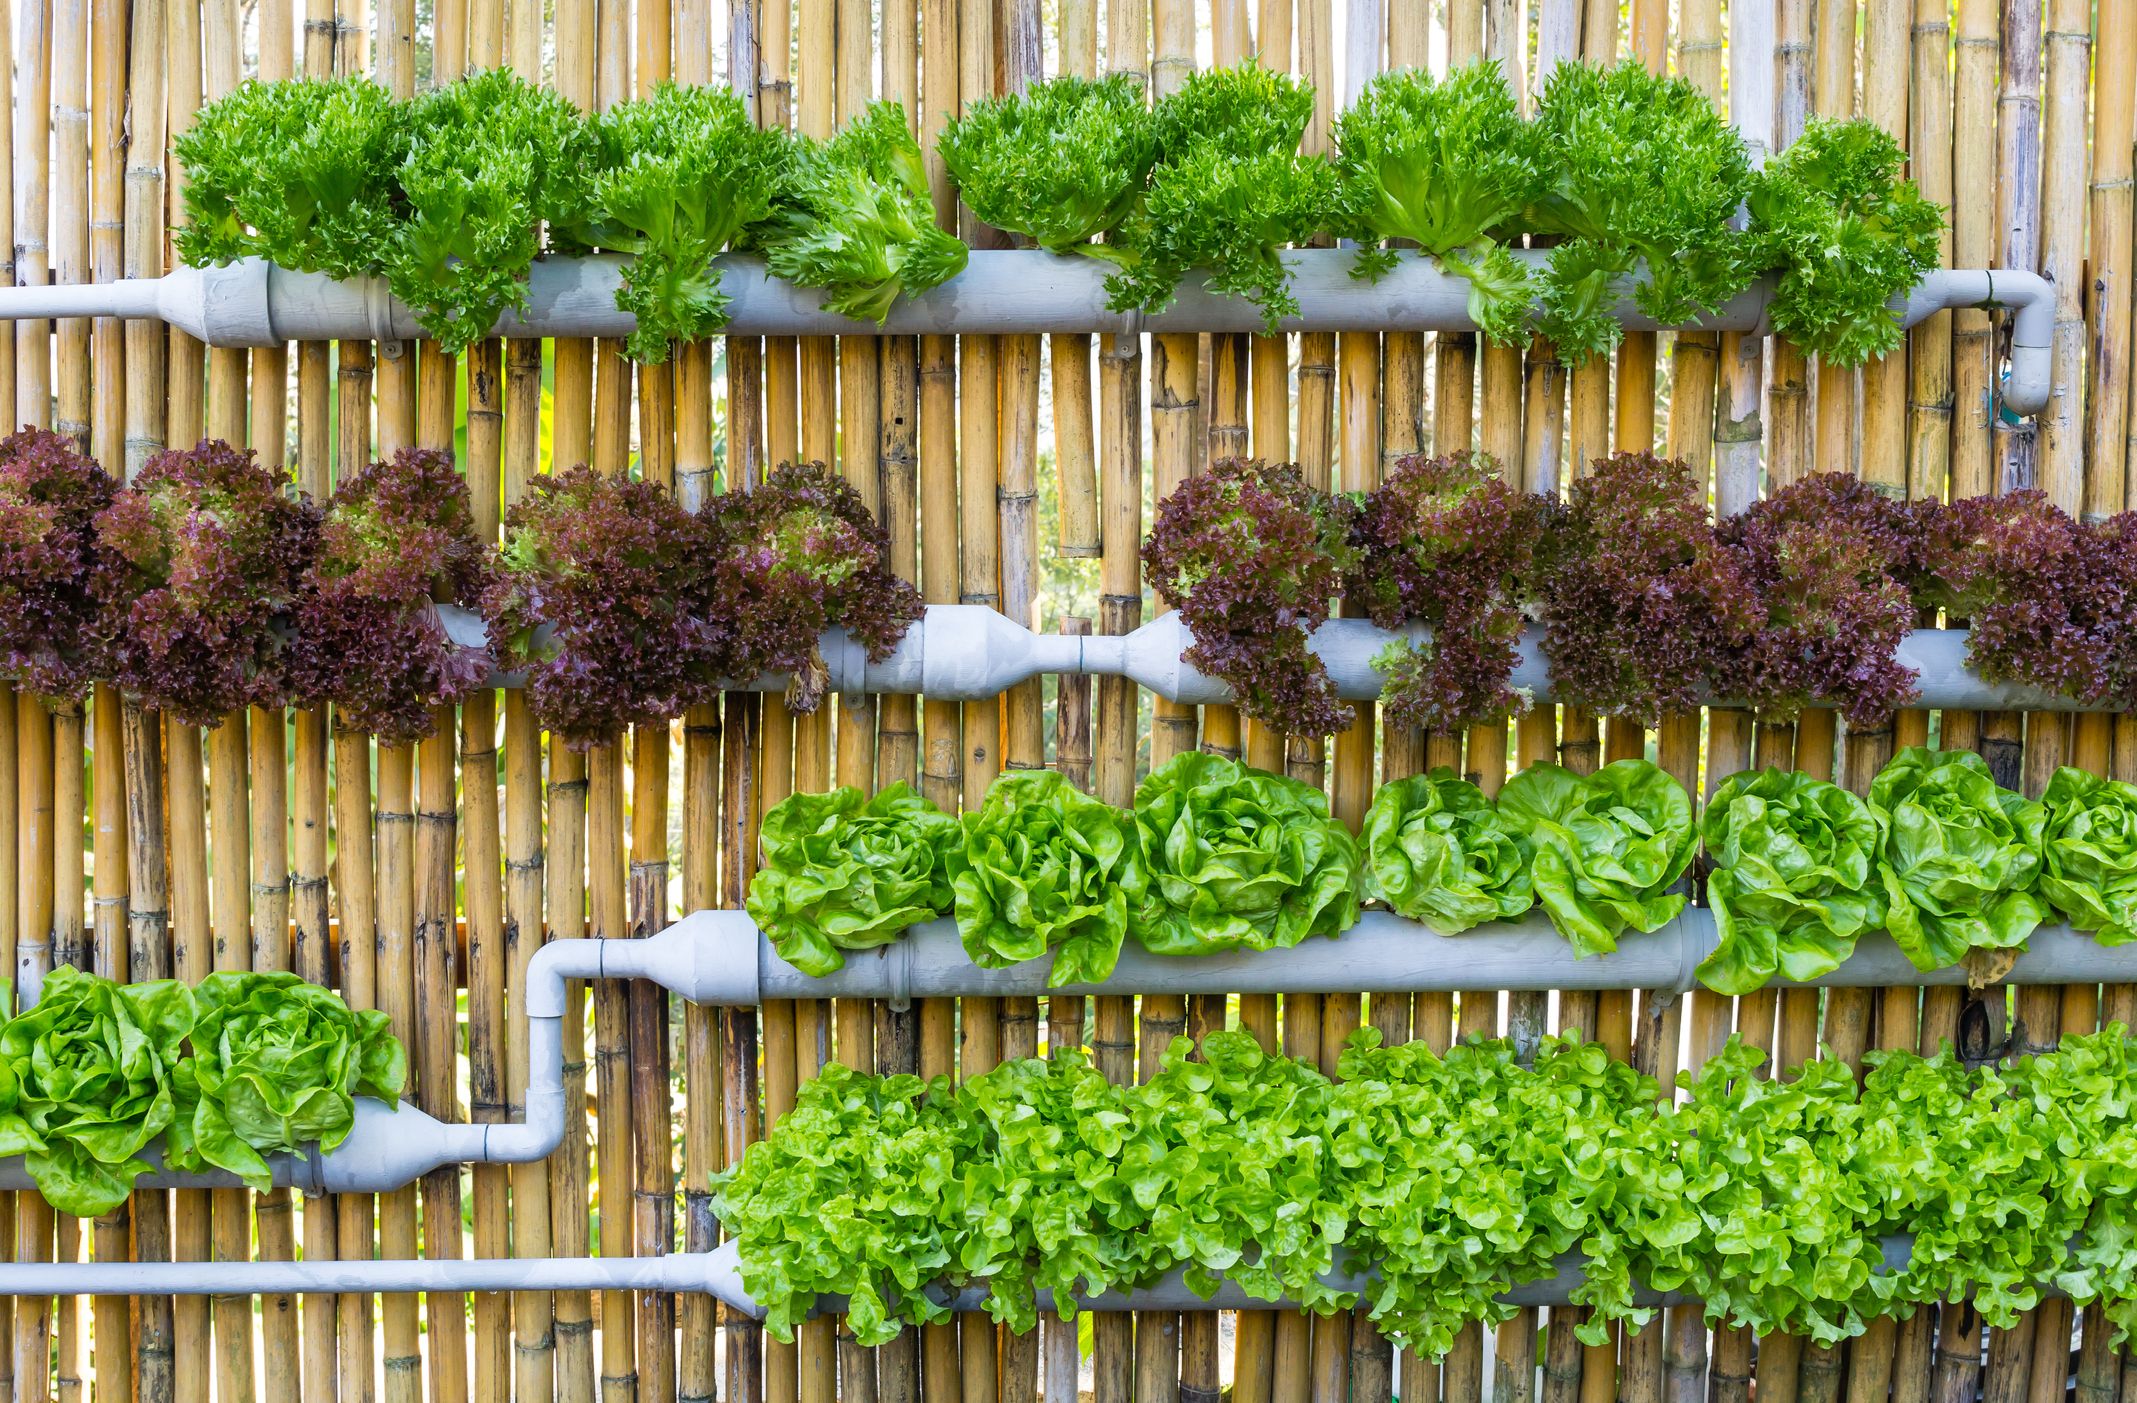
Build Your Own Hydroponic Garden: A Complete DIY Guide
Imagine harvesting fresh, nutrient-dense lettuce just steps from your kitchen—in the middle of winter. Or growing plump tomatoes in a sunny corner of your apartment without a speck of soil. With DIY hydroponics, these scenarios aren’t just possible; they’re surprisingly achievable even for gardening novices. Hydroponic farming at home lets you grow plants faster, use less water, and eliminate weeds entirely while taking control of your food production in spaces conventional gardening could never reach.
This comprehensive guide will walk you through everything you need to know to build your own hydroponic system, from understanding the basic principles to constructing several different setups based on your space, budget, and gardening goals. Whether you’re a curious beginner or experienced gardener looking to extend your growing season, these DIY hydroponic projects will help you grow fresh food year-round with minimal maintenance.
Why Build Your Own Hydroponic System?
Before diving into construction details, let’s understand the compelling benefits of creating a DIY hydroponic garden:
- Space Efficiency: Grow more food in less space than traditional soil gardening
- Water Conservation: Use up to 90% less water than conventional gardening methods
- Accelerated Growth: Plants typically grow 30-50% faster with proper hydroponic setups
- Year-Round Production: Grow indoors regardless of outside climate or season
- Reduced Pest Problems: Fewer soil-borne diseases and pests to manage
- Complete Nutrient Control: Provide exactly what your plants need at each growth stage
- Cost Savings: Building your own system costs a fraction of pre-made commercial options
- Customization: Design systems that perfectly fit your unique space and plant preferences
Understanding Hydroponic Basics
Hydroponics is simply growing plants without soil, delivering nutrients directly through water. Before building any system, it’s important to understand the fundamental components that make hydroponics work.
Essential Components of Any Hydroponic System
Every functioning hydroponic system, regardless of design, requires these basic elements:
- Growing Container: Holds plants and nutrient solution
- Growing Medium: Supports plant roots (rockwool, coconut coir, clay pellets, etc.)
- Nutrient Solution: Water mixed with essential plant nutrients
- Delivery System: Method to provide nutrients to plant roots
- Light Source: Natural sunlight or grow lights for photosynthesis
- Plants: Varieties suitable for hydroponic growing
Key Hydroponic Growing Methods for DIYers
Before selecting a project, familiarize yourself with these popular hydroponic methods that work well for home DIY setups:
Deep Water Culture (DWC)
- Concept: Plants suspended in nutrient solution with roots fully submerged
- Best for: Beginners, lettuce, herbs, fast-growing leafy greens
- Pros: Simplest to build, inexpensive, highly effective
- Cons: Not ideal for long-term or heavy-fruiting plants
Nutrient Film Technique (NFT)
- Concept: Shallow stream of nutrient solution flows over roots in channels
- Best for: Intermediate growers, lettuce, herbs, strawberries
- Pros: Water and nutrient efficient, good oxygenation
- Cons: More complex to build, vulnerable to pump failures
Ebb and Flow (Flood and Drain)
- Concept: Periodically floods growing bed with nutrients, then drains
- Best for: Variety of plants, adaptable to different growing mediums
- Pros: Versatile, good oxygen to root zone, forgiving of pump failures
- Cons: More components than DWC, potential for root diseases if timing is off
Wicking System
- Concept: Passive system using wicks to draw nutrient solution to plants
- Best for: Beginners, small herbs, no electricity required
- Pros: No pumps needed, very simple construction
- Cons: Limited to smaller plants, less efficient than active systems
Essential Tools and Materials for DIY Hydroponics
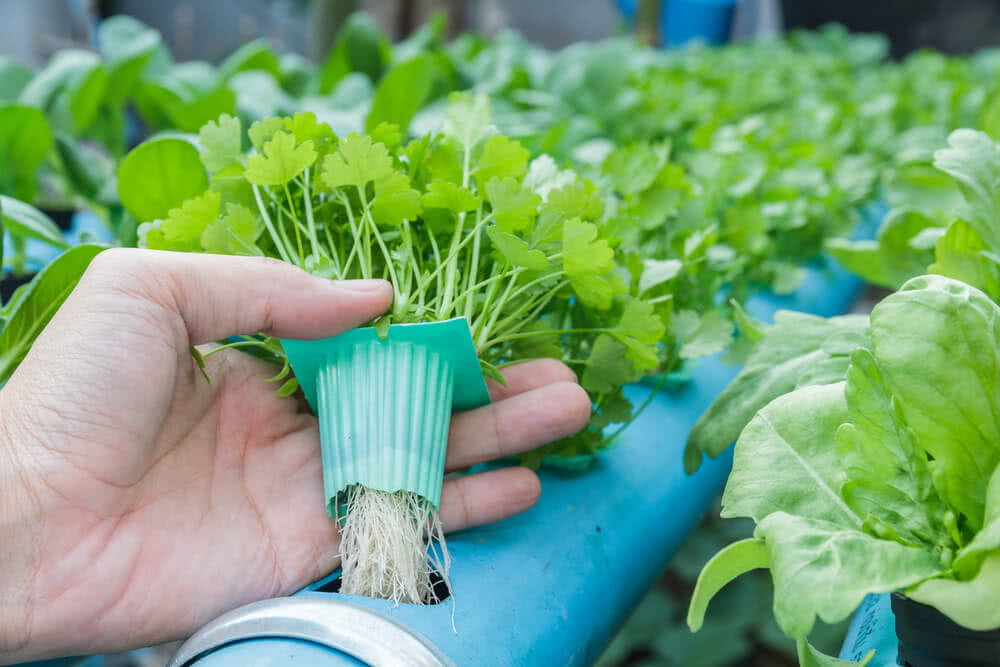
Before starting any hydroponic project, gather these basic tools and materials:
Tools
- Drill with assorted bits
- Utility knife
- Hole saw kit (1″-3″ sizes)
- Measuring tape
- Safety glasses
- Level
- PVC cutter (if using PVC)
- Scissors or pruning shears
Basic Materials
- Food-grade plastic containers (buckets, totes, or specifically marked for food)
- Air pump with air stones
- Water pump (size depends on system)
- Growing medium (clay pellets, rockwool, or coconut coir)
- Hydroponic nutrients (specifically formulated for hydroponics)
- pH testing kit and adjusters
- Net pots or cups
- Irrigation tubing
- Light source (if growing indoors)
- Seeds or seedlings suitable for hydroponics
Project 1: Single-Bucket Deep Water Culture System
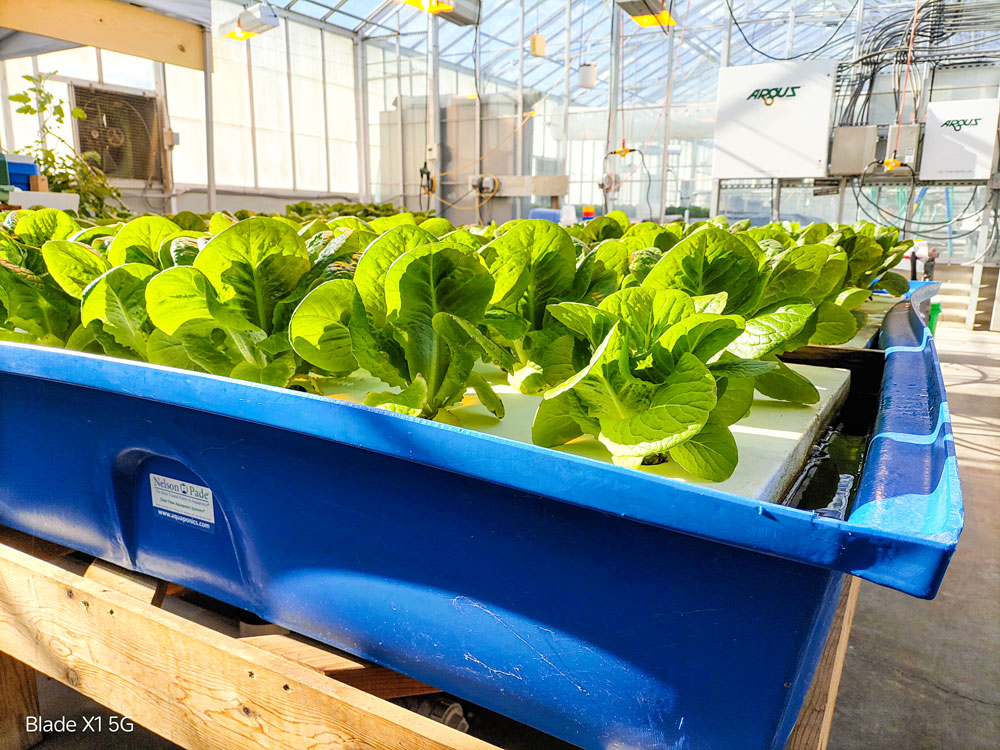
This beginner-friendly project is perfect for first-time hydroponic gardeners. It takes under an hour to build and costs less than $30 in materials.
Materials
- 5-gallon food-grade bucket with lid
- 1 air pump (single outlet)
- 1 air stone
- 3 feet of airline tubing
- 3-inch net pots (quantity depends on bucket lid size, typically 3-6)
- Hydroponic nutrients
- Growing medium (clay pellets or rockwool cubes)
- pH test kit and adjusters
Step-by-Step Instructions
- Prepare the Bucket Lid
- Trace the bottom of your net pots on the bucket lid, spacing them at least 6 inches apart
- Drill or cut holes slightly smaller than the lip of the net pots
- Sand any rough edges to prevent root damage
- Set Up the Aeration System
- Drill a small hole in the lid for the airline tubing
- Connect the air stone to the airline tubing
- Connect the other end to the air pump
- Place the air stone at the bottom of the bucket
- Prepare the Nutrient Solution
- Fill the bucket with water, leaving 2 inches of space at the top
- Mix hydroponic nutrients according to package instructions
- Adjust pH to appropriate level (5.5-6.5 for most plants)
- Plant Setup
- Place growing medium in net pots
- Add seedlings or seeds to the growing medium
- Position net pots in the bucket lid holes
- Final Assembly
- Secure the lid on the bucket
- Ensure the air stone is bubbling vigorously
- Position the system where it will receive adequate light
- Maintenance
- Check water level weekly, topping off as needed
- Change nutrient solution completely every 2-3 weeks
- Monitor pH levels twice weekly
Expert Tips for the Single-Bucket System
- Cover the sides of the bucket with aluminum foil or paint it black (then white) to prevent algae growth
- Start with easy plants like lettuce, basil, or mint
- Keep the water temperature between 65-75°F for optimal oxygen levels
- If plants outgrow the system, you can easily build more buckets and connect them
Project 2: Modular PVC Pipe NFT System
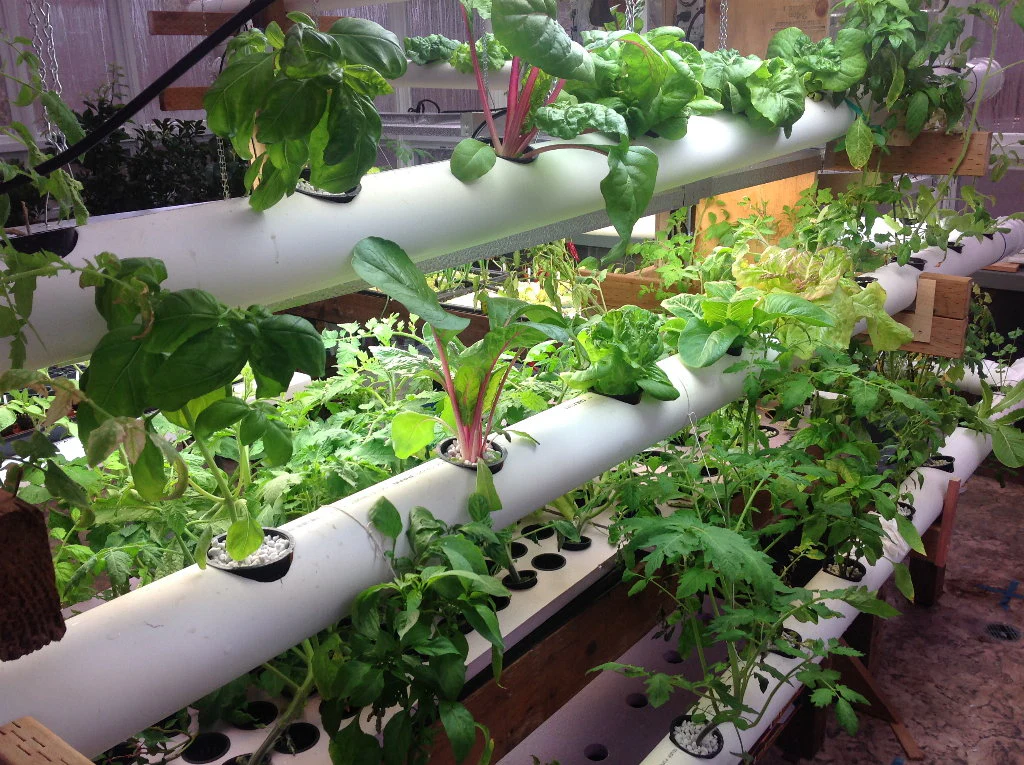
This intermediate project creates an expandable NFT system that’s perfect for growing multiple plants in a small footprint. Ideal for lettuce, herbs, and small greens.
Materials
- 4-inch diameter PVC pipe (10 feet)
- PVC end caps (2)
- 2-inch net pots (10-12)
- Small submersible water pump (400 GPH)
- 5-gallon reservoir bucket with lid
- Irrigation tubing
- PVC fittings (elbows and T-joints as needed)
- Growing medium (rockwool preferred)
- PVC glue (if permanent installation desired)
- Timer for pump
Step-by-Step Instructions
- Prepare the Growing Pipe
- Cut PVC pipe to desired length (typically 3-4 feet sections work well)
- Drill 2-inch holes along the top surface of the pipe, spaced 8 inches apart
- Smooth all edges to prevent root damage
- Attach end cap to one end
- Attach appropriate fitting for return drainage on the other end
- Create the Irrigation System
- Drill hole in reservoir lid for the pump power cord
- Install water pump in reservoir
- Connect irrigation tubing from pump to the higher end of the PVC pipe
- Position the drainage end to flow back into the reservoir
- Set Up the Support Structure
- Create supports to hold the PVC pipe at a 1-2° angle (approximately 1-inch drop per 4 feet)
- Ensure the entire system is level side-to-side
- Secure all components to prevent movement
- Prepare the Nutrient Solution
- Fill reservoir with water
- Add hydroponic nutrients according to package directions
- Adjust pH to 5.8-6.2 range
- Plant Installation
- Place rockwool cubes with seedlings inside net pots
- Add clay pellets around rockwool for stability
- Insert net pots into the holes in the PVC pipe
- System Operation
- Set timer to run pump for 15 minutes on, 15 minutes off during daylight hours
- Continuous run during night is generally unnecessary
- Ensure thin film of nutrient solution flows through pipe when pump is on
- Maintenance
- Monitor water level daily, especially in warm conditions
- Change nutrient solution weekly
- Clean system between crop rotations
Expert Tips for the NFT System
- Use white PVC to reflect light and keep roots cooler
- This system can be expanded by adding parallel pipes
- Install a filter on the pump to prevent clogging
- Consider adding a second reservoir to make solution changes easier
Project 3: Space-Saving Vertical Tower Garden
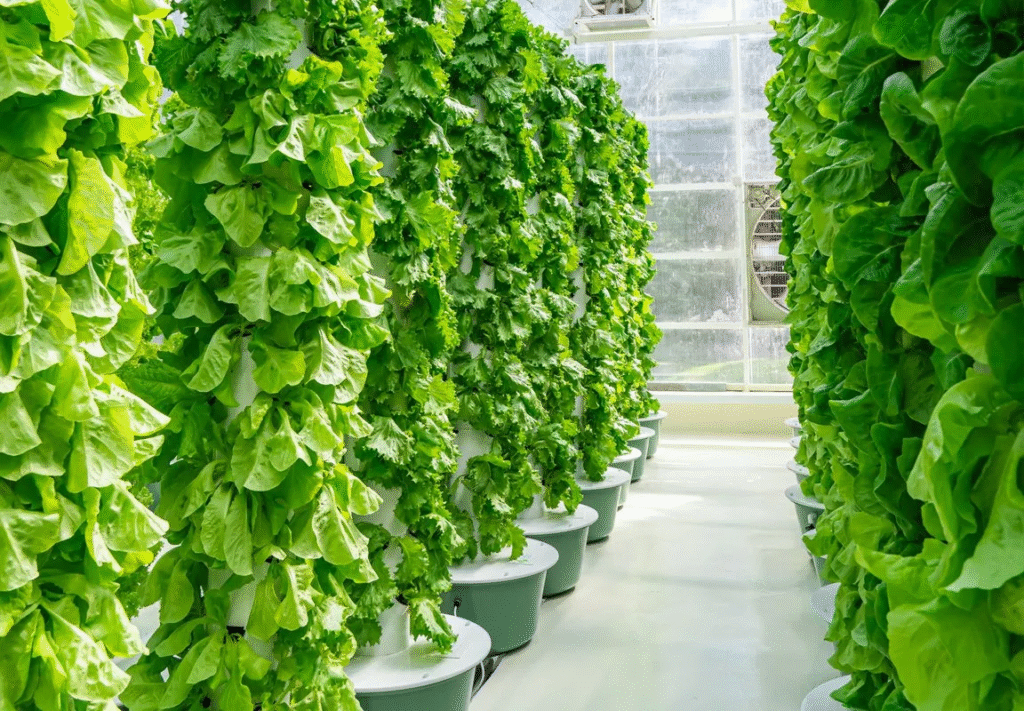
This eye-catching project maximizes growing capacity in minimal floor space. Perfect for apartments, small patios, or as a focal point in larger gardens.
Materials
- 4-inch PVC pipe (6-8 feet)
- PVC end cap (1)
- 2-inch hole saw
- 5-gallon bucket for reservoir
- Small submersible pump (300-400 GPH)
- ½-inch irrigation tubing
- Growing medium (coconut coir or rock wool cubes)
- Sturdy base or stand
- PVC pipe hanger brackets
- Timer for pump
Step-by-Step Instructions
- Prepare the Tower
- Cut PVC pipe to desired height (typically 5-6 feet)
- Mark planting holes in a spiral pattern around the pipe, spacing 6-8 inches apart
- Drill 2-inch holes at marked locations
- Smooth all hole edges to protect plant roots
- Cap the bottom end of the pipe
- Create the Irrigation System
- Drill hole in the bottom cap for drainage back to reservoir
- Create a central watering tube using ½-inch PVC that extends from top to bottom
- Drill small holes in the watering tube for even distribution
- Connect pump to the central watering tube at the top of the tower
- Assemble the Base
- Position reservoir bucket under the tower
- Create a stable stand to hold the tower vertically
- Secure the tower using brackets or other support structures
- Ensure the drainage flows back into the reservoir
- Prepare the Nutrient Solution
- Fill reservoir with water
- Add hydroponic nutrients according to directions
- Adjust pH to appropriate level for your plants
- Plant Installation
- Prepare growing medium with seedlings
- Insert plants carefully into holes, starting from the bottom
- Secure plants with additional growing medium if needed
- System Operation
- Set timer for periodic watering (typically 5-10 minutes every hour during daylight)
- Ensure water is flowing properly through the system
- Check that drainage is returning to the reservoir
- Maintenance
- Monitor nutrient levels and pH twice weekly
- Replace solution completely every 2 weeks
- Clean algae from exposed surfaces as needed
Expert Tips for the Tower Garden
- Start with small plants at the top, larger varieties at the bottom
- Choose trailing plants like strawberries or herbs for visual impact
- Position tower to receive even light on all sides or rotate periodically
- Paint the exterior white to reflect light and prevent overheating
Project 4: Simple Wick System for Beginners
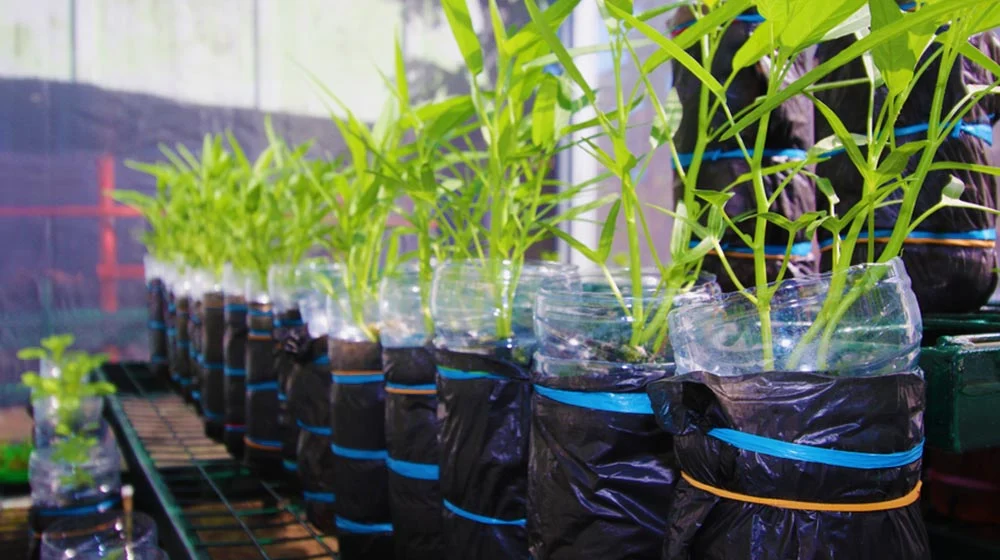
This passive hydroponic system requires no electricity and is perfect for starting seeds or growing small herbs with minimal investment.
Materials
- Two containers (one for plants, one for reservoir)
- Cotton rope, felt strips, or specialized wicking material
- Growing medium (coconut coir or perlite/vermiculite mix)
- Small net pots or plastic cups with drainage holes
- Hydroponic nutrients
- pH testing kit
Step-by-Step Instructions
- Prepare the Containers
- Select a container for plants that fits above your reservoir
- Drill holes in the bottom of the upper container for wicks
- If using cups or net pots, drill holes for them in the upper container lid
- Create the Wicking System
- Cut wicking material into 6-8 inch lengths
- Thread wicks through holes so they extend into both containers
- Ensure wicks make good contact with growing medium
- Prepare the Nutrient Solution
- Fill reservoir container with nutrient solution
- Adjust pH as appropriate for your plants
- Leave air space between solution and bottom of growing container
- Add Growing Medium and Plants
- Fill growing container with medium, ensuring contact with wicks
- Plant seedlings or seeds according to their requirements
- Moisten growing medium initially from the top
- System Maintenance
- Check reservoir levels weekly
- Refill with plain water as levels drop (nutrients concentrate as water evaporates)
- Replace nutrient solution completely monthly
Expert Tips for the Wick System
- Works best with small plants that don’t require large amounts of water
- Multiple wicks per plant improve water delivery
- Use highly absorbent growing media like coconut coir for best results
- Add an air stone to the reservoir to prevent stagnation
Plant Selection Guide for DIY Hydroponics
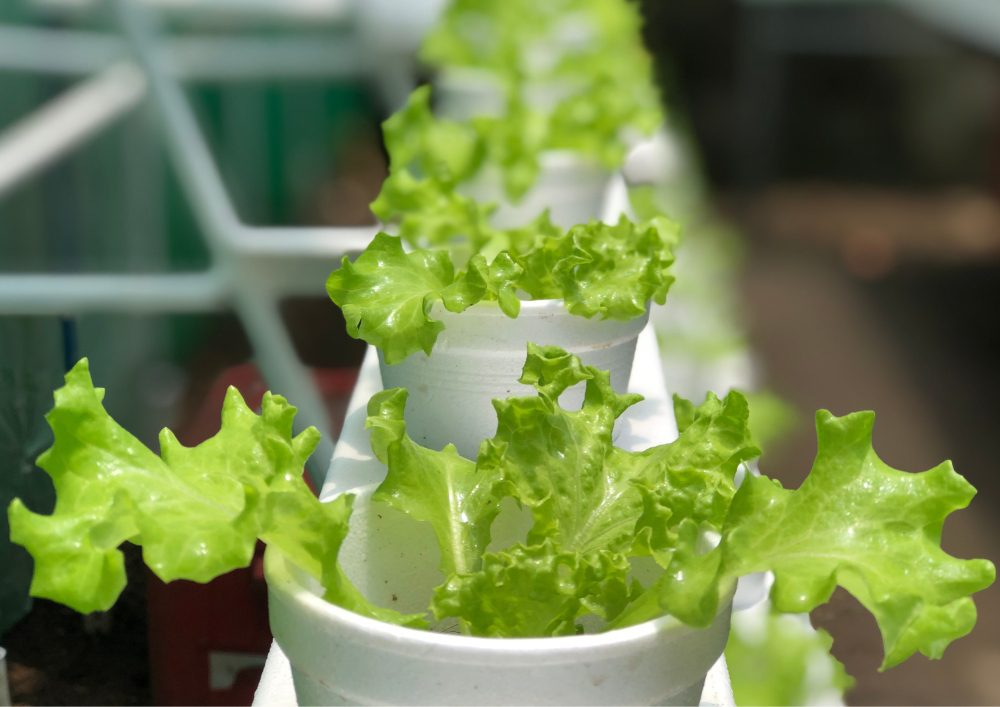
Not all plants perform equally in hydroponic systems. Here are the best options for beginners, categorized by system type:
Easy Plants for Beginners
- Lettuce: Fast-growing, compact, thrives in all systems
- Herbs: Basil, mint, cilantro, parsley adapt well to hydroponics
- Spinach: Quick results, continuous harvest potential
- Strawberries: Productive and visually appealing in vertical systems
- Swiss Chard: Colorful, productive, and relatively pest-resistant
Plants for Intermediate Growers
- Tomatoes: Cherry varieties work best in DWC or ebb and flow
- Cucumbers: Require trellising but produce abundantly
- Peppers: Both hot and sweet varieties can thrive
- Kale: Nutrient-dense and productive for months
- Beans: Bush varieties work better than pole types
Plants to Avoid as a Beginner
- Root crops (carrots, potatoes, onions)
- Large fruiting plants requiring extensive support
- Plants with extensive root systems that outgrow smaller systems
Troubleshooting Common DIY Hydroponic Issues
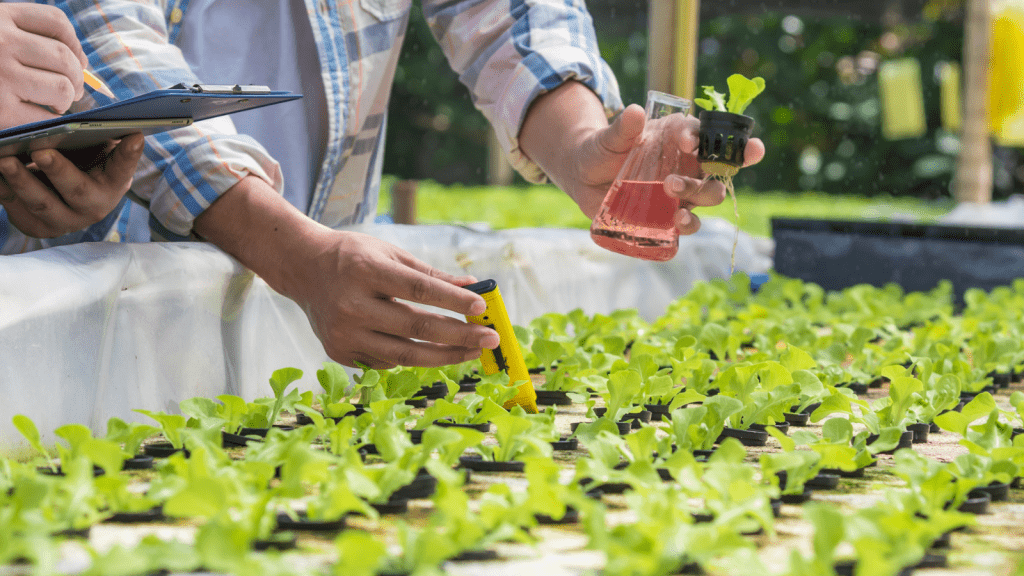
Even well-designed systems occasionally encounter problems. Here’s how to address the most common issues:
Nutrient Deficiencies
- Yellowing leaves: Usually nitrogen deficiency; increase nutrient concentration
- Purple stems: Phosphorus deficiency; check pH and adjust nutrients
- Brown leaf edges: Potassium deficiency or nutrient burn; check concentration
- Solution: Always start with half-strength nutrients for young plants, increasing gradually
pH Problems
- Too high: Add pH down solution in small increments
- Too low: Add pH up solution carefully
- Unstable: Buffer solution with appropriate products
- Prevention: Test pH every 2-3 days and before adding new nutrients
Algae Growth
- Cause: Light exposure to nutrient solution
- Solution: Cover all reservoirs and channels with light-blocking material
- Prevention: Use opaque containers or paint/cover transparent ones
Root Rot
- Symptoms: Brown, slimy roots with unpleasant odor
- Solution: Increase oxygenation, clean system, consider hydrogen peroxide treatment
- Prevention: Maintain appropriate water temperature (65-75°F), ensure adequate aeration
Seasonal Considerations for Indoor Hydroponic Gardens
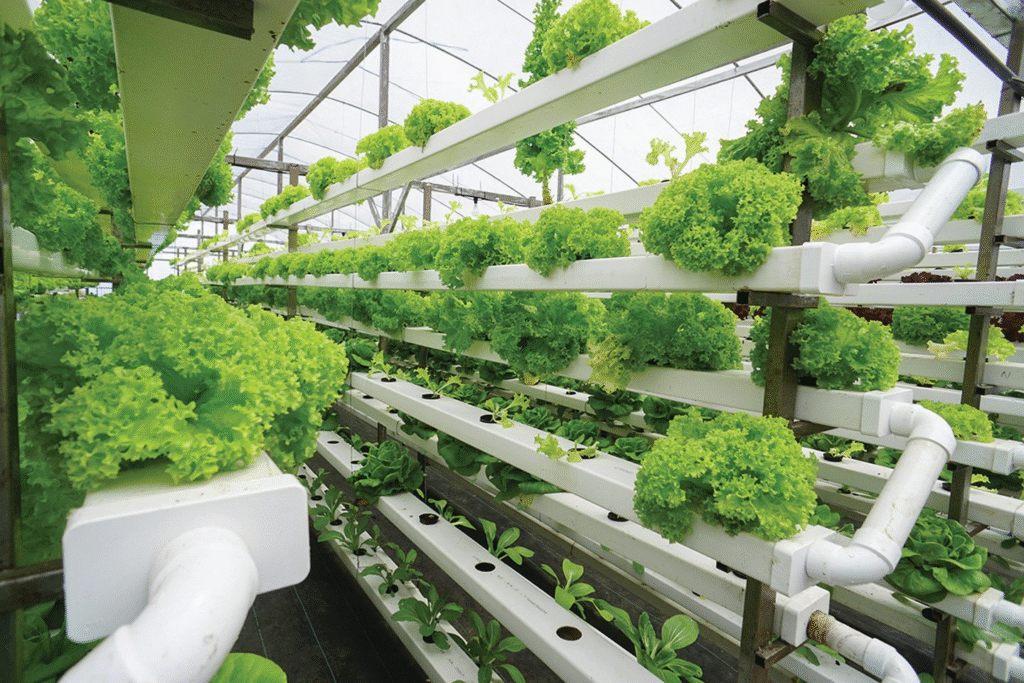
Adjust your approach throughout the year for optimal results:
Summer Challenges
- Monitor water temperature to prevent heat stress
- Increase frequency of reservoir changes
- Consider shade cloth for outdoor systems
- Be vigilant about pest management as indoor/outdoor boundaries blur
Winter Adaptations
- Supplement with grow lights as daylight decreases
- Insulate reservoirs to maintain temperature
- Monitor humidity levels in indoor growing spaces
- Adjust nutrient solution for slower winter growth rates
Advanced DIY Hydroponic Techniques
Once you’ve mastered the basics, consider these enhancements:
Automation Options
- Timers: Program lighting and pump schedules
- Float valves: Maintain consistent water levels
- Dosing systems: Automate nutrient additions
- Environmental controllers: Monitor and adjust temperature, humidity
Sustainable Enhancements
- Solar power: Run pumps and lights off-grid
- Rainwater collection: Reduce water consumption
- Aquaponic integration: Combine with fish production for natural nutrients
- Vermiculture: Use worm casting tea as organic supplement
Return on Investment
- Lettuce production cost: Approximately $0.50-$0.75 per head in DIY systems
- Retail organic lettuce: $3-5 per head
- Potential payback period: 2-4 months with regular harvests
Conclusion: Your Hydroponic Journey Begins
Building your own hydroponic system offers an accessible entry point into the fascinating world of soilless growing. By starting with simple projects and gradually expanding your knowledge and systems, you’ll develop valuable skills while producing fresh, healthy food regardless of outdoor growing conditions or space limitations.
Remember that successful hydroponic gardening is an ongoing learning process. Each crop cycle provides new insights, and the modular nature of DIY systems allows for continuous improvement and adaptation. Most importantly, the satisfaction of harvesting food you’ve grown in a system you’ve built yourself creates a uniquely rewarding experience that connects technological innovation with the timeless joy of nurturing plants.
Whether you’re motivated by food security, environmental concerns, or simply the challenge of growing better produce, DIY hydroponics offers a practical path forward that’s limited only by your creativity and enthusiasm. Your first hydroponic harvest is just a weekend project away.
