How to Edge a Flower Bed or Walkway: Creating Clean Garden Borders
Well-defined edges between your flower beds, walkways, and lawn create a polished look that elevates your entire landscape. Edging not only enhances the visual appeal of your garden but also serves practical purposes by preventing grass invasion and creating clear maintenance boundaries. In this comprehensive guide, you’ll learn everything you need to know about creating and maintaining beautiful garden edges.
Why Edging Matters in Landscape Design
When you invest time in properly edging your flower beds and walkways, you’re not just creating visual appeal—you’re also making your garden easier to maintain. Well-defined edges:
- Create a clean, professional look to your landscape
- Prevent grass from creeping into your beds
- Make mowing and trimming more efficient
- Help control erosion and soil runoff
- Define clear boundaries between different garden areas
- Enhance the overall design of your outdoor space
According to the National Gardening Association, homes with well-maintained landscaping can see a 5-11% increase in property value. Clean, defined edges contribute significantly to that polished appearance that potential buyers find appealing.
Types of Edging Materials
The edging material you choose will impact both the aesthetic and functionality of your garden borders. Here’s a comparison of popular options:
| Material | Durability | Cost | Installation Difficulty | Aesthetic | Best For |
|---|---|---|---|---|---|
| Metal | 10-15 years | $$$ | Moderate | Modern, minimalist | Straight or gentle curves |
| Plastic | 5-10 years | $ | Easy | Subtle, can be hidden | Budget-friendly projects |
| Stone/Brick | 20+ years | $$$$ | Difficult | Classic, formal | Permanent installations |
| Concrete | 15+ years | $$$ | Difficult | Clean, customizable | Durable, permanent edges |
| Wood | 5-7 years | $$ | Moderate | Natural, rustic | Informal gardens |
| Plants | Seasonal | $ | Easy | Natural, soft | Cottage gardens |
The U.S. Department of Agriculture offers additional guidance on sustainable landscaping practices, including tips for selecting environmentally-friendly edging materials: USDA Sustainable Landscaping Guide.
Planning Your Edging Project

Assessing Your Landscape Needs
Before heading to the garden center, take time to assess your specific needs:
- Measure your borders: Determine the total linear footage of edging required.
- Identify soil type: Sandy soils may require deeper edging to hold their shape.
- Consider your climate: Freeze-thaw cycles affect certain materials differently.
- Evaluate maintenance preferences: Some edging materials require more upkeep than others.
- Define your budget: Costs vary significantly between materials and installation methods.
Designing Your Edges
The shape and style of your edges should complement your overall garden design:
- Straight edges create a formal, structured look perfect for modern landscapes
- Curved edges provide a softer, more natural appearance ideal for cottage gardens
- Raised edging adds dimension and can help with drainage issues
- Flush edging creates a clean mowing strip that simplifies lawn maintenance
Step-by-Step Edge Installation Guide
Method 1: Spade-Cut Edging
The most budget-friendly approach is creating a simple trench edge with a spade:
- Mark your border: Use a garden hose or rope to outline your desired edge shape.
- Position your spade: Hold it vertically along your marked line.
- Cut straight down: Create a clean 4-6 inch deep cut along your entire border.
- Remove the soil: Create a V-shaped trench by cutting at an angle from the lawn side.
- Clean the edge: Remove loose soil and grass clippings.
- Maintain regularly: Refresh the cut every 4-6 weeks during growing season.
Method 2: Installing Physical Edging
For more permanent solutions, follow these steps to install manufactured edging:
- Dig a trench: Create a trench slightly wider than your edging material and appropriate depth (usually 4-6 inches).
- Add a base layer: For hard materials like brick or stone, create a 1-2 inch sand or gravel base.
- Install the edging: Follow manufacturer instructions for your specific material.
- Secure in place: Use stakes for plastic or metal edging; mortar for stone or brick.
- Backfill: Fill in gaps with soil, tamping firmly as you go.
- Clean up: Remove excess soil and debris for a finished look.
Advanced Edging Techniques

Creating Multi-Level Edges
For a more sophisticated look, consider tiered or multi-level edges:
- Start with a deeper foundation level using larger stones or blocks
- Add a second tier of smaller materials
- Incorporate plants into the various levels for a natural transition
Incorporating Lighting
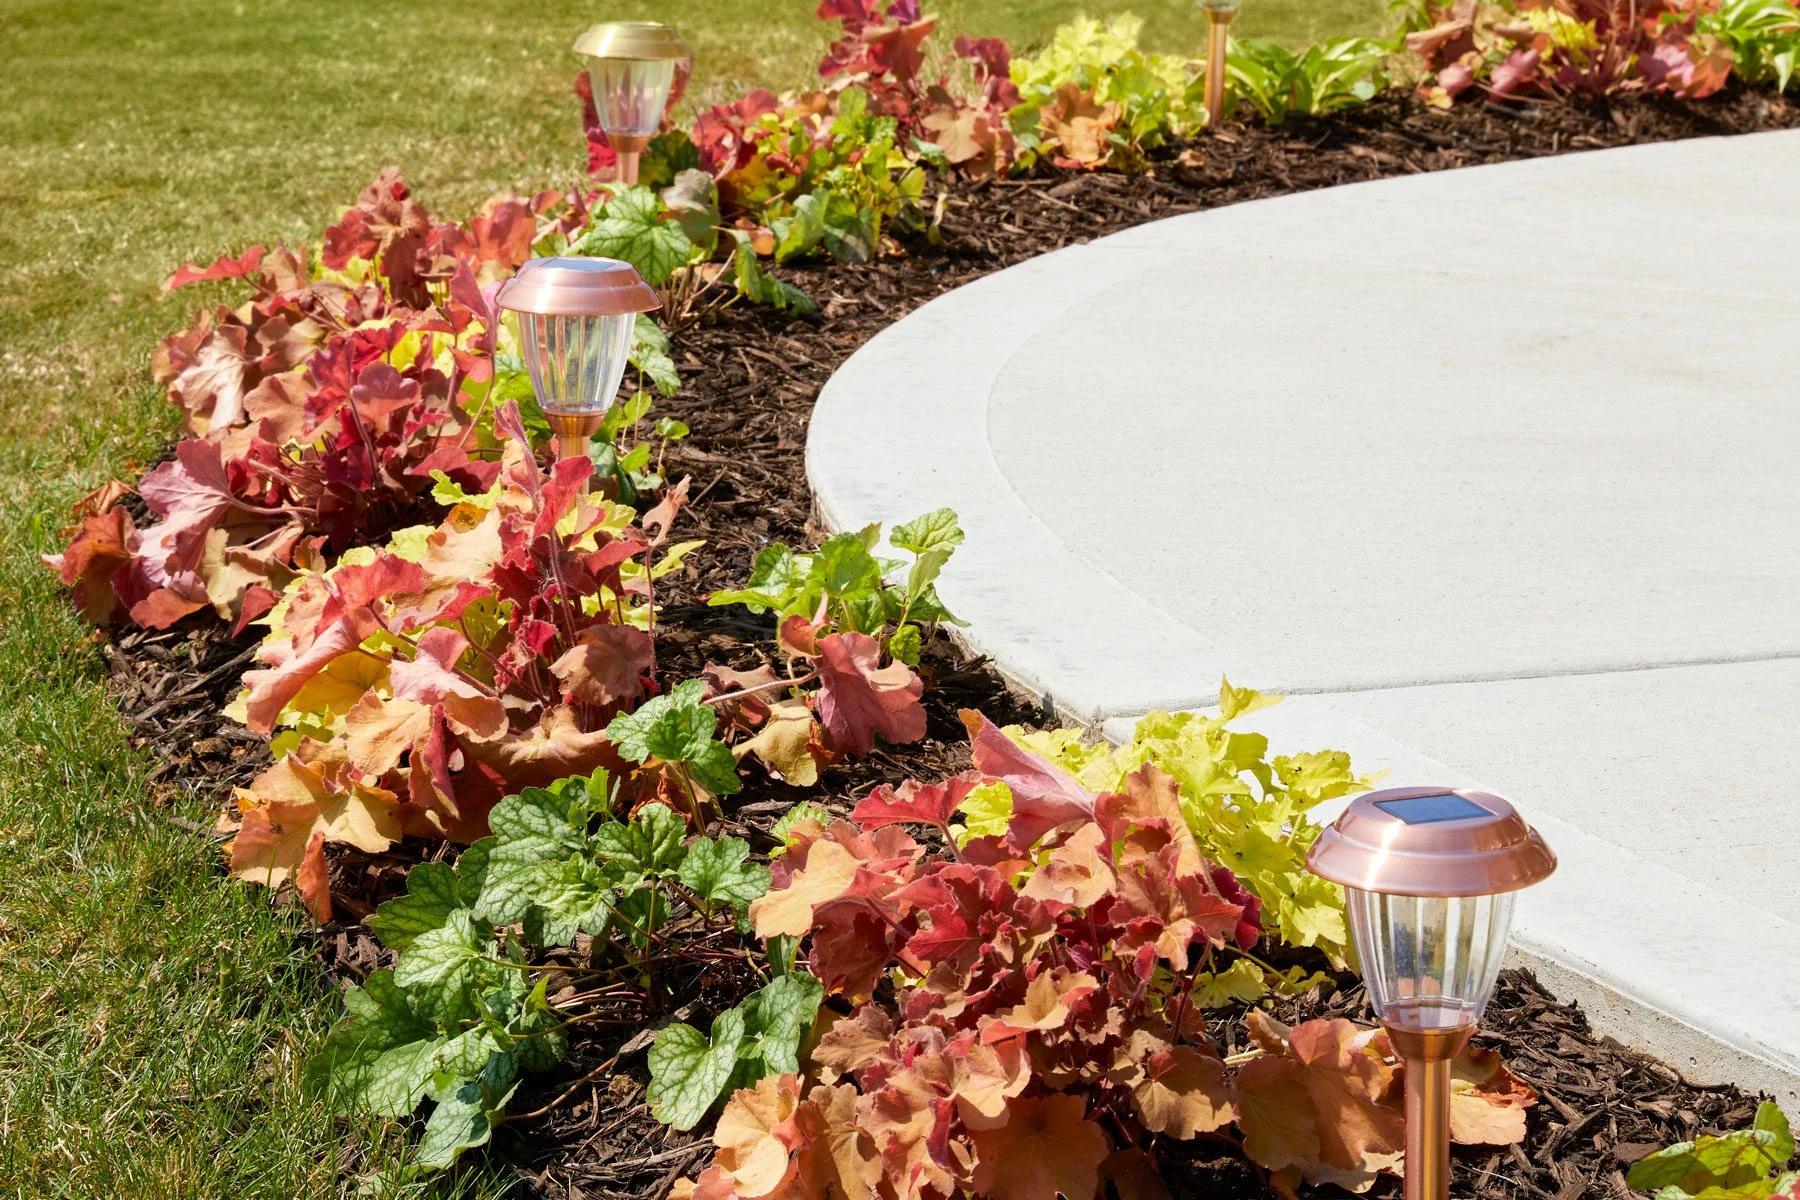
Solar-powered edge lighting adds both safety and aesthetic appeal to your garden borders:
- Place lights every 3-4 feet along important pathways
- Choose fixtures that complement your garden style
- Consider seasonal lighting changes for different effects
According to the Landscape Lighting Institute, well-placed pathway lighting can reduce accidents by up to 30% while enhancing your garden’s nighttime appeal.
Maintenance Best Practices
Seasonal Edge Care
Proper maintenance ensures your edges stay crisp and functional year-round:
Spring:
- Redefine edges that shifted during winter freeze-thaw cycles
- Replace any damaged edging materials
- Add fresh mulch to beds, keeping it away from direct contact with edging
Summer:
- Trim grass along edges weekly
- Monitor for insect damage to wooden edging
- Weed regularly to prevent encroachment
Fall:
- Clear fallen leaves from edging to prevent decay
- Apply pre-emergent herbicide along edges to reduce spring weed growth
- Check for and repair any frost heave in hard materials
Winter:
- Avoid piling snow directly onto edging materials
- Mark edges before snowfall if snowplows will be used nearby
- Plan spring improvements while the garden is dormant
Troubleshooting Common Edging Problems
Even well-installed edges can develop issues over time:
- Shifting materials: Reset and compact surrounding soil
- Grass invasion: Deepen your edge cut or install a root barrier
- Rotting wood: Replace affected sections and treat remaining wood
- Heaving from frost: Remove and reinstall affected sections with proper drainage
Specialized Edging for Different Garden Features
Flower Bed Edging
Flower beds benefit from edging that provides both definition and protection:
- Choose edging that’s at least 4 inches deep to block grass roots
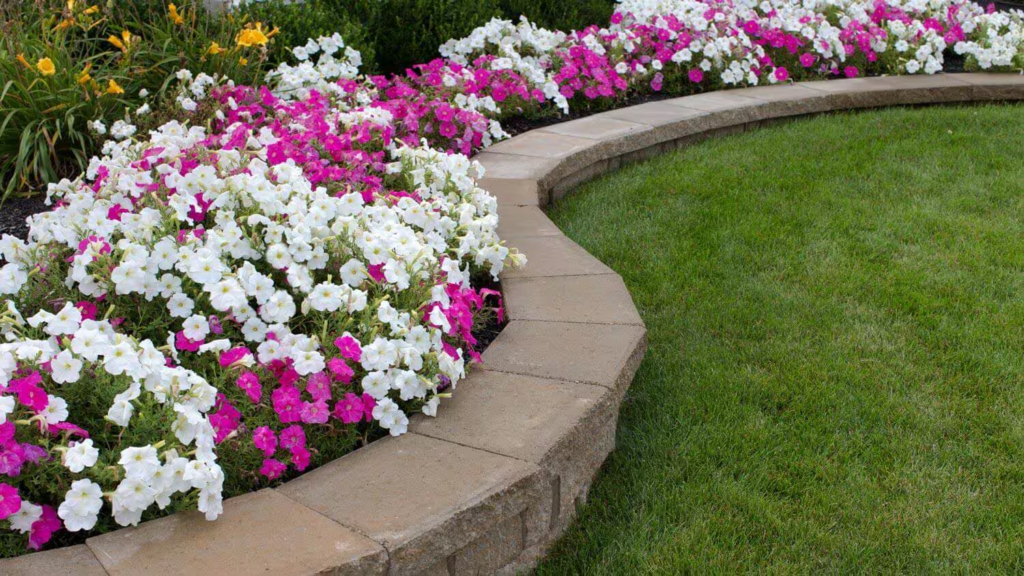
- Consider raised edging to highlight colorful plantings
- Use materials that complement your home’s architecture
Walkway and Path Edging
Paths require edging that can withstand foot traffic while guiding movement:
- Install edging flush with or slightly above path surface
- Ensure edges are visible at night for safety
- Consider wider edging materials that can double as seating in key areas
The U.S. Consumer Product Safety Commission notes that well-defined garden paths can significantly reduce home garden accidents, particularly for elderly gardeners. Proper edging plays a key role in this safety improvement.
Eco-Friendly Edging Options
If sustainability is important to you, consider these environmentally friendly options:
- Recycled plastic edging: Made from reclaimed materials
- Cedar or redwood: Naturally rot-resistant without chemicals
- Living edges: Using plants like low-growing herbs or ornamental grasses
- Local stone: Reduces transportation impacts and matches regional aesthetics
Cost Considerations and Budget Tips
Edging costs vary widely based on materials and installation methods:
- DIY spade-cut edge: $0 (using tools you already own)
- Plastic edging: $1-2 per linear foot
- Metal edging: $2-5 per linear foot
- Stone/brick: $5-15 per linear foot
- Professional installation: Add $3-10 per foot to material costs
To save money without sacrificing quality:
- Start with the most visible areas first
- Mix materials strategically (expensive in front, budget-friendly in back)
- Watch for end-of-season sales on materials
- Consider reclaimed or repurposed materials
Edging for Different Garden Styles

Formal Gardens
For structured, geometric gardens:
- Choose crisp, straight edging materials
- Maintain perfect symmetry
- Consider classic materials like boxwood or brick
Cottage Gardens
For relaxed, abundant gardens:
- Use natural materials or subtle edging
- Incorporate flowering plants as living borders
- Allow for some controlled softness at edges
Modern Landscapes
For contemporary spaces:
- Use metal or concrete for clean lines
- Consider raised edges that double as seating
- Incorporate dramatic lighting effects
Conclusion
Well-executed edging transforms your garden from ordinary to extraordinary. Whether you choose a simple spade-cut edge or elaborate stone installation, the clean lines and defined spaces you create will enhance your landscape’s beauty and functionality. By selecting appropriate materials, installing them properly, and maintaining them seasonally, you’ll enjoy garden borders that beautifully frame your outdoor living spaces for years to come.
Remember that successful edging projects begin with careful planning and consideration of your specific landscape needs. The time you invest in creating quality edges will be returned many times over in reduced maintenance and increased enjoyment of your outdoor spaces.


