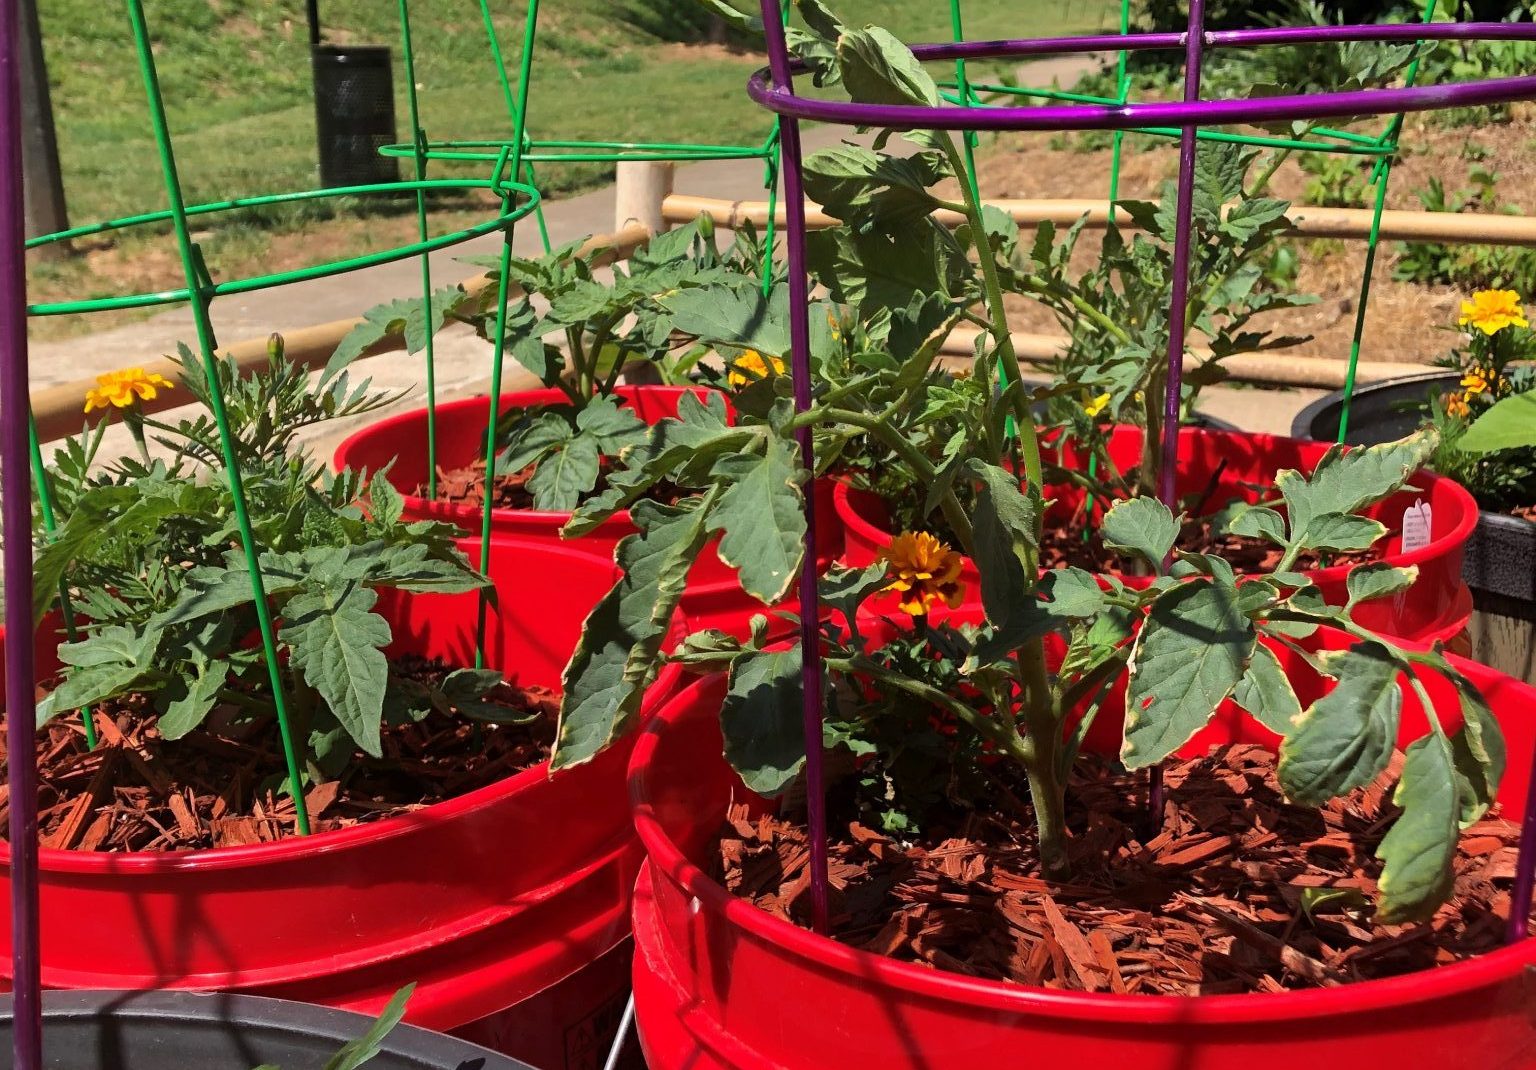
5 Gallon Bucket Gardens: The Ultimate Space-Saving Solution for Homegrown Vegetables
Growing your own vegetables doesn’t require acres of land or even a traditional garden plot. With just a few 5-gallon buckets, some basic materials, and a little know-how, you can create a productive, portable garden that thrives in even the smallest spaces. This innovative approach to container gardening has gained popularity among urban dwellers, renters, and anyone looking to maximize their growing potential in limited areas. From self-wicking systems that reduce watering needs to space-efficient garden stands, 5-gallon bucket gardens offer an accessible entry point to homegrown produce that’s both satisfying and surprisingly productive.
Why Choose a 5-Gallon Bucket Garden?
Before diving into the how-to aspects, let’s explore the compelling benefits of bucket gardening:
- Space Efficiency: Perfect for balconies, patios, driveways, or small yards
- Portability: Easily move plants to optimize sunlight or protect from weather
- Affordability: Complete setup costs less than $10-15 per bucket
- Accessibility: Raised height reduces bending and makes gardening more comfortable
- Weed Control: Isolated growing environments minimize weed problems
- Pest Management: Easier to protect plants from ground-dwelling pests
- Water Conservation: Self-wicking systems use up to 50% less water than traditional gardens
- Extended Growing Season: Buckets warm up faster in spring and can be moved indoors during cold snaps
Whether you’re a novice gardener looking for an easy starting point or an experienced grower wanting to maximize every square inch of growing space, bucket gardens provide an ideal solution that combines versatility, efficiency, and impressive yields.
Creating Self-Wicking 5-Gallon Buckets
A self-wicking bucket creates a reservoir of water at the bottom that plants can access as needed, dramatically reducing watering frequency while preventing both drought stress and overwatering. This system mimics natural groundwater, allowing plants to draw moisture through capillary action.
Materials Needed
- Clean 5-gallon buckets with lids (food-grade preferred)
- 4-inch diameter PVC pipe (about 8 inches long)
- 1-inch diameter PVC pipe (length equal to bucket height)
- Drill with various bit sizes (¼”, ½”, 1″, and 4″ hole saw)
- Landscape fabric or geotextile cloth
- Scissors or utility knife
- Potting mix (not garden soil)
- Perlite or vermiculite
- Compost
Step-by-Step Construction
- Prepare the Buckets
- Thoroughly clean buckets with mild soap and water
- Rinse completely to remove any soap residue
- If buckets previously held non-food items, consider using them only for ornamental plants
- Create the Reservoir
- Drill a 1-inch overflow hole approximately 5-6 inches from the bottom of the bucket
- This hole prevents overwatering and allows excess moisture to drain
- Insert the Fill Tube
- Drill a 1-inch hole in the bucket lid
- Insert the 1-inch PVC pipe through this hole so it will reach the bottom when the lid is on
- This tube allows you to add water directly to the reservoir without disturbing the soil
- Install the Wicking Chamber
- Cut the 4-inch PVC pipe to approximately 8 inches in length
- Drill multiple ½-inch holes throughout the pipe to allow water movement
- Place this pipe vertically in the center of the bucket, resting on the bottom
- Add the Wicking Material
- Cut landscape fabric into a circle slightly larger than the bucket diameter
- Place fabric over the wicking chamber and spread to cover the entire bottom
- The fabric should extend up the sides of the bucket about 1 inch
- Create the Soil Separator
- Mix equal parts perlite or vermiculite with potting mix
- Add this mixture on top of the landscape fabric to a depth of about 2 inches
- This layer creates the wicking connection between the water reservoir and root zone
- Add Growing Medium
- Fill the remainder of the bucket with a high-quality potting mix blended with compost
- Leave about 1 inch of space at the top for watering and mulch
- Avoid using garden soil, which can become compacted and block wicking action
- Initial Watering
- Water thoroughly from the top until moisture begins to exit the overflow hole
- Add water through the fill tube until the reservoir is full
- Allow the system to equilibrate for 24 hours before planting
Expert Tips for Self-Wicking Success
- Reservoir Monitoring: Mark the inside of your fill tube to track water levels
- Initial Establishment: Water from both top and reservoir for the first 1-2 weeks until roots grow downward
- Winter Storage: Empty reservoirs before freezing temperatures to prevent cracking
- Maintenance: Flush the entire system once per season to prevent salt buildup
- Efficiency Boost: Add a tablespoon of liquid seaweed to the reservoir monthly to improve wicking action
Best Vegetables to Grow in 5-Gallon Buckets
While almost any vegetable can be grown in containers, some thrive particularly well in the confined space of a 5-gallon bucket. Consider these factors when selecting plants:
- Root depth and spread requirements
- Above-ground height and support needs
- Days to maturity
- Yield potential per square foot
Top Performers for Bucket Gardens
1. Tomatoes (One plant per bucket)
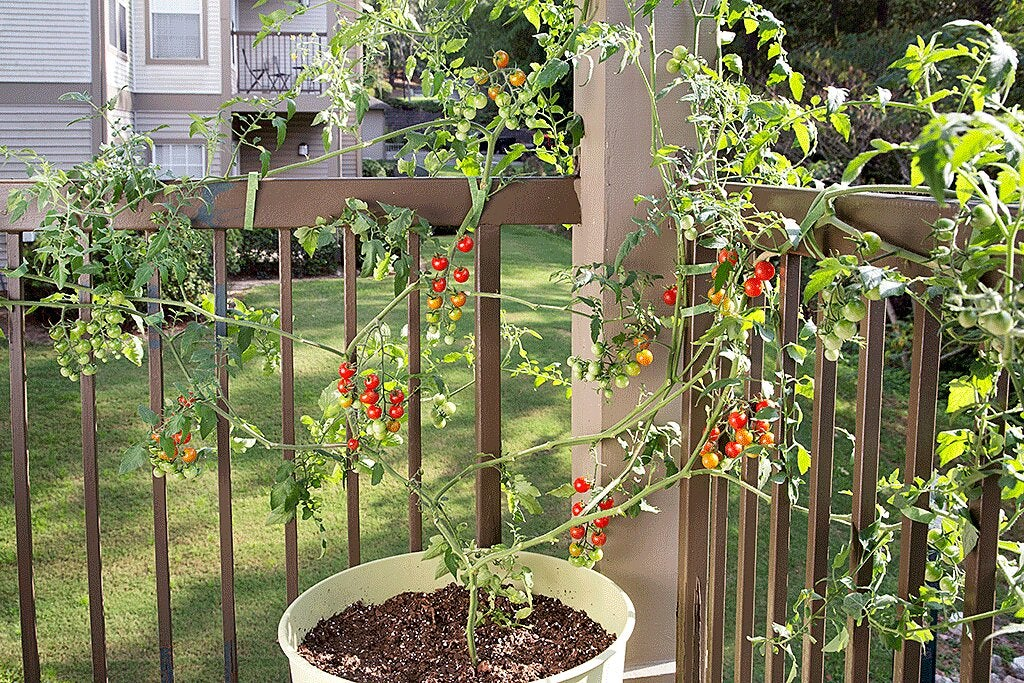
- Recommended Varieties: ‘Patio Princess’, ‘Tiny Tim’, ‘Tumbling Tom’
- Special Requirements:
- Add tomato cage or stake for support
- Pinch suckers for determinate varieties
- Plant deeply, removing lower leaves and burying stem to promote additional root growth
2. Peppers (Two plants per bucket)
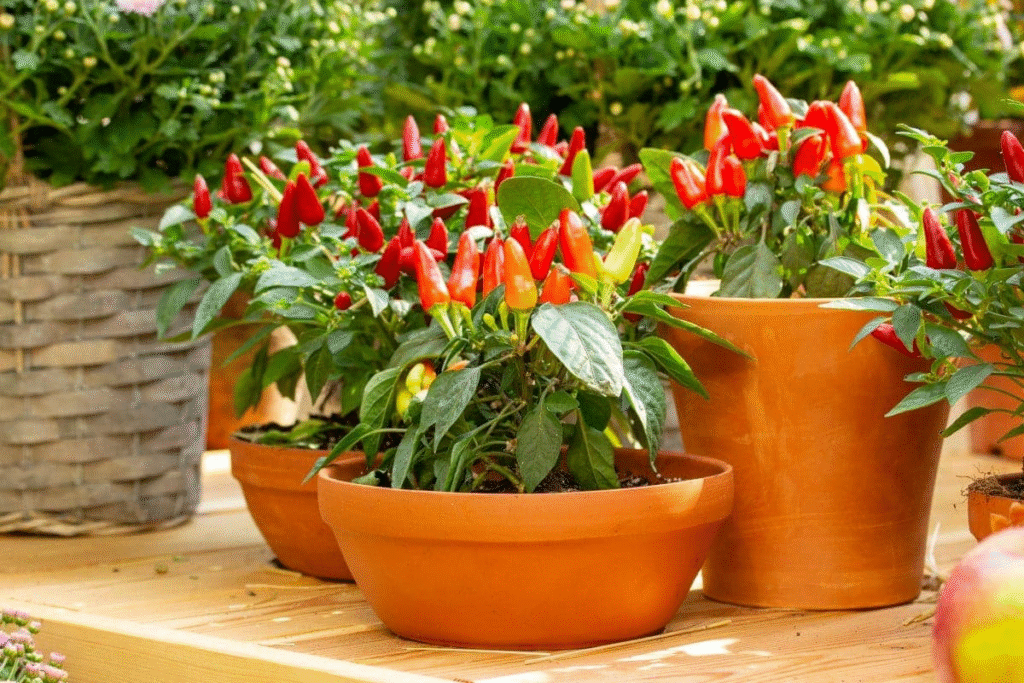
- Recommended Varieties: Any bell pepper, ‘Hungarian Wax’, jalapeño
- Special Requirements:
- May need light support for heavy fruit
- Benefit from calcium addition to prevent blossom end rot
3. Leafy Greens (4-6 plants per bucket)
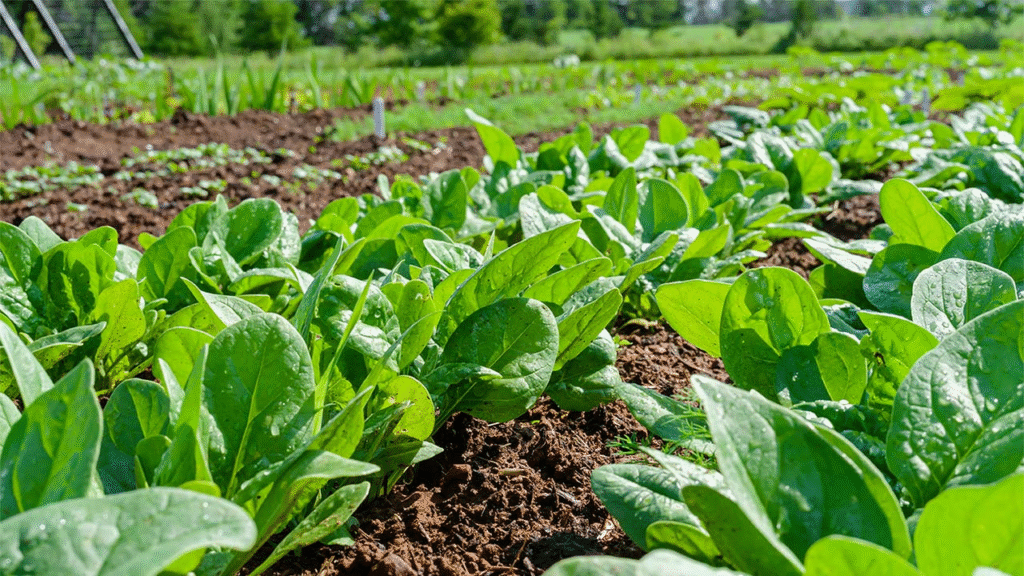
- Recommended Varieties: Lettuce, spinach, kale, Swiss chard
- Special Requirements:
- Succession plant every 2-3 weeks for continuous harvest
- Consider partial shade during summer heat
- Harvest outer leaves while leaving center intact for extended production
4. Root Vegetables
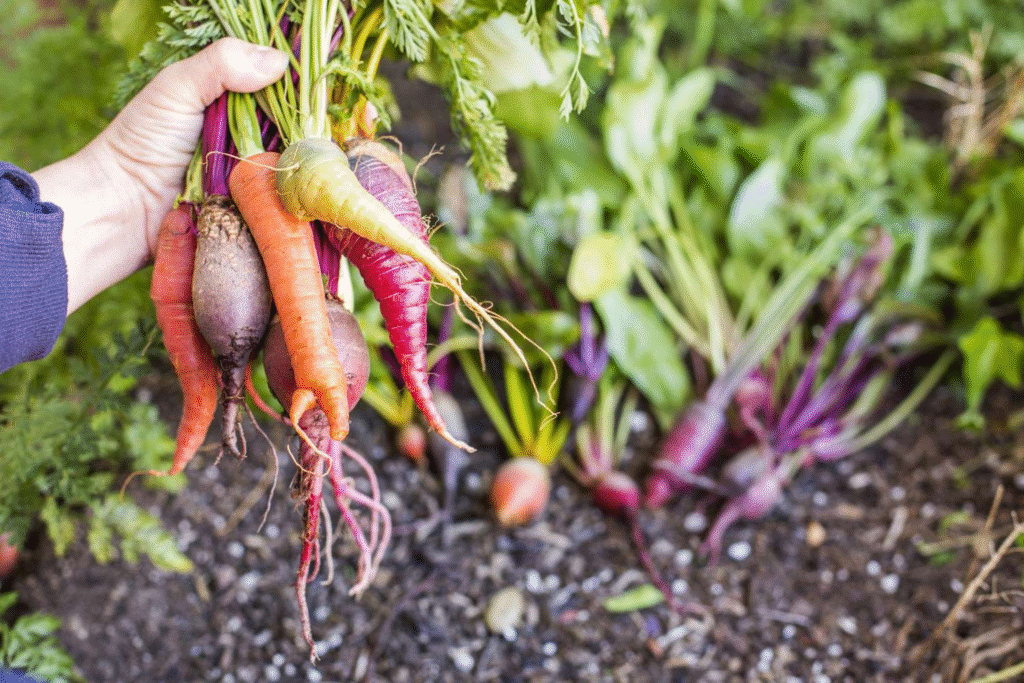
- Carrots (15-20 per bucket): Choose shorter varieties like ‘Paris Market’ or ‘Thumbelina’
- Radishes (15-20 per bucket): ‘Cherry Belle’ or ‘French Breakfast’ mature quickly
- Beets (5-8 per bucket): ‘Golden’ or ‘Chioggia’ varieties work well
- Special Requirements:
- Ensure bucket is fully filled with loose, rock-free soil
- Thin seedlings early to prevent deformed roots
- Cover soil surface to maintain consistent moisture
5. Herbs (Multiple varieties per bucket)
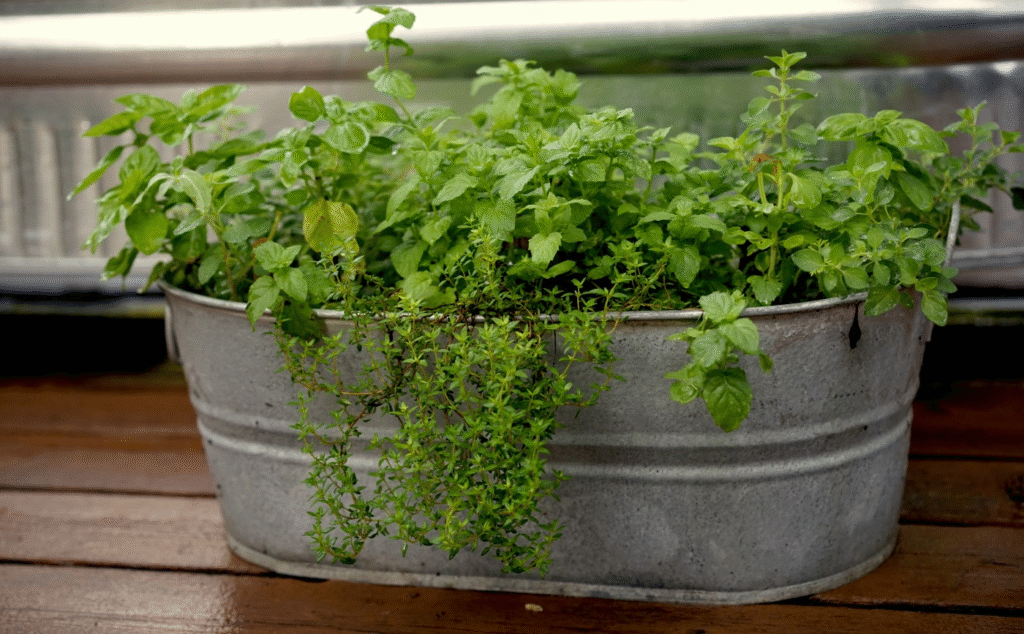
- Recommended Varieties: Basil, cilantro, parsley, thyme, rosemary
- Special Requirements:
- Group herbs with similar water requirements
- Harvest regularly to encourage bushy growth
- Consider dedicating self-wicking buckets to Mediterranean herbs that prefer drier conditions
6. Cucumbers and Zucchini (One plant per bucket)
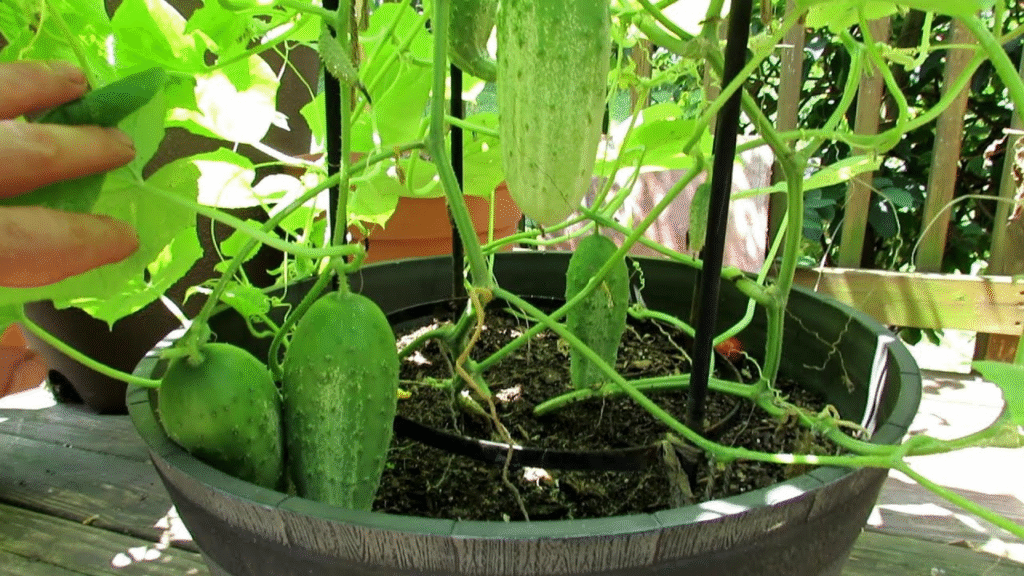
- Recommended Varieties: ‘Spacemaster’, ‘Bush Champion’, ‘Patio Snacker’
- Special Requirements:
- Provide trellis for climbing varieties
- Hand-pollinate if necessary
- Harvest frequently to encourage production
Planting Combinations for 5-Gallon Buckets
For maximum space efficiency, consider these companion planting combinations that work well together:
Salsa Bucket:
- 1 determinate tomato plant
- 2 jalapeño or serrano peppers
- Cilantro around the edges
Salad Bucket:
- 2-3 lettuce varieties
- 2 kale plants
- 4-5 radishes along the edges
Herb Bucket:
- 1 rosemary plant (center)
- 2 basil plants
- 3-4 parsley plants around the edge
Root Vegetable Bucket:
- 8-10 carrots
- 8-10 radishes
- 4-5 green onions around the perimeter
Homemade 5-Gallon Bucket Planters: Creative Variations
Beyond the basic self-wicking bucket, there are several creative variations you can build to address specific gardening needs.
Upside-Down Bucket Planter
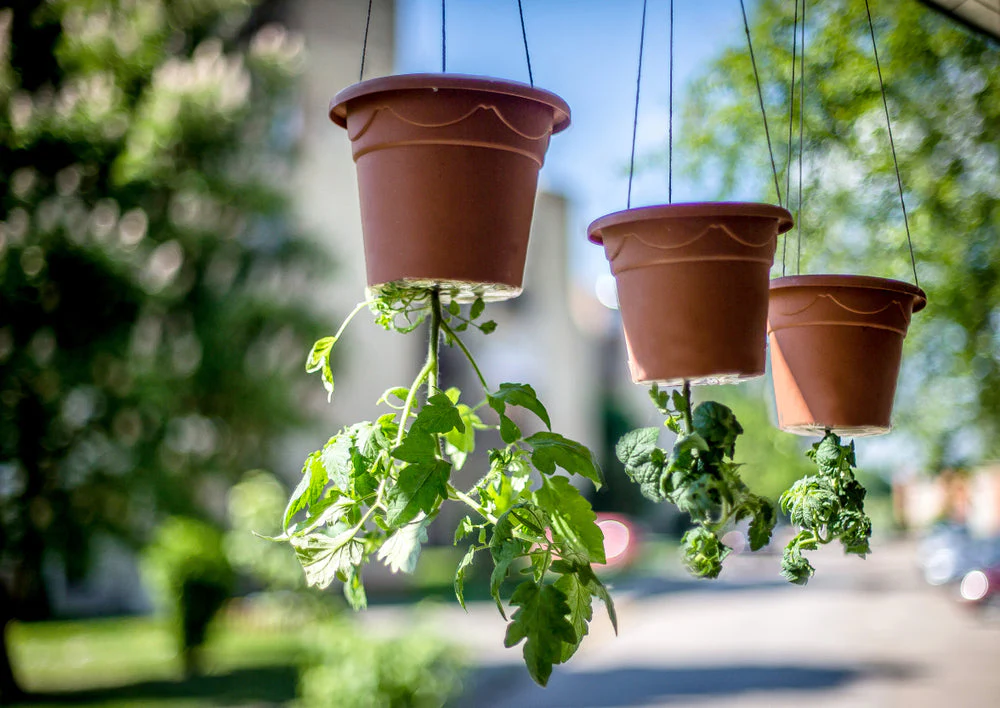
Perfect for tomatoes, cucumbers, and strawberries, these hanging planters make the most of vertical space.
Materials Needed:
- 5-gallon bucket with lid
- Drill with 2-inch hole saw
- Small piece of landscape fabric
- Chain or rope for hanging
- Hook or bracket strong enough to support fully watered weight (approximately 30-40 pounds)
Construction Steps:
- Drill a 2-inch hole in the center of the bucket bottom
- Cut a small piece of landscape fabric to cover the hole from inside
- Drill three evenly spaced ½-inch holes near the top rim for hanging chains
- Thread chain or rope through the holes and join at the top
- Fill bucket halfway with potting mix
- Insert transplant through bottom hole, gently pulling it through with roots and several inches of stem inside the bucket
- Fill remaining space with potting mix
- Water thoroughly and hang in a sunny location
Double-Decker Potato Bucket
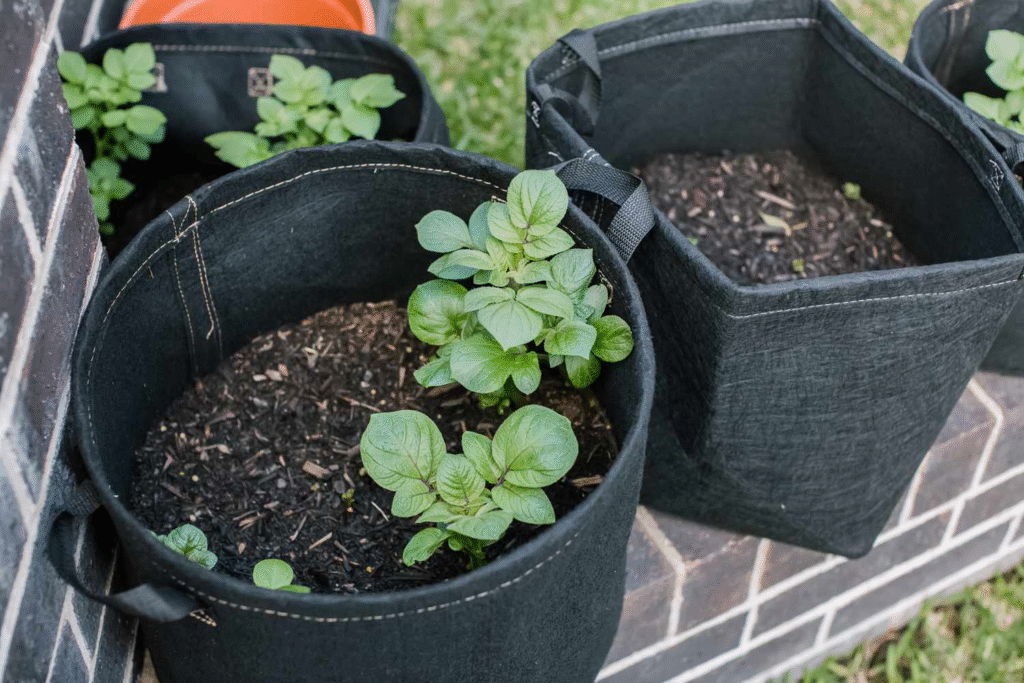
This specialized setup allows you to grow potatoes vertically, accessing the harvest without disturbing the plant.
Materials Needed:
- Two 5-gallon buckets
- Drill with ¼-inch bit
- Utility knife
Construction Steps:
- Drill multiple drainage holes in the bottom of one bucket
- Cut the bottom completely out of the second bucket
- Place the bottomless bucket inside the first bucket with drainage holes
- Add 4 inches of soil to the inner bucket
- Plant seed potatoes and cover with 2 inches of soil
- As plants grow, continue adding soil, leaving the top 4 inches of foliage exposed
- To harvest, lift the inner bucket and reach through the bottom to collect potatoes without disturbing the plant
- Replace inner bucket to allow continued growth
Hydroponic Bucket System (Deep Water Culture)
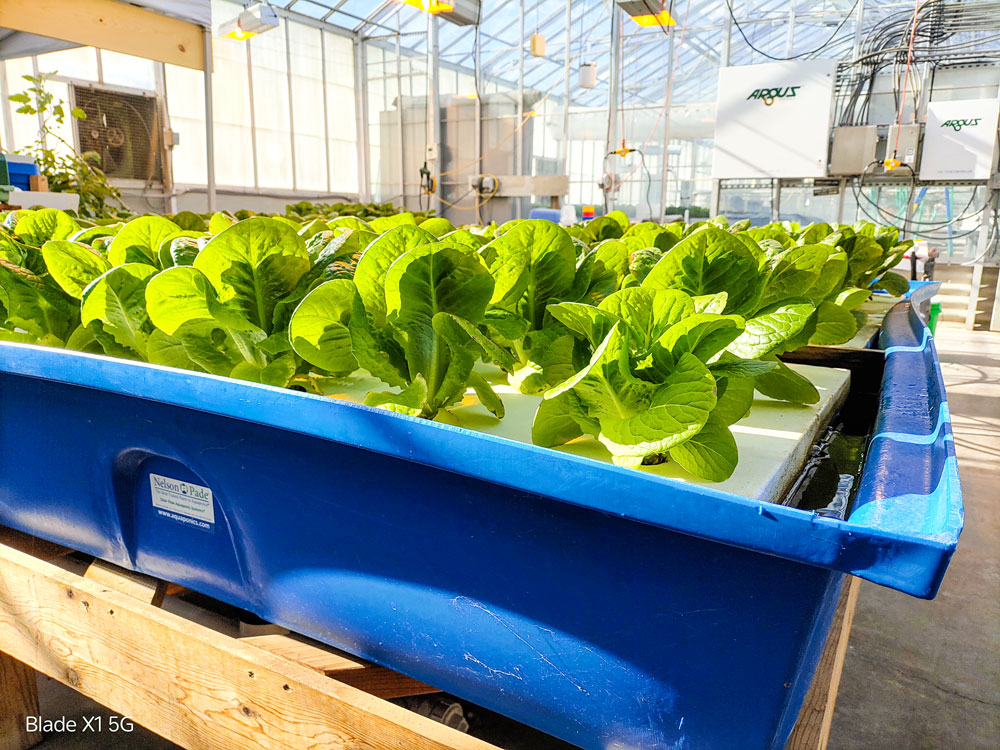
For the technically inclined gardener, a simple hydroponic system can be created with minimal materials.
Materials Needed:
- 5-gallon bucket with lid
- Air pump and air stone
- Net pots (3-inch diameter)
- Hole saw matching net pot diameter
- Hydroponic nutrients
- Growing medium (rock wool or expanded clay pellets)
Construction Steps:
- Drill holes in the lid sized to hold net pots (typically 1-3 holes depending on plant size)
- Drill a small hole for the air pump tubing
- Fill bucket with water and hydroponic nutrient solution
- Insert air stone connected to pump
- Place seedlings in net pots with growing medium
- Position net pots in lid holes so roots reach the nutrient solution
- Monitor and maintain nutrient levels and pH regularly
Aesthetic Improvements
For gardeners concerned about the appearance of bucket gardens:
- Paint buckets with exterior latex paint (avoid black in hot climates)
- Wrap buckets in burlap or outdoor fabric secured with weather-resistant adhesive
- Create bucket covers from wood slats or bamboo for a natural look
- Group buckets in wooden frames that conceal the plastic
How to Build a 5-Gallon Bucket Garden Stand
A well-designed stand elevates your bucket garden for easier access, improved drainage, and a more organized appearance. This simple design can be customized to fit your available space.
Materials Needed
- 2×4 pressure-treated lumber (approximately 24-30 feet)
- 1×4 pressure-treated lumber (approximately 8 feet)
- Exterior wood screws (2½” and 1½”)
- Drill/driver
- Saw (circular or miter)
- Measuring tape
- Level
- Sandpaper
- Exterior wood sealer or paint (optional)
Construction Plan
Dimensions (for a 6-bucket stand arranged in two rows of three):
- Height: 30 inches (can be adjusted for accessibility needs)
- Width: 38 inches
- Depth: 26 inches
Step 1: Create the Base Frame
- Cut two 38-inch pieces of 2×4 for the front and back of the base
- Cut two 23-inch pieces of 2×4 for the sides of the base
- Assemble into a rectangle using 2½-inch screws at each corner
- Check for square by measuring diagonally from corner to corner
- Add one 38-inch 2×4 down the center for additional support
Step 2: Build the Legs
- Cut four 30-inch pieces of 2×4 for legs
- Attach legs to the inside corners of the base frame using 2½-inch screws
- Ensure legs are vertical using a level
Step 3: Add Cross Supports
- Cut two 38-inch pieces of 2×4 for front and back top rails
- Cut two 23-inch pieces of 2×4 for side top rails
- Attach rails to the tops of the legs, creating a top frame that matches the base
- Add diagonal braces between legs and frame for stability:
- Cut four 15-inch pieces of 2×4 at 45-degree angles
- Attach between each leg and the base frame
Step 4: Create the Bucket Supports
- Cut six 11-inch diameter circles from 1×4 lumber (these create a supporting ring for each bucket)
- For each circle:
- Cut three 11-inch pieces of 1×4
- Arrange in a triangle pattern
- Secure with 1½-inch screws
- Space these supports evenly across the top frame
- Secure to the top frame with 1½-inch screws
Step 5: Add Finishing Touches
- Sand all edges and surfaces to prevent splinters
- Apply exterior wood sealer or paint for weather protection
- Allow to dry completely before placing buckets
Custom Modifications
Mobility Option:
- Add locking caster wheels to the bottom of each leg
- Increase diagonal bracing for stability when moving
Vertical Integration:
- Add a trellis section at the back of the stand for climbing plants
- Incorporate hooks underneath the top frame for hanging tools
Multi-Level Design:
- Create a stair-step design with buckets at different heights
- Add lower shelving for storage of gardening supplies
Irrigation System Integration:
- Drill holes in the frame to accommodate irrigation tubing
- Install a timer-controlled drip system connected to all buckets
Maintaining Your 5-Gallon Bucket Garden
Successful bucket gardening requires specific maintenance practices that differ from traditional garden beds.
Watering Strategy
For Standard Buckets:
- Check moisture levels daily, especially during hot weather
- Water when the top inch of soil feels dry
- Always water until you see drainage from the bottom holes
- Apply water to the soil, not the foliage, to prevent disease
For Self-Wicking Buckets:
- Check reservoir levels every 2-3 days
- Maintain water in the reservoir at all times
- Flush the system monthly by watering heavily from the top
- During extreme heat, supplement with light top watering
Fertilization Plan
Nutrients in containers deplete more quickly than in garden soil:
- Apply balanced liquid fertilizer at half-strength every two weeks
- Alternatively, use slow-release granular fertilizer every 4-6 weeks
- Supplement with compost tea monthly for micronutrients
- Watch for yellowing lower leaves (nitrogen deficiency) or purple leaf margins (phosphorus deficiency)
Seasonal Considerations
Spring Setup:
- Clean and sanitize buckets from previous seasons
- Check and repair any wicking systems
- Pre-warm soil by placing buckets in sunlight before planting
Summer Maintenance:
- Consider afternoon shade in hot climates
- Group buckets to create humidity zones
- Apply mulch to reduce evaporation
Fall Transition:
- Replace summer crops with cool-season vegetables
- Clean and store unused buckets
- Relocate buckets for maximum sun exposure as sun angles change
Winter Protection:
- Empty and clean buckets not in use
- Store upside-down to prevent cracking
- For overwintering plants, insulate by grouping buckets together and wrapping with bubble wrap
Common Problems and Solutions
Drainage Issues:
- Problem: Water pools on soil surface
- Solution: Check that drainage holes aren’t blocked; add perlite to improve soil structure
Root Binding:
- Problem: Stunted growth, water runs straight through without being absorbed
- Solution: Transplant to fresh bucket or prune roots and refresh outer soil
Heat Stress:
- Problem: Wilting despite adequate water
- Solution: Move buckets to partial shade during hottest part of day or create shade cloth cover
Salt Buildup:
- Problem: White crust on soil surface or bucket sides
- Solution: Flush system thoroughly with clean water monthly
Project Showcase: 5-Gallon Bucket Garden Success Stories
Urban Balcony: 12-Bucket Salsa Garden
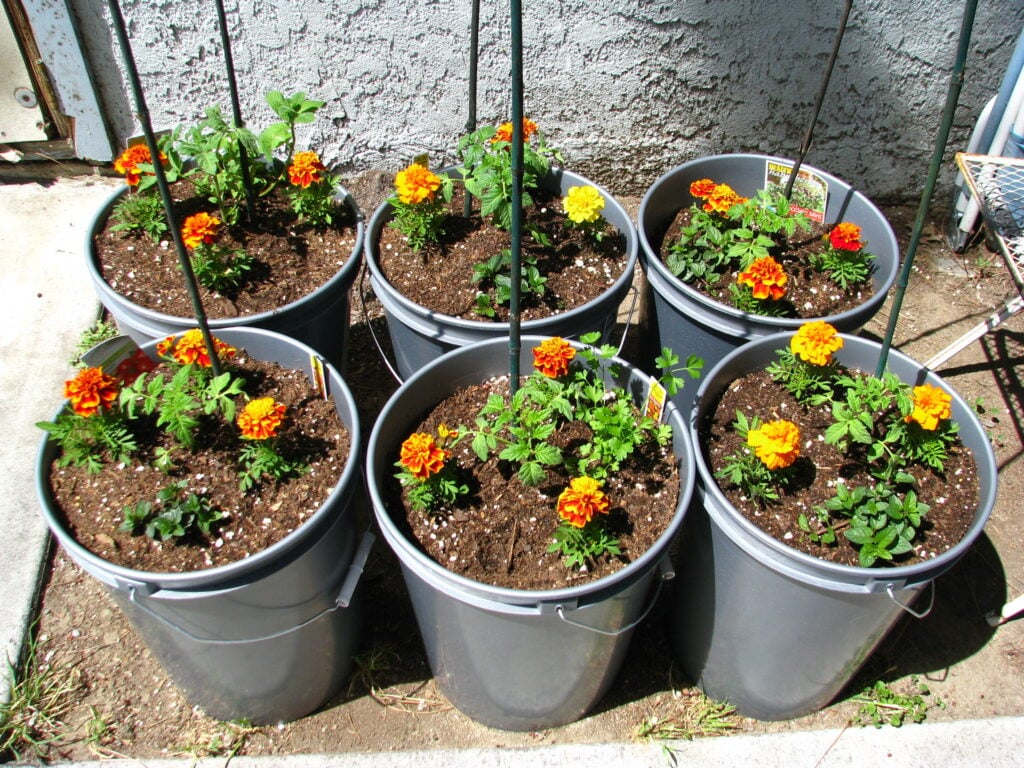
Gardener: Miguel R., apartment dweller with 6×10 foot balcony Setup: 12 self-wicking buckets on tiered wooden stand Plants: Determinate tomatoes, bell peppers, jalapeños, cilantro, onions Special Features: Automated drip irrigation system, reflective backdrop Yield: 47 pounds of produce in one season Key Lesson: “The self-wicking system was crucial when I traveled for work. My plants survived a week without attention during peak summer.”
Suburban Driveway: 24-Bucket Vegetable Array
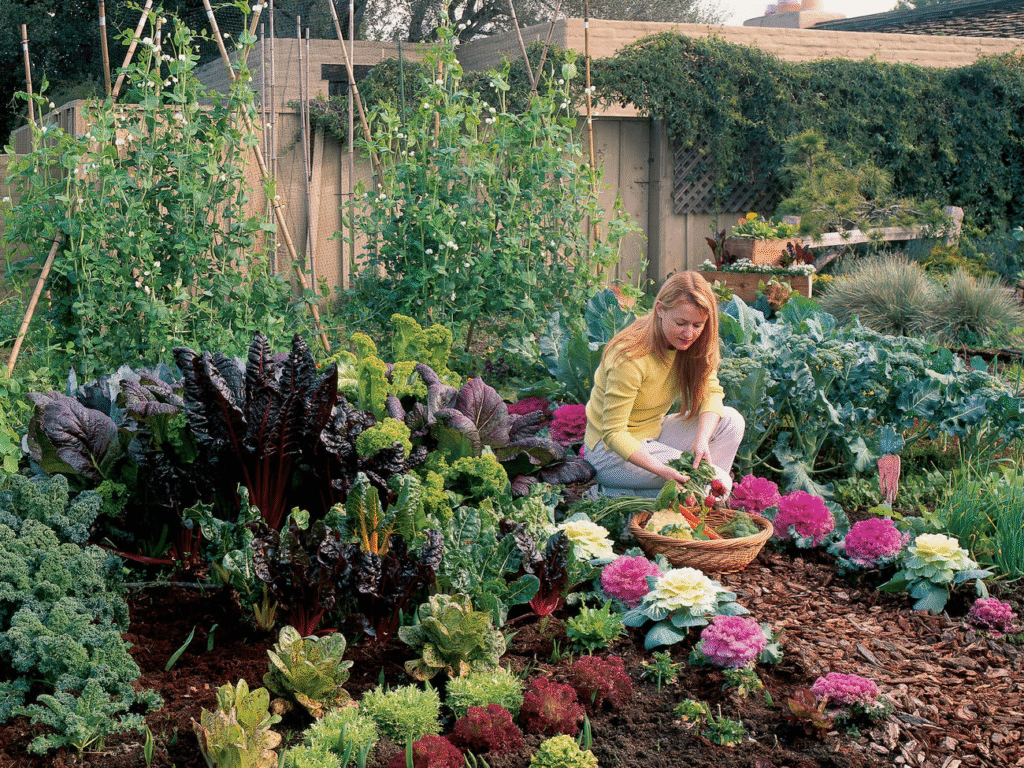
Gardener: Sarah T., homeowner with HOA restrictions on traditional gardens Setup: Double row of painted buckets along sunny driveway edge Plants: Various lettuces, cucumbers, carrots, bush beans, herbs Special Features: Color-coded buckets for plant families, children’s “discovery buckets” Yield: Fresh salads daily for 5 months, with surplus for neighbors Key Lesson: “The mobility was game-changing. We could rearrange based on sun patterns or bring pest-affected plants away from others for treatment.”
Senior Living: Accessible Raised Bucket Garden
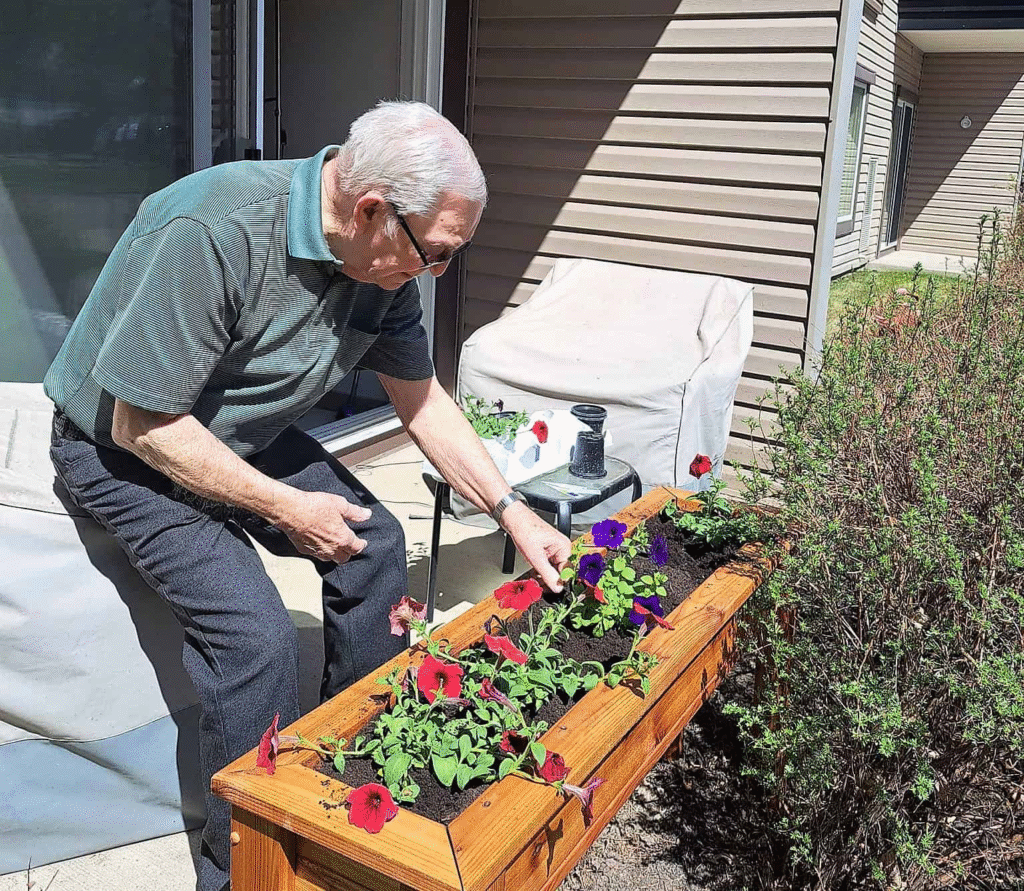
Gardener: Walter J., 78-year-old with limited mobility Setup: Custom height stand (38″) with 8 buckets arranged for seated access Plants: Cherry tomatoes, bell peppers, spinach, radishes Special Features: Tool storage integrated into stand, ergonomic watering system Yield: Sufficient fresh produce for one person with some to share Key Lesson: “At my age, I thought gardening was behind me. This setup lets me garden without pain and keeps me connected to growing food.”
Conclusion: Growing Beyond Limitations
The humble 5-gallon bucket represents an ingenious solution to many common gardening challenges. By repurposing these inexpensive containers into productive growing spaces, anyone can experience the satisfaction of harvesting homegrown vegetables regardless of space limitations, physical abilities, or gardening experience.
As your bucket garden experience grows, you might find yourself expanding the system, experimenting with different crops, or customizing your setup to maximize production. The modular nature of bucket gardening allows for continuous improvement and adaptation to your specific needs and growing conditions. Whether you’re growing a few herbs on an apartment balcony or creating an extensive bucket garden system in your driveway, the principles remain the same: good drainage, appropriate soil, adequate water, and plenty of sunlight.
Remember that each bucket represents an opportunity to grow not just food, but knowledge. Keep notes on what works well in your specific conditions, share your successes with fellow gardeners, and don’t be afraid to experiment with new crops or techniques. In the world of bucket gardening, limitations exist only until someone finds a creative way to overcome them—and that someone might just be you.
