How to Grow and Use Culinary Capsicum: A Complete Guide
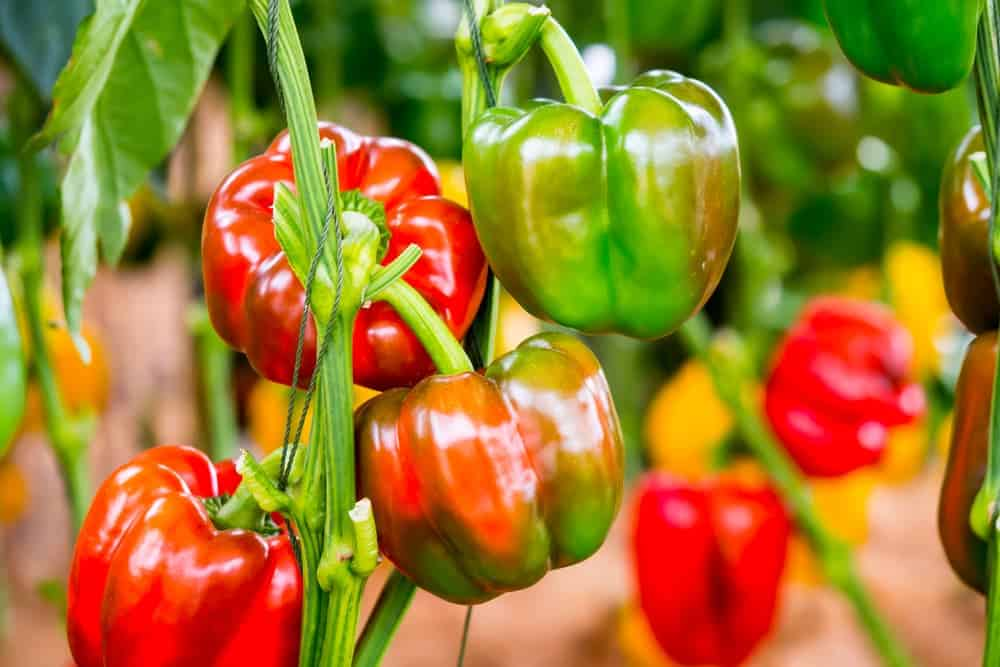
Are you looking to add vibrant colors and crisp flavors to your culinary creations? Growing your own capsicum (bell peppers) might be just the project you need. Whether you have a spacious garden, a sunny balcony with pots, or just a bright windowsill, you can successfully grow these versatile vegetables at home. This guide will walk you through everything you need to know about growing capsicum in various settings, from seed selection to harvest and beyond.
Understanding Capsicum
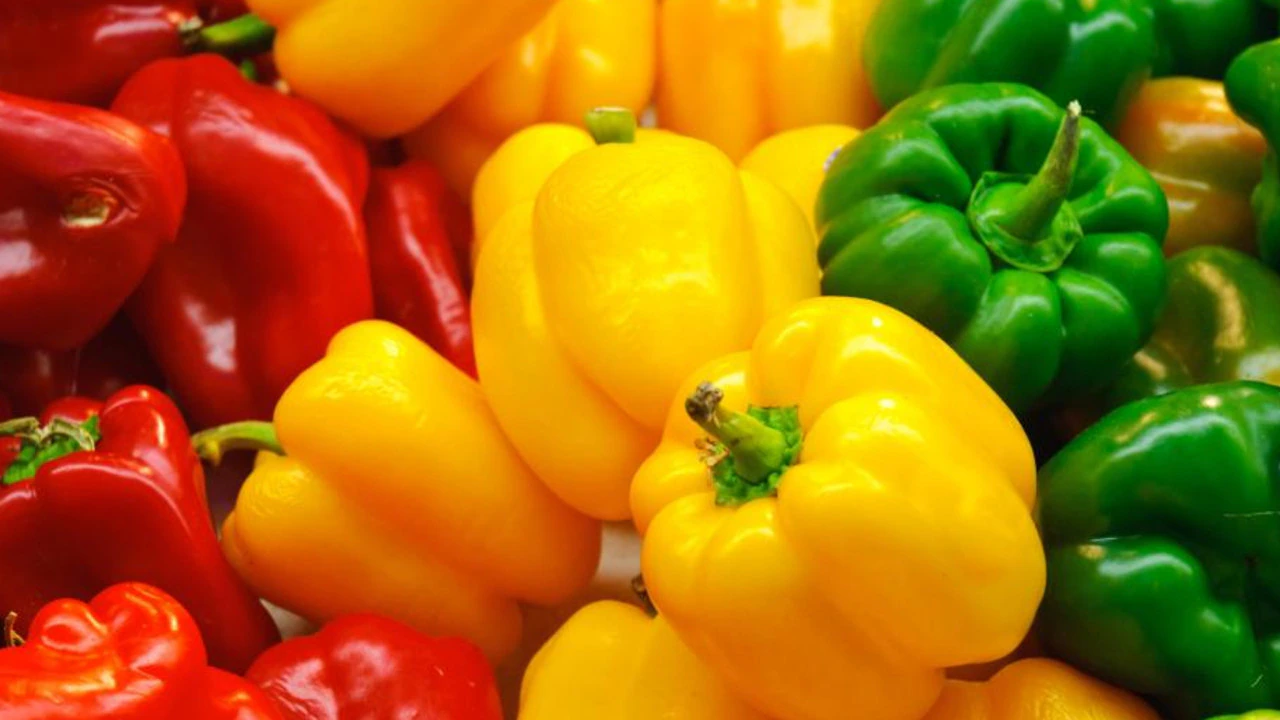
Capsicum annuum, commonly known as bell peppers or sweet peppers in the US, are warm-season crops beloved for their crisp texture and sweet flavor. These nutritional powerhouses are packed with vitamins A and C, making them a healthy addition to any diet. According to the USDA Agricultural Research Service, bell peppers contain more vitamin C than oranges!
Capsicum Varieties for Home Growing
Before starting your capsicum growing journey, it’s important to select varieties that will thrive in your specific growing conditions. The US market offers numerous varieties, each with unique characteristics:
| Variety | Color When Ripe | Days to Maturity | Height | Special Features |
|---|---|---|---|---|
| California Wonder | Red | 70-75 days | 24-30″ | Thick walls, classic bell shape |
| Golden California Wonder | Yellow | 70-75 days | 24-30″ | Sweet flavor, golden yellow |
| Purple Beauty | Purple | 70-75 days | 18-24″ | Compact plant, ornamental |
| Miniature Chocolate Bell | Chocolate brown | 60-65 days | 18-24″ | Container friendly, small fruits |
| Gypsy | Yellow-orange | 60 days | 18-22″ | Earlier to ripen, compact |
| Sweet Banana | Yellow to red | 65-70 days | 18-24″ | Long, tapered fruits |
Starting Capsicum from Seeds Indoors
For most US growing zones, starting capsicum from seeds indoors is the recommended approach. These warm-season vegetables need a long growing season to reach maturity and produce fruit.
When to Start Seeds
You’ll want to start your capsicum seeds indoors 8-10 weeks before your region’s last expected frost date. For most areas of the continental US, this typically means starting seeds between late January and early March. The USDA Plant Hardiness Zone Map can help you determine the optimal planting time for your specific location.
Step-by-Step Guide to Starting Seeds
- Gather supplies: You’ll need:
- Quality seed starting mix
- Small containers with drainage holes
- Capsicum seeds
- Spray bottle for watering
- Clear plastic cover or plastic wrap
- Grow lights or a sunny windowsill
- Prepare containers: Fill your containers with moistened seed starting mix, leaving about ¼ inch of space at the top.
- Plant seeds: Place 2-3 seeds in each container, about ¼ inch deep. Cover lightly with soil.
- Create a mini greenhouse: Cover containers with plastic wrap or a clear plastic dome to maintain humidity and warmth. Place in a warm location (70-80°F is ideal).
- Provide light: Once seedlings emerge (usually within 7-14 days), remove the plastic cover and place them under grow lights or in a sunny south-facing window. Provide 14-16 hours of light daily.
- Thin seedlings: Once seedlings develop their first true leaves, thin to the strongest plant per container.
- Fertilize lightly: When seedlings have 2-3 sets of true leaves, begin feeding with a half-strength, balanced liquid fertilizer every two weeks.
Common Mistakes to Avoid When Starting Seeds
- Planting too deep: Capsicum seeds need light to germinate, so avoid burying them too deeply.
- Inconsistent moisture: Keep the soil consistently moist but not waterlogged.
- Insufficient light: Seedlings that don’t receive enough light become leggy and weak.
- Skipping hardening off: Always gradually acclimate seedlings to outdoor conditions before transplanting.
Growing Capsicum in Garden Beds
If you have space for a garden, capsicum plants can thrive in well-prepared beds with proper care.
Preparing Your Garden Bed
- Select the right location: Choose a spot that receives at least 6-8 hours of direct sunlight daily.
- Test and amend soil: Capsicum prefers slightly acidic soil (pH 6.0-6.8). Incorporate 2-3 inches of compost to improve fertility and drainage.
- Warm the soil: Consider laying black plastic over your planting area two weeks before transplanting to warm the soil.
Transplanting Seedlings Outdoors
- Time it right: Wait until all danger of frost has passed and nighttime temperatures remain consistently above 55°F.
- Harden off seedlings: Gradually expose plants to outdoor conditions over 7-10 days.
- Space properly: Plant capsicum seedlings 18-24 inches apart in rows spaced 24-36 inches apart.
- Plant at the right depth: Set plants at the same depth they were growing in their containers.
- Water thoroughly: After planting, water deeply to settle the soil around roots.
Ongoing Care for Garden Capsicum
- Water consistently: Provide 1-2 inches of water weekly, adjusting based on rainfall and temperature.
- Mulch: Apply a 2-3 inch layer of organic mulch to conserve moisture and suppress weeds.
- Support: Consider staking larger varieties to prevent branches from breaking when loaded with fruit.
- Fertilize: Apply a balanced fertilizer when plants begin to flower, following package directions.
Growing Capsicum in Containers
Don’t have garden space? No problem! Capsicum grows exceptionally well in containers, making it perfect for patios, balconies, or even sunny windowsills.
Choosing the Right Container
- Size matters: Select containers at least 12 inches in diameter and 12 inches deep. Five-gallon containers are ideal.
- Material considerations: Terracotta pots dry out quickly but provide good aeration. Plastic retains moisture longer but may need additional drainage holes.
- Drainage: Ensure containers have adequate drainage holes to prevent waterlogged soil.
Container Soil Mix
Create a nutrient-rich, well-draining medium by combining:
- 60% high-quality potting soil
- 20% compost
- 10% perlite
- 10% vermiculite
This mix provides the perfect balance of nutrients, moisture retention, and aeration for container-grown capsicum.
Container Capsicum Care
- Watering: Container plants dry out faster than garden plants. Check soil moisture daily, watering when the top inch feels dry.
- Fertilizing: Feed every 2-3 weeks with a balanced, water-soluble fertilizer formulated for vegetables.
- Location: Place containers where they’ll receive at least 6 hours of direct sunlight daily.
- Rotation: Turn containers regularly to ensure even growth and sun exposure.
- Winter care: In colder zones (USDA zones 7 and below), move containers indoors before first frost if you want to extend the growing season.
Growing Capsicum Indoors Year-Round
With the right setup, you can grow capsicum indoors throughout the year, ensuring a steady supply regardless of the season or climate outside.
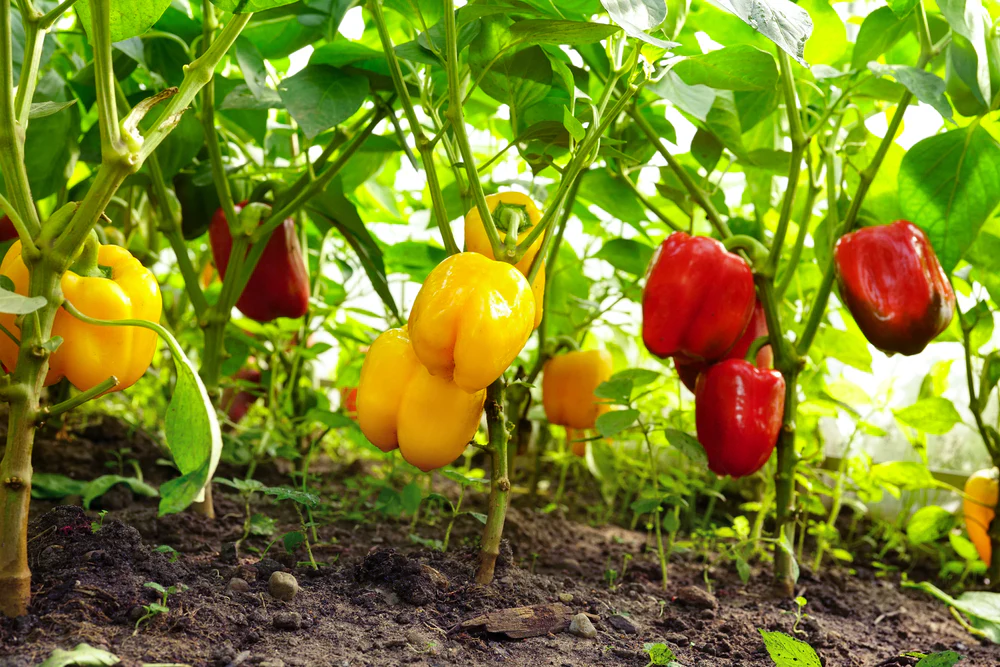
Setting Up an Indoor Growing Environment
- Light: Position plants near a south-facing window that receives 6+ hours of direct sunlight, or invest in full-spectrum LED grow lights positioned 6-12 inches above plants.
- Temperature: Maintain temperatures between 70-80°F during the day and no lower than 60°F at night.
- Humidity: Use a humidity tray or small humidifier to maintain 50-60% humidity around plants.
- Air circulation: A small fan on low setting helps strengthen stems and prevents fungal issues.
Indoor Pollination Techniques
Without natural pollinators, indoor capsicum plants need your help to produce fruit:
- Manual pollination: Use a small paintbrush to transfer pollen between flowers.
- Plant movement: Gently shake plants when flowers are open to distribute pollen.
- Electric toothbrush: The vibration from an electric toothbrush (held near but not touching flowers) can effectively release pollen.
Common Capsicum Growing Challenges and Solutions
Even experienced gardeners encounter challenges when growing capsicum. Here’s how to address common issues:
Pest Management
- Aphids: Spray plants with a strong stream of water or insecticidal soap.
- Spider mites: Increase humidity and apply neem oil.
- Pepper weevils: Remove affected fruit and use row covers.
- Cutworms: Place cardboard collars around young plants at soil level.
Disease Prevention and Treatment
- Bacterial leaf spot: Avoid overhead watering and remove affected leaves promptly.
- Powdery mildew: Ensure good air circulation and apply fungicides if necessary.
- Blossom end rot: Maintain consistent moisture and add calcium to the soil.
The USDA National Institute of Food and Agriculture offers extensive resources on integrated pest management strategies that can help you address these issues using sustainable approaches.
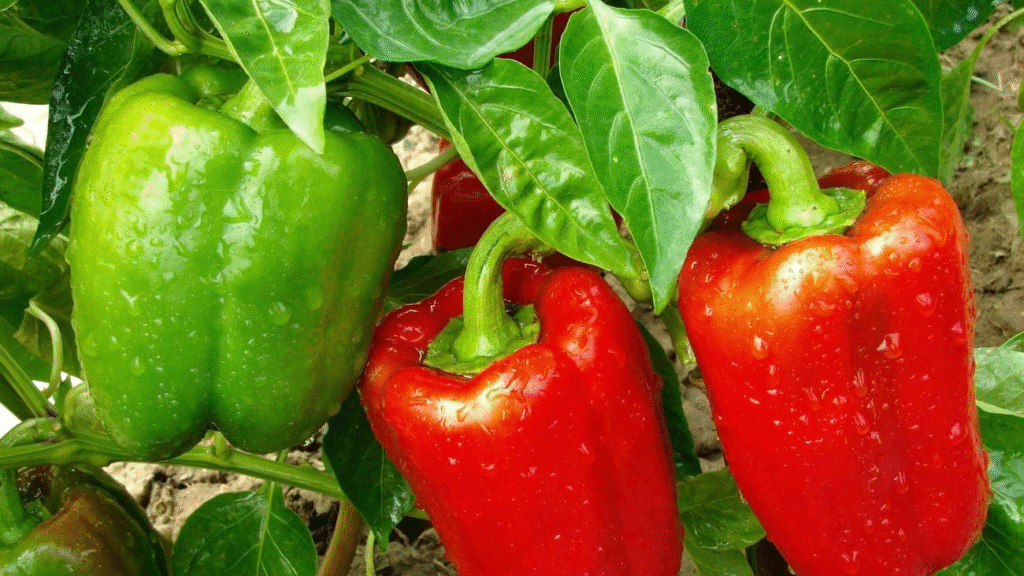
Harvesting and Using Your Homegrown Capsicum
After all your careful attention, you’ll be rewarded with a bountiful harvest of fresh capsicum.
When and How to Harvest
- Timing: Most varieties can be harvested when they reach full size, regardless of color. For sweeter flavor, allow them to ripen fully to their mature color.
- Technique: Use clean, sharp scissors or pruning shears to cut peppers from the plant, leaving a short stem attached.
- Frequency: Harvest regularly to encourage continued production.
Storing Fresh Capsicum
- Short-term: Unwashed peppers can be stored in the refrigerator crisper drawer for up to 2 weeks.
- Freezing: Slice, remove seeds, and freeze in airtight containers for up to 6 months.
- Drying: Slice thinly and dry in a food dehydrator or oven on low heat until crisp.
Culinary Uses for Your Homegrown Capsicum
- Raw: Add to salads, crudité platters, or use as edible cups for dips and fillings.
- Cooked: Sauté, roast, grill, or stuff for endless meal possibilities.
- Preserved: Pickle, ferment, or make into salsas and relishes.
Saving Seeds for Next Season
Complete the growing cycle by saving seeds from your best performers:
- Select mature fruits: Choose fully ripened peppers from healthy, productive plants.
- Extract seeds: Cut open the pepper and scrape out seeds onto a paper towel.
- Dry thoroughly: Allow seeds to dry completely for 1-2 weeks in a warm, dry location.
- Store properly: Place dried seeds in labeled paper envelopes or small jars in a cool, dark place.
- Test viability: Before planting season, test a few seeds for germination rate.
According to the USDA National Agricultural Library, properly stored capsicum seeds can remain viable for 2-3 years.
Conclusion
Growing your own capsicum at home—whether in a garden bed, containers, or indoors—is a rewarding experience that connects you with your food and provides fresh, flavorful ingredients for your cooking. By following the guidelines in this comprehensive guide, you’ll be well on your way to harvesting beautiful, nutritious capsicum peppers year after year.
Remember that gardening is both a science and an art. Don’t be discouraged by initial challenges—each growing season brings new knowledge and improved techniques. Soon, you’ll be enjoying the unmatched flavor and satisfaction of homegrown capsicum in all your favorite recipes.
