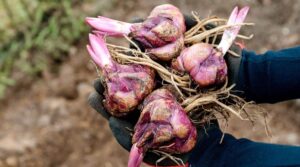
How to Grow and Use Culinary Herbs: A Complete Guide to Growing Chives
Are you looking to add a versatile, flavorful herb to your culinary collection? Chives (Allium schoenoprasum) are one of the easiest herbs to grow and can enhance countless dishes with their mild onion flavor. Whether you have a spacious garden, a small balcony, or just a sunny windowsill, chives can thrive in your space with minimal effort. This guide will walk you through everything you need to know about growing and using this delightful perennial herb that’s becoming increasingly popular in the US market.
What Are Chives?
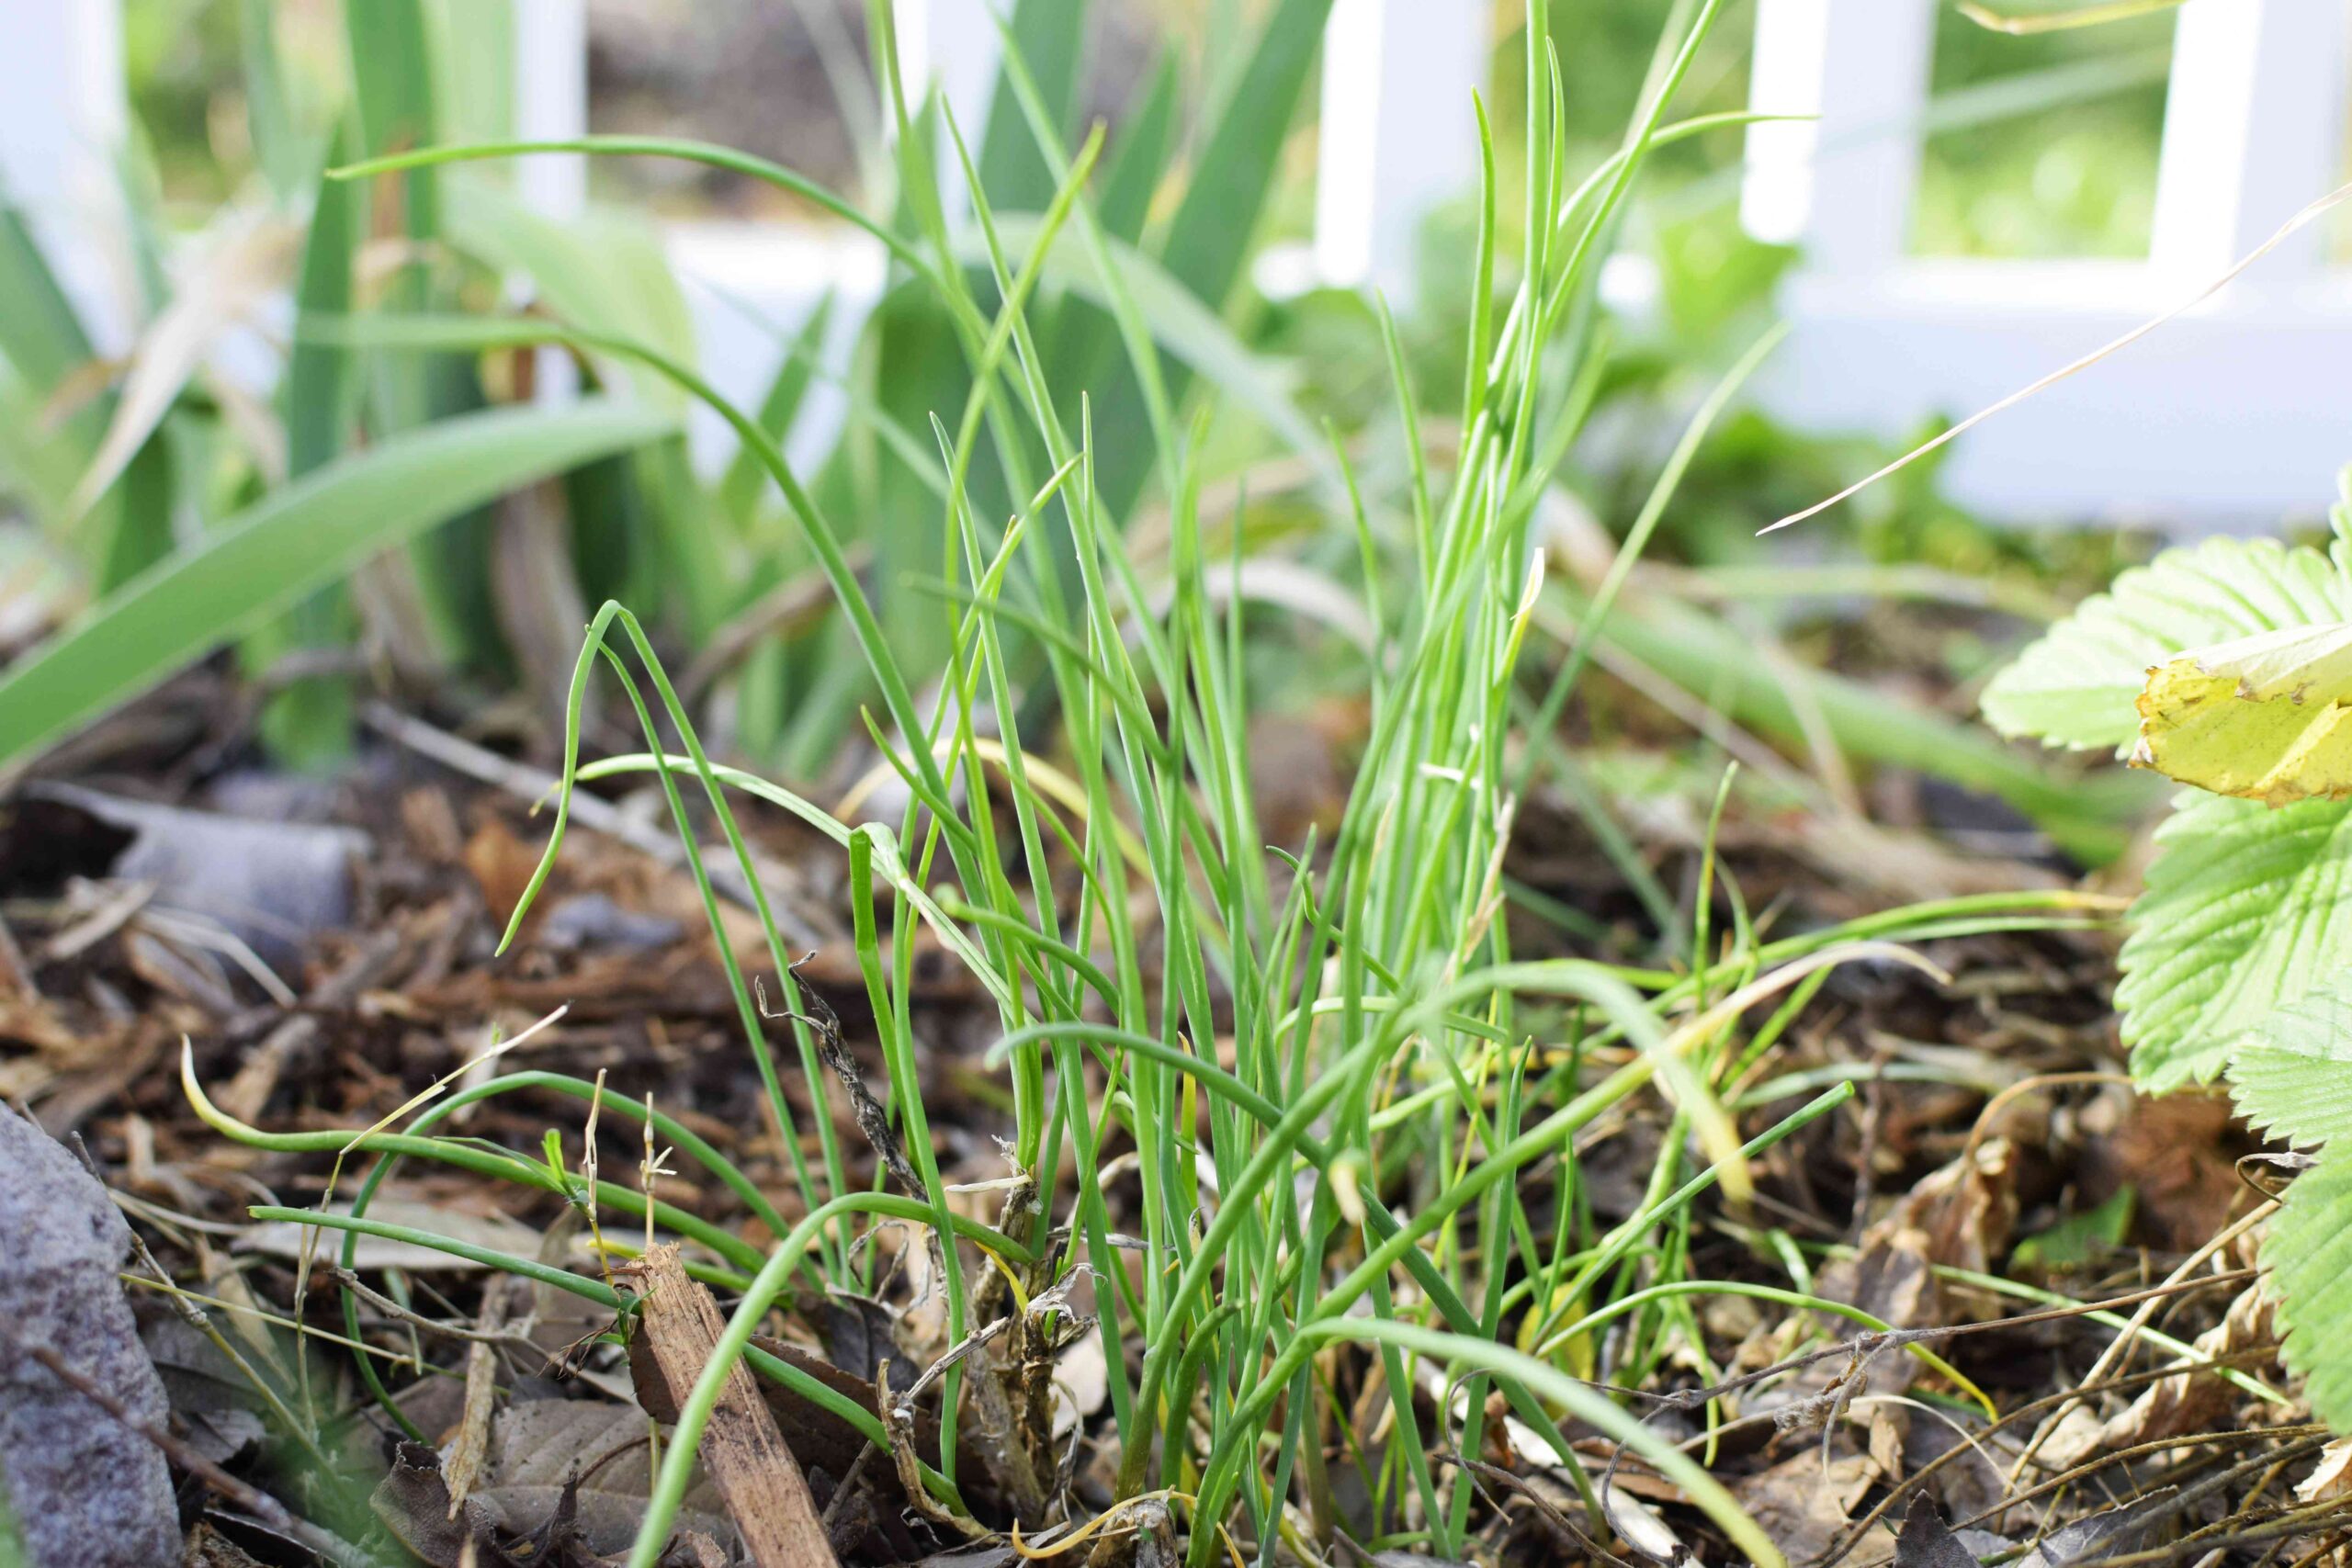
Chives are perennial herbs belonging to the Allium family, which also includes onions, garlic, and leeks. These hardy perennials are native to Europe, Asia, and North America and have been cultivated for over 5,000 years. They grow in clumps, with hollow, tubular leaves that reach about 10-15 inches in height, and produce beautiful purple pom-pom-like flowers in late spring or early summer.
According to the USDA Natural Resources Conservation Service, chives are hardy across USDA zones 3-9, making them suitable for cultivation in most of the continental United States.
Types of Chives
There are two main varieties of chives commonly grown in the US:
- Common Chives (Allium schoenoprasum) – These have tubular, grass-like leaves with a mild onion flavor and produce purple flowers.
- Garlic Chives (Allium tuberosum) – Also known as Chinese chives, these have flat, wider leaves with a mild garlic flavor and produce white flowers.
Benefits of Growing Your Own Chives
Before diving into growing methods, let’s understand why cultivating your own chives is worthwhile:
- Year-round access to fresh herbs (when grown indoors)
- Cost-effective compared to store-bought herbs
- Superior flavor compared to dried alternatives
- Pest-repellent properties that can benefit neighboring plants
- Pollinator-friendly flowers that attract beneficial insects
- Low maintenance requirements compared to many other herbs
How to Grow Chives in Your Garden

Selecting the Perfect Location
Chives perform best in your garden when you provide:
- Sunlight: Full sun to partial shade (at least 6 hours of direct sunlight)
- Soil: Well-draining, fertile soil with a pH between 6.0-7.0
- Spacing: 8-12 inches between plants
- Companions: Chives grow well alongside carrots, tomatoes, and strawberries
Planting Chives Outdoors
The best time to plant chives outdoors is in early spring after the threat of frost has passed, or in early fall in warmer regions.
- Prepare the soil by adding compost or well-rotted manure to improve fertility and drainage.
- Dig planting holes approximately 1/4 inch deep.
- Sow seeds and cover lightly with soil, or plant small divisions from established plants.
- Water thoroughly and keep soil consistently moist until germination occurs (typically 14-21 days).
Outdoor Care and Maintenance
Chives are remarkably low-maintenance once established:
- Watering: Provide approximately 1 inch of water per week, more during hot weather.
- Fertilizing: Apply a balanced organic fertilizer in spring and after each harvest.
- Dividing: Every 3-4 years, divide clumps in early spring or fall to maintain vigor.
- Winter care: In zones 3-4, apply a light mulch for winter protection.
Growing Chives in Containers
Don’t have garden space? Chives adapt wonderfully to container growing, making them perfect for patios, balconies, or any small space.
Container Requirements
For successful container-grown chives, you’ll need:
- Pot size: At least 6 inches deep with drainage holes
- Soil: High-quality potting mix with added compost
- Location: A spot receiving at least 6 hours of sunlight daily
- Watering: More frequent than garden-grown chives (check soil moisture regularly)
Step-by-Step Container Planting
- Fill your container with potting mix to about 1 inch below the rim.
- Sow seeds 1/4 inch deep and 1 inch apart, or transplant seedlings/divisions.
- Water gently until moisture comes through drainage holes.
- Place in a sunny location and maintain consistent moisture.
- Thin seedlings to 4-6 inches apart once they reach 2-3 inches tall.
Growing Chives Indoors
One of the greatest advantages of chives is their adaptability to indoor growing, allowing you to enjoy fresh herbs year-round.
Indoor Growing Requirements
To successfully grow chives indoors, provide:
- Light: A south or west-facing window with 6+ hours of direct sunlight, or grow lights
- Temperature: 60-70°F (15-21°C) for optimal growth
- Humidity: Average household humidity is typically sufficient
- Air circulation: Good ventilation helps prevent disease
Indoor Planting Methods
- Select a container at least 6 inches deep with drainage holes.
- Fill with potting mix specifically formulated for herbs or vegetables.
- Plant seeds or divisions as you would for outdoor containers.
- Place near a window with adequate light or under grow lights.
- Rotate the container weekly to ensure even growth.
Growing Chives from Seeds
Starting chives from seeds is economical and straightforward, whether indoors or outdoors.
Seed Starting Timeline
| Season | Action | Time Frame |
|---|---|---|
| Early Spring | Start seeds indoors | 8-10 weeks before last frost |
| Mid-Spring | Direct sow outdoors | After last frost date |
| Summer | Harvest established plants | Throughout growing season |
| Fall | Plant for indoor growing | 10-12 weeks before first frost |
| Winter | Maintain indoor plants | Year-round |
Seed Starting Steps
- Fill seed trays with seed-starting mix.
- Sow seeds 1/4 inch deep and 1 inch apart.
- Cover lightly with soil and mist with water.
- Cover with plastic wrap or a humidity dome to retain moisture.
- Place in a warm location (65-70°F/18-21°C).
- Remove cover once germination occurs (14-21 days).
- Provide adequate light either from a sunny window or grow lights.
- Transplant seedlings once they reach 3-4 inches tall.
Propagating Chives by Division
Division is the quickest way to establish new chive plants and rejuvenate older ones.
When to Divide
The best times to divide chives are:
- Early spring when new growth begins
- Early fall after the main growing season
- Every 3-4 years to maintain plant vigor
Division Process
- Dig up the entire clump using a garden fork.
- Shake off excess soil to expose the root system.
- Separate the clump into smaller sections, each with roots attached.
- Trim the tops to about 3 inches to reduce transplant shock.
- Replant divisions at the same depth they were previously growing.
- Water thoroughly and keep soil consistently moist until established.
Common Challenges and Solutions
Chives are relatively problem-free, but they may occasionally face these issues:
Pests
- Aphids: Spray with a strong water stream or insecticidal soap.
- Thrips: Use sticky traps and beneficial insects like ladybugs.
- Onion flies: Apply row covers during egg-laying periods.
Diseases
- Downy mildew: Improve air circulation and avoid overhead watering.
- Rust: Remove affected parts and ensure proper spacing between plants.
- Root rot: Ensure proper drainage and avoid overwatering.
Harvesting and Using Your Chives
The reward for your efforts comes at harvest time!
Harvesting Tips
- Begin harvesting when plants reach at least 6 inches tall.
- Cut leaves 2 inches above soil level using clean, sharp scissors.
- Harvest outer leaves first, allowing center growth to continue.
- Morning harvesting provides the best flavor.
- Regular harvesting encourages continued production.
Culinary Uses
Chives are incredibly versatile in the kitchen:
- Fresh uses: Salads, soups, omelets, baked potatoes, seafood dishes
- Compound butters: Mix with softened butter for a delicious spread
- Herb vinegars: Infuse chive blossoms in white vinegar
- Garnishes: Add bright color and flavor to finished dishes
- Flowers: Edible and beautiful in salads or as garnishes

Preserving Your Chive Harvest
To enjoy your chives beyond the growing season:
Drying
- Harvest in the morning after dew has dried.
- Bundle small bunches and hang upside down in a warm, dark place.
- Store dried chives in airtight containers away from light.
Freezing
- Chop fresh chives into small pieces.
- Place in ice cube trays with a small amount of water.
- Transfer frozen cubes to freezer bags for long-term storage.
- Alternatively, freeze chopped chives in a single layer on a baking sheet, then transfer to freezer bags.
The US Market for Chives
The culinary herb market in the United States has been experiencing steady growth, with chives being among the top-selling fresh herbs. According to market research, the US herb and spice market is projected to reach $12.5 billion by 2025, with fresh herbs like chives gaining popularity as consumers increasingly prioritize fresh, home-cooked meals.
Local farmers’ markets and community-supported agriculture (CSA) programs offer excellent opportunities for small-scale chive growers. Additionally, restaurant supply represents another potential market, as chefs value the superior flavor and freshness of locally grown herbs.
Conclusion
Growing chives is a rewarding endeavor that requires minimal effort while providing maximum flavor. Whether you’re cultivating them in your garden, on your patio, or on your kitchen windowsill, these versatile herbs will enhance your culinary creations while adding beauty to your growing space.
By following the guidelines in this comprehensive guide, you’ll be well-equipped to grow, harvest, and enjoy fresh chives year-round. Start your chive-growing journey today, and you’ll soon be enhancing your dishes with these flavorful, nutritious herbs straight from your own garden or windowsill.
