How to Grow Jerusalem Artichoke: A Comprehensive Guide
Jerusalem artichokes, also known as sunchokes, are versatile root vegetables that offer both culinary delights and beautiful flowers. They’re surprisingly easy to grow, require minimal maintenance, and can thrive in various conditions. Whether you have a spacious garden or just a few containers, this guide will help you successfully cultivate these nutritious tubers.
What Are Jerusalem Artichokes?
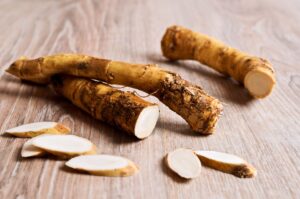
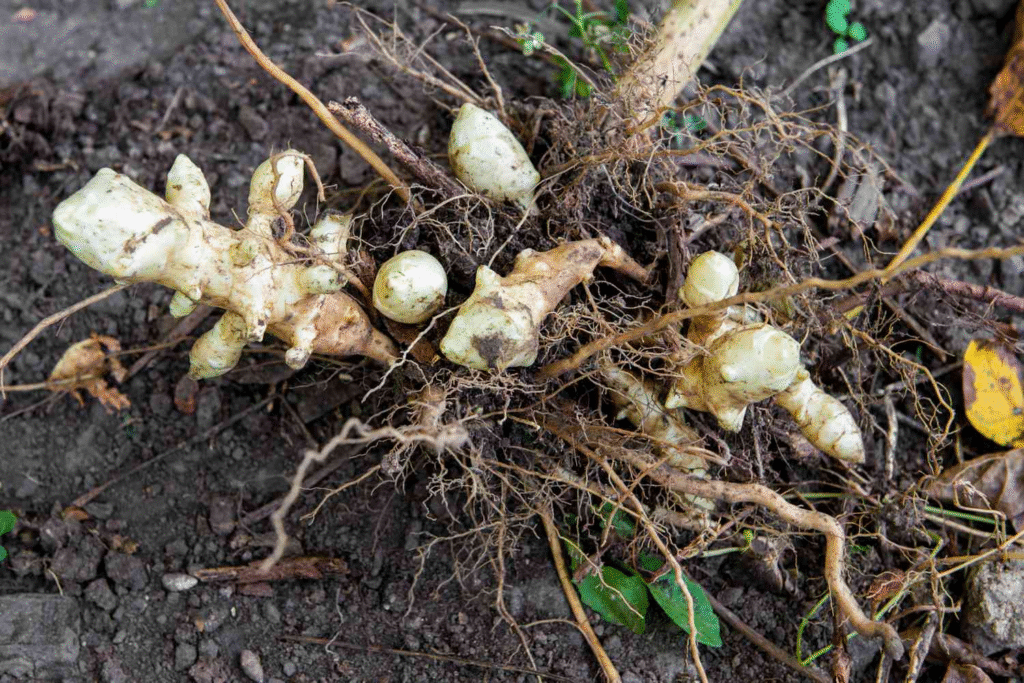
Despite their name, Jerusalem artichokes (Helianthus tuberosus) aren’t from Jerusalem and aren’t related to artichokes. They’re actually sunflower relatives native to North America. The plants produce knobby, potato-like tubers that have a delicious nutty flavor and crisp texture when raw, or a sweet, artichoke-like taste when cooked.
According to the USDA Natural Resources Conservation Service, Jerusalem artichokes have been cultivated by Native Americans long before European settlement and were later adopted by colonists as an important food source. Learn more about their history and conservation status.
Why Grow Jerusalem Artichokes?
Before diving into the growing process, here’s why you might want to add these unique plants to your garden:
- Easy to grow: They’re low-maintenance and disease-resistant
- Productive: A small planting can yield pounds of tubers
- Attractive: They produce lovely yellow flowers similar to sunflowers
- Nutritious: Rich in inulin (a prebiotic fiber) and potassium
- Versatile in cooking: Can be eaten raw, roasted, mashed, or made into soups
Growing Jerusalem Artichokes in Your Garden
Site Selection and Soil Preparation
Jerusalem artichokes aren’t picky about soil, but they’ll produce the best harvest in:
- Full sun locations (at least 6-8 hours daily)
- Well-draining soil
- Slightly acidic to neutral pH (6.0-7.0)
Prepare your garden bed by removing weeds and incorporating 2-3 inches of compost. Unlike many vegetables, Jerusalem artichokes don’t need extremely rich soil—they’re quite adaptable.
Planting Jerusalem Artichokes
The best time to plant is early spring, as soon as the soil can be worked.
- Choose healthy tubers with 2-3 “eyes” or growth nodes
- Plant tubers 4-6 inches deep
- Space plants 12-18 inches apart in rows 3-4 feet apart
- Water thoroughly after planting
Pro tip: Consider containing Jerusalem artichokes with barriers that go at least 12 inches deep, as they can spread aggressively.
Caring for Your Jerusalem Artichoke Plants
Jerusalem artichokes require minimal care:
- Watering: Provide about 1 inch of water weekly, more during very dry periods
- Fertilizing: Generally unnecessary unless your soil is very poor
- Mulching: Apply 2-3 inches of mulch to retain moisture and suppress weeds
- Support: Tall varieties may need staking to prevent lodging in windy areas
Common Pests and Problems
Jerusalem artichokes are remarkably resistant to most pests and diseases. However, watch for:
- Aphids: Control with insecticidal soap or a strong water spray
- Sclerotinia rot: Avoid in future plantings by ensuring good drainage
- Mice and voles: May nibble on tubers; use traps or barriers if necessary
Growing Jerusalem Artichokes in Containers
Don’t have garden space? No problem! Jerusalem artichokes can flourish in containers, though they’ll be somewhat smaller than garden-grown plants.
Container Requirements
- Large containers (minimum 5-gallon size, larger is better)
- Good quality potting mix with added compost
- Excellent drainage
Planting Process
- Fill your container with potting mix to about 3 inches from the top
- Plant 1-2 tubers per 5-gallon container, 4-6 inches deep
- Water thoroughly and place in a sunny location
- Ensure consistent moisture throughout the growing season
Container Care Tips
- Water more frequently than garden plants, as containers dry out faster
- Apply liquid fertilizer monthly at half-strength
- Provide support for stems, which may reach 4-6 feet even in containers
- Move containers to protected areas during strong winds
Growing Jerusalem Artichokes Indoors
While Jerusalem artichokes can technically be grown indoors, they face significant challenges due to their height and light requirements.
Indoor Growing Requirements
- Very bright south-facing window or grow lights
- Large, deep containers
- Support structures for tall stems
- Patience—indoor plants will likely produce smaller yields
Best Practices for Indoor Growth
- Use the largest containers practical for your space
- Provide 12+ hours of bright light daily
- Maintain consistent soil moisture
- Consider dwarf varieties when available
- Expect plants to be smaller with fewer tubers than outdoor plantings
Propagating Jerusalem Artichokes from Seed
Jerusalem artichokes are rarely grown from seed commercially; tuber planting is the standard method. However, for gardeners interested in developing new varieties or for educational purposes, seed propagation is possible.
Collecting and Storing Seeds
- Allow flowers to fully mature and begin to dry on the plant
- Harvest seed heads when the back turns yellow-brown
- Dry completely in a warm, well-ventilated location
- Separate seeds from chaff and store in a cool, dry place
Starting Seeds
- Sow seeds indoors 6-8 weeks before last frost
- Use seed-starting mix in small pots or trays
- Keep soil consistently moist until germination (typically 7-14 days)
- Provide bright light after germination
- Transplant outdoors after danger of frost has passed
Note: Plants grown from seed will take longer to produce harvestable tubers and may show variation in quality.
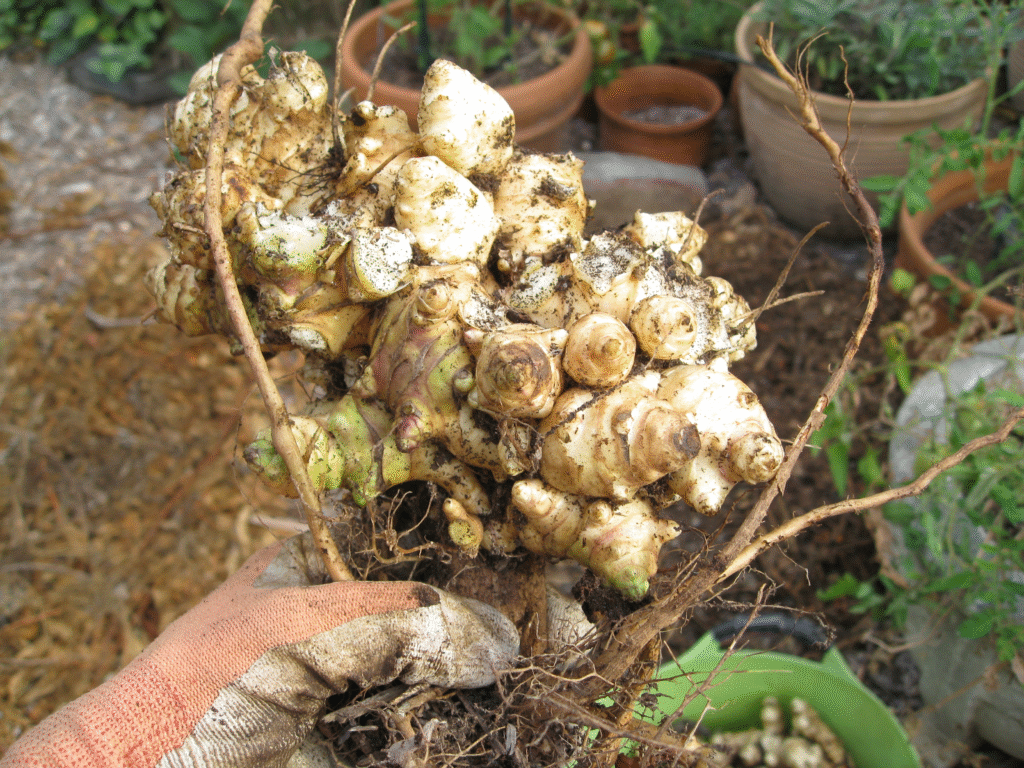
Seasonal Growth Timeline
| Month | Garden Activities | Plant Development | Container Care |
|---|---|---|---|
| January-February | Order/source tubers | Dormant | Store tubers in cool, dark place |
| March-April | Prepare soil, plant tubers | Beginning growth | Plant in containers, place in sunny spot |
| May-June | Water as needed, mulch | Rapid stem growth | Water frequently, add support |
| July-August | Monitor for pests | Flowering begins | Continue watering, fertilize monthly |
| September-October | Reduce watering | Tuber formation increases | Reduce fertilizer, continue watering |
| November-December | Harvest after frost | Die-back above ground | Harvest or leave in containers |
Harvesting Jerusalem Artichokes
Patience is key! Jerusalem artichokes develop their best flavor after the first frost has sweetened the tubers.
When to Harvest
- For immediate use: Dig a few tubers any time after plants reach maturity
- For main harvest: Wait until after the first hard frost when tops begin to die back
- For ongoing harvest: Dig tubers throughout winter in mild climates
Harvesting Process
- Cut back dead stalks to about 6 inches above soil level
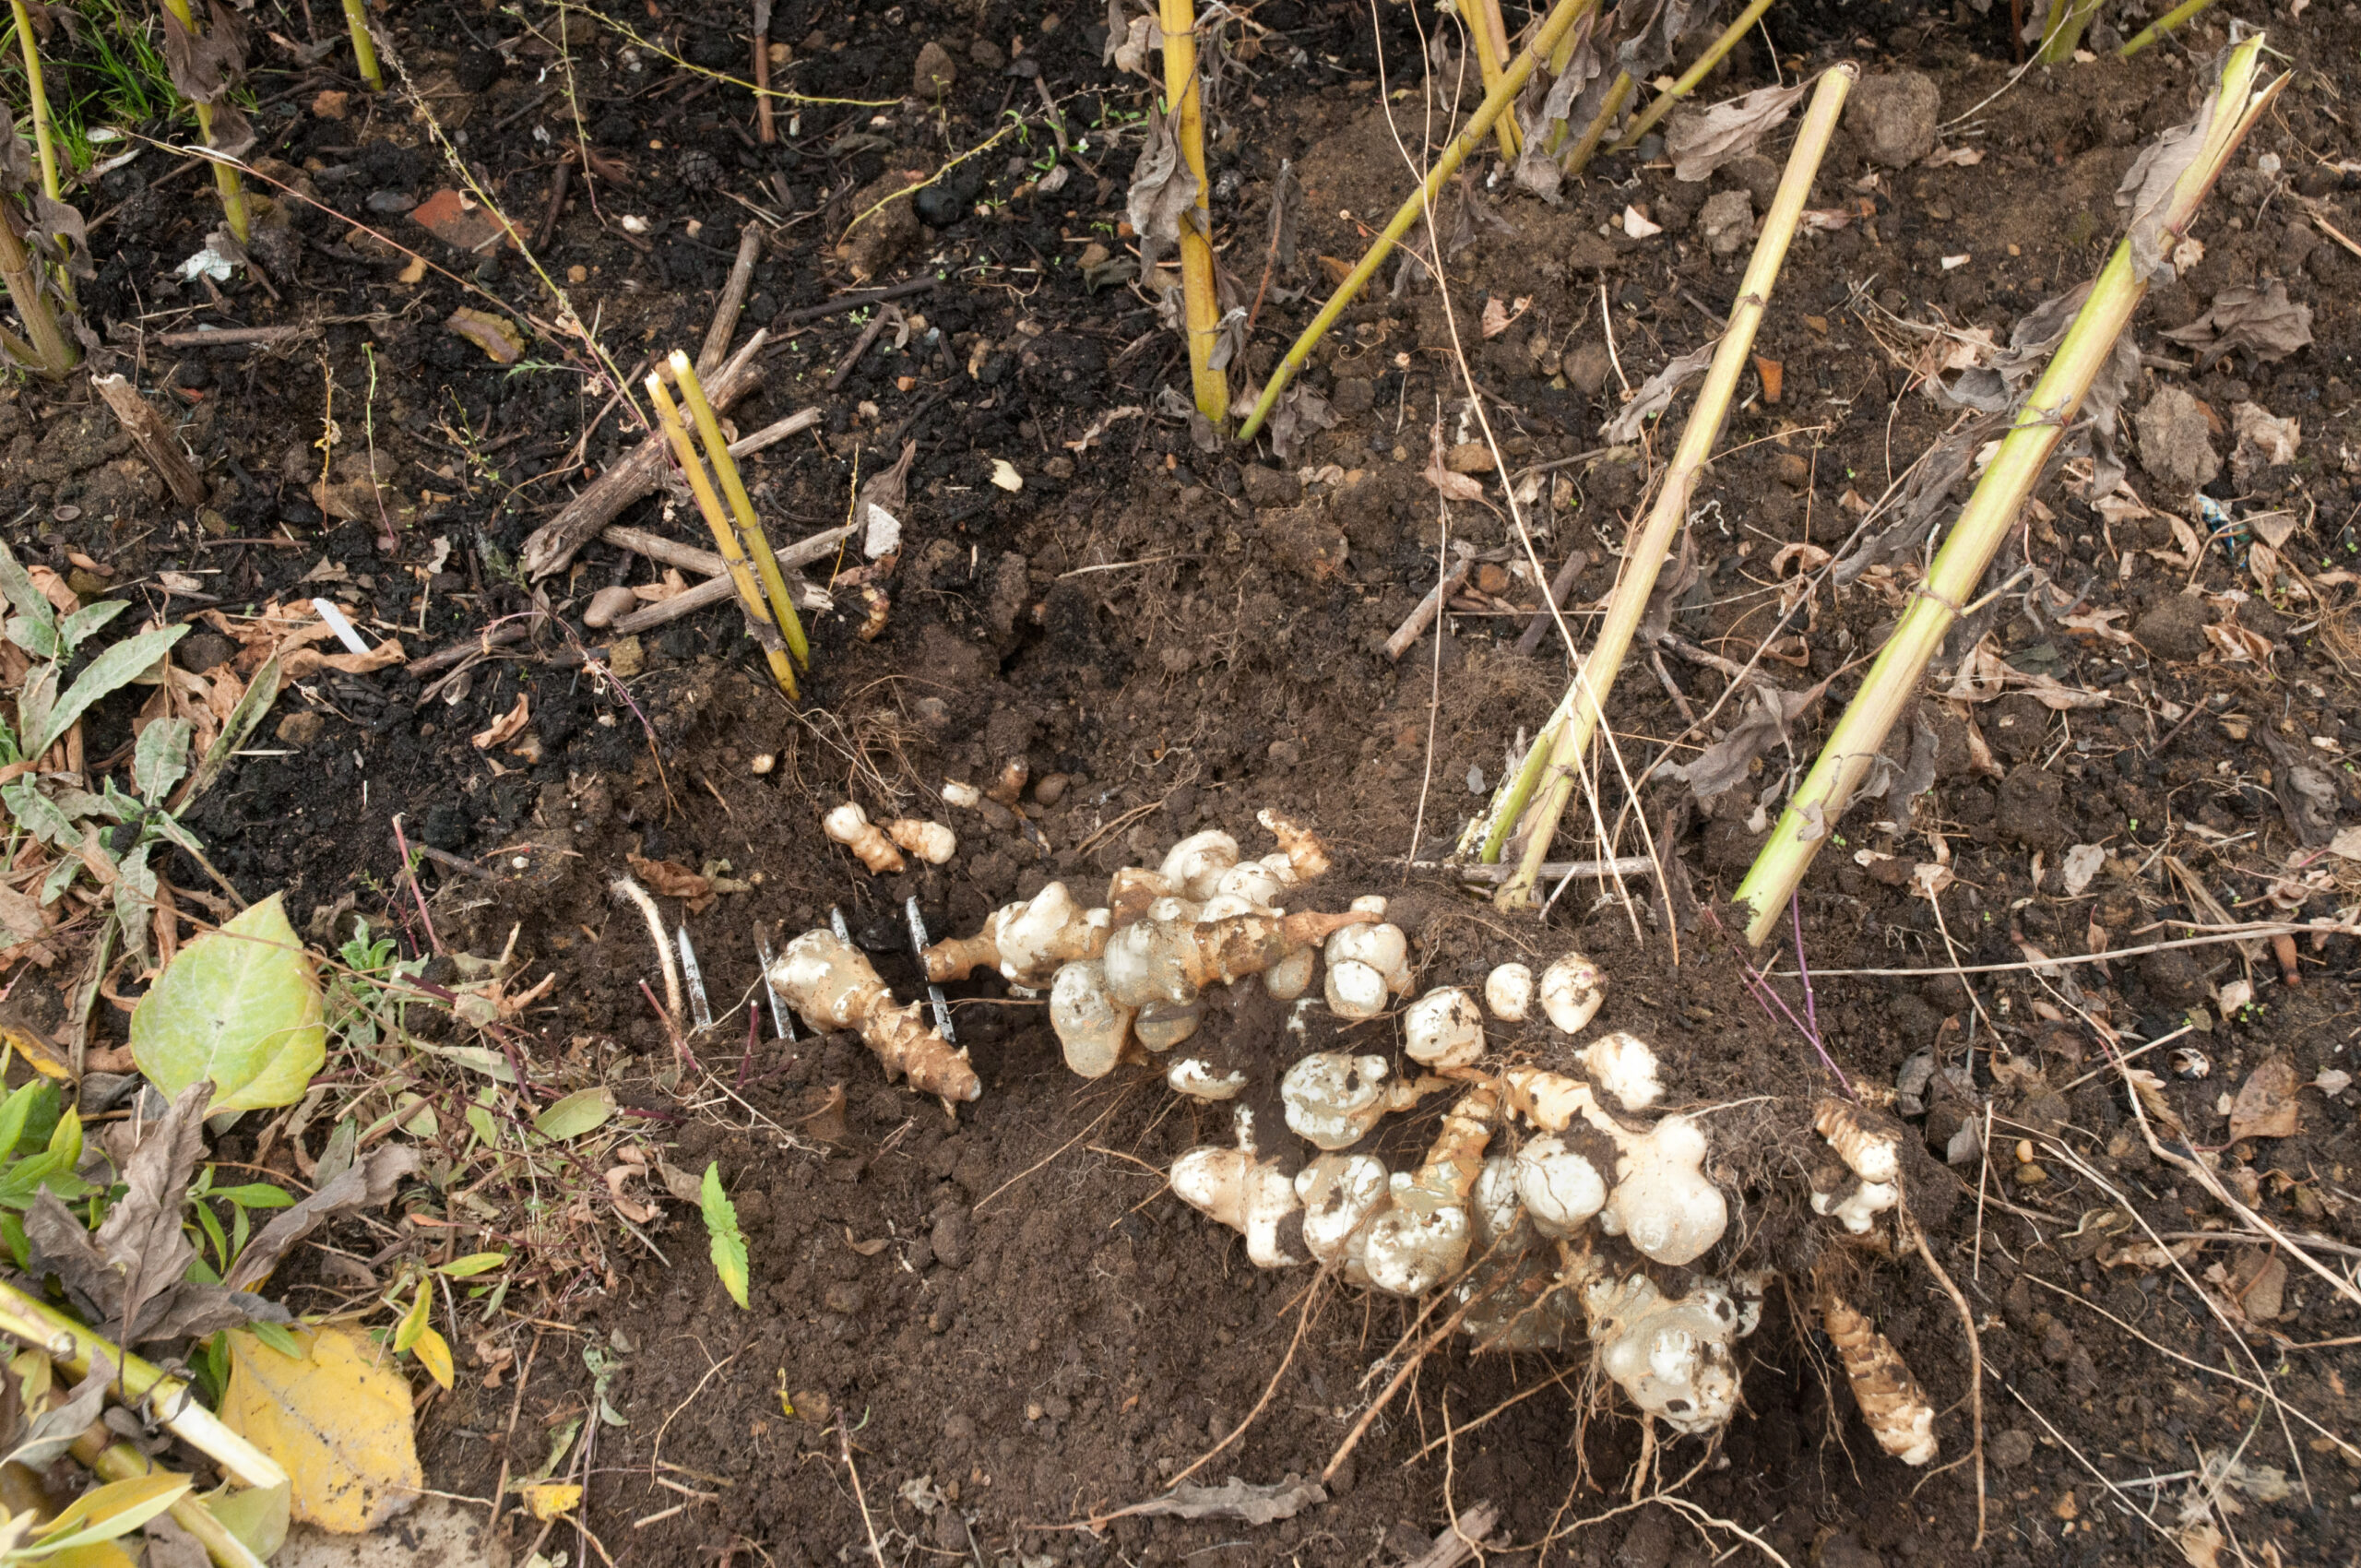
- Use a garden fork to gently loosen soil around the plant
- Lift carefully to avoid damaging tubers
- Harvest what you need and leave the rest for continued growth
Important: Be thorough in harvesting if you don’t want volunteers next year—even tiny tuber fragments will grow new plants!
Storing Your Harvest
Jerusalem artichokes don’t store as well as potatoes, but with proper handling, you can enjoy them for several months.
Storage Tips
- Don’t wash tubers until ready to use
- Store in a refrigerator crisper drawer in slightly damp sand or sawdust
- Keep at 32-40°F (0-4°C) with high humidity (85-95%)
- Check regularly and remove any that show signs of spoilage
- Alternatively, leave tubers in the ground and harvest as needed (in zones where soil doesn’t freeze solid)
Using Jerusalem Artichokes in the Kitchen
Jerusalem artichokes are incredibly versatile and can be prepared in numerous ways.
Raw Preparations
- Thinly sliced in salads
- Grated into slaws
- Added to vegetable platters with dips
Cooked Applications
- Roasted with olive oil and herbs
- Mashed like potatoes (alone or mixed with potatoes)
- Puréed into creamy soups
- Sautéed with other vegetables
- Pickled for long-term preservation
Culinary Tips
- The skin is edible but can be peeled if preferred
- Soak cut pieces in acidulated water to prevent browning
- Add a bay leaf when cooking to improve digestibility
- Start with small portions if you’re not accustomed to inulin-rich foods
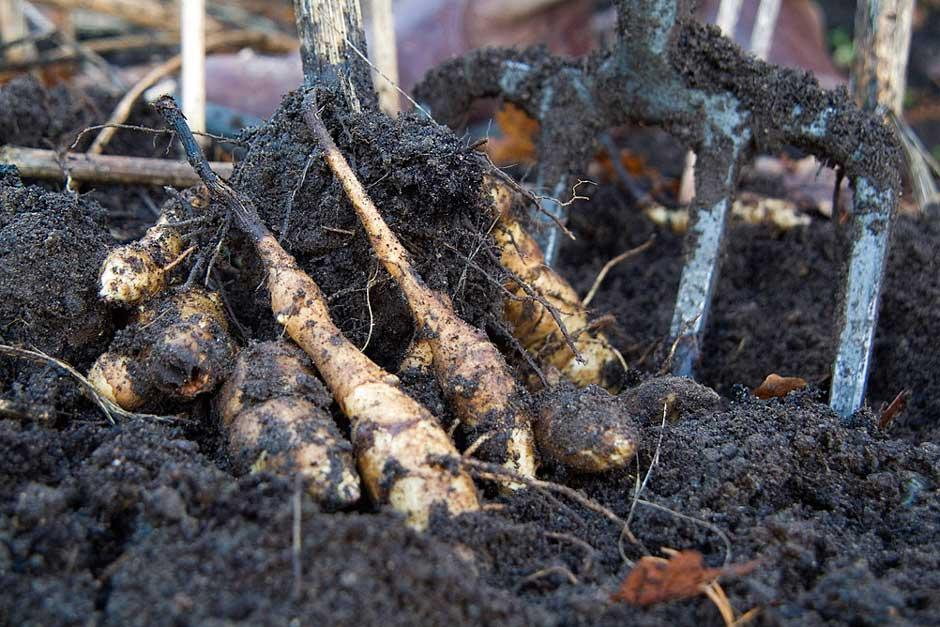
Jerusalem Artichokes in the US Market
The Jerusalem artichoke market has been growing steadily in the United States, particularly with increased interest in diverse, nutritious vegetables and specialty crops.
Market Trends
- Growing demand in farm-to-table restaurants
- Increasing presence at farmers’ markets
- Expanding specialty grocery offerings
- Rising interest among health-conscious consumers due to prebiotic properties
Commercial Production
According to the USDA Agricultural Marketing Service, Jerusalem artichokes remain a specialty crop with concentrated production in the Northeast, Pacific Northwest, and upper Midwest. Commercial yields typically range from 5-10 tons per acre under optimal conditions.
Conclusion
Growing Jerusalem artichokes can be a rewarding experience that provides your kitchen with unique, nutritious tubers while adding beauty to your landscape. Whether you’re cultivating them in a garden plot, containers, or even indoors, these adaptable plants offer a lot of value for relatively little effort.
Remember that once established, Jerusalem artichokes can be quite persistent, so choose your planting location carefully. With proper management, you’ll enjoy harvests year after year with minimal input—truly a vegetable for the sustainable garden.
Ready to start growing? Check your local garden center for tubers in early spring, or order from reputable online suppliers that specialize in heirloom vegetables. Your journey to Jerusalem artichoke cultivation is just beginning!
