How to Install Landscape Timber Edging: A Complete Guide
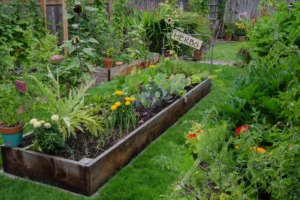
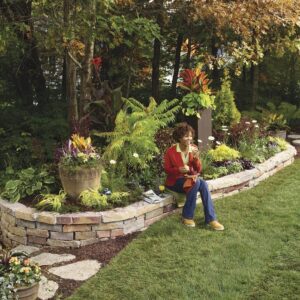
Landscape timber edging is a versatile, attractive, and cost-effective way to define garden beds, create raised planting areas, and add structure to your outdoor space. Whether you’re a seasoned DIYer or a beginner looking to enhance your landscape, installing timber edging is a project that can dramatically improve your yard’s appearance while serving practical purposes. This comprehensive guide will walk you through everything you need to know about selecting, installing, and maintaining landscape timber edging for beautiful, long-lasting results.
Why Choose Landscape Timber Edging?
Landscape timbers offer numerous advantages for homeowners looking to enhance their outdoor spaces:
- Durability: Quality timber edging can last 7-10 years with proper installation and maintenance
- Natural appearance: Wood complements garden settings with organic warmth
- Versatility: Can be used for straight lines, curves, or multi-tiered designs
- Cost-effectiveness: More affordable than stone or brick alternatives
- DIY-friendly: Requires basic tools and moderate skill level
According to the United States Department of Agriculture Forest Service, using treated wood products in landscaping can be both environmentally sustainable and practical when properly selected and installed.
Types of Landscape Timbers
Before starting your project, it’s important to understand the different types of landscape timbers available on the market:
Pressure-Treated Pine
Pressure-treated pine is the most common and economical choice for landscape timbers. These lumber pieces are chemically treated to resist insects, rot, and moisture damage.
Pros:
- Highly affordable
- Readily available at most home improvement stores
- Resists decay and insects
- Easy to cut and work with
Cons:
- Contains chemical preservatives (though modern treatments are safer than older versions)
- May warp or crack over time
- Shorter lifespan than cedar or redwood
Cedar and Redwood
These natural wood options offer superior resistance to decay without chemical treatments.
Pros:
- Naturally resistant to insects and rot
- Beautiful appearance with distinctive grain patterns
- Long-lasting (10-15 years with proper installation)
- Environmentally friendly option
Cons:
- More expensive than pressure-treated pine
- May be harder to find in some regions
- Can still weather and fade over time
Composite Landscape Timbers
Made from recycled plastic and wood fibers, composite timbers represent a low-maintenance alternative.
Pros:
- Extremely durable (20+ year lifespan)
- Won’t rot, warp, or crack
- Consistent appearance
- Environmentally friendly (often made from recycled materials)
Cons:
- Most expensive option
- Limited color options
- May look less natural than wood
- Can be heavier and more difficult to cut
Tools and Materials Needed
Gathering the right tools and materials before you begin will make your installation process much smoother:
Essential Tools:
- Circular saw or handsaw
- Drill with bits (including spade bit)
- Hammer or mallet
- Measuring tape
- Level
- String and stakes for layout
- Shovel and/or edger
- Wheelbarrow (for soil removal)
- Safety gear (gloves, eye protection, dust mask)
Materials:
- Landscape timbers (amount will depend on your project size)
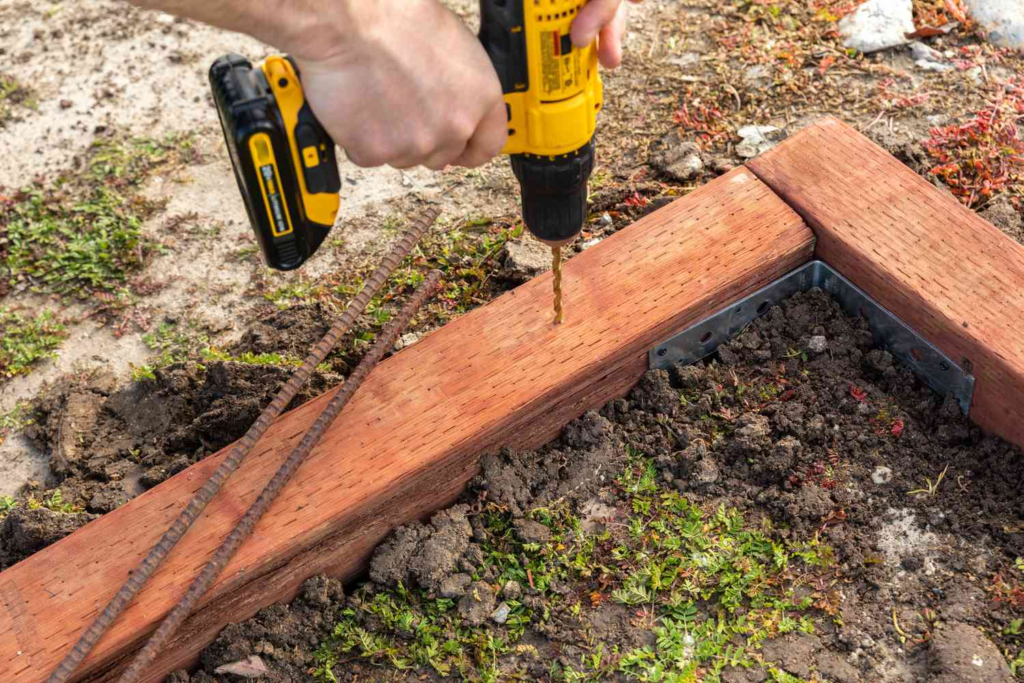
- Galvanized spikes or rebar (12-18 inches long)
- Landscape fabric (optional)
- Gravel for drainage (optional)
- Wood preservative (if using untreated wood)
Cost Comparison of Landscape Timber Options
| Timber Type | Average Cost per 8-foot Piece | Lifespan | Maintenance Level |
|---|---|---|---|
| Pressure-Treated Pine | $8-15 | 7-10 years | Medium |
| Cedar | $20-30 | 10-15 years | Low-Medium |
| Redwood | $25-40 | 10-15 years | Low-Medium |
| Composite | $30-60 | 20+ years | Very Low |
*Prices may vary by region and retailer
Step-by-Step Installation Guide
Follow these detailed steps to install your landscape timber edging properly:
1. Planning and Layout
Before installing your first timber, take time to properly plan your project:
- Define the area: Use garden hoses or rope to outline the shape of your edging.
- Mark the perimeter: Once you’re satisfied with the design, mark the outline with spray paint or stakes and string.
- Calculate materials: Measure the total linear footage needed and add 10% for cuts and waste.
- Check for utilities: Call 811 or visit Call Before You Dig to have underground utilities marked before digging.
2. Preparing the Ground
Proper ground preparation is crucial for a stable, long-lasting timber edging:
- Dig a trench: Using a flat shovel or edger, dig a trench approximately 2-3 inches deep and slightly wider than your timbers.
- Level the base: Remove any large rocks and level the bottom of the trench with a rake.
- Add drainage material: For areas with poor drainage, add a 1-inch layer of gravel at the bottom of the trench.
- Install landscape fabric: While optional, laying landscape fabric underneath your timbers will help prevent weed growth and improve longevity.
3. Installing the First Layer
The first layer of timbers forms the foundation of your edging:
- Place the first timber: Start at one end of your trench and lay the first timber with its flattest side facing down.
- Check for level: Use a level to ensure the timber is perfectly horizontal, adding or removing soil as needed.
- Continue around the perimeter: Place additional timbers end-to-end around your layout.
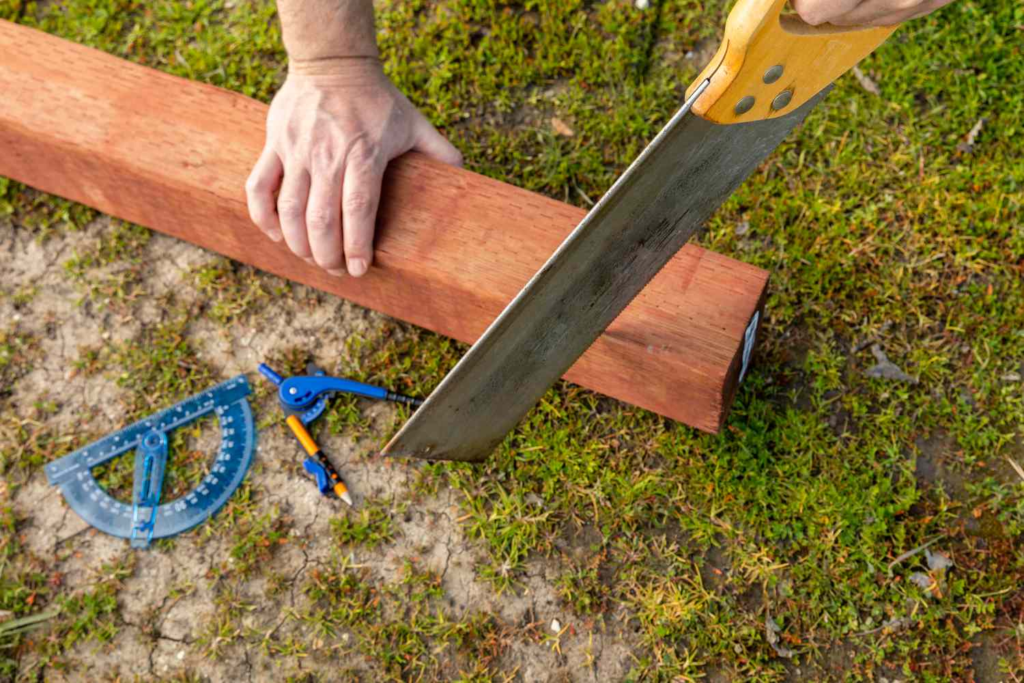
- Cut when necessary: For curves or corners, mark and cut timbers to fit using a circular saw.
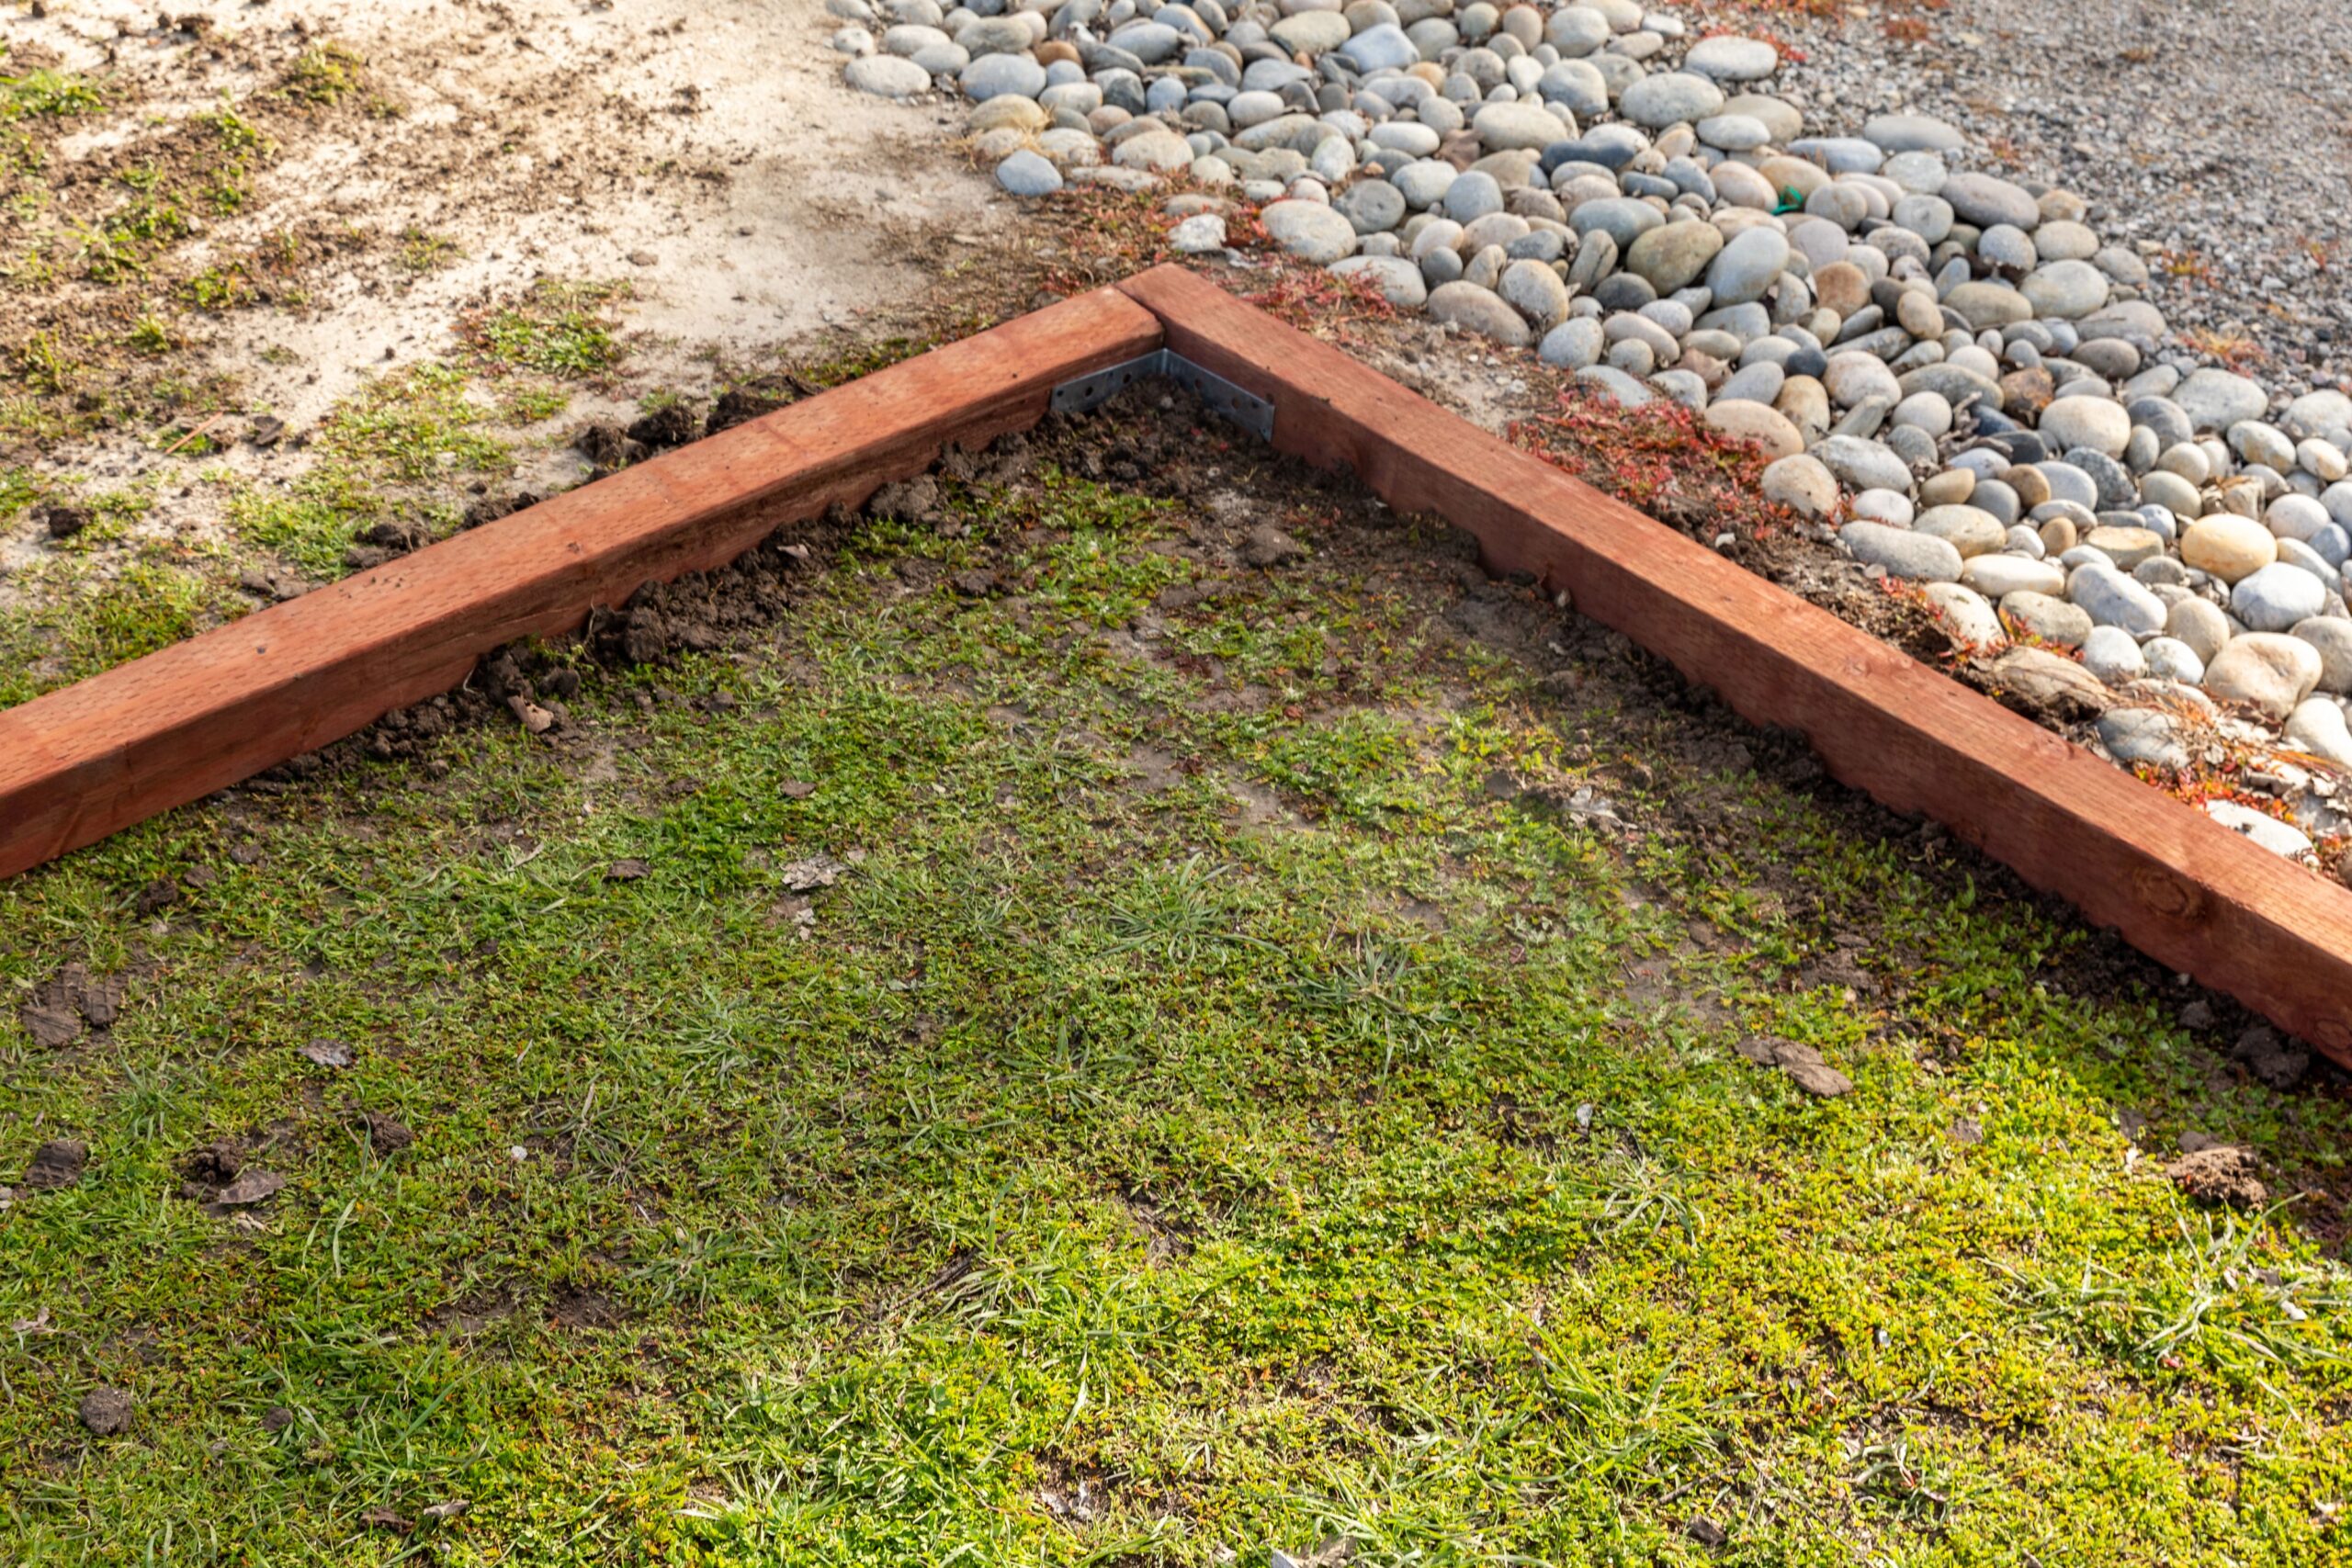
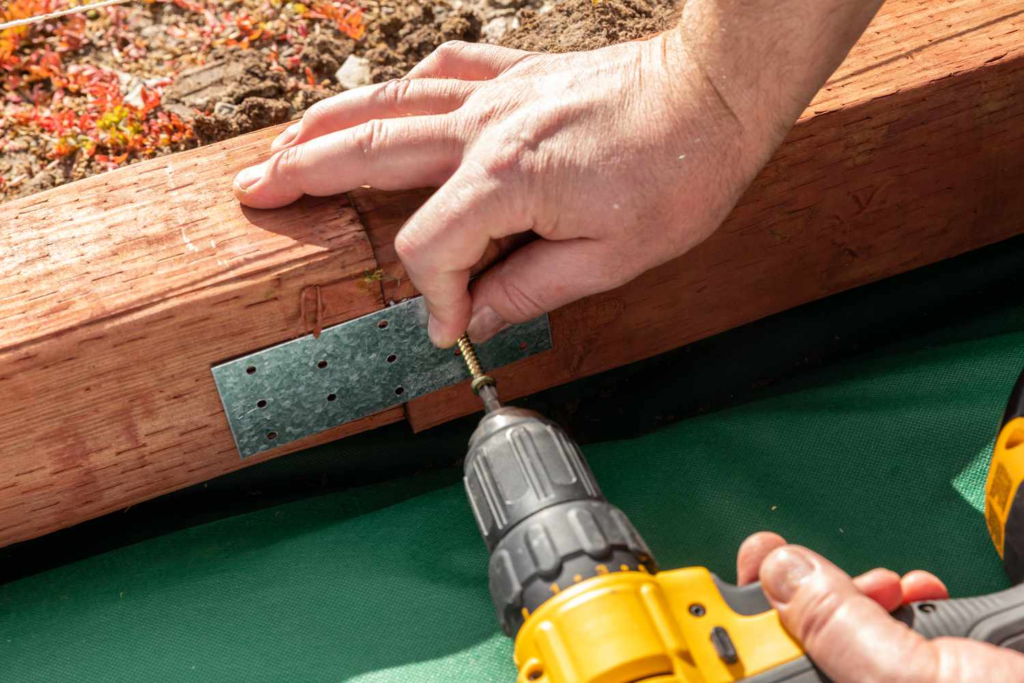
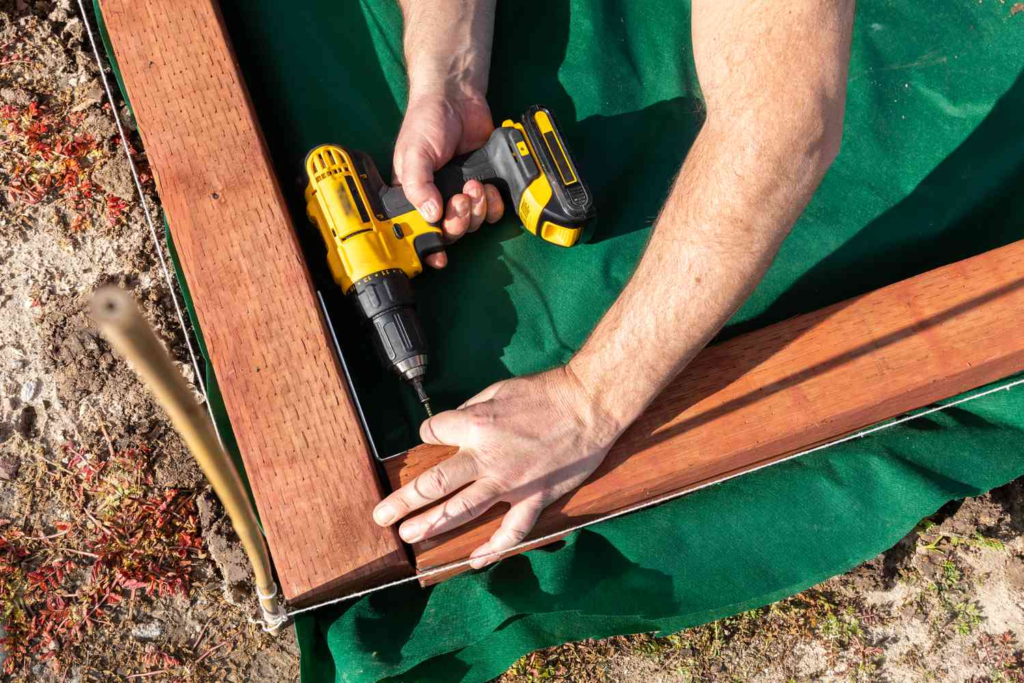
- Join pieces: Where timbers meet, drive a galvanized spike through both pieces at an angle to secure them together.
4. Adding Subsequent Layers
For raised beds or more substantial edging, add additional layers:
- Stagger the joints: Position your second layer so that the joints don’t align with the first layer for improved stability.
- Secure to the first layer: Every 2-3 feet, drill pilot holes through the top timber into the one below, then drive 10-12 inch galvanized spikes through both layers.
- Check for level: Continuously check that your structure remains level as you add layers.
- Corners and curves: Pay special attention to corners and curves, ensuring pieces fit snugly together.
5. Finishing Touches
Complete your landscape timber edging with these final steps:
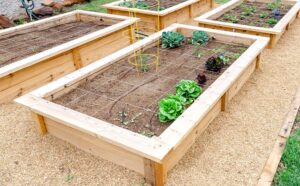
- Fill and backfill: Add soil to the inside of your edging if creating a raised bed, or backfill along the outside edge to support the structure.
- Apply wood preservative: If using untreated wood, apply a non-toxic wood preservative to extend its lifespan.
- Add mulch: Apply a layer of mulch around your new edging to complete the look and help retain moisture.
Advanced Techniques
Once you’ve mastered basic installation, consider these advanced techniques:
Creating Multi-Tiered Beds
For slopes or dramatic visual impact, create multiple tiers:
- Install the first tier following the standard instructions.
- Set back the second tier by 6-12 inches from the first.
- Secure the tiers together with long rebar driven at an angle through both walls.
- Fill each tier with soil before beginning the next one.
Building Corners and Curves
Corners and curves present special challenges:
For 90-degree corners:
- Use full-length timbers for maximum strength
- Alternate the overlap direction with each layer
- Use extra spikes at corners for reinforcement
For curves:
- Make multiple shallow cuts (called kerfs) on the inside edge of the timber
- This allows the wood to bend gradually
- For tight curves, use shorter pieces of timber
Incorporating Steps
Add steps to your timber edging for functional garden access:
- Calculate the rise and run of your steps based on the slope.
- Cut timbers to the appropriate length for the width of your steps.
- Create “boxes” by securing timbers in a rectangle for each step.
- Fill with compacted gravel and top with flat stones or pavers.
Maintenance and Care
Proper maintenance will extend the life of your landscape timber edging:
Regular Inspections
Twice yearly (spring and fall), check your timber edging for:
- Shifting or leaning: Reset any timbers that have moved out of place.
- Rot or decay: Replace any sections showing significant deterioration.
- Loose connections: Reinforce with additional spikes as needed.
- Insect damage: Treat with appropriate wood preservatives if signs of insect activity appear.
Preventative Measures
Take these steps to maximize the lifespan of your timber edging:
- Reapply preservative: Every 2-3 years, apply a fresh coat of wood preservative to untreated or lightly treated timbers.
- Maintain proper drainage: Ensure water doesn’t pool against your timbers by maintaining a slight slope away from the structure.
- Control vegetation: Keep aggressive plants and weeds away from your timber edging, as their roots can accelerate deterioration.
- Address damage promptly: Replace damaged sections before problems spread to adjacent timbers.
Environmental Considerations
When installing landscape timber edging, consider these environmental factors:
Choosing Sustainable Materials
- Reclaimed wood: Consider salvaged timbers from old buildings or other projects.
- FSC-certified lumber: Look for Forest Stewardship Council certification, which ensures sustainable harvesting.
- Local sources: Choose locally sourced wood to reduce transportation emissions.
Safe Treatments
Modern pressure-treated lumber is safer than older versions, but follow these guidelines:
- Wear gloves when handling treated wood
- Never burn treated wood
- Consider natural alternatives like cedar or redwood for edging around vegetable gardens
- Look for wood treated with ACQ (Alkaline Copper Quaternary) or copper azole, which are considered safer options
The Environmental Protection Agency provides guidelines on wood preservatives and their appropriate uses in landscape applications.
Troubleshooting Common Issues
Even with careful installation, problems can arise. Here’s how to address common issues:
Shifting or Heaving
Signs: Timbers move out of alignment, especially after freeze-thaw cycles. Solution: Remove affected timbers, re-level the base with additional gravel for drainage, and reinstall with longer spikes.
Rotting Wood
Signs: Soft, discolored wood that may crumble when touched. Solution: Replace affected sections with new timbers. Consider using more decay-resistant wood or better drainage in that area.
Insect Infestation
Signs: Small holes, sawdust-like material, or visible insects. Solution: Apply appropriate insecticide designed for landscape use, or replace severely damaged sections.
Weed Growth Between Timbers
Signs: Plants growing through joints between timbers. Solution: Apply landscape fabric behind your edging and use a vinegar-based weed killer or boiling water to eliminate existing weeds.
Conclusion
Installing landscape timber edging is a rewarding DIY project that enhances your outdoor space’s functionality and aesthetic appeal. With proper planning, installation, and maintenance, your timber edging can provide structure and definition to your landscape for many years to come.
Remember to select the right materials for your specific needs, prepare your site thoroughly, and take your time with installation. By following the steps outlined in this guide, you’ll create beautiful, durable landscape edging that complements your garden and adds value to your property.
Whether you’re defining a simple garden bed or creating an elaborate multi-tiered landscape feature, timber edging offers the perfect balance of natural beauty, affordability, and DIY-friendly installation. Get started today, and transform your outdoor space with this classic landscaping technique.
