How to Store Grass Seed: The Ultimate Guide to Maximizing Shelf Life and Germination Rates
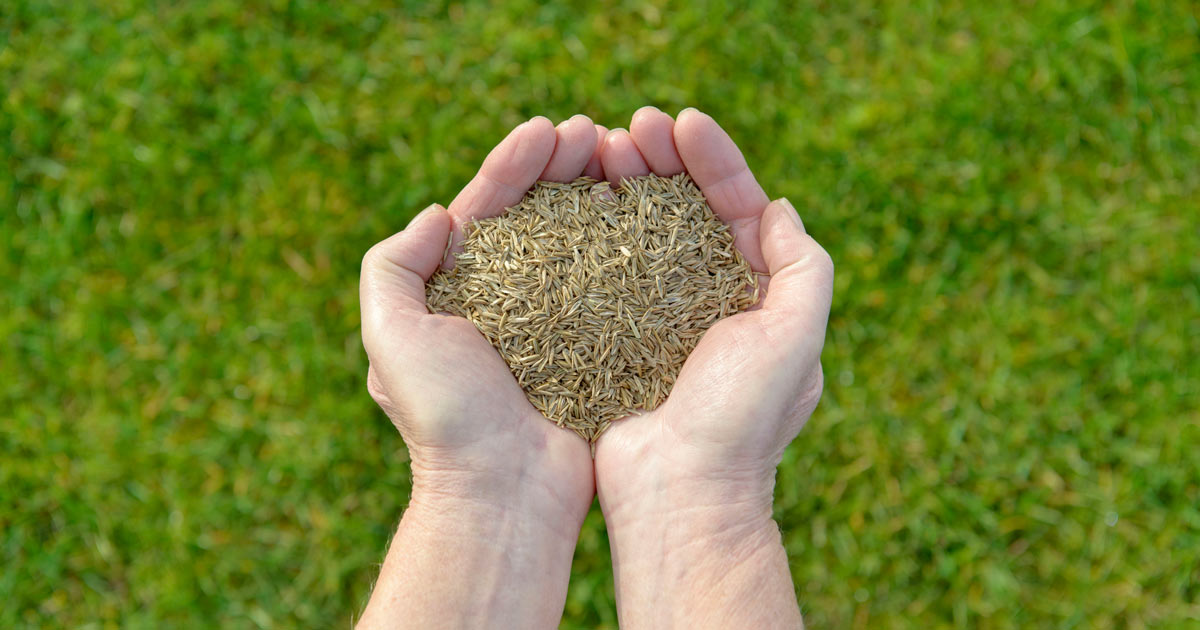
Properly storing grass seed is often overlooked, yet it’s crucial for maintaining seed viability and ensuring your lawn renovation or establishment project succeeds. Whether you’re a homeowner who purchased extra grass seed or a landscaping professional managing inventory, proper storage techniques can save you money and frustration. With the right approach, grass seed can remain viable for years rather than months, giving you flexibility for future lawn projects and peace of mind knowing your investment remains protected.
Understanding Grass Seed Viability
Grass seed isn’t eternally viable. Over time, its germination rate—the percentage of seeds that will successfully sprout—naturally declines. When freshly harvested and properly processed, most grass seed varieties boast germination rates of 85-95%. However, these rates begin to drop as soon as the seed leaves the processing facility.
Several factors influence how quickly grass seed deteriorates:
Temperature: Heat accelerates the natural aging process of seeds. Exposure to temperatures above 90°F can significantly reduce viability within weeks.
Moisture: Seeds naturally contain some internal moisture. When stored in humid conditions, they absorb additional moisture, which triggers pre-germination metabolic activities that deplete their energy reserves.
Oxygen: While seeds need oxygen to germinate, continuous exposure during storage encourages metabolic processes that gradually consume the seed’s stored energy.
Light: Direct sunlight and even prolonged exposure to artificial light can trigger hormonal changes within seeds that reduce dormancy and viability.
Different grass types also have inherently different storage potentials. Cool-season grasses like Kentucky bluegrass and perennial ryegrass typically maintain viability longer than warm-season varieties such as Bermuda or zoysia grass.
According to research from the United States Department of Agriculture (USDA), properly stored grass seed can remain viable for 2-5 years depending on the species and storage conditions. However, under poor storage conditions, that timeline might shrink to just a few months.
Optimal Storage Conditions for Grass Seed
Creating the ideal environment for grass seed storage involves controlling four key variables: temperature, humidity, light exposure, and container selection.
Temperature Control
Temperature is perhaps the most critical factor in seed storage. The warmer the storage environment, the faster seed viability declines. For optimal longevity:
Short-term storage (up to one year): Maintain temperatures below 60°F. A cool basement, garage in temperate climates, or climate-controlled shed works well for this timeframe.
Long-term storage (beyond one year): Aim for temperatures between 32-41°F. Refrigeration provides ideal conditions for extended seed life. The vegetable crisper drawer in your refrigerator offers an excellent storage location, as it typically maintains consistent temperatures with slightly reduced humidity.
Temperature fluctuations can be particularly damaging to seed viability. Each time temperature rises and falls, moisture can condense inside storage containers, creating damaging humidity. Therefore, a consistently cool environment is preferable to one that varies between cool and warm.
Humidity Management
Moisture is the arch-nemesis of dormant grass seed. Seeds naturally “breathe” at a low rate even while dormant, and excess moisture accelerates this process, depleting energy reserves that would otherwise be used for germination.
For optimal storage:
Target humidity: 10-20% relative humidity is ideal for grass seed storage. This level is significantly drier than most home environments, which typically range from 30-60% relative humidity.
Humidity indicators: Small humidity indicator cards can be placed in storage containers to monitor moisture levels.
Desiccants: Silica gel packets—the same ones found in many product packages—can be placed in storage containers to absorb excess moisture. For larger quantities of seed, food-grade diatomaceous earth can serve as an effective and economical desiccant.
The USDA’s Agricultural Research Service notes that for every 1% reduction in seed moisture content, storage life can potentially double, up to certain biological limits. This underscores the importance of keeping seeds dry during storage.
Light Protection
Light exposure can trigger chemical processes within seeds that gradually reduce viability. While not as immediately damaging as heat or moisture, light exposure still contributes to seed deterioration over time.
Opaque containers: Choose storage containers that block light completely. Metal, solid plastic, or glass containers painted on the exterior all work well.
Dark locations: Even with opaque containers, store seeds in darker areas of your home or storage space to provide an extra layer of protection.
UV consideration: If temporary exposure to light is necessary (such as when retrieving some seed), be particularly cautious about direct sunlight, as its UV component is especially detrimental to seed viability.
Container Selection
The right storage container provides multiple layers of protection for your grass seed:
Air-tight seals: Containers should seal completely to prevent humidity exchange with the surrounding environment.
Rodent-proof materials: Mice and other rodents are attracted to grass seed. Glass, metal, or heavy plastic containers prevent unwanted pests from accessing your seed supply.
Size appropriateness: Choose containers that minimize the amount of air space above the seed. Less air means less oxygen and humidity that could affect the seed.
Segmentation options: Consider using multiple smaller containers rather than one large container if you’ll need to access the seed periodically. This approach minimizes exposure to fresh air and humidity for the portion that remains in storage.
For professional landscapers or those with larger quantities, food-grade buckets with gamma-seal lids provide excellent protection and convenient access.
Step-by-Step Guide to Properly Storing Grass Seed
Now that you understand the principles behind proper seed storage, here’s a practical guide to implementing these concepts:
Step 1: Prepare Your Seed for Storage
If you’ve purchased more seed than needed for your current project, take these steps before storage:
- Keep seed in its original packaging if possible, as manufacturer bags often include protective treatments and information about the seed variety and purchase date.
- If the original packaging is damaged or open, transfer seed to your chosen storage container immediately.
- Remove as much air as possible from the container before sealing. For bags, press out excess air; for rigid containers, fill them as completely as practical.
- Label containers with:
- Grass seed type/variety
- Purchase date
- Expected germination rate (from original packaging)
- Any lawn treatments applied to your existing lawn (helpful for future reference)
Step 2: Select and Prepare Storage Containers
Choose containers based on your storage duration needs:
For storage up to one year:
- Original manufacturer packaging (if intact and resealable)
- Sealable plastic containers
- Mason jars with tight-fitting lids
- Vacuum-sealed bags
For longer-term storage:
- Metal containers with gasket seals
- Glass containers with rubber gaskets
- Food-grade plastic buckets with gamma-seal lids
- Mylar bags with oxygen absorbers
Prepare your container by ensuring it’s completely dry. For plastic containers, a quick wipe with a clean cloth is sufficient. For glass or metal, ensure they are completely dry after washing.
Step 3: Add Moisture Protection
For optimal moisture control:
- Add desiccant packets to your storage container. As a general rule, use one standard silica gel packet (the type found in shoe boxes) for every quart-sized container of seed.
- For larger containers, use desiccant packets rated for the container size or add food-grade diatomaceous earth (approximately 1-2 tablespoons per gallon of container capacity).
- Place desiccant at both the bottom and top of the container for more effective moisture control throughout the seed mass.
- Consider using humidity indicator cards in larger containers to monitor moisture levels without opening the container.
Step 4: Store in Appropriate Locations
Based on your expected storage duration:
Short-term storage locations (up to one season):
- Cool basement areas away from furnaces and water heaters
- Closets on north-facing walls (typically cooler)
- Under beds in air-conditioned rooms
- Garages or sheds in temperate seasons (avoid during summer heat)
Long-term storage locations (beyond one season):
- Refrigerator (preferably in the crisper drawer)
- Wine coolers set to appropriate temperatures
- Root cellars
- Climate-controlled storage units
Step 5: Maintenance and Monitoring
Once your seed is properly stored:
- Minimize container access. Each time you open the container, you expose the seed to fresh air and potentially different humidity levels.
- If using humidity indicators, check them periodically without opening containers when possible.
- Replace desiccants annually for long-term storage.
- If storing in a refrigerator, place containers in plastic bags to prevent condensation when removing them temporarily to warmer environments.
Expected Shelf Life by Grass Type
Different grass varieties have inherently different storage potentials even under ideal conditions. The table below provides general guidelines for grass seed viability when properly stored:
| Grass Type | Optimal Storage Life | Maximum Storage Life | Germination Rate After 1 Year |
|---|---|---|---|
| Kentucky Bluegrass | 2-3 years | 5+ years | 70-80% |
| Perennial Ryegrass | 3-5 years | 6+ years | 75-85% |
| Tall Fescue | 3-4 years | 6+ years | 75-85% |
| Fine Fescue | 2-3 years | 5+ years | 65-75% |
| Bermuda Grass | 1-2 years | 3+ years | 60-70% |
| Zoysia Grass | 1-2 years | 3 years | 50-65% |
| Centipede Grass | 1-2 years | 3 years | 55-65% |
| St. Augustine | 1 year | 2 years | 40-60% |
This information aligns with research from the National Turfgrass Evaluation Program, which studies grass performance across various conditions. For more detailed information about specific grass varieties, you can visit the USDA’s Natural Resources Conservation Service website at https://plants.usda.gov, which provides extensive information about native and introduced grass species in the United States.
Testing Seed Viability Before Planting
If you’ve stored grass seed for an extended period, it’s wise to test its viability before committing to a large-scale planting project. Here’s a simple process:
- Count out seeds: Take 100 seeds from your stored supply, selecting them randomly from different areas of the container for a representative sample.
- Prepare test medium: Place the seeds between two damp paper towels or coffee filters. The material should be thoroughly moist but not dripping wet.
- Create germination environment: Place the damp towels with seeds in a plastic bag or container. Leave it partially open for air circulation.
- Maintain ideal conditions: Keep the test container in a warm location (70-75°F) with indirect light.
- Monitor and count: After 7-14 days (depending on grass variety), count how many seeds have sprouted. This percentage represents your approximate germination rate.
- Adjust seeding rate: If testing reveals lower germination rates, you can compensate by increasing your seeding rate proportionally. For example, if testing shows 60% germination instead of an expected 90%, increase your seeding rate by 50% to achieve similar results.
Special Considerations for Coated and Treated Seeds
Many modern grass seed products include coatings or treatments that require additional storage considerations:
Starter fertilizer coatings: Seeds coated with starter fertilizers are particularly sensitive to moisture during storage. These require extra attention to humidity control, as the fertilizer components can attract and hold moisture that may damage the seed.
Fungicide treatments: Some seed is treated with fungicides to prevent disease during the establishment phase. These treatments can deteriorate over time, especially in warm or humid storage conditions.
Mulch-coated seed: Products that include mulch coatings for water retention require particularly dry storage conditions to prevent premature activation of the mulch component.
For these specialized seed products:
- Store in the coolest, driest conditions available
- Use additional desiccant materials in storage containers
- Limit storage duration to manufacturer recommendations when possible
- Keep in original packaging whenever practical, as these are designed for the specific seed treatments
Managing Partially Used Seed Bags
Homeowners often find themselves with partially used bags of grass seed after completing lawn projects. Here’s how to handle these situations:
- Immediate resealing: As soon as you’ve removed the needed portion of seed, immediately reseal the bag as tightly as possible, removing excess air.
- Transfer to better containers: Consider transferring remaining seed to a more air-tight container if the original packaging can’t be effectively resealed.
- Refrigerate promptly: If you don’t anticipate using the remaining seed within 2-3 months, place it in refrigerated storage immediately rather than waiting.
- Label clearly: Mark the container with the date it was opened, as this becomes your new reference point for viability calculations.
- Priority usage: Make a note to use partially used bags first for your next seeding project, saving unopened bags for longer-term storage.
Professional Storage for Landscapers and Lawn Care Businesses
For landscaping professionals managing larger quantities of grass seed, additional considerations apply:
- Inventory tracking: Implement a first-in, first-out (FIFO) system to ensure older seed is used before newer purchases.
- Temperature monitoring: Install inexpensive temperature and humidity monitors in storage areas to ensure conditions remain optimal.
- Bulk storage options: Consider investing in larger-scale storage solutions like:
- Dedicated seed refrigerators
- Climate-controlled storage rooms with dehumidifiers
- Vacuum-sealing equipment for creating smaller, job-sized packages from bulk purchases
- Germination testing program: Establish a regular testing protocol to monitor the viability of stored seed, particularly before the start of each growing season.
- Supplier relationships: Develop relationships with seed suppliers who can provide information about the harvest date and initial testing results of seed batches, which helps in predicting storage life more accurately.
Conclusion
Proper grass seed storage represents a small investment of time and resources that can yield significant savings and better results for your lawn projects. By controlling temperature, humidity, light exposure, and using appropriate containers, you can extend the life of your grass seed investment from months to years.
Remember that even with optimal storage, grass seed remains a living product with a natural lifespan. Regular viability testing helps ensure you’ll achieve the lush, green lawn you’re working toward. By following the guidelines in this article, you’ll maximize your seed’s potential and minimize waste, whether you’re a homeowner managing a single lawn or a professional caring for many properties.
For additional information about grass types and their specific requirements, the USDA’s Plant Materials Program offers excellent resources at https://www.nrcs.usda.gov/resources/guides-and-instructions/plant-materials-technical-publications.
