The Ultimate Guide to Growing Tat Soi: From Seeds to Harvest
Tat soi (also spelled tatsoi) is a versatile Asian green that’s gaining popularity in the U.S. for its mild mustard flavor and impressive nutritional profile. Whether you’re a seasoned gardener or just starting out, growing this leafy vegetable at home can be both rewarding and straightforward. This comprehensive guide will walk you through everything you need to know about cultivating tat soi in your home garden, in containers, or even indoors.
What is Tat Soi?
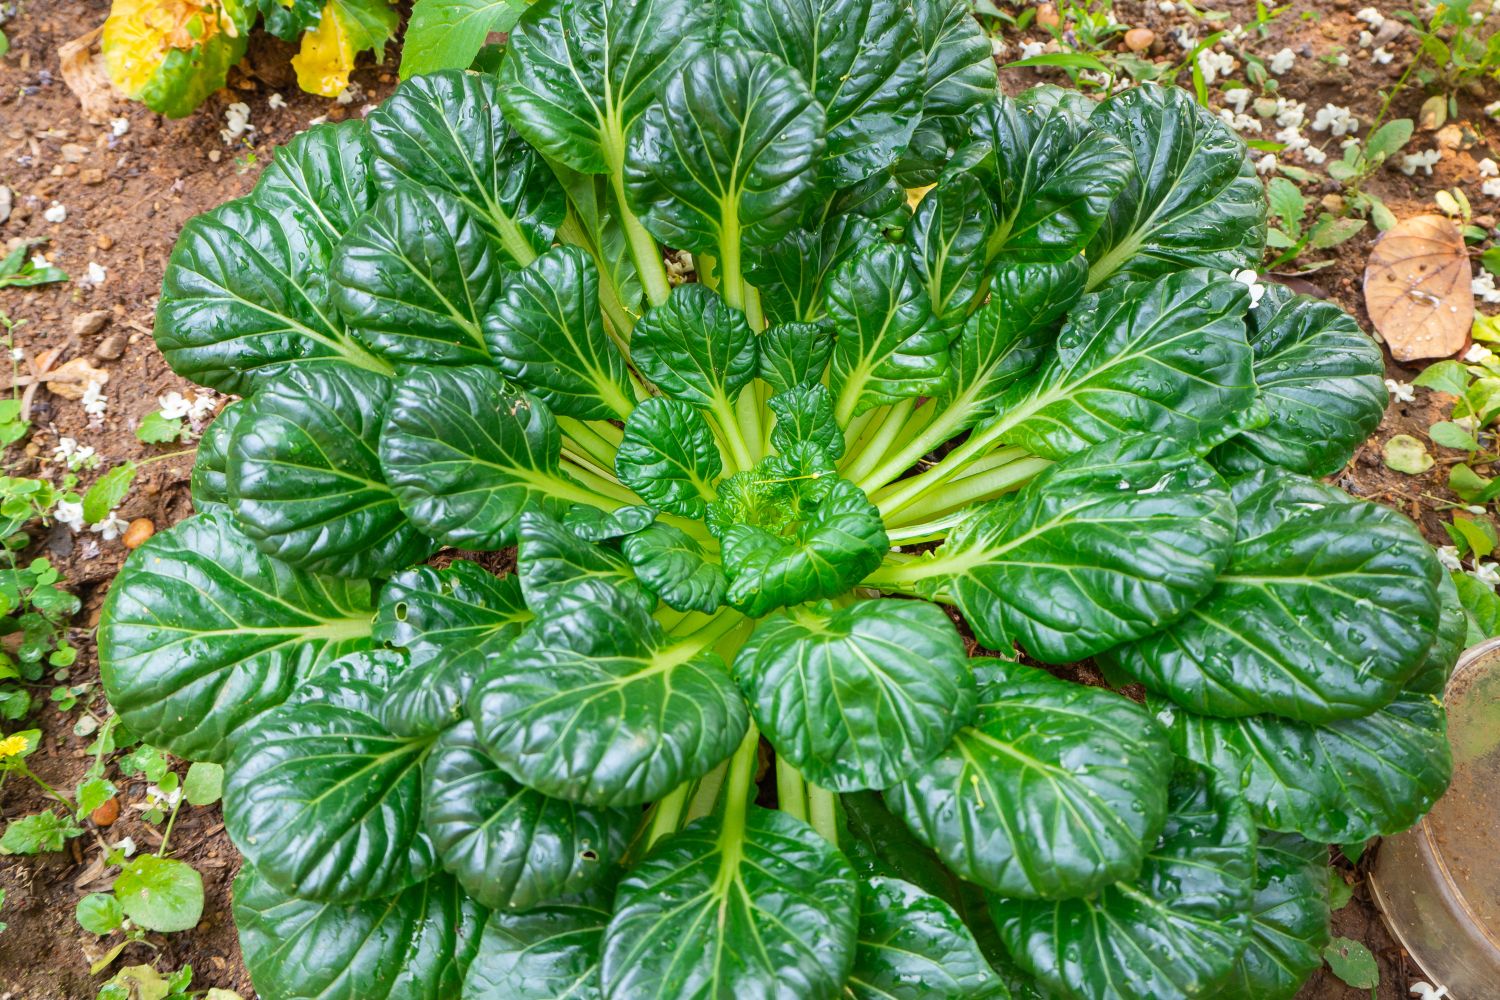
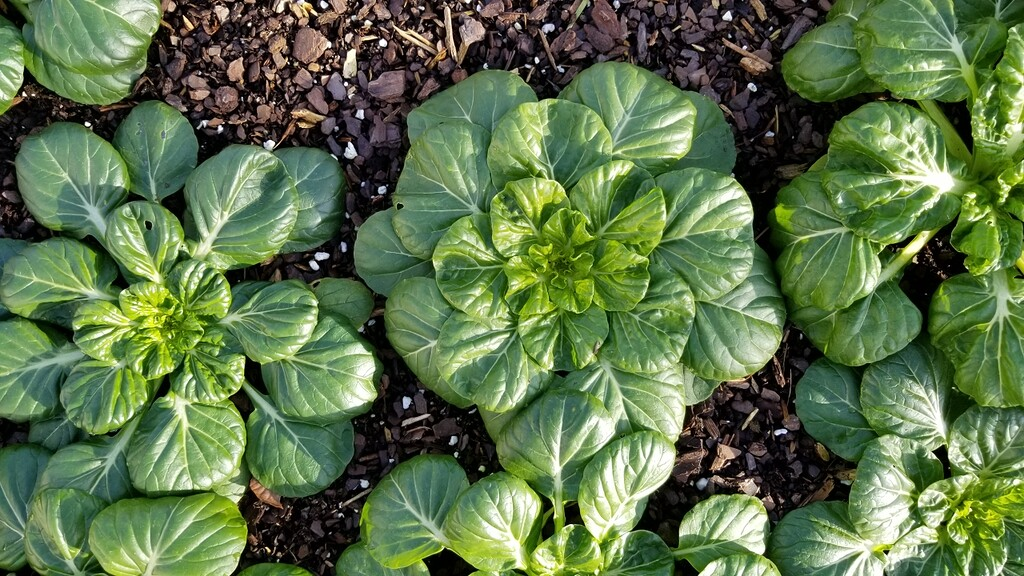
Tat soi (Brassica rapa subsp. narinosa) is a member of the Brassicaceae family, related to other popular greens like bok choy and mustard greens. Known for its spoon-shaped dark green leaves that grow in rosette formations, tat soi offers a mild mustard flavor with a slight peppery kick. This nutrient-dense green is rich in vitamins A, C, and K, calcium, and antioxidants.
According to the USDA Agricultural Research Service, leafy greens like tat soi are becoming increasingly important in diversifying American diets with nutritious vegetables that are adaptable to various growing conditions (USDA-ARS).
When to Plant Tat Soi
Timing is crucial for successful tat soi cultivation. As a cool-weather crop, it performs best in spring and fall.
Planting Schedule for Different U.S. Regions
| Region | Spring Planting | Fall Planting | Indoor Start (Before Last Frost) |
|---|---|---|---|
| Northeast | April-May | August-September | 3-4 weeks |
| Midwest | March-April | August-September | 3-4 weeks |
| Pacific Northwest | March-April | August-October | 2-3 weeks |
| Southwest | February-March | September-October | 4-5 weeks |
| Southeast | February-March | September-November | 4-5 weeks |
Growing Tat Soi from Seed
Growing tat soi from seed is economical and gives you more variety options than buying seedlings. Here’s how to get started:
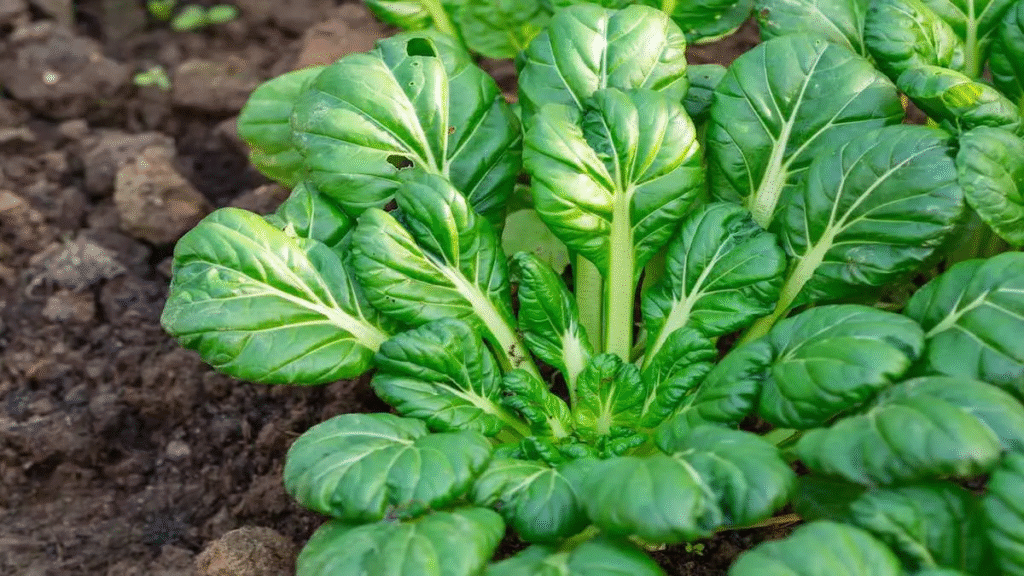
Direct Seeding in Your Garden
- Prepare your soil: Tat soi prefers well-draining, fertile soil with a pH between 6.0 and 7.5. Work in 2-3 inches of compost before planting.
- Sow the seeds: Plant seeds 1/4 inch deep in rows 12-18 inches apart. Within rows, space seeds about 1 inch apart.
- Thin seedlings: Once seedlings reach 2-3 inches tall, thin them to 6-8 inches apart. Don’t discard the thinnings—they’re perfectly edible in salads!
- Water consistently: Keep the soil consistently moist but not waterlogged. Tat soi needs about 1 inch of water per week.
Starting Seeds Indoors
Starting seeds indoors gives you a head start on the growing season:
- Fill seed trays with a quality seed-starting mix.
- Sow seeds 1/4 inch deep, placing 2-3 seeds per cell.
- Maintain temperature: Keep the soil temperature between 65-75°F for optimal germination, which typically occurs within 4-7 days.
- Provide adequate light: Once germinated, ensure seedlings receive 14-16 hours of light daily. A sunny window may not be sufficient—consider using grow lights.
- Transplant outdoors when seedlings have developed 3-4 true leaves and after hardening them off for a week by gradually exposing them to outdoor conditions.
Growing Tat Soi in Containers
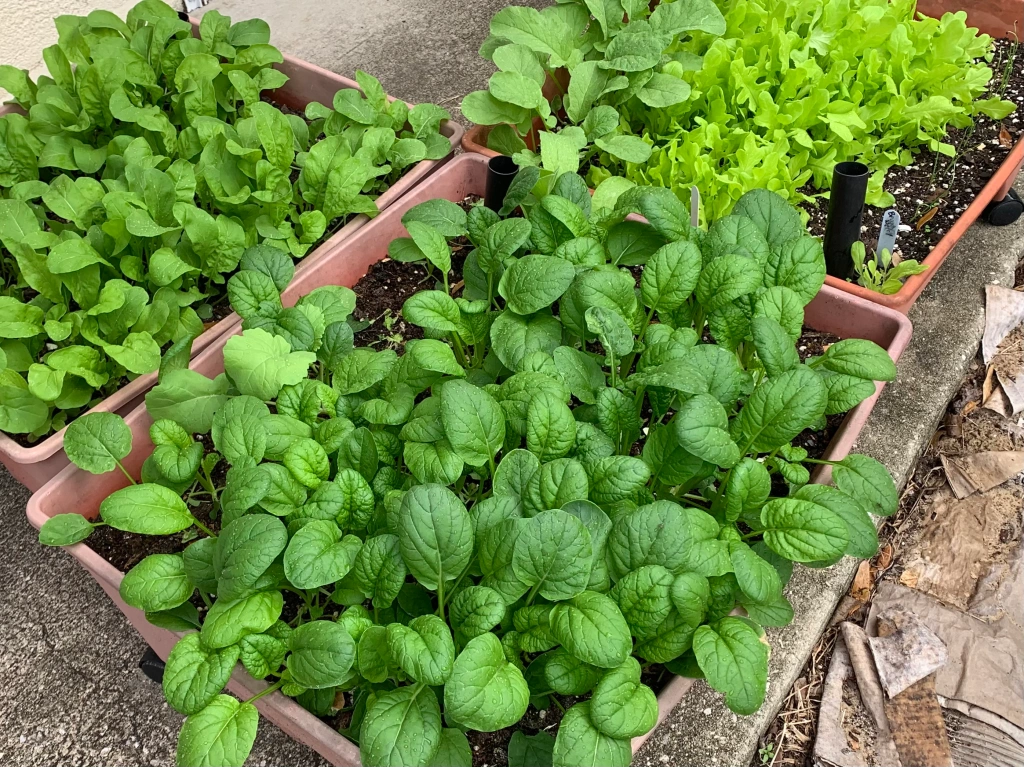
Don’t have garden space? No problem! Tat soi thrives in containers, making it perfect for patios, balconies, or even windowsills.
Container Selection and Preparation
Choose a container at least 6 inches deep with adequate drainage holes. A 12-inch diameter pot can accommodate 3-4 tat soi plants.
- Fill your container with high-quality potting mix enriched with compost.
- Sow seeds 1/4 inch deep and 1 inch apart, or transplant seedlings 6 inches apart.
- Place your container where it will receive 6+ hours of sunlight daily (less in hot regions).
- Water thoroughly but allow the top inch of soil to dry slightly between waterings.
Indoor Tat Soi Cultivation
You can grow tat soi indoors year-round with the right setup:
Setting Up Your Indoor Garden
- Choose a location near a south-facing window if possible. If natural light is limited, invest in full-spectrum LED grow lights.
- Maintain temperature: Tat soi prefers cooler temperatures between 60-70°F during the day and slightly cooler at night.
- Ensure good air circulation to prevent mold and fungal diseases.
Hydroponic Options
For the tech-savvy gardener, tat soi adapts well to hydroponic systems:
- Select a system: Nutrient film technique (NFT) or deep water culture (DWC) systems work well.
- Monitor pH levels carefully, keeping them between 5.8-6.2 for optimal nutrient uptake.
- Change nutrient solution every 1-2 weeks to prevent salt buildup and ensure proper nutrition.
Caring for Your Tat Soi Plants
Watering Requirements
Consistent moisture is key for tat soi cultivation. Aim for about 1-1.5 inches of water per week, adjusting based on your local conditions. Container plants will need more frequent watering than garden-grown tat soi.
Fertilization
Tat soi is a moderate feeder:
- Garden beds: Apply a balanced organic fertilizer (like 5-5-5) at planting time. Side-dress with compost or diluted fish emulsion halfway through the growing season.
- Containers: Apply a half-strength liquid organic fertilizer every 2-3 weeks.
The Environmental Protection Agency provides guidelines for sustainable fertilizer use that can help optimize your garden’s productivity while minimizing environmental impact (EPA).
Pest and Disease Management
Tat soi can be affected by common brassica pests and diseases:
Common Pests:
- Aphids: Control with insecticidal soap or a strong water spray.
- Flea beetles: Use floating row covers to physically block them.
- Cabbage worms: Hand-pick or treat with Bacillus thuringiensis (Bt), an organic pesticide.
Common Diseases:
- Downy mildew: Improve air circulation and avoid overhead watering.
- Clubroot: Maintain proper soil pH (above 6.8) and practice crop rotation.
Harvesting Your Tat Soi
One of the beauties of growing tat soi is its flexibility in harvesting:
Cut-and-Come-Again Method
For continuous harvests:
- Cut outer leaves when they reach 3-4 inches long, leaving the center intact.
- The plant will continue producing new leaves for multiple harvests.
Full Plant Harvest
When plants reach maturity (30-45 days from seeding):
- Cut the entire plant at soil level using clean, sharp scissors.
- For the best flavor, harvest in the morning when temperatures are cooler.
Extending Your Tat Soi Season
Cold Protection Techniques
Tat soi is surprisingly cold-hardy and can withstand light frosts (down to about 25°F):
- Use row covers made of lightweight fabric to protect plants during cold snaps.
- Apply mulch around plants to insulate soil and regulate temperature.
- Cold frames or mini-greenhouses can extend your growing season by several weeks on either end.
Saving Seeds
Sustainability-minded gardeners can save tat soi seeds for future plantings:
- Allow a few plants to bolt (flower and produce seed pods).
- When seed pods turn brown and dry, collect them in paper bags.
- Store seeds in a cool, dry place for up to three years.
The USDA National Plant Germplasm System offers valuable information on seed saving practices for various crops, including leafy greens like tat soi (USDA-NPGS).
Using Tat Soi in Your Kitchen
After harvesting your homegrown tat soi, incorporate it into your culinary repertoire:
Raw Applications:
- Add young leaves to salads for a mild peppery flavor
- Use as a sandwich green instead of lettuce
- Incorporate into fresh spring rolls
Cooked Applications:
- Stir-fry with garlic, ginger, and soy sauce
- Steam briefly and dress with sesame oil
- Add to soups and stews in the last few minutes of cooking
- Sauté with other greens for a nutrient-packed side dish
Growing Tat Soi for the U.S. Market
With increasing consumer interest in diverse greens, tat soi represents an opportunity for small-scale market gardeners. According to the U.S. Department of Agriculture’s Economic Research Service, locally grown specialty crops like Asian greens have seen steady growth in demand over the past decade.
Market Potential
If you’re considering growing tat soi commercially:
- Research local markets: Farmers’ markets, CSAs, and farm-to-table restaurants often seek unique, locally grown produce.
- Extended season production: Using season extension techniques like high tunnels can allow you to supply tat soi when other producers cannot, potentially commanding premium prices.
- Value-added products: Consider washed, ready-to-eat packaging to appeal to time-conscious consumers.
The USDA Agricultural Marketing Service provides resources for specialty crop growers looking to enter or expand in local markets (USDA-AMS).
Conclusion
Growing tat soi at home, whether in your garden, in containers, or indoors, is a rewarding way to add this nutritious Asian green to your diet. With its quick growth cycle, cold tolerance, and culinary versatility, tat soi deserves a place in every gardener’s vegetable rotation. By following the guidelines in this comprehensive guide, you’ll be well on your way to harvesting fresh, homegrown tat soi for your kitchen.
Remember that gardening is partly science and partly art—don’t be afraid to experiment with different growing methods to find what works best in your unique conditions.
