How to Till a Garden: Preparing Perfect Soil for a Thriving Growing Season
Tilling your garden is one of the most fundamental steps in creating the foundation for a successful growing season. This crucial process breaks up compacted soil, incorporates organic matter, and creates the ideal environment for seeds and transplants to establish strong root systems. Whether you’re establishing a new garden bed or rejuvenating an existing plot, proper tilling techniques can make the difference between struggling plants and a bountiful harvest. This comprehensive guide will walk you through everything you need to know about tilling your garden effectively, from determining the right soil conditions to choosing the appropriate tools for your specific situation.
Why Tilling Matters: Benefits for Your Garden
Before diving into the how-to aspects of tilling, it’s important to understand why this process is so beneficial for your garden:
- Improved Aeration: Tilling introduces oxygen into the soil, which is essential for healthy root development and beneficial microbial activity.
- Enhanced Drainage: Breaking up compacted layers allows water to penetrate deeper, preventing pooling and reducing runoff.
- Easier Root Penetration: Loosened soil allows plant roots to expand more freely, accessing nutrients and moisture throughout a larger soil volume.
- Weed Suppression: Tilling can disrupt weed life cycles by uprooting existing weeds and burying their seeds too deep to germinate.
- Nutrient Incorporation: This process effectively mixes in compost, organic matter, and amendments throughout the root zone where plants can access them.
- Pest Disruption: Turning the soil can expose insects, larvae, and eggs to predators and harsh conditions, reducing pest populations.
Best Soil Conditions for Tilling: Timing It Right
Tilling at the wrong time can damage soil structure and create more problems than it solves. The moisture content of your soil is particularly critical for successful tilling.
Optimal Soil Moisture
The ideal soil for tilling is:
- Moist but not wet
- Crumbly rather than sticky
- Able to form a loose ball when squeezed but breaks apart easily
To test if your soil is ready for tilling:
- Grab a handful of soil and squeeze it firmly
- Open your hand and gently poke the soil ball
- If it crumbles easily, conditions are ideal for tilling
- If it remains in a tight ball or feels sticky, it’s too wet
- If it won’t form a ball at all, it may be too dry
Seasonal Timing Considerations
While soil moisture is the primary factor, season also plays a role in determining the best time to till:
Fall Tilling:
- Allows amendments to break down over winter
- Exposes pest larvae to winter conditions
- Gives soil time to settle before spring planting
- Helps incorporate fall leaves and garden debris
Spring Tilling:
- Best done when soil has dried sufficiently after winter
- Typically 2-3 weeks before your planned planting date
- When soil temperature at 4-inch depth reaches 50°F
- Early enough to allow soil to settle before planting
Avoid Tilling When:
- Soil is waterlogged or excessively dry
- During periods of active plant growth
- During extreme heat that could damage soil microorganisms
- On steep slopes where erosion is a concern
Tilling Soil for Vegetable Gardens: Special Considerations
Vegetable gardens have specific tilling requirements due to their intensive nature and the regular harvest and replanting cycles they undergo.
Depth Requirements
Different vegetables have different rooting depths, which affects how deeply you should till:
- Shallow-rooted vegetables (lettuce, spinach, radishes): 6-8 inches tilling depth
- Medium-rooted vegetables (beans, cucumbers, peppers): 8-10 inches tilling depth
- Deep-rooted vegetables (tomatoes, squash, corn): 10-12 inches tilling depth
For mixed vegetable gardens, aim for a tilling depth of 8-10 inches to accommodate most crops.
Incorporating Amendments
The tilling process provides an ideal opportunity to improve your soil for vegetable production:
- Spread amendments evenly across the garden surface before tilling:
- Compost: 2-4 inches for new gardens, 1-2 inches for established beds
- Aged manure: 1-2 inches if applied in fall (not recommended for spring tilling)
- Peat moss: 1-2 inches to improve water retention in sandy soils
- Lime or sulfur: Apply according to soil test recommendations
- Till amendments in thoroughly to distribute them evenly throughout the root zone.
- Consider crop rotation needs when preparing different sections of your vegetable garden.
No-Till Options for Vegetables
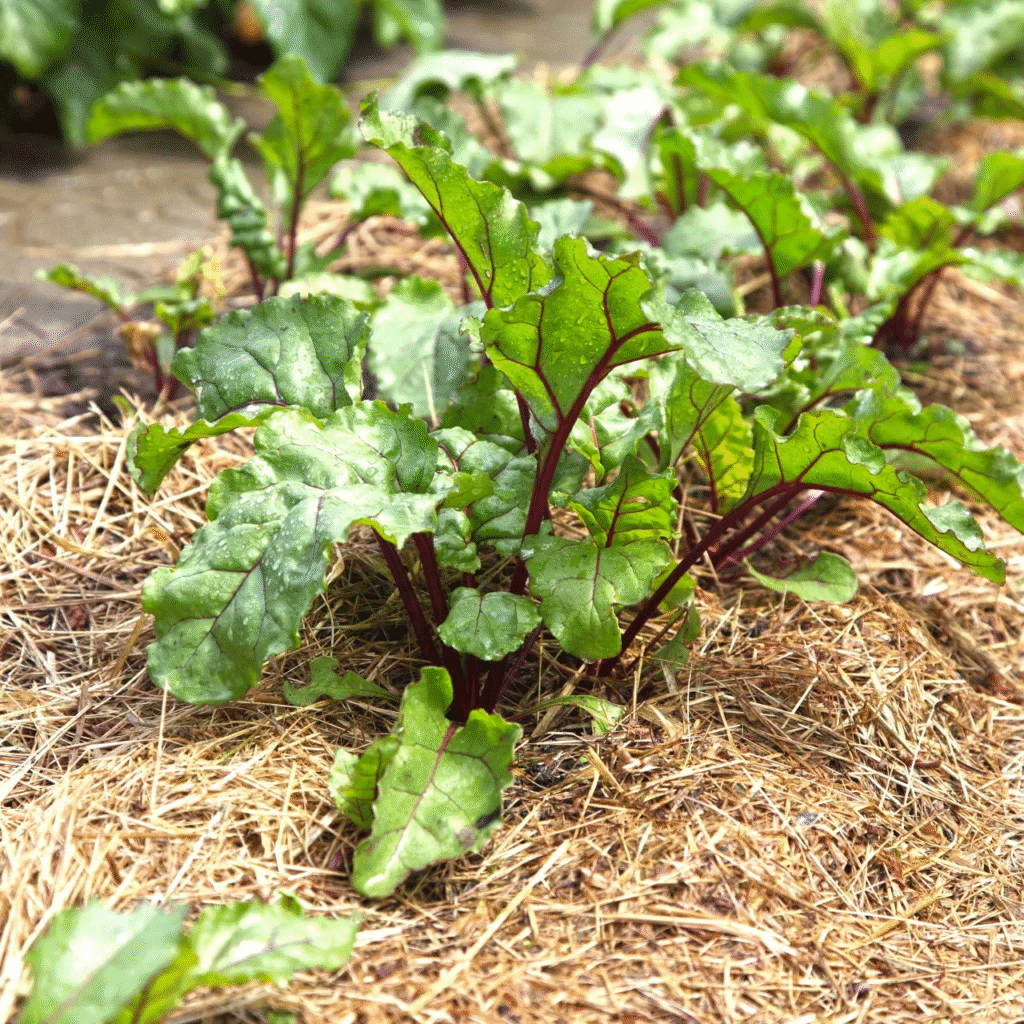
While traditional tilling has been the standard approach, many vegetable gardeners are shifting to reduced-till or no-till methods:
- Sheet mulching: Layering cardboard and compost to suppress weeds
- Broad forking: Using a broadfork to aerate without excessive soil disturbance
- Deep mulching: Applying thick organic mulch that breaks down over time
These approaches may be preferable for established beds where soil structure has already been developed.
Choosing the Right Tilling Tools: From Hand Tools to Machine Power
The size of your garden and soil conditions will determine which tilling tools are most appropriate.
Hand Tools for Small Gardens
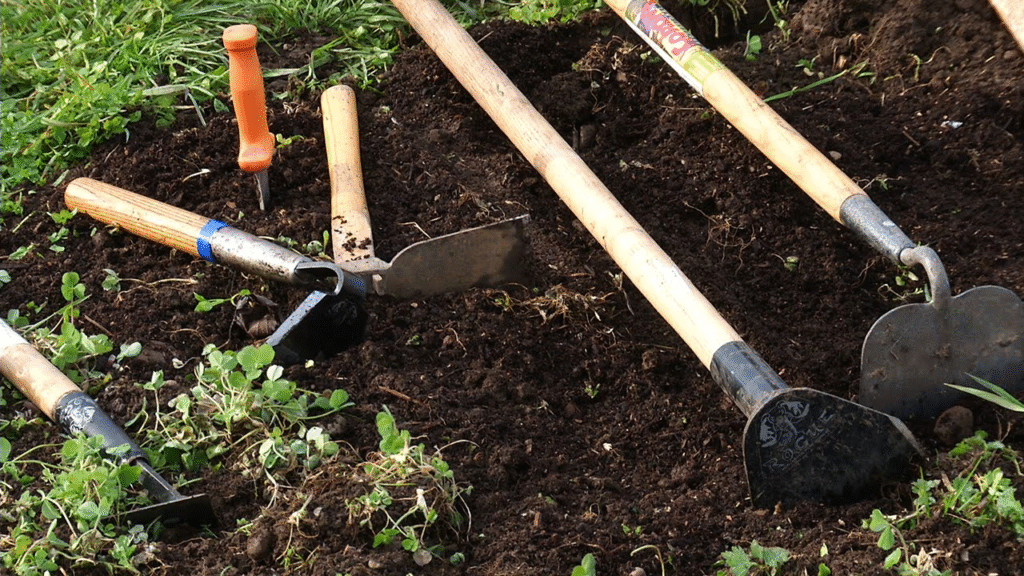
For gardens under 200 square feet, these manual options are often sufficient:
Garden Spikes and Tillers
A garden spike (also called a garden claw or cultivator) is an excellent tool for:
- Breaking up moderately compacted soil
- Working around established plants without damaging roots
- Incorporating amendments into existing beds
- Aerating small areas between plantings
How to use a garden spike to till ground:
- Position the spike tines perpendicular to the soil surface
- Apply pressure with your foot to drive tines into the soil
- Pull back slightly on the handle to lift and break the soil
- Twist the tool to further loosen soil clumps
- Repeat in overlapping patterns across the garden area
Other Hand Tilling Options
- Garden fork: Excellent for breaking initial ground and aerating
- Broadfork: Preserves soil layers while creating deep aeration
- Hoe: Better for shallow surface tilling and weed control
- Hand cultivator: Ideal for working around existing plants
Power Tools for Larger Gardens
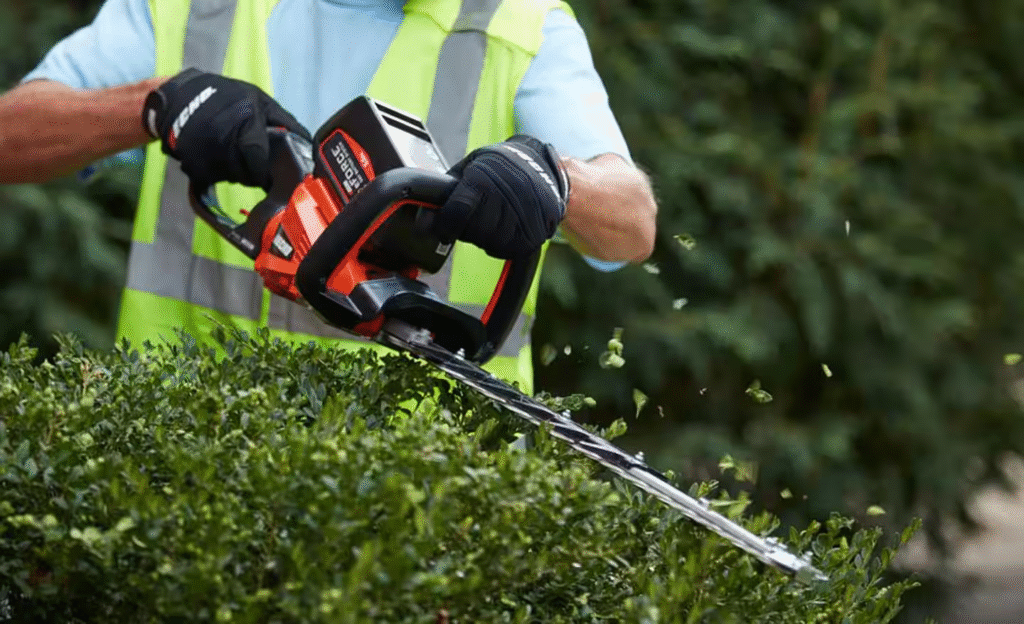
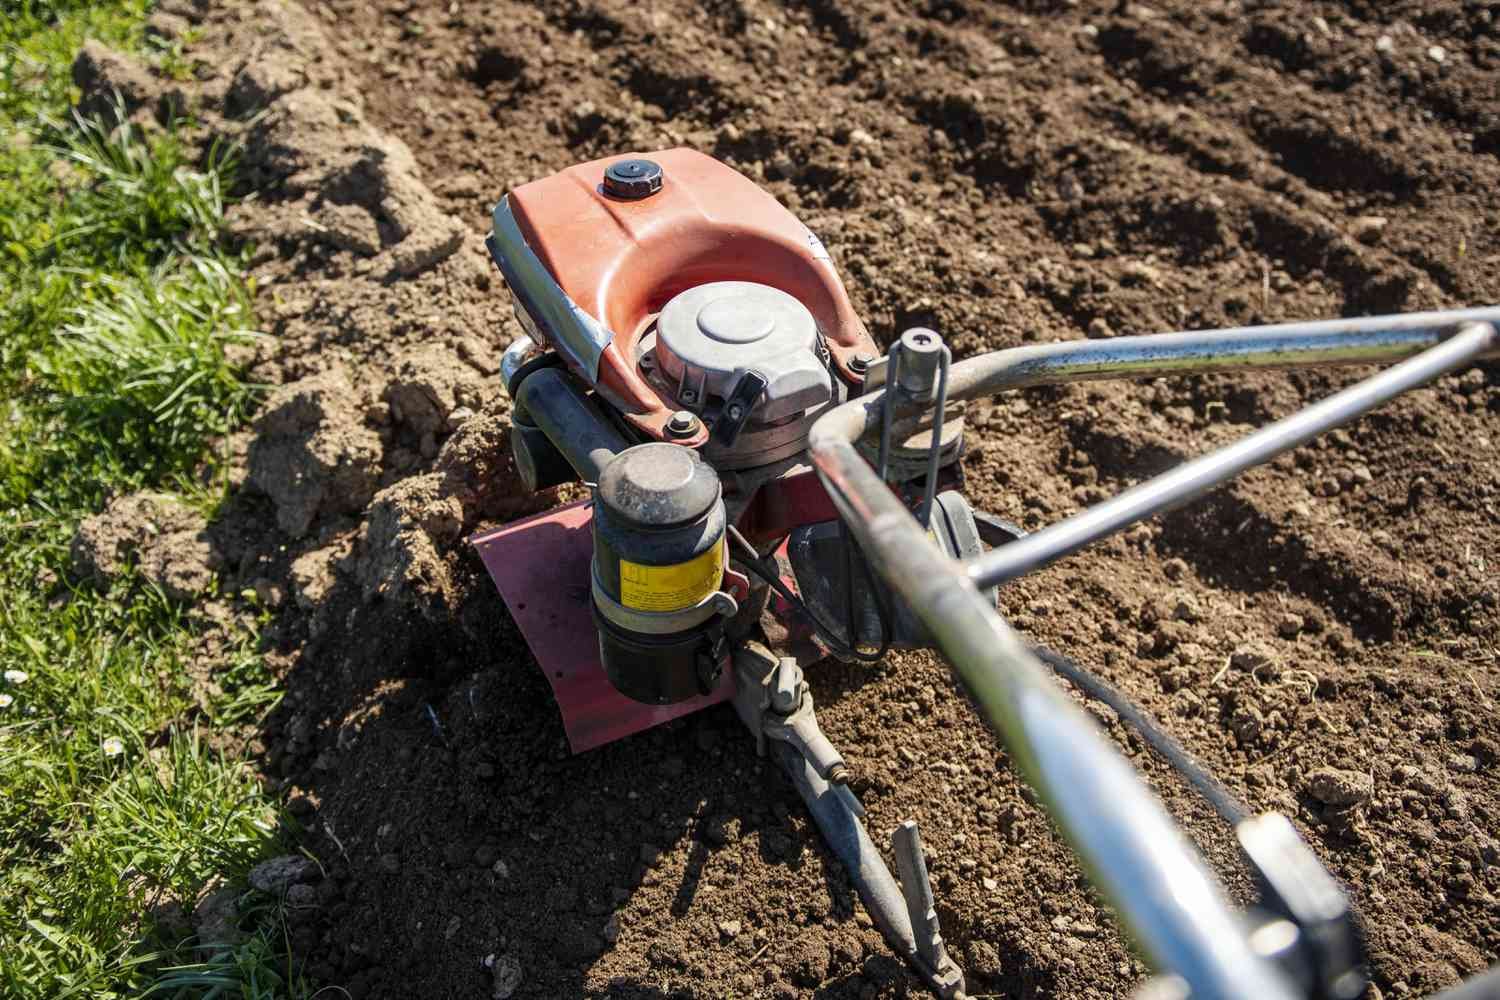
For gardens larger than 200 square feet, power tools can save significant time and effort:
- Front-tine tillers: Best for previously worked soil, lighter weight
- Rear-tine tillers: Superior for breaking new ground or heavy soils
- Cultivators: Lighter-duty machines for maintenance tilling
- Rototillers: Heavy-duty option for breaking new ground
When selecting a power tiller, consider:
- Garden size and soil type
- Storage space availability
- Your physical strength for maneuvering
- Rental vs. purchase options
- Fuel type preference (gas, electric, battery)
How to Till Hard Ground: Tackling Challenging Soils
Dealing with severely compacted or never-before-tilled soil requires special techniques.
Preparing Extremely Hard Soil
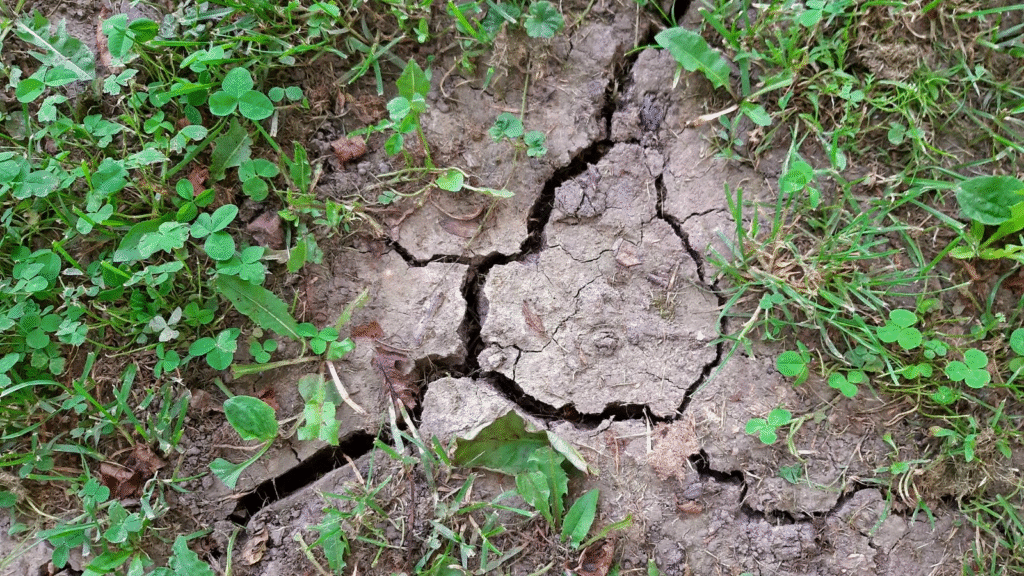
- Water the area thoroughly 2-3 days before tilling to soften the ground
- Cover with clear plastic to increase soil temperature and moisture penetration
- Remove the plastic a few hours before tilling
- Start with manual tools to break the hardest surface layer:
- Pickaxe or mattock for breaking the initial surface
- Garden fork for creating initial penetration points
- Shovel for leveraging and turning larger chunks
Systematic Approach for Hard Ground
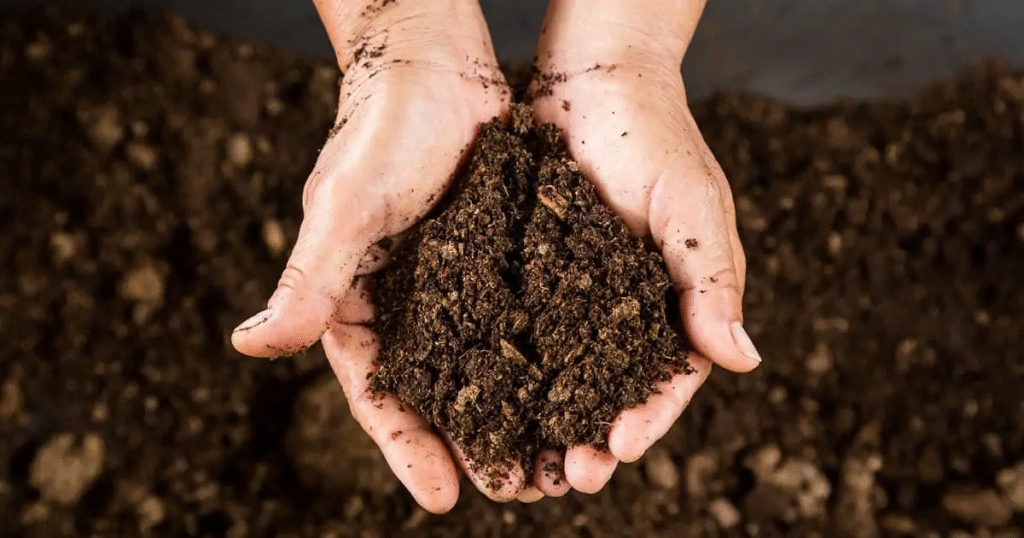
For extremely hard or clay-heavy soil, follow this multi-step process:
- Initial Breaking: Use a pickaxe or mattock to create a grid pattern of fractures across the surface.
- Initial Moisture Addition: Water lightly along these fracture lines and allow to penetrate for several hours.
- Primary Tilling: Till at half-depth setting, moving in parallel lines across the area.
- Add Organic Matter:
- Spread 3-4 inches of compost
- Add 1-2 inches of coarse sand for clay soils
- Consider incorporating gypsum for heavy clay (follow package directions)
- Secondary Tilling: Till perpendicular to your first pattern, working amendments into the soil.
- Allow to Rest: Let the newly tilled area settle for 1-2 weeks before planting.
- Final Surface Preparation: Rake the surface smooth before planting.
Long-Term Improvement of Hard Soils
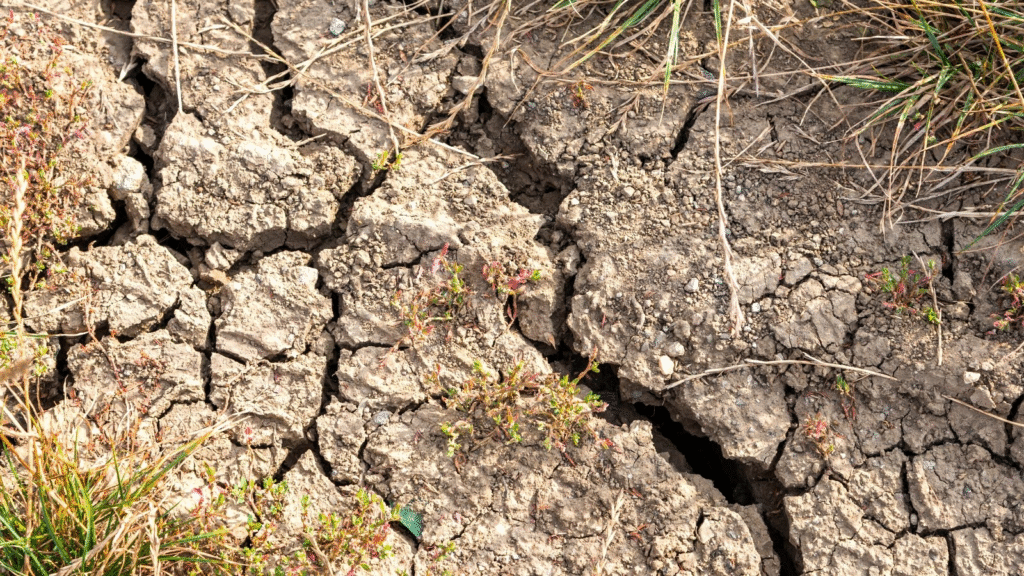
Remember that transforming very hard or clay soil is a multi-season project:
- Add organic matter every time you till
- Consider cover crops between growing seasons
- Add compost as a top dressing even when not tilling
- Use mulch to prevent soil from re-compacting
Tilling Techniques: Best Practices for Different Garden Types
The specific approach to tilling varies depending on your garden type and goals.
New Garden Beds

When establishing a garden in a new location:
- Mark out the area clearly with stakes and string.
- Remove existing vegetation:
- Cut grass or weeds as short as possible
- Consider solarization for weed-heavy areas (cover with clear plastic for 4-6 weeks in summer)
- Remove large rocks and debris
- Initial Breaking:
- For smaller areas, use a garden fork to create initial penetration points
- For larger areas, use a rear-tine tiller set to shallow depth
- First Till Pass:
- Till in parallel lines at half the maximum depth
- Overlap each pass by 30-50%
- Remove any roots, rocks or debris encountered
- Add Amendments:
- Spread amendments evenly across surface
- Follow soil test recommendations
- Second Till Pass:
- Till perpendicular to first pass
- Set to full desired depth
- Maintain consistent speed for even soil distribution
- Final Preparation:
- Rake to create level surface
- Remove any remaining debris
- Allow to settle for at least a week before planting
Established Gardens

For gardens that have been previously cultivated:
- Clear the Area:
- Remove all plant debris and weeds
- Take care around perennials or desired self-seeders
- Evaluate Compaction:
- Test soil resistance with a garden fork
- Identify any particularly compacted areas
- Selective Tilling:
- Till only areas that show compaction
- Use lighter tools like garden spikes or cultivators when possible
- Consider no-till methods for well-structured soil
- Incorporate Amendments:
- Focus on replenishing nutrients based on last season’s crops
- Add 1-2 inches of compost to maintain organic matter
Tilling Alternatives: When Not to Till
While tilling is beneficial in many situations, there are circumstances where alternative approaches may be preferable:
Situations Favoring No-Till Methods
- Established native plant gardens
- Areas with erosion concerns
- Gardens with healthy soil structure and earthworm activity
- Sloped landscapes
- Areas where soil-borne diseases are present (tilling can spread pathogens)
No-Till Garden Preparation Alternatives
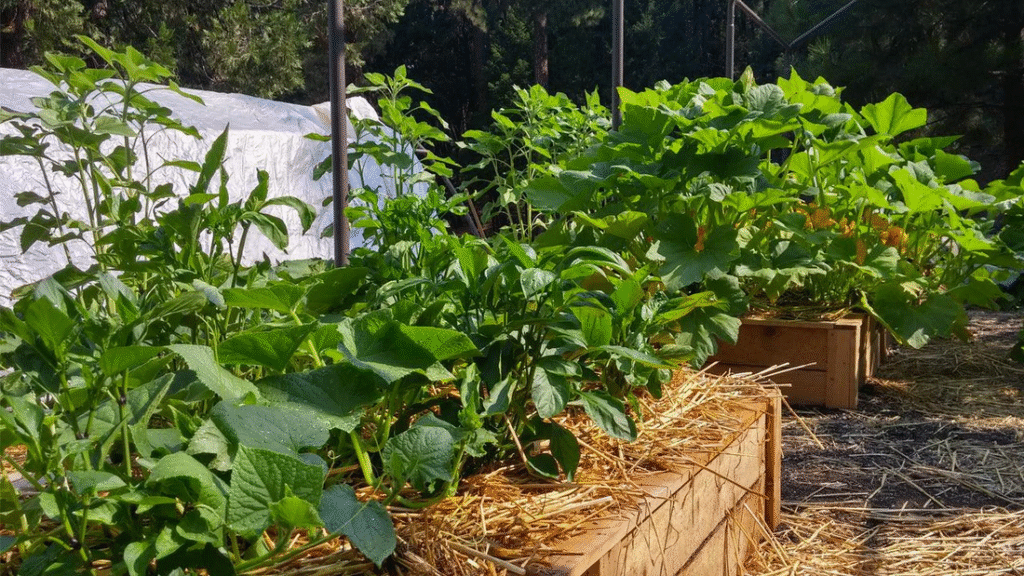
- Sheet Mulching (Lasagna Gardening):
- Lay cardboard or 10+ layers of newspaper directly over grass/weeds
- Water thoroughly to start decomposition
- Add 4-6 inches of compost, then 2-3 inches of mulch
- Allow to decompose for 3-6 months before planting
- Core Aeration:
- Use a core aerator to remove small plugs of soil
- Top-dress with compost to fill holes
- Provides aeration without disturbing soil structure
- Top-Dressing:
- Add 1-2 inches of compost annually on soil surface
- Allow earthworms and soil organisms to incorporate it naturally
- Gradually builds soil without disruption
Common Tilling Mistakes to Avoid
Even experienced gardeners can make these common tilling errors:
- Over-tilling: Breaks down soil structure too much, creating dust-like soil
- Tilling wet soil: Creates hard clods and damages soil structure
- Tilling at the same depth every year: Creates a compaction layer just below tilling depth
- Tilling unnecessarily: Disrupts beneficial soil organisms and can bring weed seeds to surface
- Tilling too close to plant stems: Damages roots of established plants
- Inadequate amendment incorporation: Results in layered rather than mixed materials
- Improper tool selection: Using undersized tools for the job creates excessive work and poor results
Garden Care After Tilling: Setting up for Success
The period immediately following tilling is critical for establishing good garden conditions:
- Level and smooth the surface with a rake.
- Irrigate lightly to help soil settle and remove air pockets.
- Apply a thin layer of mulch to prevent soil crust formation.
- Wait 1-2 weeks before planting to allow soil to settle.
- Test soil moisture before planting seeds or transplants.
- Consider temporary shade to prevent excessive drying in hot weather.
- Monitor for weed emergence and address promptly.
Special Tilling Situations: Problem-Solving Approaches
Rocky Soil
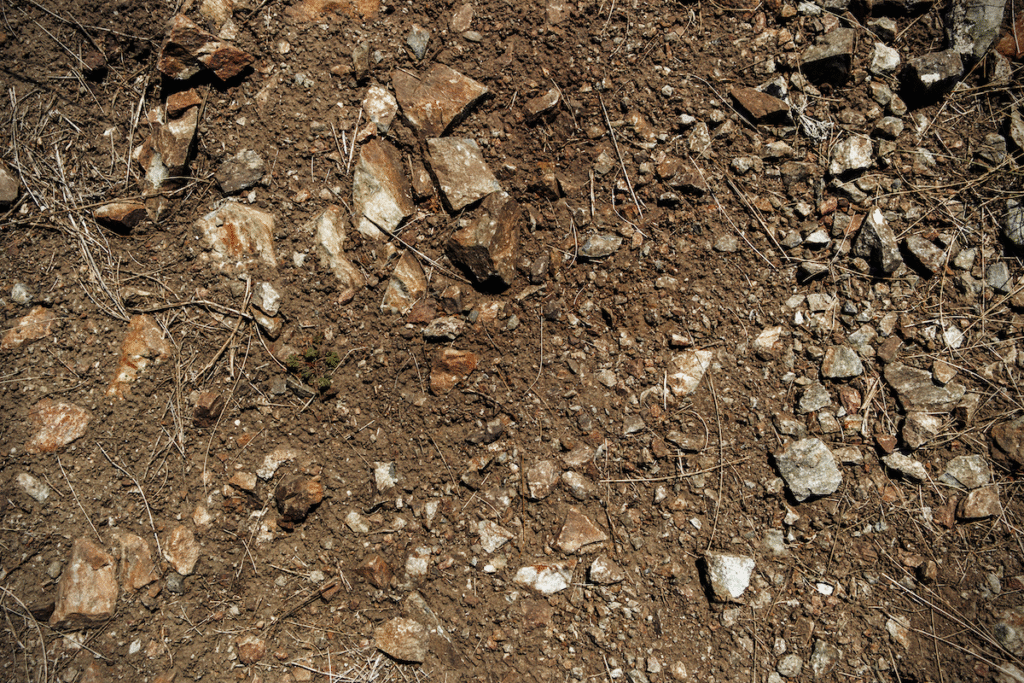
For areas with numerous rocks:
- Till at shallow depth initially
- Remove rocks by hand or with a rock rake
- Add extra organic matter to replace volume lost by rock removal
- Till again to incorporate amendments
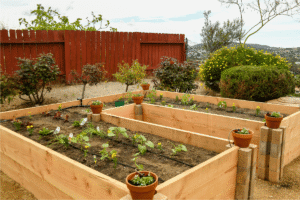
- Consider raised beds as an alternative
Heavy Clay Soil
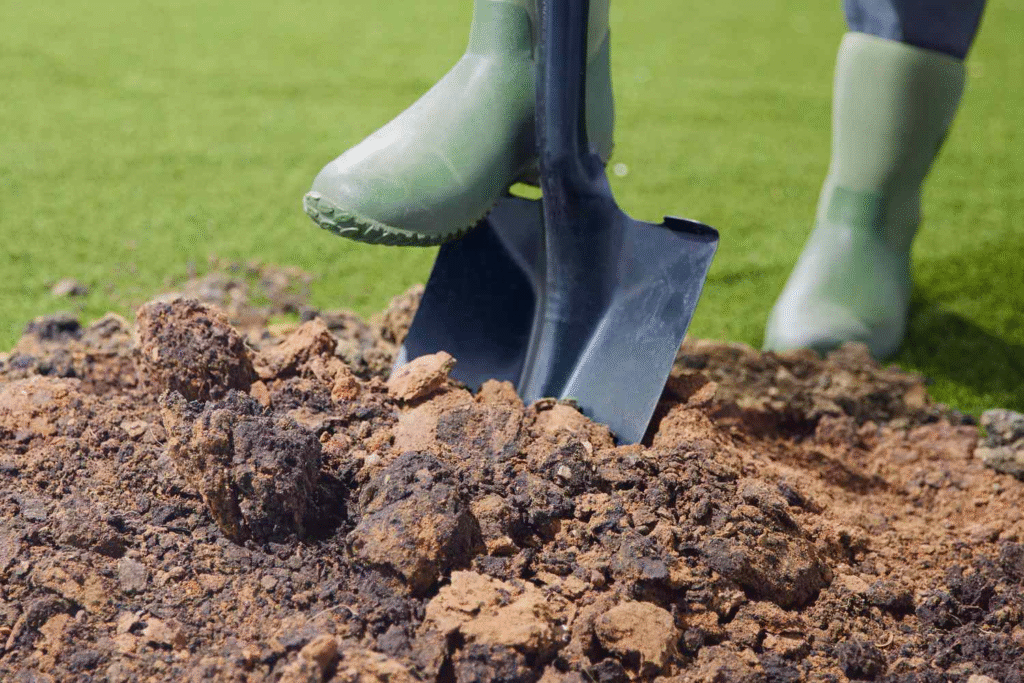
For extremely clay-heavy soils:
- Till when slightly moist but not wet
- Add gypsum according to package directions
- Incorporate coarse sand and abundant organic matter
- Consider multiple, shallow tilling sessions rather than one deep till
- Be patient—clay soil improvement takes multiple seasons
Sandy Soil
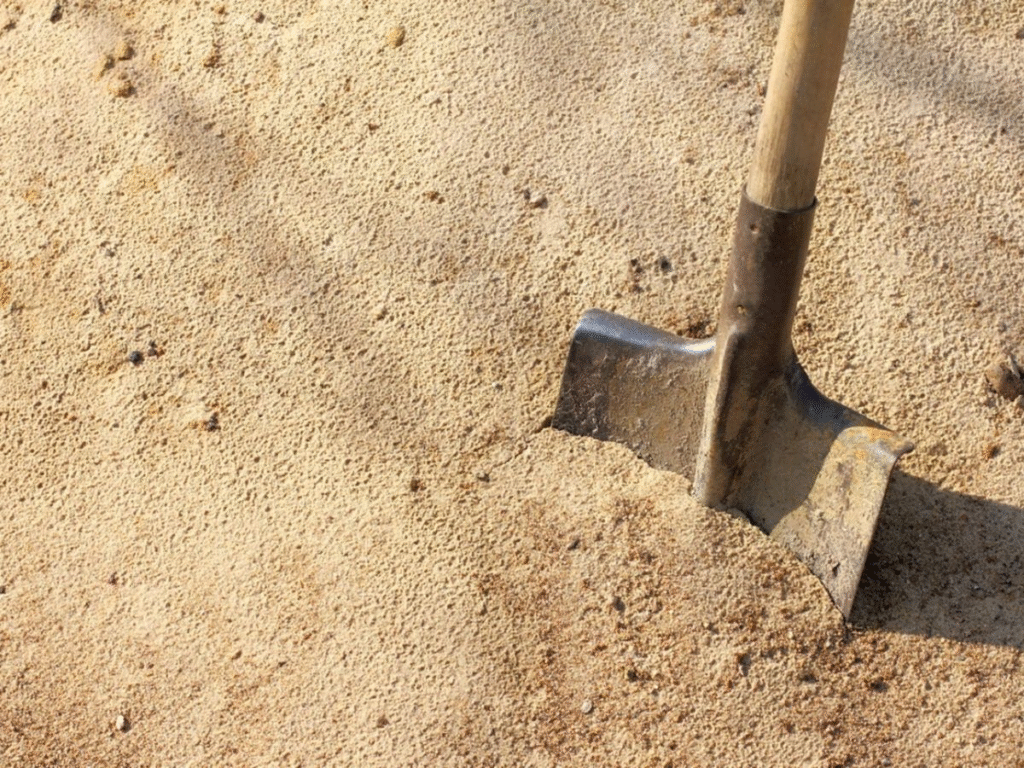
For very sandy areas:
- Focus on adding water-retentive amendments (compost, coconut coir)
- Till less deeply than with clay soil
- Plan to mulch heavily after planting
- Consider adding clay minerals as a soil amendment
Conclusion: Balancing Tilling Benefits with Soil Health
Tilling is a powerful tool in the gardener’s arsenal, but one that should be used thoughtfully. By understanding when and how to till, you can create ideal growing conditions while preserving the long-term health of your soil. Remember that different garden areas may benefit from different approaches—heavily used vegetable beds might require regular tilling, while perennial borders might thrive with minimal soil disturbance.
As you develop your gardening skills, you’ll learn to “read” your soil, recognizing when it needs the intervention of tilling and when it’s better left undisturbed. This balanced approach—combining traditional tilling when necessary with soil conservation techniques—will help you develop gardens that grow more productive and beautiful with each passing season.
By focusing on creating optimal soil conditions through proper tilling techniques, you’re laying the foundation for a garden that will reward you with abundant harvests and vibrant growth for years to come.
