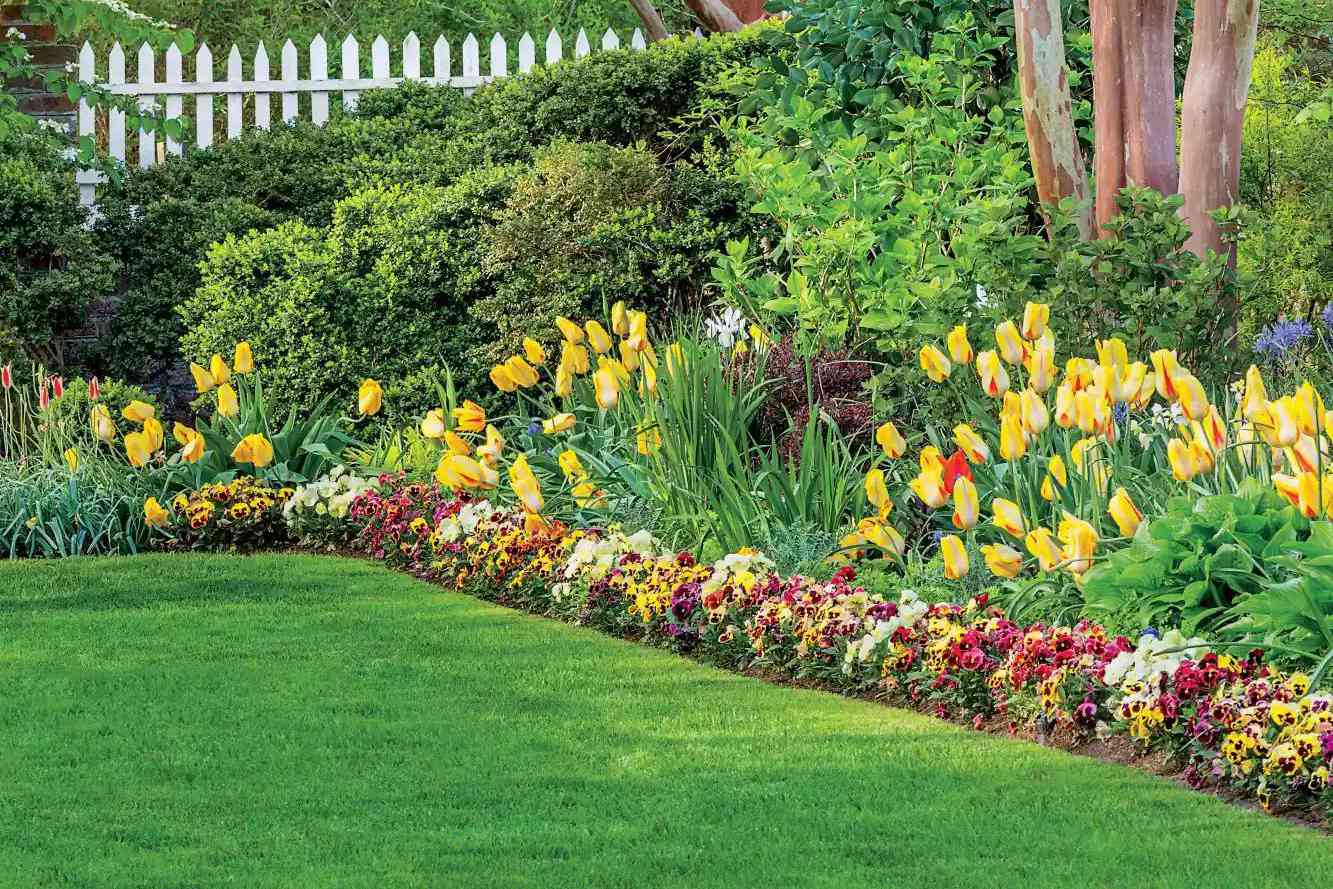
15 Budget-Friendly Garden Edging Ideas That Transform Your Landscape
Creating clean, defined borders between your lawn, garden beds, and pathways doesn’t have to drain your wallet. The right edging not only enhances your landscape’s visual appeal but also serves practical purposes like preventing grass invasion and soil erosion. Whether you’re a budget-conscious homeowner or an enthusiastic DIY gardener, these affordable landscaping edging solutions will help you achieve professional-looking results without the premium price tag.
Why Garden Edging Matters
Before diving into specific ideas, it’s important to understand that garden edging isn’t just decorative—it’s functional. Quality edging:
- Creates clear visual boundaries between different landscape elements
- Prevents grass from creeping into garden beds
- Helps contain mulch, gravel, and soil where they belong
- Reduces maintenance time by minimizing weed intrusion
- Adds structure and intentionality to your outdoor space
The good news? You don’t need expensive materials to achieve these benefits. Let’s explore 15 inexpensive garden edging ideas that combine practicality, durability, and aesthetic appeal.
Natural Materials: Affordable Edging From Your Own Backyard
1. Stone and Rock Edging

Materials Needed:
- Collected stones or purchased landscape rocks
- Shovel for trench digging
- Sand or gravel (optional)
- Level
Step-by-Step Process:
- Mark your border with garden hose or rope
- Dig a trench 2-3 inches deep and slightly wider than your stones
- Add a thin layer of sand for drainage and stability (optional)
- Place rocks side by side, partially buried for stability
- Adjust rocks until level and visually pleasing
Expert Tip: “Collect stones after rainstorms when they’re easier to spot in your yard or nearby natural areas. Always get permission if collecting from public spaces,” advises Master Gardener Patricia Elmhurst.
Cost Range: $0-$40 depending on whether you collect or purchase stones
2. Fallen Branch Borders
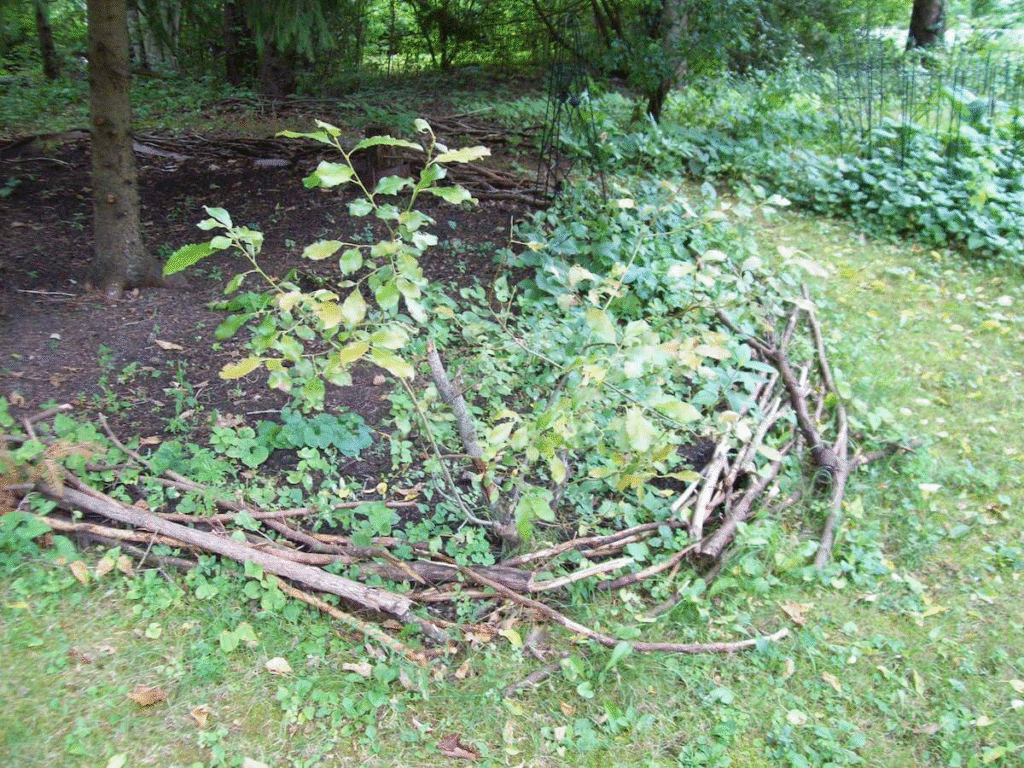
Materials Needed:
- Fallen branches and logs
- Pruning saw
- Drill with large bit (optional)
- Wooden stakes (optional)
- Hammer
Step-by-Step Process:
- Collect similarly-sized branches from your yard or local wooded areas
- Cut branches to your desired lengths (typically 12-18 inches)
- Dig a small trench where you want your border
- Place branches vertically, partially buried for stability
- For horizontal log placement, stake into position if needed
Common Mistake: “Don’t use fresh-cut or green wood, as it will shrink and shift as it dries. Stick with seasoned wood that’s been dead for at least a year,” recommends landscape designer Jordan Matthews.
Cost Range: $0-$10 (cost of stakes if needed)
Repurposed Materials: Landscaping Edging On A Budget
3. Brick Border Edging

Materials Needed:
- Reclaimed or salvaged bricks
- Sand
- Trowel
- Level
- Rubber mallet
Step-by-Step Process:
- Clean old bricks of mortar and debris
- Dig a trench 2-3 inches deep and slightly wider than your bricks
- Add a 1-inch layer of sand to the trench
- Place bricks in desired pattern (flat, angled, or on edge)
- Tap gently with rubber mallet to set
- Check for level and adjust as needed
Design Applications: “Experiment with different patterns—soldiers (standing upright), sailors (laid flat), or basket weave patterns all create different visual effects,” suggests garden designer Emma Wilson.
Cost Range: $0-$50 (free if salvaged, or about $0.50-$1 per brick at architectural salvage yards)
4. Bottle Border
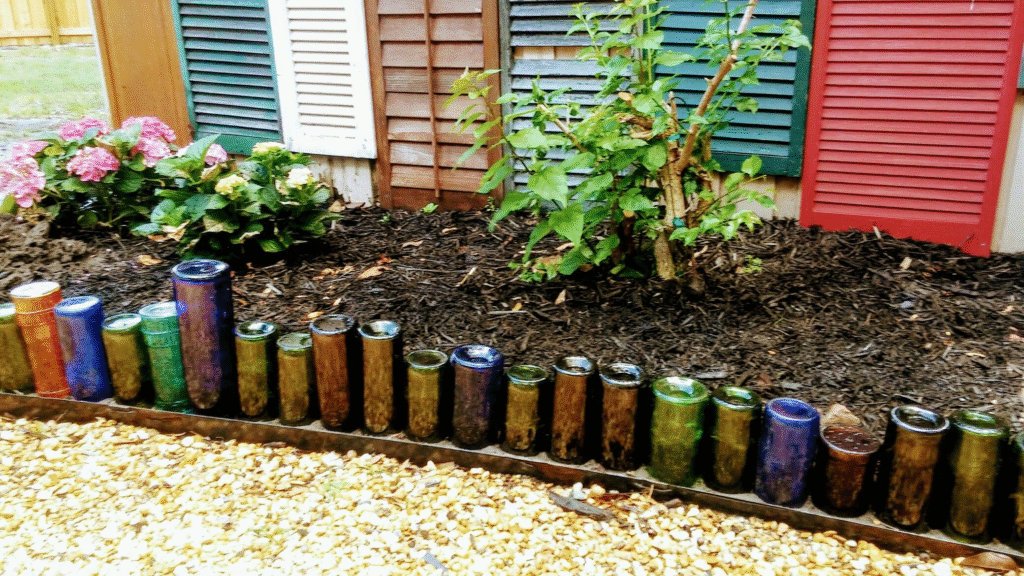
Materials Needed:
- Wine or glass bottles of uniform size
- Shovel
- String and stakes for marking
- Sand (optional)
Step-by-Step Process:
- Remove labels and clean bottles thoroughly
- Mark your border with string
- Dig a trench slightly narrower than bottle length
- Insert bottles upside down, neck-first into the soil
- Leave 3-4 inches exposed for visual effect
- Pack soil firmly around bottles
Expert Tip: “Use bottles of similar colors for cohesion, or create patterns with different colored glass. Green and brown beer bottles work just as well as wine bottles,” notes sustainable garden expert Thomas Reed.
Cost Range: $0 (assuming bottles are already consumed or collected)
5. Repurposed Tire Edging
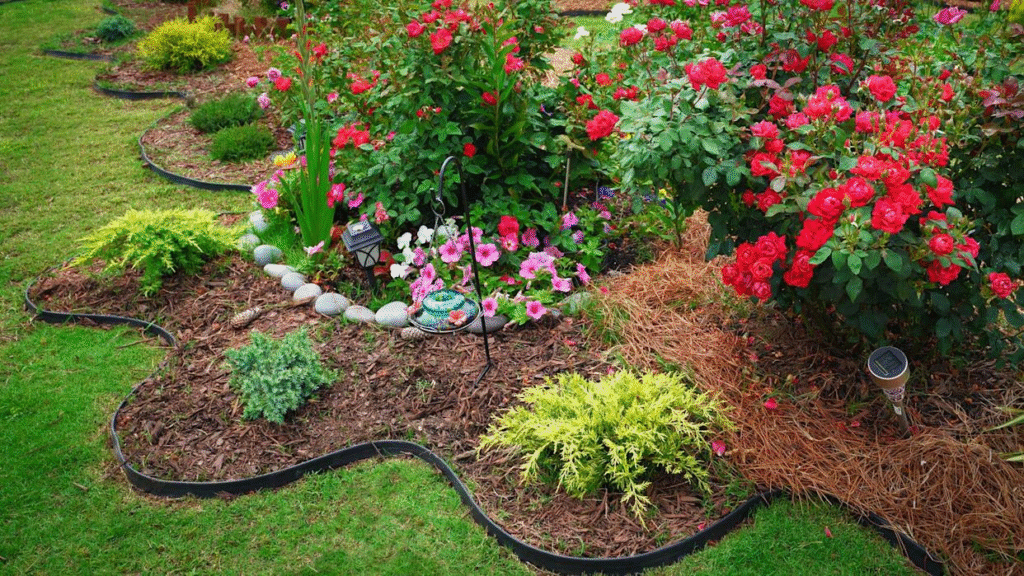
Materials Needed:
- Old bicycle tires or garden hoses
- Heavy-duty scissors or utility knife
- Garden stakes
- Hammer
- Exterior paint (optional)
Step-by-Step Process:
- Clean tires or hoses thoroughly
- Cut to create long, flexible strips
- Mark your garden border
- Lay the strips along the marked line
- Secure with garden stakes every 1-2 feet
- Paint for decorative effect if desired
Environmental Impact: “Repurposing rubber tires keeps them out of landfills where they decompose slowly. Just be sure to use in ornamental gardens rather than vegetable beds due to potential chemical leaching,” advises environmental horticulturist Dr. Samantha Green.
Cost Range: $0-$15 (depending on whether paint is used)
DIY Construction: Least Expensive Lawn Edging Projects
6. Concrete Block Edging
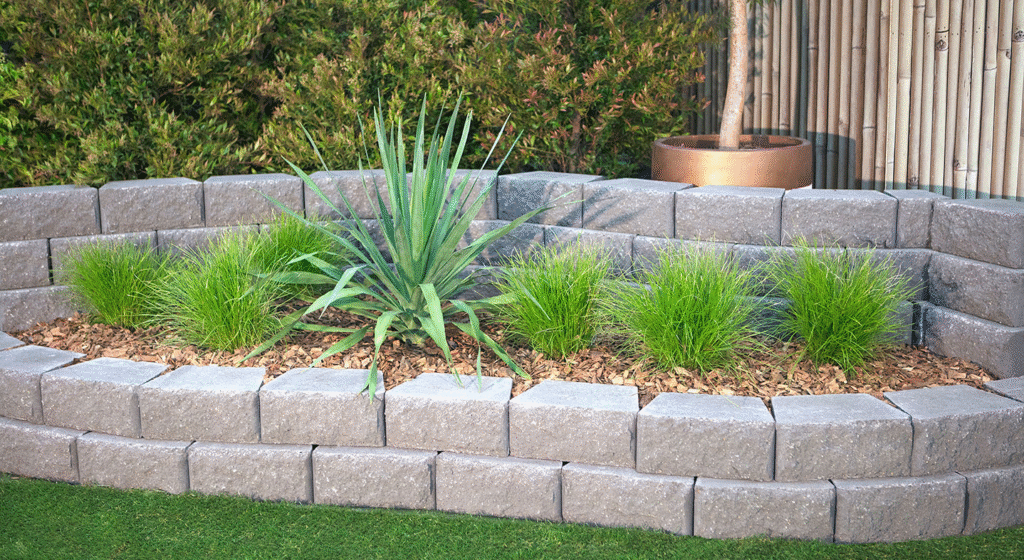
Materials Needed:
- Concrete blocks or pavers (often available as “seconds” or “culls”)
- Shovel
- Level
- Sand
- Rubber mallet
Step-by-Step Process:
- Mark your border with string or garden hose
- Dig a trench 2-3 inches deep, slightly wider than blocks
- Add a 1-inch layer of sand
- Place blocks in trench, adjusting for level
- Tap gently with rubber mallet to set
- Fill gaps with sand if desired
Maintenance Tip: “Spray with vinegar solution twice yearly to prevent moss growth, especially in shady areas,” recommends landscape maintenance specialist Robert Chen.
Cost Range: $20-$50 (depending on length and block selection)
7. Woven Willow Edging
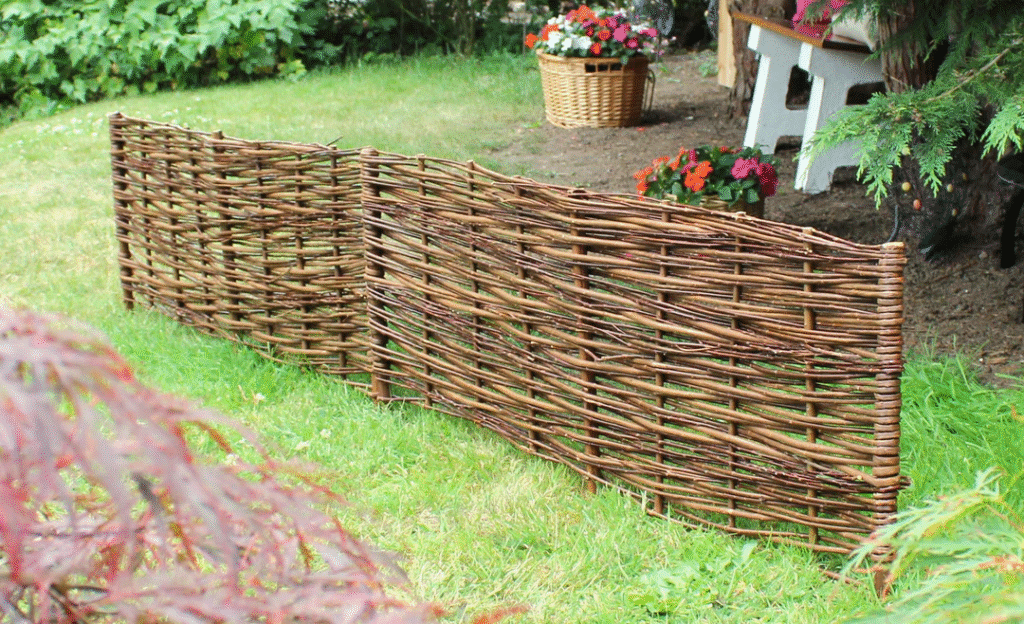
Materials Needed:
- Willow rods or other flexible branches
- Wooden stakes
- Hammer
- Garden pruners
Step-by-Step Process:
- Drive wooden stakes into the ground every 12-18 inches along your border
- Soak willow rods in water overnight to increase flexibility
- Begin weaving rods horizontally between stakes
- Alternate over-under pattern with each row
- Trim excess and tuck ends securely
Expert Advice: “Willow is ideal, but you can also use dogwood stems, reeds, or any flexible woody plant material. This creates a natural, cottage-garden look perfect for informal settings,” explains traditional crafts expert Maria Sanchez.
Cost Range: $0-$25 (free if harvested, or purchase willow rods from craft suppliers)
8. Pallet Wood Edging

Materials Needed:
- Discarded wooden pallets
- Pry bar
- Hammer
- Saw
- Exterior wood screws
- Drill
- Exterior wood stain or paint (optional)
Step-by-Step Process:
- Disassemble pallets carefully to avoid splitting
- Cut wood to desired lengths (typically 8-12 inches for vertical installation)
- Sand rough edges
- Apply wood preservative, stain, or paint if desired
- Install by burying 1/3 of the board vertically in the soil
- Connect longer sections with screws for stability
Common Mistake: “Always check pallets for the IPPC logo and HT stamp, indicating heat-treated wood safe for garden use. Avoid chemically treated pallets marked with MB (methyl bromide),” warns urban gardening specialist James Thompson.
Cost Range: $0-$30 (pallets often free, cost covers preservatives, paint, screws)
Quick-Install Solutions: Affordable Landscaping Edging
9. Recycled Plastic Edging
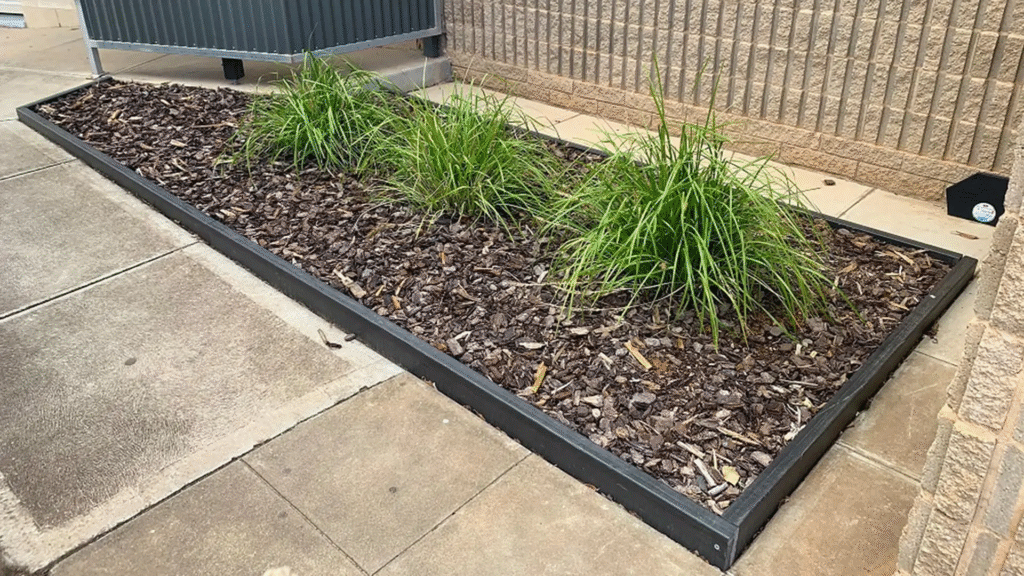
Materials Needed:
- Recycled plastic edging rolls (often made from recycled milk jugs)
- Garden shears or heavy-duty scissors
- Rubber mallet
- Stakes (usually included)
Step-by-Step Process:
- Unroll edging along desired border
- Cut to length with garden shears
- Dig a small trench if needed
- Insert bottom edge into soil
- Secure with included stakes every 2-3 feet
- Tap gently with rubber mallet to set
Durability Comparison: “While more expensive than some DIY options, recycled plastic edging often outlasts wooden alternatives by 5-10 years and won’t rot or attract insects,” notes sustainable landscaping expert Laura Jimenez.
Cost Range: $15-$40 per 20-foot roll
10. Bamboo Roll Edging
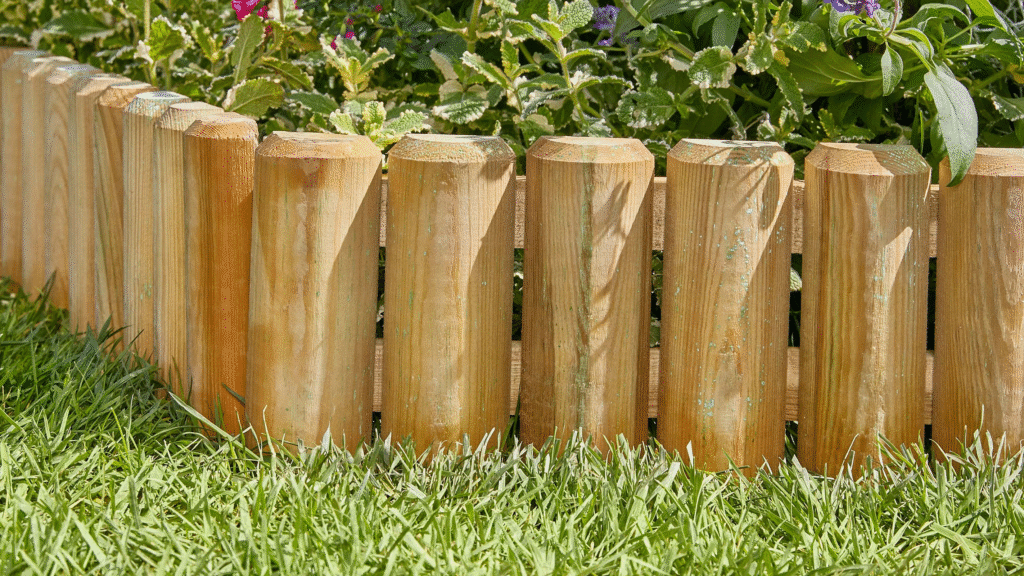
Materials Needed:
- Bamboo roll edging
- Garden stakes
- Hammer
- Garden shears
Step-by-Step Process:
- Measure and cut bamboo roll to desired length
- Dig a shallow trench along your border
- Place bamboo roll with bottom edge in trench
- Secure with garden stakes every 2 feet
- Pack soil around base for stability
Regional Consideration: “Bamboo edging works particularly well in Asian-inspired gardens or tropical landscapes, but can complement almost any style when properly installed,” suggests garden design expert William Park.
Cost Range: $20-$40 per 6-foot roll
Seasonal and Temporary: Inexpensive Garden Edging Ideas
11. Living Edging With Herbs

Materials Needed:
- Low-growing herb plants (thyme, oregano, chamomile)
- Garden trowel
- Compost
- Mulch
Step-by-Step Process:
- Mark your border with string or garden hose
- Dig a trench 4-6 inches wide and deep
- Amend soil with compost
- Plant herbs 6-8 inches apart
- Water thoroughly and mulch between plants
- Trim regularly to maintain shape
Expert Insight: “Living edging with herbs serves triple duty—it’s decorative, functional as edging, and provides culinary herbs. Choose creeping thyme for foot traffic areas and tallish rosemary for more substantial borders,” recommends herb specialist Dr. Grace Martinez.
Cost Range: $15-$50 (depending on length and whether started from seed or purchased as plants)
12. Painted Stone Border
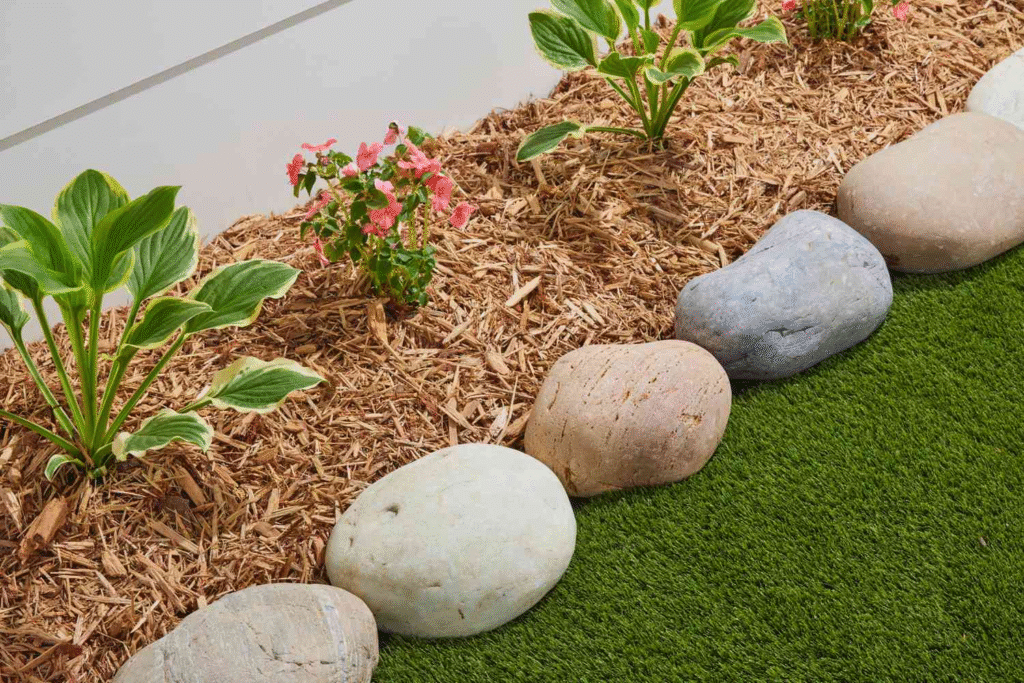
Materials Needed:
- Medium-sized stones of similar dimensions
- Exterior acrylic paint
- Clear exterior sealer
- Paintbrushes
- Optional: stencils or paint pens for details
Step-by-Step Process:
- Clean stones thoroughly and allow to dry
- Apply base coat of paint and let dry
- Add designs, patterns, or colors as desired
- Seal with clear exterior sealer when dry
- Arrange stones along garden border, partially buried for stability
Creative Applications: “Create cohesive themes with your painted stones—insect patterns for pollinator gardens, vegetable shapes for kitchen gardens, or color gradients for flower beds,” suggests garden craft expert Timothy Wong.
Cost Range: $10-$30 (paint, sealer, and brushes)
Natural Material Combinations: Landscaping Edging On A Budget
13. Gravel and Log Combination
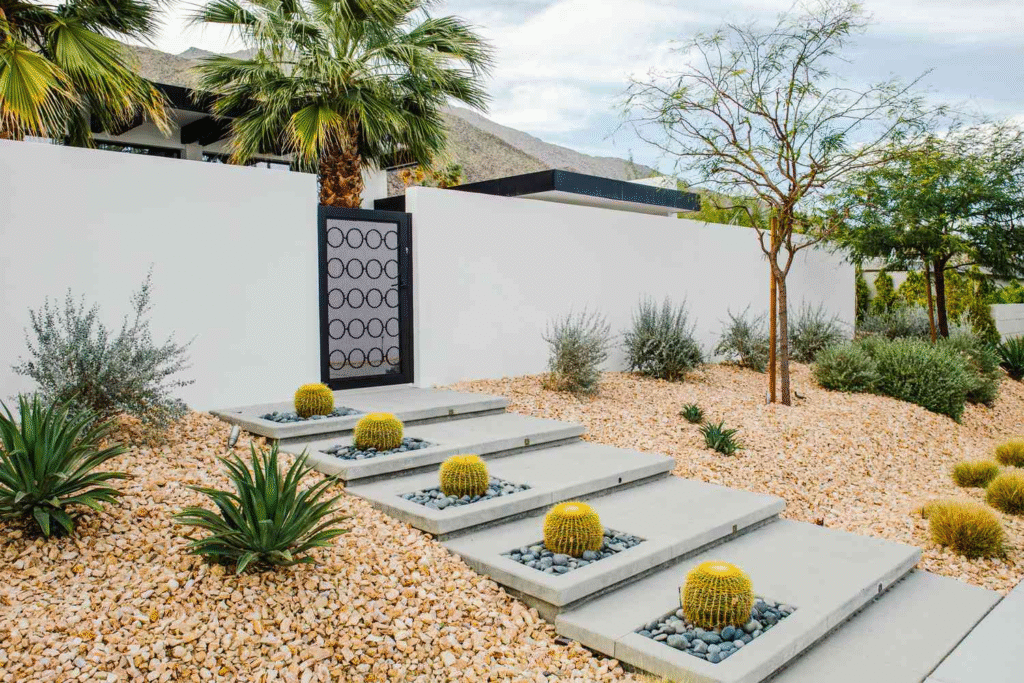
Materials Needed:
- Small diameter logs or branches
- Landscape fabric
- Garden staples
- Decorative gravel
- Shovel
- Level
Step-by-Step Process:
- Dig a trench 4-6 inches deep and 8-12 inches wide
- Line with landscape fabric, securing with garden staples
- Place logs along one or both edges of the trench
- Fill between logs with decorative gravel
- Level gravel with rake
Drainage Benefit: “This edging style not only looks attractive but creates a drainage channel that helps manage water runoff from garden beds or lawns—particularly useful on sloped properties,” points out water management specialist Dr. Carlos Rodriguez.
Cost Range: $20-$60 (primarily the cost of gravel)
14. Shell and Pebble Mosaic Edge

Materials Needed:
- Collected shells, pebbles, or small stones
- Quick-set concrete
- Plastic edging or forms
- Trowel
- Mixing bucket
- Protective gloves
Step-by-Step Process:
- Create a form using plastic edging
- Mix concrete according to package directions
- Pour into form, creating a 1-2 inch layer
- Press shells, pebbles or stones into wet concrete in desired pattern
- Allow to set completely before removing forms
- Apply concrete sealer if desired
Regional Variation: “Use materials that reflect your local environment—shells near coastal areas, river rocks inland, or colored glass in urban settings. This creates a sense of place in your garden,” suggests environmental landscape designer Erin Taylor.
Cost Range: $15-$40 (concrete and forms if shells are collected)
15. Mixed Reclaimed Material Border
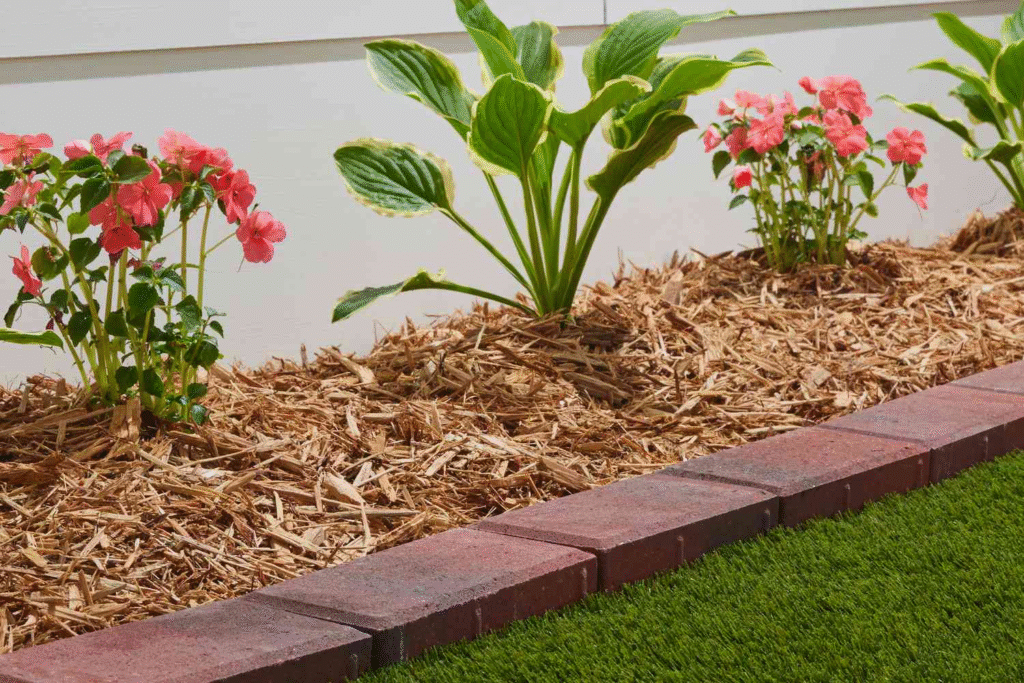
Materials Needed:
- Assortment of reclaimed materials (bricks, tiles, concrete pieces)
- Sand
- Trowel
- Level
- Rubber mallet
Step-by-Step Process:
- Collect diverse materials of similar heights
- Dig a trench 2-3 inches deep
- Add a thin layer of sand for leveling
- Arrange materials in an appealing pattern
- Set firmly with rubber mallet
- Fill gaps with sand or small pebbles
Design Philosophy: “Embrace the wabi-sabi aesthetic—finding beauty in imperfection. Mixed material borders tell a story and add character that manufactured products can’t match,” explains garden historian and designer Alexandra Jones.
Cost Range: $0-$20 (assuming materials are salvaged)
Installation Best Practices For Any Edging Type
Regardless of which affordable edging option you choose, follow these universal installation tips to ensure longevity and effectiveness:
- Create a clear design plan before starting. Use a garden hose or rope to lay out your edges and view from different angles.
- Dig a proper trench for your edging material—generally 2-3 inches deep for hard materials and 4-6 inches for living borders.
- Consider drainage patterns in your yard and design edging to work with, not against, natural water flow.
- Install barrier edging deep enough (at least 4 inches) to prevent grass roots from tunneling underneath.
- Maintain consistent height for a professional appearance—generally 2-4 inches above soil level is ideal for most applications.
Seasonal Maintenance For Long-Lasting Borders
Spring:
- Reposition any edging that shifted during winter freeze-thaw cycles
- Clean accumulated debris from edging borders
- Refresh mulch or gravel as needed
Summer:
- Trim plants encroaching on edging
- Check for and repair any damage from lawn equipment
- Clean and reapply sealants to wooden elements if needed
Fall:
- Remove fallen leaves from edging borders to prevent decay
- Check for drainage issues before winter
- Make necessary repairs before ground freezes
Winter:
- Avoid piling snow directly on delicate edging materials
- Plan next season’s edging projects or expansions
- Collect and store natural materials for spring installation
Conclusion: Landscape Beauty Without Breaking The Bank
Creating defined, attractive garden edges doesn’t require expensive materials or professional installation. With creativity, some basic tools, and materials you might already have on hand, you can transform your landscape with these inexpensive garden edging ideas. Focus on using locally available or repurposed materials that complement your garden style and meet your functional needs.
Remember that the most sustainable—and often least expensive—approach is using what you already have or can find locally. Not only does this reduce costs, but it also creates a garden that feels connected to your specific environment and personal aesthetic.
Whether you’re separating a vegetable garden from your lawn, defining a flower bed, or creating a clean line along a pathway, these affordable landscaping edging solutions provide both practical function and visual appeal without straining your budget.
What’s your favorite inexpensive edging solution? Have you tried any of these methods in your own garden? Share your experiences and see how fellow gardeners are creating beautiful boundaries on a budget.
