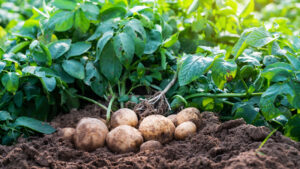
Self-watering planters are a fantastic solution for plant lovers who want to maintain healthy plants with minimal effort. They provide a consistent water supply, reduce the frequency of watering, and prevent overwatering, making them ideal for busy individuals or those who frequently travel. In this guide, we’ll walk you through the process of building your own self-watering planter using simple materials and easy-to-follow steps.
Benefits of a Self-Watering Planter
- Consistent Hydration: Provides a steady water supply to plant roots.
- Water Conservation: Reduces water wastage by allowing plants to absorb only what they need.
- Low Maintenance: Ideal for those with a busy schedule.
- Improved Plant Health: Prevents overwatering and root rot.
Materials Needed
To build your self-watering planter, gather the following materials:
- A large container or bucket (for the planter)
- A smaller container or plastic cup (for the water reservoir)
- A wicking material (cotton rope, fabric strips, or felt)
- Potting soil
- Watering tube (such as PVC pipe or a plastic straw)
- A drill or sharp knife
- Plants of your choice
Step-by-Step Instructions to Build Your Own Self-Watering Planter
Step 1: Prepare the Containers
- Choose a large container to serve as the main planter.
- Use a smaller container or cup to hold the water reservoir and place it inside the larger one.
- Drill or cut holes in the bottom of the smaller container to allow water to flow through.
Step 2: Create the Wicking System
- Cut strips of wicking material long enough to reach from the water reservoir to the soil.
- Thread the wicking material through the holes of the smaller container, ensuring it touches both the bottom and the soil.
- The wicking system will draw water up to the soil as needed.
Step 3: Add the Watering Tube
- Insert a watering tube (PVC pipe or straw) into the planter to allow for easy refilling.
- Ensure the tube reaches the bottom of the water reservoir for efficient filling.
Step 4: Assemble the Planter
- Place the smaller container with wicks inside the larger one.
- Fill the larger container with potting soil, ensuring the wicks are well-covered.
- Plant your chosen plants and gently pack the soil around them.
Step 5: Fill with Water
- Pour water into the reservoir through the watering tube until it reaches the desired level.
- Monitor the water level periodically and refill as needed.
Types of Self-Watering Plant Designs
1. DIY Bottle Wick System
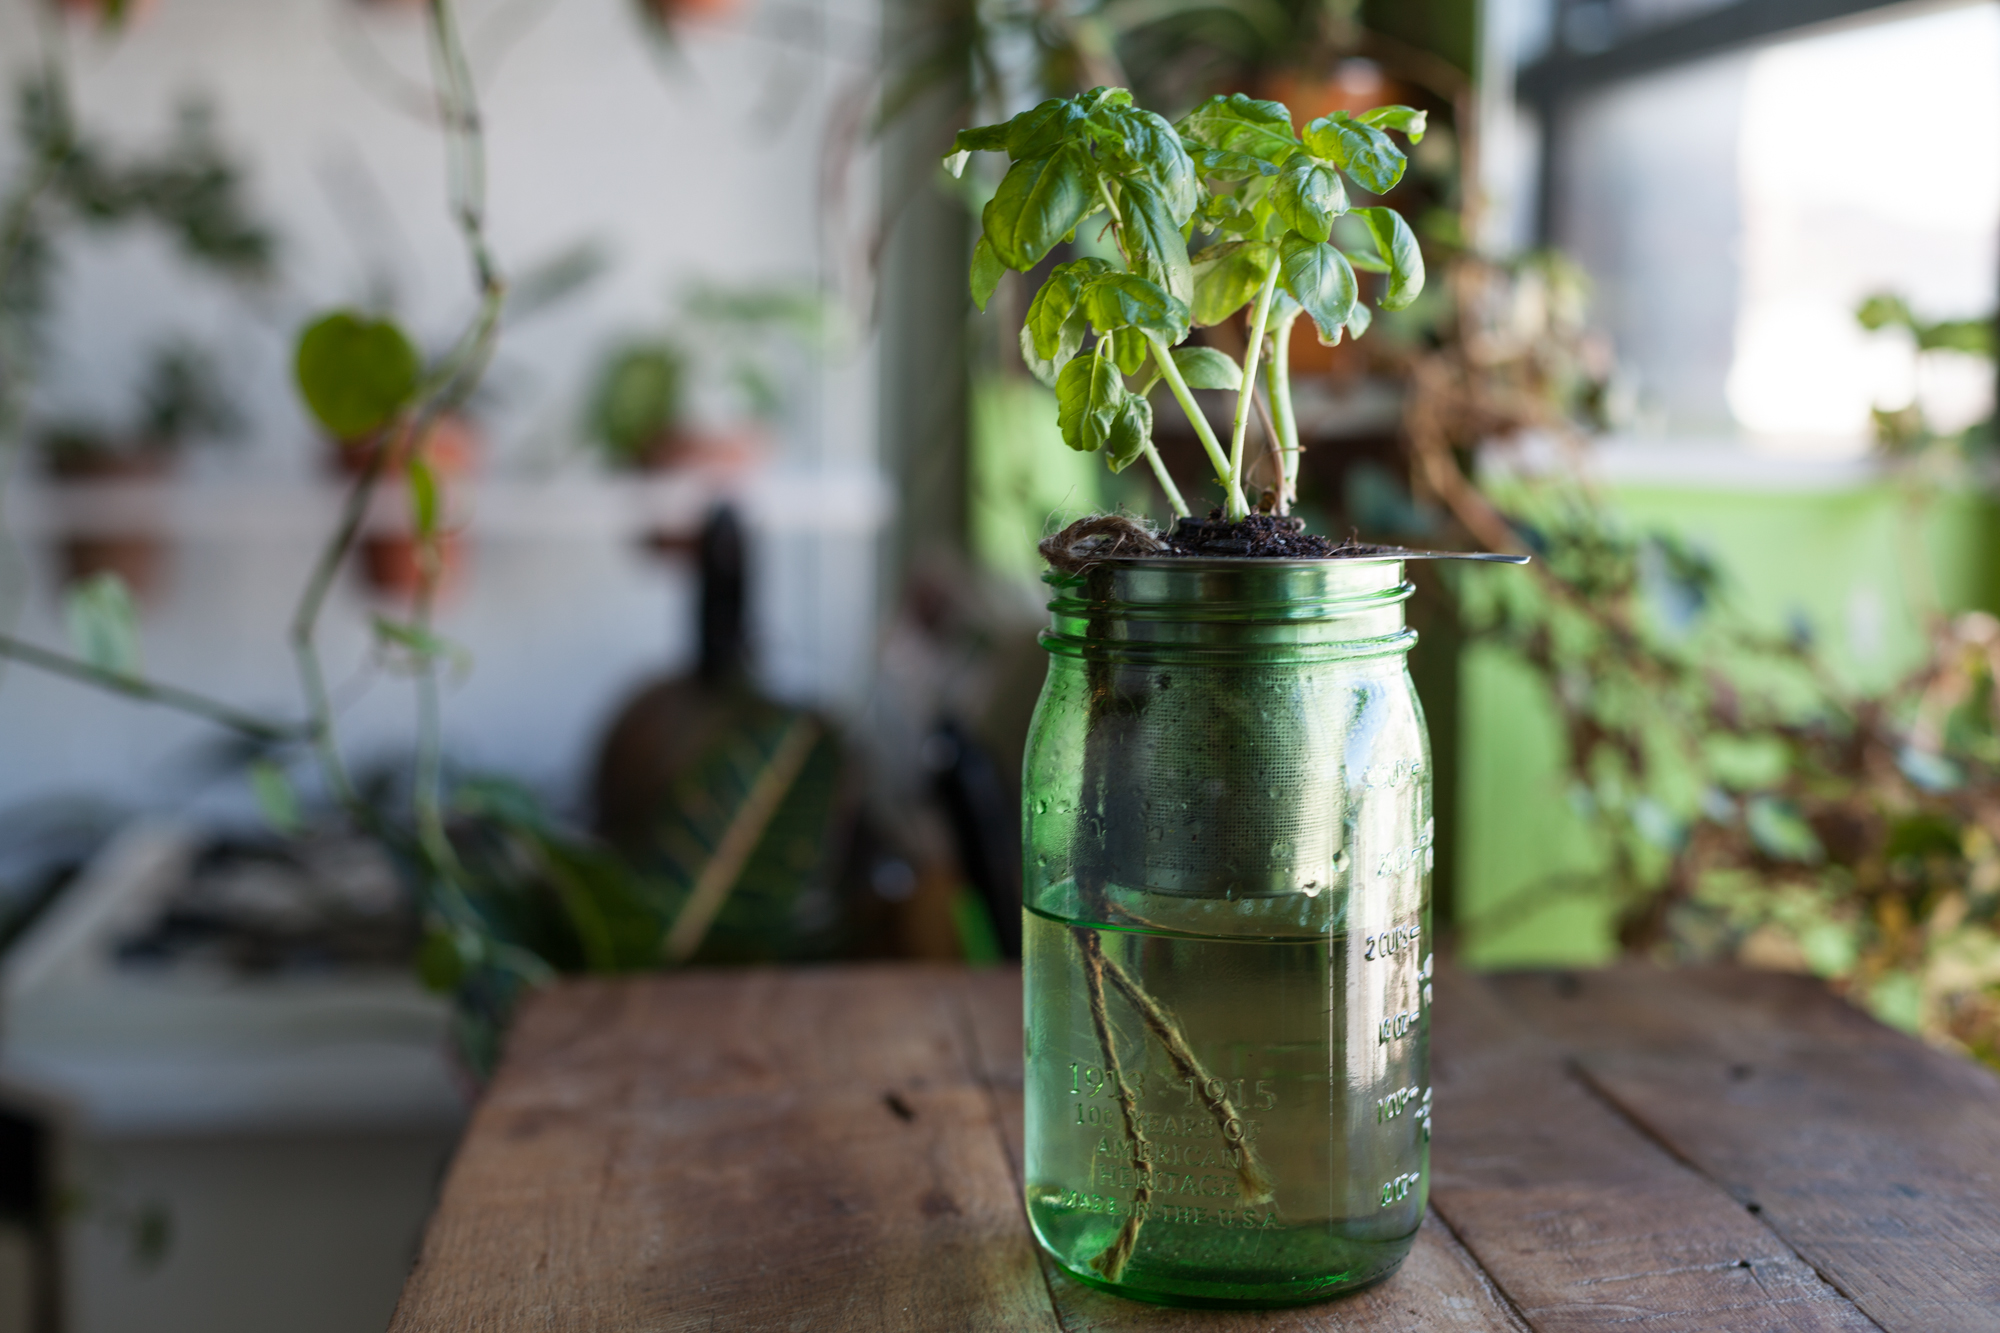
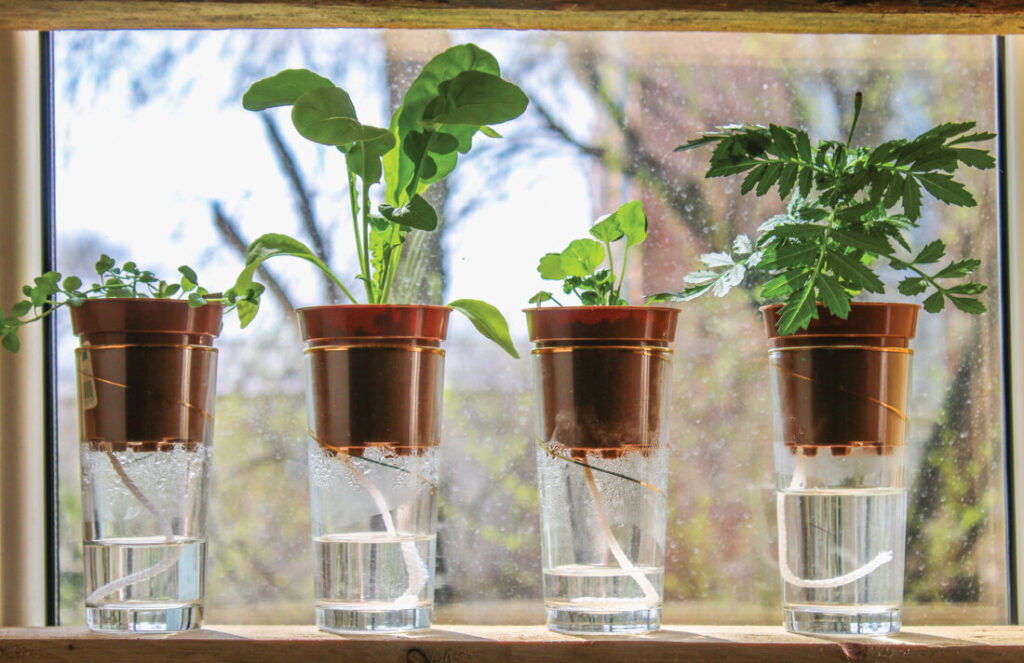
One of the simplest self-watering designs involves using recycled plastic bottles. A wick, such as a cotton string or fabric strip, is inserted through the bottle cap, with one end submerged in water and the other placed in the soil. This allows the soil to draw water as needed, making it an eco-friendly and cost-effective solution.
2. Sub-Irrigation Planters (SIP)
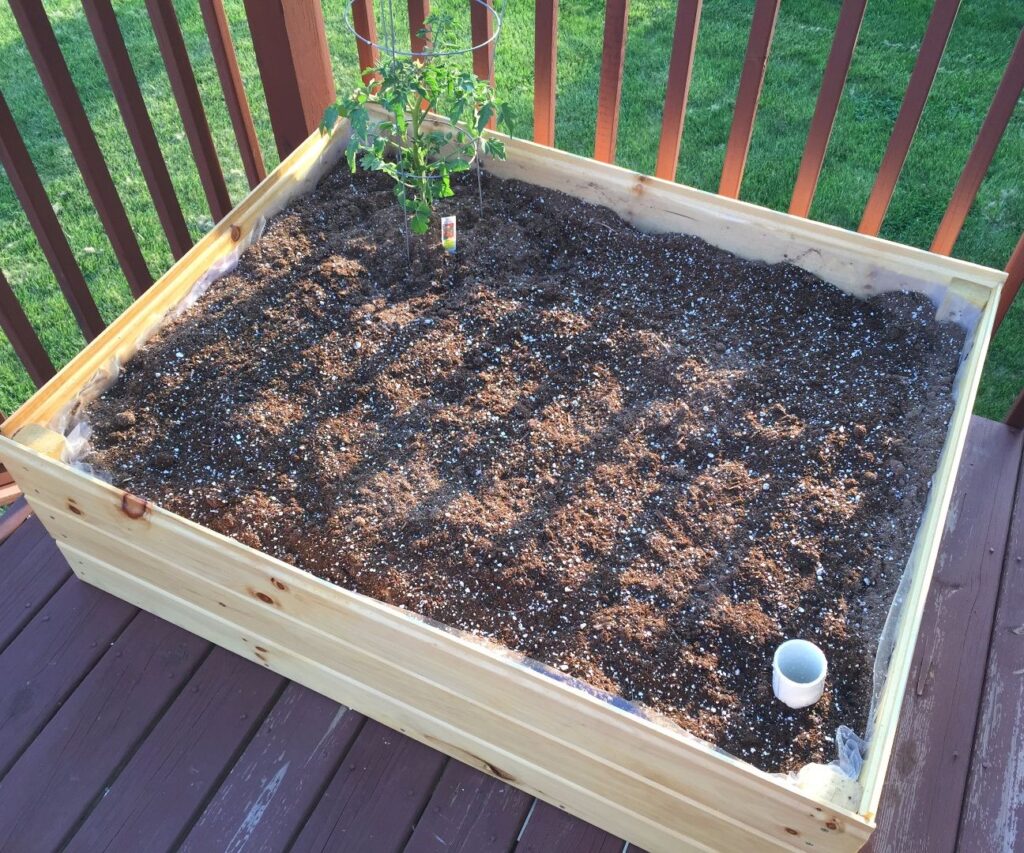
Sub-irrigation planters feature a reservoir at the bottom, separated from the soil by a perforated barrier. A wicking mechanism draws water up into the soil, ensuring plants receive moisture consistently. SIPs are commonly used in urban gardening and can be found in sleek, modern designs perfect for indoor spaces.
3. Self-Watering Window Boxes
Designed for outdoor use, self-watering window boxes incorporate hidden reservoirs beneath the soil. These are ideal for growing herbs and flowers, reducing the need for frequent watering. Many designs include indicators that show when it’s time to refill the reservoir.
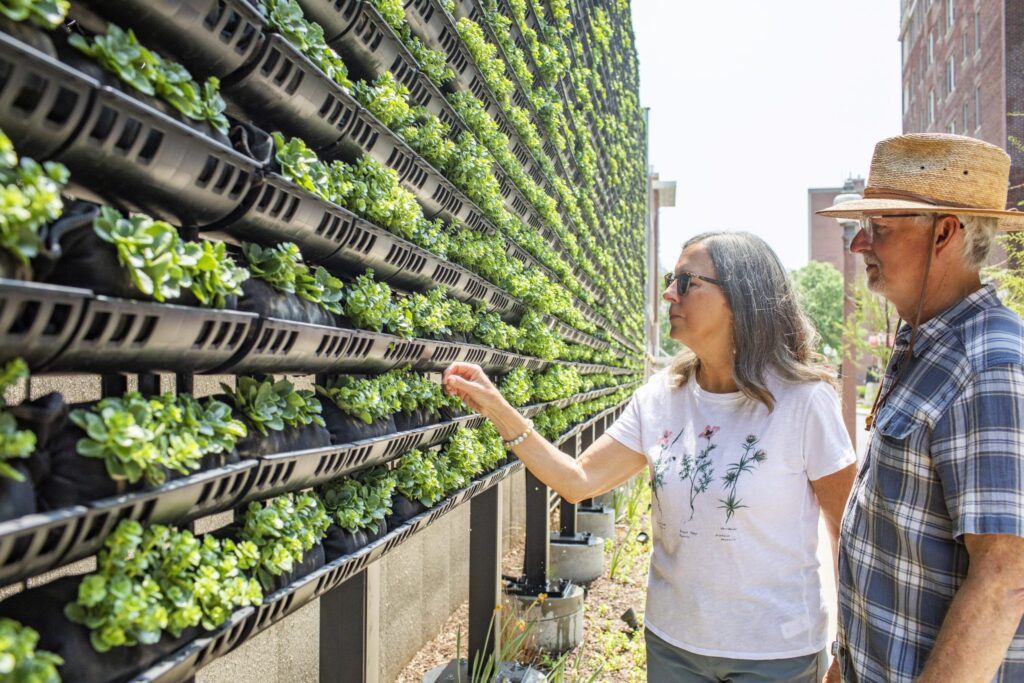
4. Vertical Garden Systems
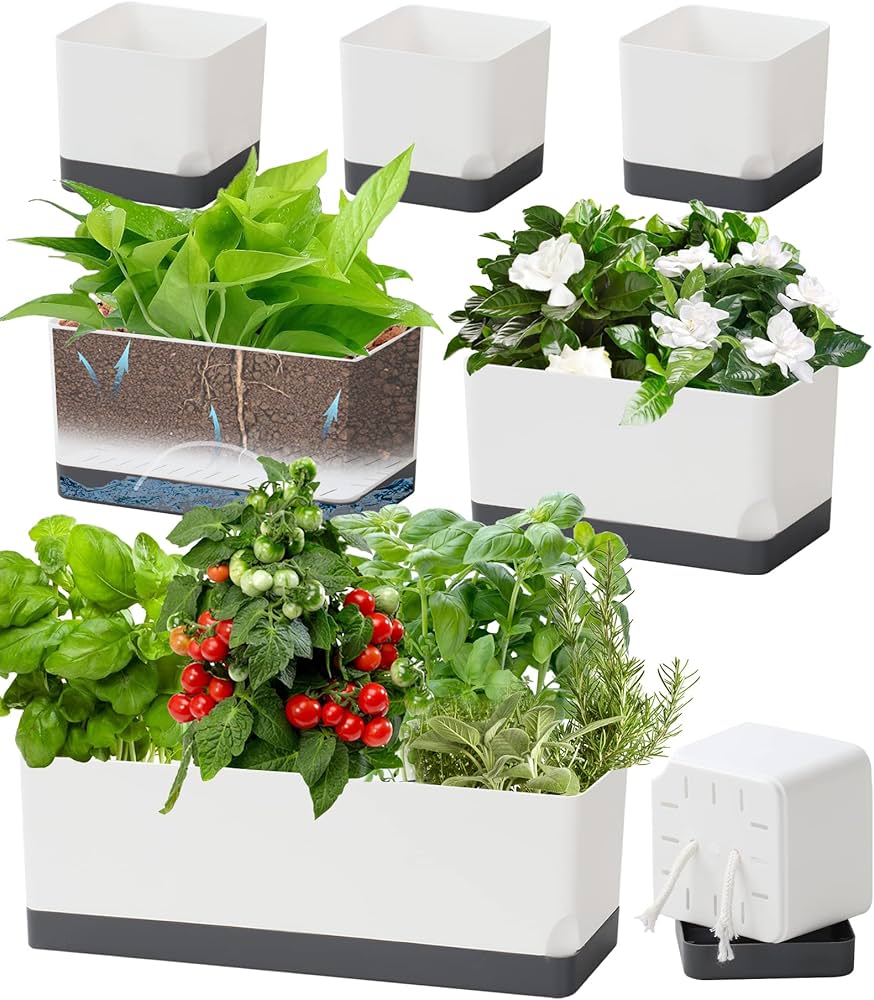
Vertical self-watering gardens use a series of interconnected pots or troughs with built-in watering channels. Water is added at the top, and gravity helps distribute it evenly throughout the system. These designs are perfect for small spaces and add a decorative touch to walls and balconies.
5. Reservoir-Based Planters
These planters feature a large water reservoir with an external filling spout. A float or gauge often indicates water levels, making it easy to monitor. This design is ideal for larger plants or areas with limited access to regular watering.
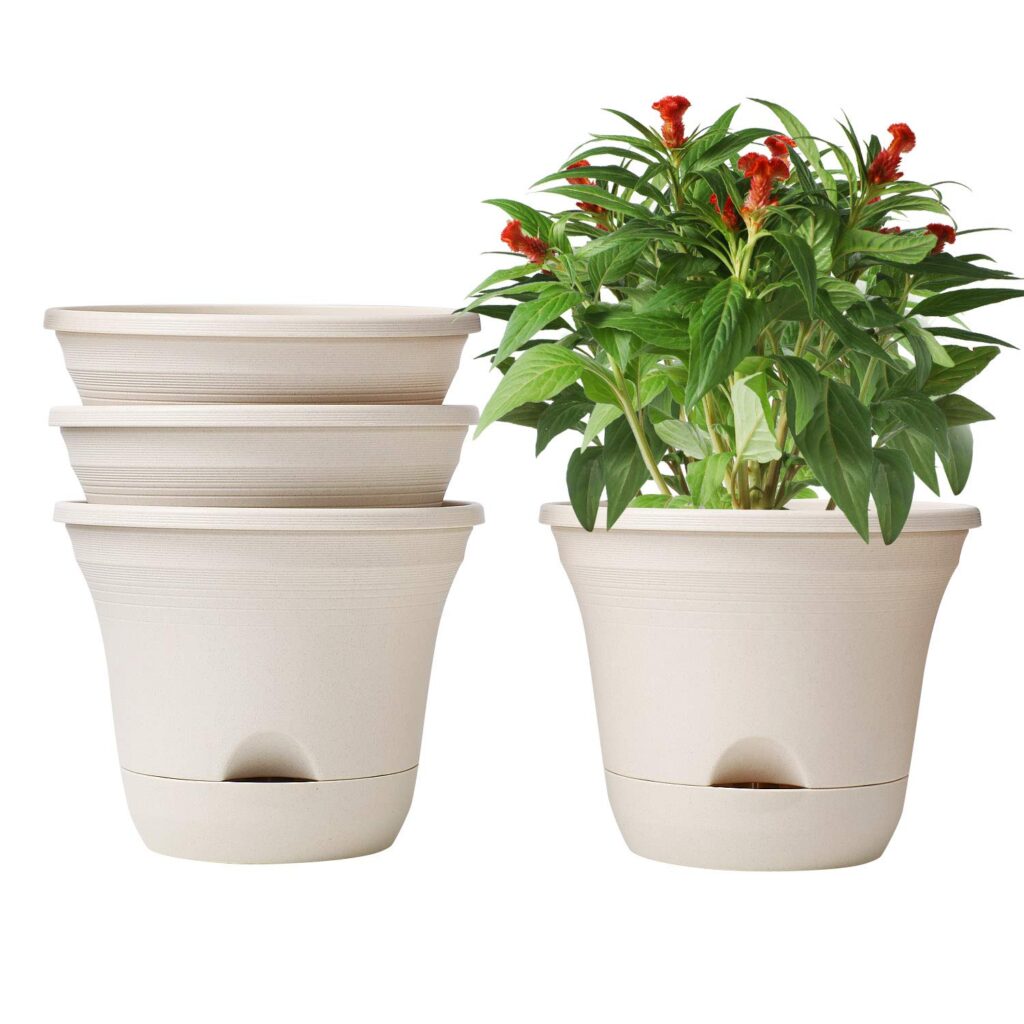
Choosing the Right Self-Watering Planter
When selecting a self-watering plant design, consider the following factors:
- Plant Type: Different plants have varying water needs.
- Space Availability: Opt for vertical or compact designs for small areas.
- Material: Plastic, ceramic, and metal options offer varying durability and aesthetics.
- Ease of Refilling: Look for accessible water filling mechanisms.
Tips for Maintaining Your Self-Watering Planter
- Use high-quality potting soil for better moisture retention.
- Clean the reservoir periodically to prevent algae or mold buildup.
- Choose drought-tolerant plants if you plan to be away for long periods.
- Ensure the planter receives adequate sunlight based on the plant’s requirements.
