How To Clean Pavers: The Ultimate Guide
When you invest in pavers for your driveway, patio, or walkway, you’re making a commitment to both beauty and durability. But even the most resilient pavers need proper maintenance to retain their appeal and functionality. Whether you’re dealing with concrete, brick, natural stone, or porcelain pavers, knowing how to clean them properly is essential for preserving their appearance and extending their lifespan.
In this comprehensive guide, we’ll walk you through everything you need to know about cleaning pavers, from routine maintenance to tackling stubborn stains. We’ll cover the right cleaning methods for different types of pavers, the tools and solutions you’ll need, and professional tips to make your outdoor spaces shine.
Why Regular Paver Cleaning Matters
Before diving into cleaning methods, it’s important to understand why paver maintenance should be part of your regular home care routine. According to the Environmental Protection Agency (EPA), proper hardscape maintenance not only enhances curb appeal but also plays a role in managing stormwater runoff and preventing pollutants from entering our waterways (EPA Stormwater Management).
Regular cleaning:
- Prevents weed growth between pavers
- Discourages moss, mildew, and algae formation
- Removes stains before they become permanent
- Preserves the color and texture of your pavers
- Prevents structural issues caused by accumulated debris
Most experts recommend a thorough cleaning at least twice per year, typically in spring and fall. However, high-traffic areas or regions with extreme weather conditions may require more frequent attention.
Understanding Your Paver Material
Different paver materials require different cleaning approaches. Using the wrong cleaning method can damage your pavers, so identifying your paver type is the first step in proper maintenance.
Concrete Pavers
Concrete pavers are among the most common and versatile options available. They’re durable and come in countless shapes, colors, and textures. However, their porous nature makes them susceptible to staining and algae growth.
Clay and Brick Pavers
Clay and brick pavers offer classic appeal and exceptional durability. Their dense composition makes them less porous than concrete, but they can still develop moss or algae in shaded areas. The natural color variations in brick pavers help hide minor staining, but they can fade over time without proper care.
Natural Stone Pavers
Natural stone pavers include materials like slate, limestone, travertine, and granite. Each stone type has unique characteristics that affect cleaning methods. Some stones are acid-sensitive (like limestone and marble), while others (like granite) are more resilient to cleaning chemicals.
Porcelain Pavers
Porcelain pavers are relatively new to the market but gaining popularity due to their low maintenance and high durability. Their non-porous surface resists staining and requires less intensive cleaning than other materials.
Essential Tools and Supplies for Paver Cleaning
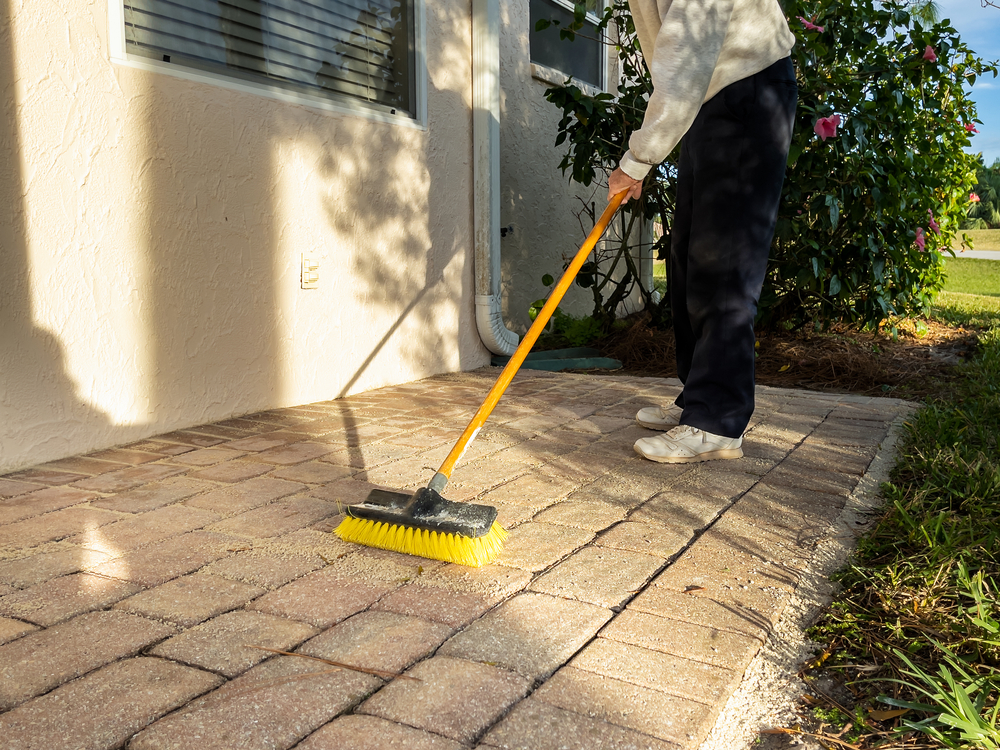
Having the right tools on hand makes paver cleaning more efficient and effective. Here’s what you’ll need:
Basic Cleaning Tools
- Stiff bristle broom
- Pressure washer (1500-3000 PSI)
- Garden hose with spray nozzle
- Leaf blower
- Plastic snow shovel (for removing debris)
- Weed removal tool
- Protective gear (gloves, eyewear, closed-toe shoes)
Cleaning Solutions
- Mild dish soap
- White vinegar
- Baking soda
- Hydrogen peroxide (3%)
- Commercial paver cleaner
- Polymeric sand (for rejoint after cleaning)
- Paver sealer
Step-by-Step Guide to Routine Paver Cleaning
1. Remove Surface Debris
Begin by removing loose debris from your pavers. Use a leaf blower for dry leaves and dirt, or a stiff broom for more stubborn debris. Pay special attention to the joints between pavers where organic matter tends to accumulate.
When dealing with larger areas, working in sections helps ensure thorough cleaning. Start from one end and work methodically across the space to avoid missing spots or creating uneven results.
2. Remove Weeds and Moss
If weeds have sprouted between your pavers, remove them before proceeding with cleaning. You can pull them by hand or use a weed removal tool designed for pavers. For persistent weeds, consider using a white vinegar solution (one part vinegar to one part water) or a commercial weed killer specifically formulated for use on pavers.
For moss and algae, a solution of equal parts water and white vinegar works well for most paver types. Apply it to affected areas, let it sit for 15-20 minutes, then scrub with a stiff brush.
3. Pre-wash and Pre-treat Stains
Before deep cleaning, pre-wash your pavers with plain water to loosen dirt and prepare the surface. For noticeable stains, apply appropriate pre-treatment:
For oil and grease stains:
- Sprinkle cat litter or sawdust over fresh oil spills to absorb excess oil
- Apply dish soap directly to the stain and scrub with hot water
- For older stains, use a commercial degreaser designed for your paver type
For rust stains:
- Mix equal parts lemon juice and borax to create a paste
- Apply to the stain and let sit for 30 minutes
- Scrub with a stiff brush, then rinse thoroughly
For organic stains (leaf marks, coffee, wine):
- Create a paste using 1 part water to 3 parts baking soda
- Apply to the stain and let sit for 30 minutes
- Scrub and rinse thoroughly
4. Deep Clean with Appropriate Method
Once you’ve addressed specific stains, it’s time for an overall cleaning. Your approach will depend on your paver material and the level of soiling.
Method 1: Manual Cleaning
For routine maintenance or delicate pavers:
- Mix a mild cleaning solution (¼ cup dish soap in 2 gallons of warm water)
- Apply the solution with a mop or soft-bristle push broom
- Scrub gently in circular motions
- Rinse thoroughly with clean water
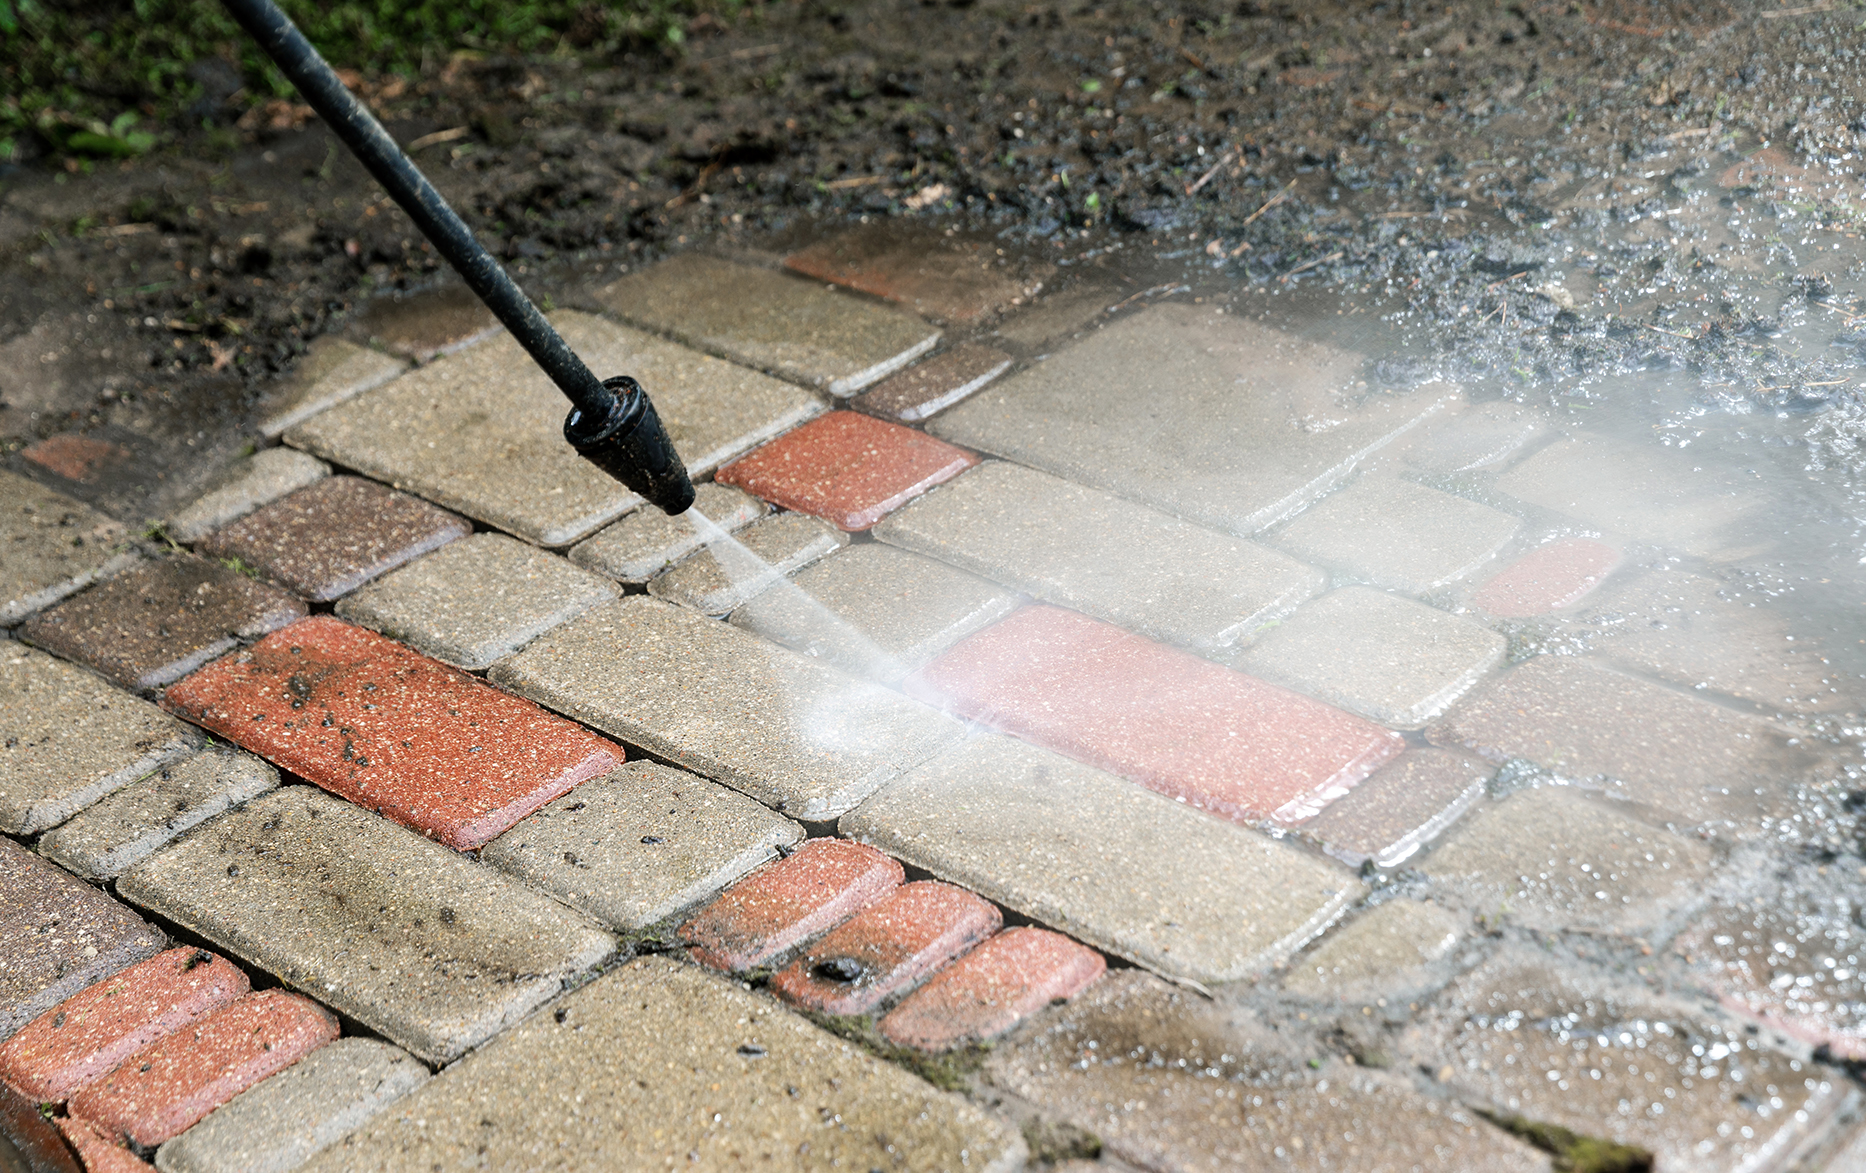
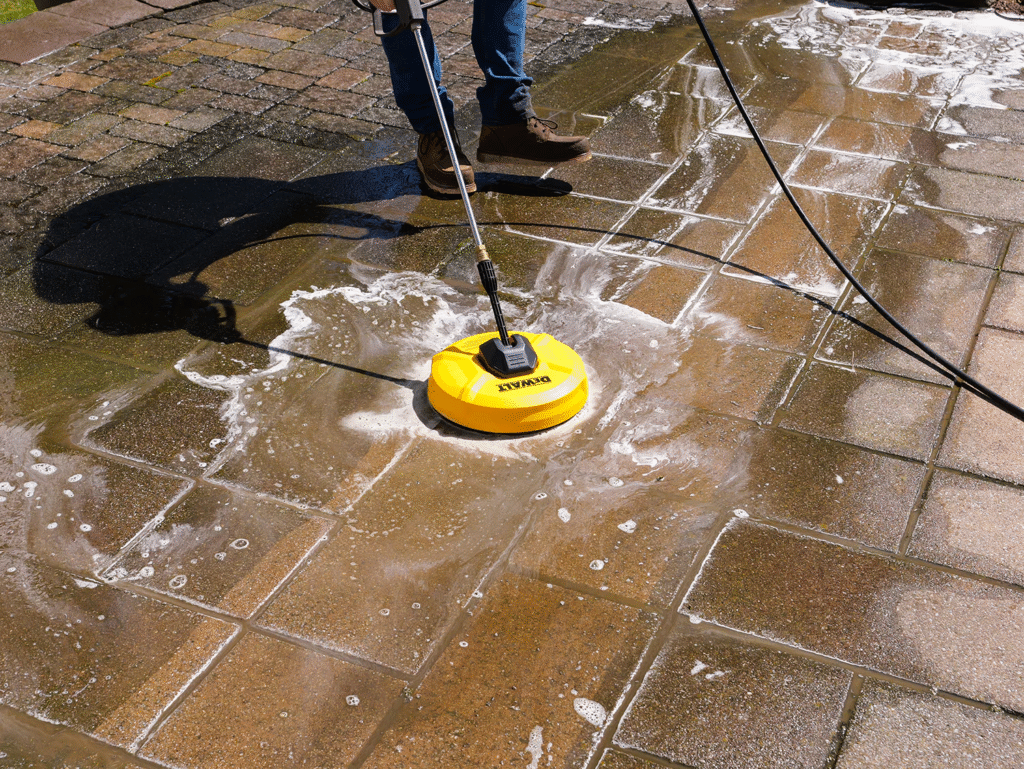
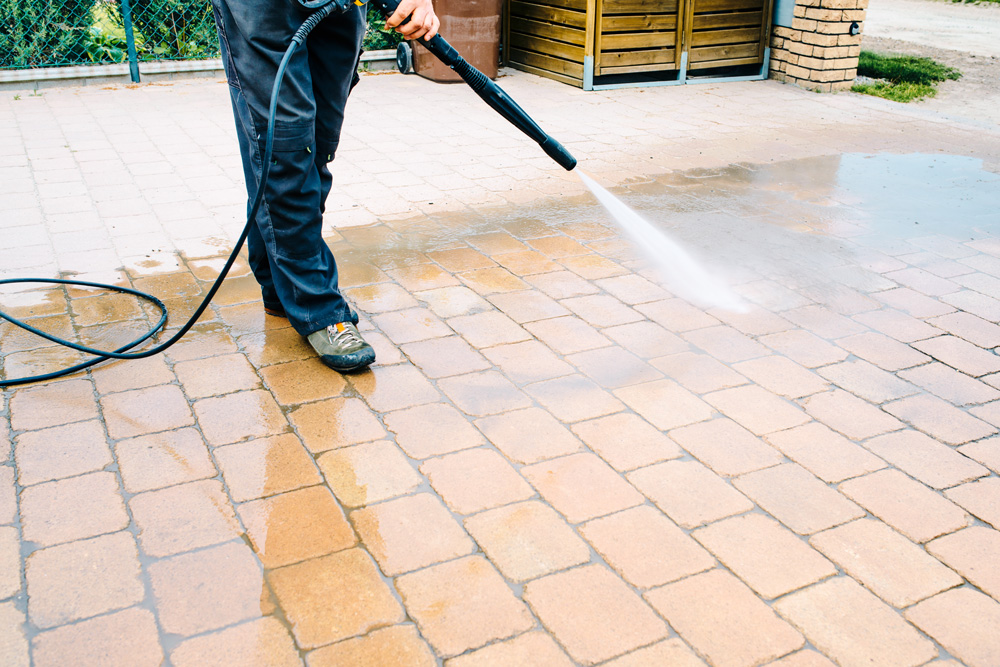
Method 2: Pressure Washing
For more substantial cleaning needs:
- Select the appropriate pressure and nozzle (generally 1500-2000 PSI for concrete and brick pavers, lower for natural stone)
- Hold the nozzle at least 12 inches away from the surface
- Move in smooth, consistent strokes
- Work at a slight angle to direct dirty water away from clean areas
Important: When using a pressure washer, always test in an inconspicuous area first. Excessive pressure can damage pavers, erode joint sand, and create a rough surface that will attract more dirt in the future.
Tackling Specific Paver Issues
Efflorescence (White Powdery Residue)
Efflorescence is a natural process where mineral salts within concrete or brick pavers rise to the surface, creating a white, chalky residue. While it doesn’t harm the structural integrity of your pavers, it can be unsightly.
To remove efflorescence:
- Ensure pavers are completely dry
- Apply a commercial efflorescence remover according to manufacturer instructions
- Scrub gently with a nylon brush
- Rinse thoroughly
For mild cases, a solution of 1 part white vinegar to 10 parts water can be effective, but avoid this method on acid-sensitive stones like limestone or marble.
Black Spot Removal (Mold and Mildew)
Black spots on pavers typically indicate mold or mildew growth, common in shaded or damp areas. To address this issue:
- Mix 1 part bleach with 10 parts water (or use oxygen bleach for colored pavers)
- Apply the solution to affected areas
- Let sit for 15 minutes (don’t allow to dry)
- Scrub with a stiff brush
- Rinse thoroughly with clean water
Repairing Sunken or Uneven Pavers
While not strictly a cleaning issue, addressing sunken pavers often becomes part of a comprehensive paver maintenance routine:
- Remove the sunken paver(s) carefully
- Add or compact additional base material (usually sand or crushed stone)
- Reposition the paver, ensuring it’s level with surrounding stones
- Fill joints with polymeric sand
Comparing Cleaning Methods for Different Paver Types
| Paver Material | Recommended Cleaning Method | Cleaning Frequency | Pressure Washer Setting | Special Considerations |
|---|---|---|---|---|
| Concrete | Pressure washing or scrubbing with mild detergent | Every 6-12 months | 1500-3000 PSI | Seal every 2-3 years to prevent staining |
| Clay/Brick | Gentle pressure washing or manual scrubbing | Every 12-18 months | 1000-2000 PSI | Avoid acidic cleaners; test in inconspicuous area first |
| Limestone/Marble | Manual cleaning with pH-neutral cleaner | Every 12 months | Not recommended | Never use acidic cleaners; seal regularly |
| Granite/Slate | Pressure washing or manual cleaning | Every 12-24 months | 1500-2500 PSI | Can withstand more pressure than softer stones |
| Porcelain | Warm water with mild detergent | Every 12-24 months | 1000-1500 PSI | Minimal maintenance; highly stain-resistant |
Sealing Your Pavers After Cleaning
One of the most effective ways to protect your pavers after cleaning is applying a quality sealer. Sealing provides several benefits:
- Creates a protective barrier against stains
- Enhances and preserves color
- Stabilizes joint sand to prevent weed growth
- Reduces water absorption and efflorescence
The right time to seal is when pavers are completely clean and thoroughly dry – typically 24-48 hours after cleaning, depending on weather conditions. Sealing should be performed every 2-5 years, depending on traffic, exposure, and paver material.
When applying sealer:
- Ensure surface is completely clean and dry
- Choose a day with mild temperatures (50-80°F) and no rain in the forecast
- Apply in thin, even coats using a roller, sprayer, or brush according to manufacturer directions
- Allow proper drying time between coats
- Avoid walking or placing furniture on newly sealed pavers for at least 24 hours
Developing a Maintenance Schedule
Consistent maintenance prevents the need for intensive cleaning and extends the life of your pavers. Here’s a suggested maintenance schedule:
Weekly
- Remove leaves and debris with a broom or leaf blower
- Rinse high-traffic areas with a garden hose
Monthly
- Inspect for weeds and remove promptly
- Check for stains and treat immediately
- Rinse entire paver surface with water
Seasonally (Spring and Fall)
- Deep clean using appropriate method for your paver type
- Check joint sand and replenish as needed
- Inspect for uneven or loose pavers
Every 2-5 Years
- Apply new sealer after thorough cleaning
- Consider professional cleaning for extensive hardscapes
Environmental Considerations
When cleaning your pavers, it’s important to consider the environmental impact of your methods and materials. The U.S. Environmental Protection Agency recommends these eco-friendly approaches:
- Direct runoff away from storm drains when using cleaning chemicals
- Choose biodegradable, phosphate-free cleaners when possible
- Consider using permeable pavers that allow water to filter through naturally, reducing runoff and pollution (EPA Permeable Paver Information)
- Use mechanical removal methods (scrubbing, pressure washing with water only) before resorting to chemicals
- Properly dispose of cleaning solution waste according to local regulations
When to Call a Professional
While most paver cleaning can be handled as a DIY project, some situations warrant professional attention:
- Extensive staining that resists home remedies
- Large areas that would be time-prohibitive to clean manually
- Historic or high-value pavers that require specialized care
- Physical limitations that make DIY cleaning difficult or unsafe
- Need for specialized equipment (such as hot-water pressure washers)
Professional paver cleaning services typically cost between $0.25 and $0.75 per square foot, depending on your location, paver condition, and required services. Many companies offer package deals that include cleaning, re-sanding, and sealing.
Preventing Future Paver Problems
Prevention is always easier than cleaning. Consider these practices to keep your pavers looking their best:
- Place drip trays under grills, planters, and vehicles to prevent stains
- Apply sealer according to the recommended schedule for your paver type
- Install proper drainage to prevent water pooling
- Trim surrounding vegetation to reduce leaf litter and organic debris
- Sweep regularly to prevent dirt accumulation
- Address spills immediately to prevent staining
- Consider furniture pads under outdoor furniture legs
Conclusion
Clean, well-maintained pavers enhance your home’s curb appeal, safety, and value. By understanding your specific paver material and following appropriate cleaning methods, you can preserve your hardscape investment for decades to come.
Remember that consistency is key—regular, gentle cleaning is far more effective and less damaging than infrequent, aggressive cleaning sessions. With the right tools, techniques, and maintenance schedule, your pavers will continue to be both beautiful and functional for years to come.
Whether you’re preparing for a special outdoor event, recovering from severe weather, or simply maintaining your home’s exterior, proper paver care is a worthwhile investment of time and effort. The results—a clean, inviting outdoor space—speak for themselves.
