How to Grow and Use Culinary Celeriac: A Complete Guide
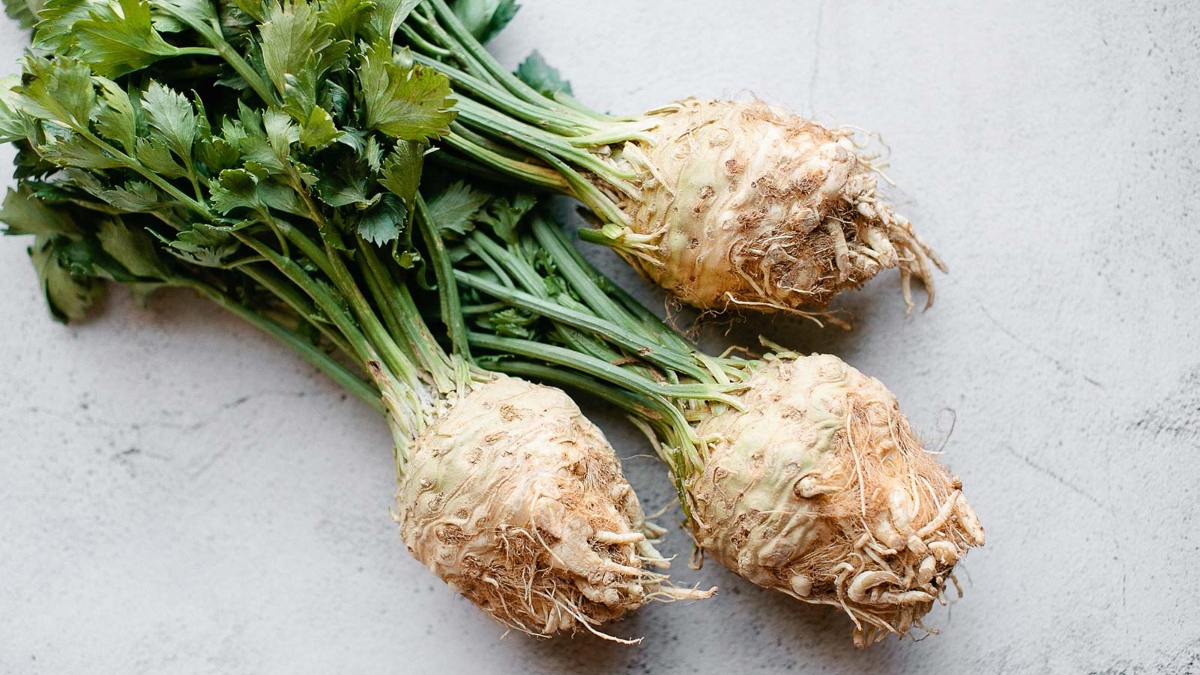
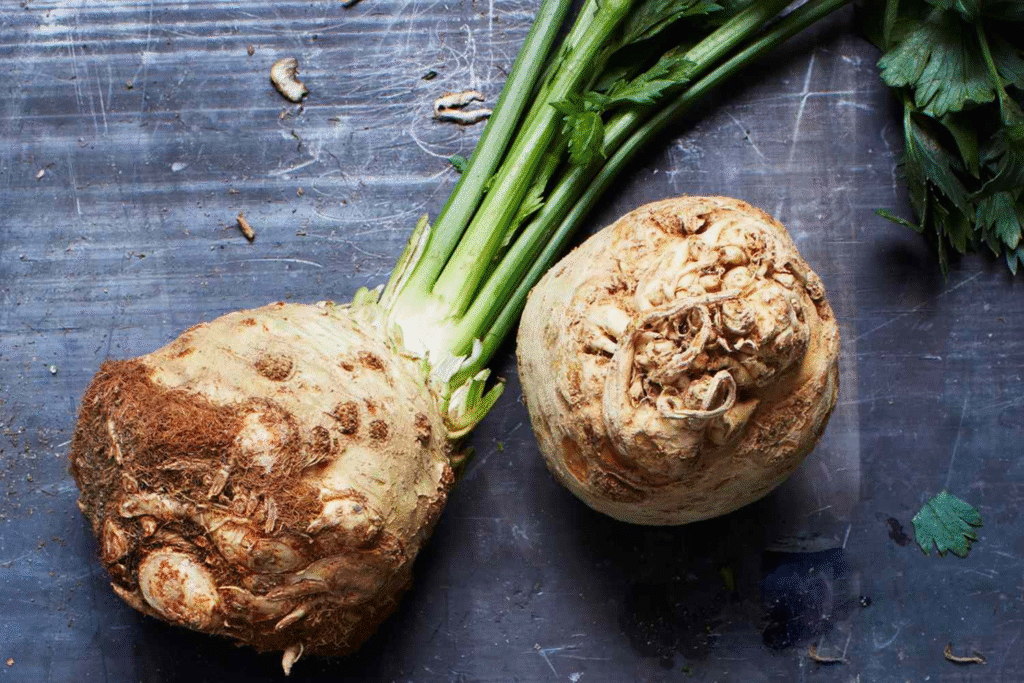
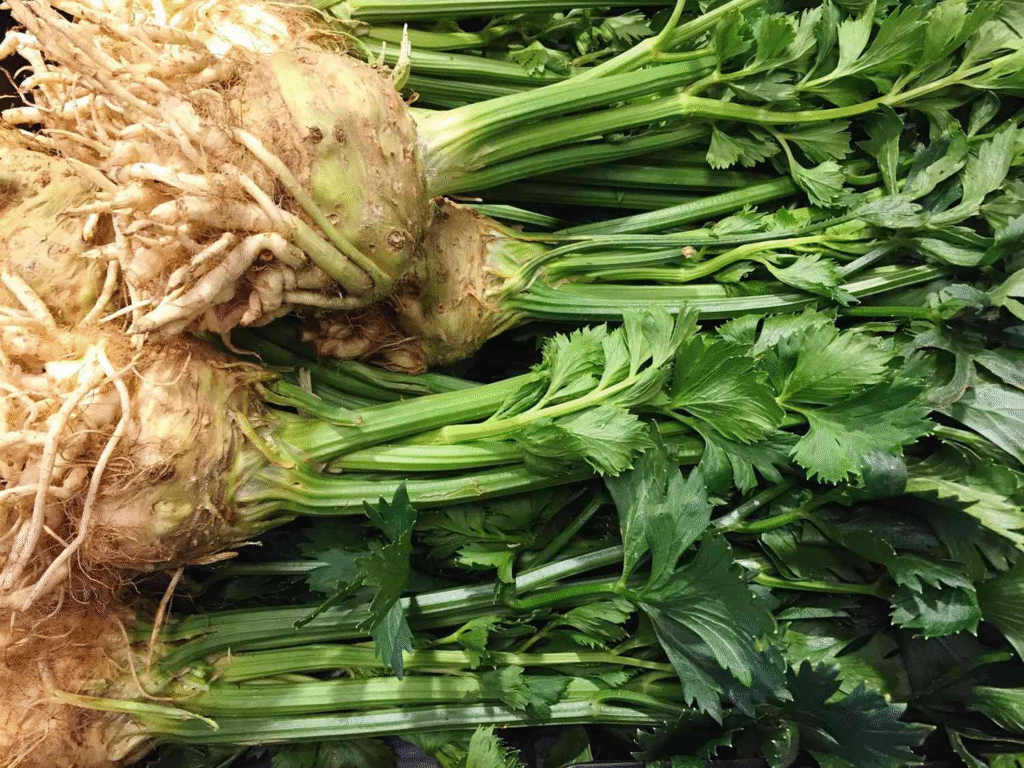
Are you looking to add a versatile, flavorful root vegetable to your garden? Celeriac (Apium graveolens var. rapaceum), also known as celery root or knob celery, might be exactly what you need. Despite its gnarly appearance, this underappreciated vegetable offers a delicate celery-like flavor with nutty undertones that can transform your culinary creations. In this comprehensive guide, you’ll discover everything you need to know about growing celeriac in your garden, in containers, and even indoors.
What is Celeriac?
Celeriac is a variety of celery cultivated specifically for its large, bulbous root rather than its stalks. While not as commonly grown in the United States as in Europe, celeriac is gaining popularity among American gardeners and chefs for its versatility and unique flavor profile. According to the USDA Agricultural Research Service, celeriac is rich in dietary fiber, vitamins K and C, and essential minerals like phosphorus and potassium.
The US market for specialty vegetables like celeriac has been growing steadily as more consumers discover its culinary applications. With a mild, celery-like flavor that becomes sweeter when cooked, celeriac works beautifully in soups, stews, gratins, and as a mashed potato alternative.
When to Plant Celeriac
Timing is crucial when growing celeriac, as it has a long growing season of 100-120 days. The table below outlines the ideal planting schedule based on your USDA hardiness zone:
| USDA Zone | Indoor Seed Starting | Transplanting Outdoors | Direct Sowing | Harvest Time |
|---|---|---|---|---|
| 3-5 | Early March | Late May | Not recommended | Late September to November |
| 6-7 | Mid-February | Mid-April to May | Early May | October to December |
| 8-9 | Late January | Late March to April | April | September to January |
| 10-11 | Early January | March | March | Fall to Winter |
For most US gardeners, starting seeds indoors is strongly recommended due to celeriac’s long growing season and specific germination requirements.
How to Grow Celeriac from Seed
Starting Seeds Indoors
Celeriac seeds are tiny and can be challenging to germinate, but with the proper technique, you’ll be rewarded with healthy seedlings. Here’s your step-by-step guide:
- Start Early: Begin 10-12 weeks before your last spring frost date.
- Choose the Right Container: Use cell trays or small pots with drainage holes.
- Prepare Seed Starting Mix: Use a sterile, fine-textured seed starting mix.
- Sow Seeds Properly: Sprinkle seeds thinly on the surface of the moistened soil. Do not cover the seeds, as they need light to germinate.
- Provide Optimal Conditions:
- Temperature: 70-75°F (21-24°C)
- Light: Place under grow lights or in a bright window
- Moisture: Keep consistently moist but not soggy
- Be Patient: Germination can take 14-21 days.
- Thin Seedlings: Once seedlings have their first true leaves, thin to one plant per cell.
- Harden Off: About two weeks before transplanting, begin hardening off your seedlings by gradually exposing them to outdoor conditions.
Direct Sowing in the Garden
While starting indoors is preferred, direct sowing is possible in warmer climates (zones 7 and above) with longer growing seasons:
- Wait for Warm Soil: Soil temperature should be at least 50°F (10°C).
- Prepare the Soil: Work in plenty of compost and ensure good drainage.
- Sow Seeds Properly: Plant seeds ¼ inch deep in rows 18-24 inches apart.
- Keep Soil Moist: Never let the seedbed dry out during germination.
- Thin Seedlings: When seedlings reach 2-3 inches tall, thin to 6-8 inches apart.
Growing Celeriac in Your Garden
Celeriac thrives in specific conditions. Follow these guidelines to ensure a successful harvest:
Soil Requirements
- Soil Type: Rich, moisture-retentive loam with good drainage
- pH Level: 6.0-7.0 (slightly acidic to neutral)
- Organic Matter: Work in plenty of well-rotted compost or aged manure
- Nutrients: Celeriac is a heavy feeder, particularly of nitrogen and potassium
According to the University of California Cooperative Extension, incorporating 2-3 inches of compost into your soil before planting will provide an excellent foundation for celeriac growth.
Planting in the Garden
- Spacing: Plant seedlings 6-8 inches apart in rows 18-24 inches apart.
- Planting Depth: Set plants at the same depth they were growing in their containers.
- Watering: Water thoroughly after transplanting.
- Mulching: Apply a 2-inch layer of organic mulch to retain moisture and suppress weeds.
Ongoing Care
- Watering: Consistent moisture is crucial. Provide 1-1.5 inches of water per week.
- Fertilizing: Feed monthly with a balanced organic fertilizer.
- Weeding: Keep the area weed-free to reduce competition.
- Root Exposure: As the plants grow, gently brush away soil from the top of the developing bulb to encourage proper formation.
- Protection: In hot climates, provide afternoon shade to prevent stress.
Growing Celeriac in Containers
Don’t have garden space? No problem! Celeriac can thrive in containers with the right care:
Choosing the Right Container
- Size: Select a pot at least 12 inches deep and 12-15 inches in diameter.
- Material: Terra cotta, plastic, or fabric pots all work well, but ensure good drainage.
- Number of Plants: Plant one celeriac per 12-inch pot or two in a larger container.
Container Growing Instructions
- Potting Mix: Use a high-quality potting mix enriched with compost.
- Planting: Set seedlings at the same depth they were growing previously.
- Watering: Check moisture daily; containers dry out faster than garden soil.
- Feeding: Apply liquid organic fertilizer every 2-3 weeks.
- Location: Place your container where it will receive 6+ hours of sunlight daily.
- Winter Protection: In zones 7 and below, move containers to a protected area during winter if you’re growing as a fall crop.
Growing Celeriac Indoors
While challenging, growing celeriac indoors is possible with careful attention to its needs:
Indoor Growing Requirements
- Light: A south-facing window or grow lights providing 12-14 hours of light daily.
- Temperature: Maintain 60-70°F (15-21°C) during the day and slightly cooler at night.
- Humidity: Use a humidity tray or room humidifier to maintain 50-60% humidity.
- Air Circulation: A gentle fan helps prevent fungal issues.
Indoor Growing Steps
- Choose Compact Varieties: Look for varieties labeled suitable for containers.
- Use Deep Containers: Select pots 12+ inches deep with excellent drainage.
- Soil: Use high-quality potting mix amended with compost.
- Watering: Keep soil consistently moist but not waterlogged.
- Feeding: Apply diluted liquid fertilizer every 2-3 weeks.
- Pollination: Unlike fruiting plants, celeriac doesn’t require pollination to develop its edible root.
Common Problems and Solutions
Even with proper care, you may encounter some challenges when growing celeriac:
Pests
- Aphids: Spray with insecticidal soap or a strong stream of water.
- Slugs and Snails: Use organic slug bait or create barriers with diatomaceous earth.
- Celery Leaf Miner: Remove and destroy affected leaves; consider row covers.
Diseases
- Early Blight: Ensure good air circulation; avoid overhead watering.
- Bacterial Leaf Spot: Remove infected leaves; rotate crops yearly.
- Root Rot: Improve drainage; avoid overwatering.
Harvesting and Storing Celeriac
Patience is key when growing celeriac. Here’s how to know when and how to harvest:
When to Harvest
- Size: Harvest when the root reaches 3-5 inches in diameter.
- Timing: Usually 100-120 days after transplanting.
- Season: Best flavor develops after light frost but before hard freeze.
How to Harvest
- Loosen Soil: Use a garden fork to gently loosen the soil around the plant.
- Lift Carefully: Pull the plant up by the stems while supporting the root.
- Trim: Cut off foliage, leaving about 1 inch of stems.
- Clean: Gently brush off excess soil (but don’t wash if storing).
Storage Options
- Short-term: Refrigerate unwashed roots in a plastic bag for 3-4 weeks.
- Long-term: Store in slightly damp sand or sawdust in a cool (32-40°F/0-4°C), humid place for up to 6 months.
- Processing: Can be diced and frozen for 8-10 months.
Culinary Uses for Your Celeriac Harvest
After all your hard work growing celeriac, it’s time to enjoy it in the kitchen:
Preparation Basics
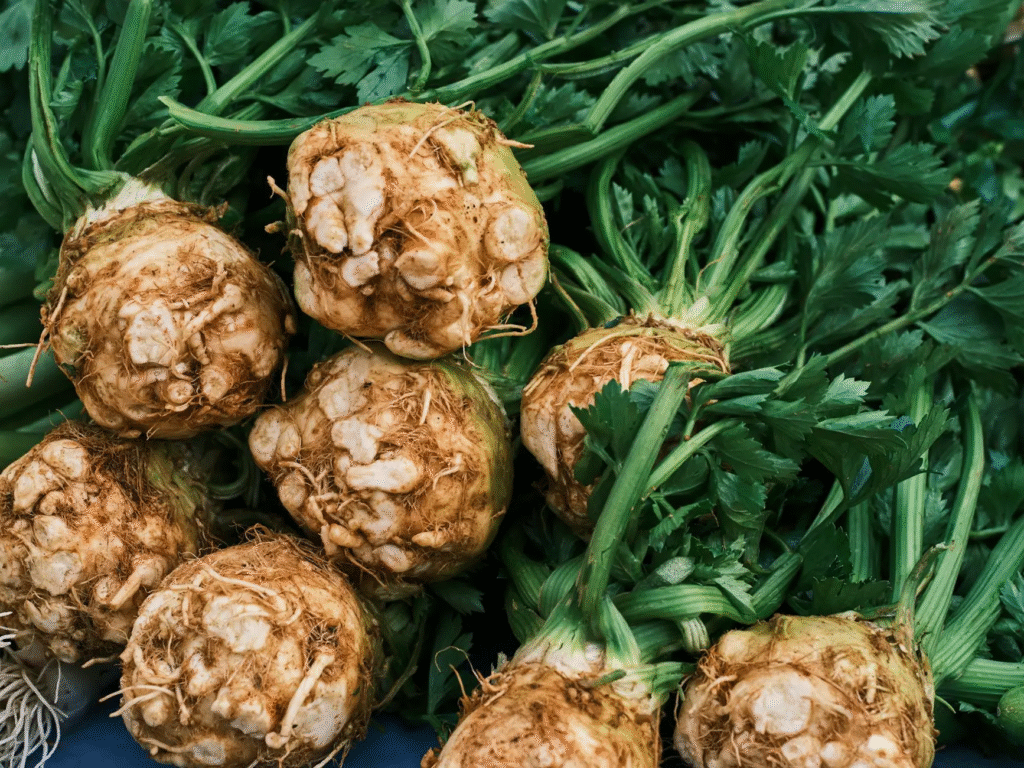
- Cleaning: Scrub thoroughly under running water.
- Peeling: Remove the tough outer skin with a sharp knife.
- Preventing Browning: Place peeled celeriac in acidulated water (water with lemon juice) to prevent discoloration.
Popular Celeriac Dishes
- Celeriac Remoulade: A classic French salad with julienned celeriac in a mustard-mayo dressing.
- Mashed Celeriac: A lower-carb alternative to mashed potatoes.
- Celeriac Soup: Creates a silky, delicate soup alone or paired with apples or potatoes.
- Roasted Celeriac: Cut into cubes and roast for a caramelized flavor.
- Celeriac Fries: Cut into matchsticks and bake or fry for a healthy snack.
Celeriac Varieties for US Gardeners
Several celeriac varieties perform well in US growing conditions:
- Brilliant: Early maturing (85-100 days) with smooth white flesh
- Diamant: Large, uniform roots with excellent flavor
- Monarch: Disease-resistant variety with good storage qualities
- President: Widely available in the US with reliable production
- Mars: Newer variety with improved bolting resistance
Conclusion
Growing celeriac requires patience and attention to detail, but the reward is a versatile, flavorful root vegetable that will elevate your cooking. Whether you choose to grow it in your garden, in containers, or indoors, following the guidelines in this article will help ensure success. As interest in specialty vegetables continues to grow in the US market, adding celeriac to your gardening repertoire puts you at the forefront of culinary gardening trends.
So why not give this underappreciated vegetable a try this growing season? With its unique flavor and impressive nutritional profile, celeriac might just become your new favorite homegrown crop.
