How to Grow and Use Culinary Kumara: A Complete Guide
Are you looking to add a nutritious, versatile root vegetable to your garden? Kumara (also known as sweet potato or Ipomoea batatas) is not only delicious but also relatively easy to grow once you understand its specific needs. Whether you have a spacious garden, a small patio with pots, or just a sunny windowsill, you can successfully grow this nutrient-packed tuber at home.
What is Kumara?
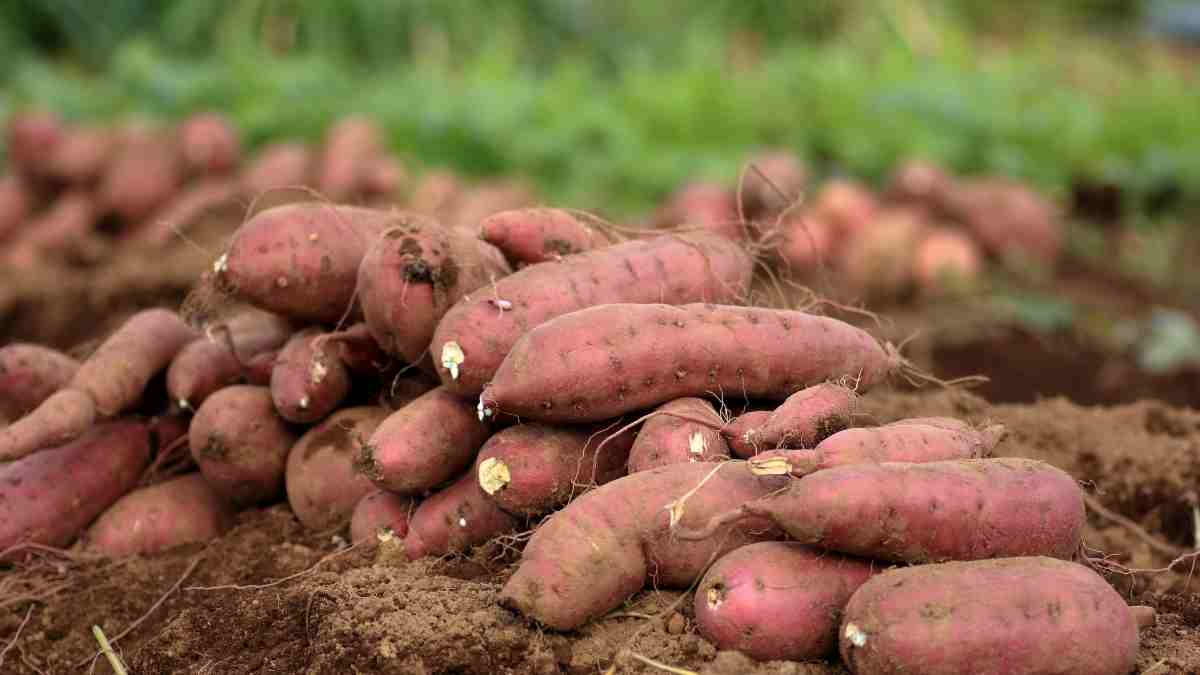
Kumara is the New Zealand term for sweet potato, a starchy root vegetable that originated in South and Central America. While often confused with yams, kumara belongs to the morning glory family and is packed with vitamins A and C, fiber, and antioxidants. In the US market, you’ll typically find several varieties with flesh colors ranging from orange and yellow to purple and white.
Growing Conditions for Successful Kumara
Before diving into specific growing methods, understanding kumara’s basic requirements will set you up for success:
Climate Requirements
Kumara thrives in warm conditions, requiring at least 4-5 months of warm weather to produce a good harvest. According to the USDA Agricultural Research Service, sweet potatoes grow best in USDA hardiness zones 8-11, though they can be grown in cooler zones with proper timing and protection.
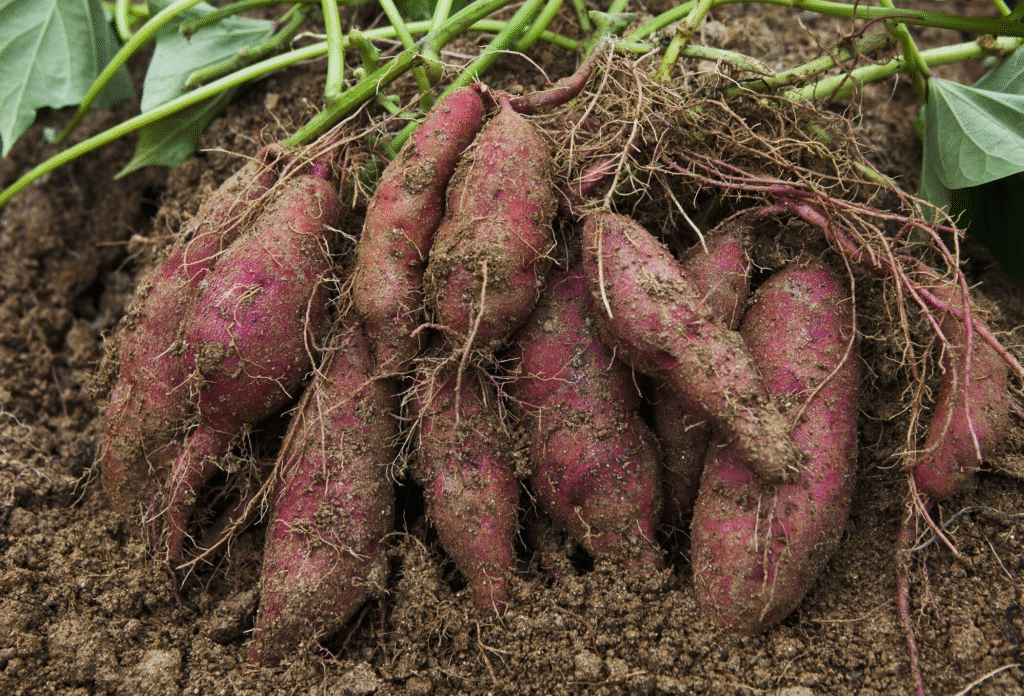
Soil Requirements
Your kumara will thrive in:
- Well-draining, sandy loam soil
- Slightly acidic to neutral pH (5.8-6.5)
- Loose soil structure to allow tuber development
Sunlight and Water Needs
- Full sun (at least 6-8 hours daily)
- Consistent moisture, especially during tuber formation
- Reduced watering as harvest approaches
Growing Kumara in Your Garden
Site Selection and Preparation
- Choose a sunny spot with loose, well-draining soil
- Prepare your soil 2-3 weeks before planting:
- Remove all weeds and debris
- Add 2-3 inches of compost or well-rotted manure
- Work the soil to a depth of 12 inches
- Form raised mounds or ridges 8-12 inches high and 12 inches wide
Starting Kumara Slips
Unlike many vegetables, kumara isn’t typically grown directly from seeds but from “slips” – sprouts that grow from mature sweet potatoes.
To grow your own slips:
- Select an organic, disease-free kumara tuber
- Insert toothpicks around the middle of the tuber
- Suspend it in a glass of water with the bottom half submerged
- Place in a warm spot with indirect light
- Change water every few days
- After 2-3 weeks, shoots will appear from the top
- When slips reach 4-6 inches with several leaves, gently twist them off
- Place removed slips in water until roots develop (usually 1-2 days)
Planting in the Garden
- Wait until soil temperatures reach at least 60°F (15.5°C)
- Plant slips 12-18 inches apart in rows 3 feet apart
- Bury each slip up to the top leaves
- Water thoroughly after planting
- Apply a layer of mulch to retain moisture and suppress weeds
Growing Kumara in Containers
Don’t have garden space? No problem! Kumara grows surprisingly well in containers, making it accessible for patio gardeners.
Container Selection
Choose containers that are:
- At least 18-20 inches deep and wide
- Equipped with drainage holes
- Made of fabric, terracotta, or plastic
Potting Medium
Create a mix of:
- 2 parts good quality potting soil
- 1 part compost
- 1 part sand or perlite for drainage
Planting Process
- Fill your container with potting mix, leaving 2 inches at the top
- Plant 2-3 slips per container, depending on size
- Water thoroughly after planting
- Place in a location receiving 6+ hours of sunlight daily
- Consider using a trellis for the vines to climb
Growing Kumara Indoors
Yes, you can grow kumara indoors with the right conditions! This is especially useful for those in colder climates or with limited outdoor space.
Indoor Requirements
- South-facing window providing 6+ hours of direct sunlight
- Or grow lights operating 10-12 hours daily
- Room temperature between 70-85°F (21-29°C)
- Good air circulation
Indoor Growing Methods
- Decorative Method: Similar to starting slips, suspend a kumara partially in water in a decorative container for attractive foliage
- Container Method: Follow the container instructions above, but use a lightweight potting mix and place on a sunny windowsill
- Hydroponic Method: For advanced growers, kumara can thrive in a simple hydroponic setup
Care Throughout the Growing Season
Regardless of where you’re growing your kumara, these care tips apply:
Watering
- Water deeply 1-2 times per week during active growth
- Reduce watering about 3-4 weeks before harvest to improve flavor
- Avoid waterlogged soil, which can cause rot
Fertilizing
- Apply balanced organic fertilizer (10-10-10) one month after planting
- Avoid high-nitrogen fertilizers which promote leaf growth over tuber development
- Consider a phosphorus-rich fertilizer mid-season to encourage root development
Pest and Disease Management
Common kumara pests and diseases include:
| Pest/Disease | Symptoms | Organic Management |
|---|---|---|
| Sweet Potato Weevil | Small holes in tubers, wilting | Crop rotation, beneficial nematodes |
| Fungal Rots | Soft, discolored patches | Good drainage, avoid overhead watering |
| Deer/Rabbits | Missing foliage, dug areas | Physical barriers, repellents |
| Nematodes | Stunted growth, deformed tubers | Marigold companion planting, solarization |
Training Vines
While not necessary, training kumara vines can save space and improve air circulation:
- Install stakes or a trellis near plants
- Gently guide vines up supports as they grow
- Secure with soft plant ties as needed
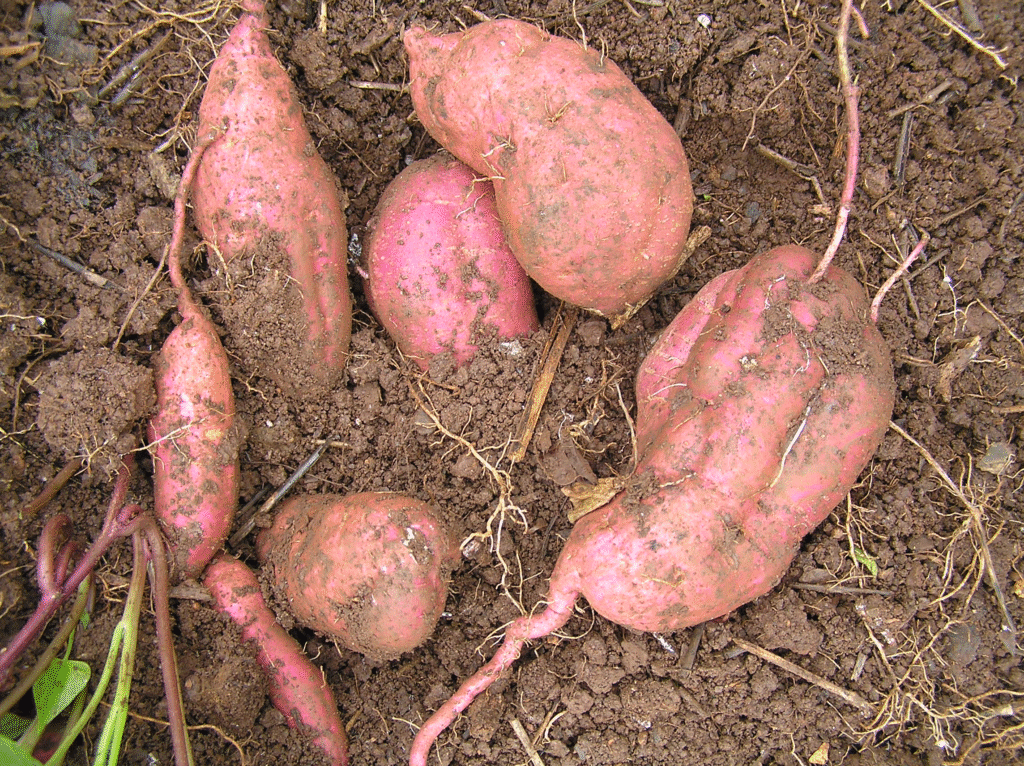
Harvesting Your Kumara
When to Harvest
- Most varieties mature in 90-120 days after planting
- Watch for these signs of readiness:
- Leaves beginning to yellow
- Skin firm and fully colored for the variety
- Sample digging reveals appropriately sized tubers
Harvesting Process
- Choose a dry day for harvesting
- Cut back vines a few days before harvest (optional)
- Use a garden fork to carefully loosen soil around plants
- Gently lift tubers, being careful not to pierce or bruise them
- Brush off excess soil but don’t wash tubers
Curing for Storage
For long-term storage, kumara needs proper curing:
- Place harvested tubers in a warm (80-85°F/27-29°C), humid (80-90%) location for 7-10 days
- After curing, store in a cool (55-60°F/13-15°C), dark place
- Properly cured and stored kumara can last 6-10 months
Growing From True Seeds (Advanced)
While uncommon, growing kumara from actual seeds is possible for experienced gardeners interested in experimenting with varieties:
- Purchase sweet potato seeds from specialty suppliers
- Start indoors 10-12 weeks before last frost
- Use seed-starting mix in small pots
- Keep soil consistently moist
- Provide bottom heat (75-80°F/24-27°C)
- Transplant seedlings when 4-6 inches tall
Note that plants grown from true seeds may not be identical to the parent plant and typically take longer to produce harvestable tubers.
Kumara in the US Market
Kumara has seen significant growth in the US market, with consumption increasing by over 42% between 2000-2020 according to USDA data. This growth is attributed to:
- Increased recognition of nutritional benefits
- Growing interest in diverse global cuisines
- Expanded availability of different varieties beyond traditional orange sweet potatoes
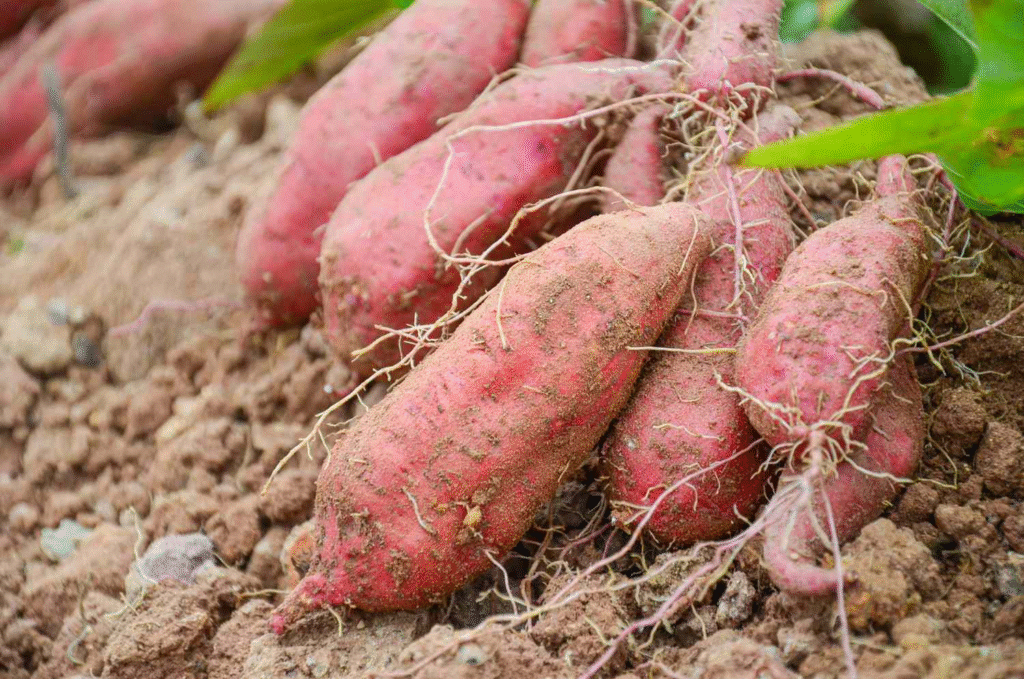
Popular varieties available in US markets include:
- Beauregard (orange flesh, copper skin)
- Jewel (orange flesh, copper skin)
- Purple Stokes (purple flesh and skin)
- Japanese/Murasaki (white flesh, purple skin)
- Hannah (white/cream flesh and skin)
Culinary Uses for Your Homegrown Kumara
The reward for your growing efforts is a versatile ingredient that works in countless dishes:
Savory Applications
- Roasted with herbs and olive oil
- Mashed as a healthier alternative to potatoes
- Added to stews and curries
- Made into fries or chips
Sweet Applications
- Baked into pies and desserts
- Incorporated into pancakes and waffles
- Used in sweet breads and muffins
Preservation Methods
- Dehydrated into chips
- Frozen (best if cooked first)
- Canned in a pressure canner
Common Growing Challenges and Solutions
| Challenge | Cause | Solution |
|---|---|---|
| Poor tuber development | Too much nitrogen | Use balanced fertilizer |
| Cracked tubers | Inconsistent watering | Water regularly and evenly |
| Small harvest | Insufficient growing season | Start earlier, use faster-maturing varieties |
| Leaf yellowing | Nutrient deficiency | Add compost tea or balanced fertilizer |
| No tuber formation | Too cool conditions | Use black plastic mulch to warm soil |
Conclusion
Growing kumara can be incredibly rewarding, providing nutritious food while connecting you to ancient agricultural traditions. Whether you’re cultivating them in a sprawling garden bed, in containers on your patio, or even indoors, these adaptable plants offer both beauty and bounty.
By following the guidelines in this article and adapting to your specific growing conditions, you’ll be well on your way to harvesting your own delicious kumara. The satisfaction of serving a meal featuring vegetables you’ve grown yourself is unmatched – especially when it’s something as versatile and nutritious as kumara.
Start with just a few plants your first season, learn what works in your specific environment, and expand your kumara growing operation as you gain confidence. Your taste buds and your health will thank you!
