How to Grow Rhubarb: A Complete Guide
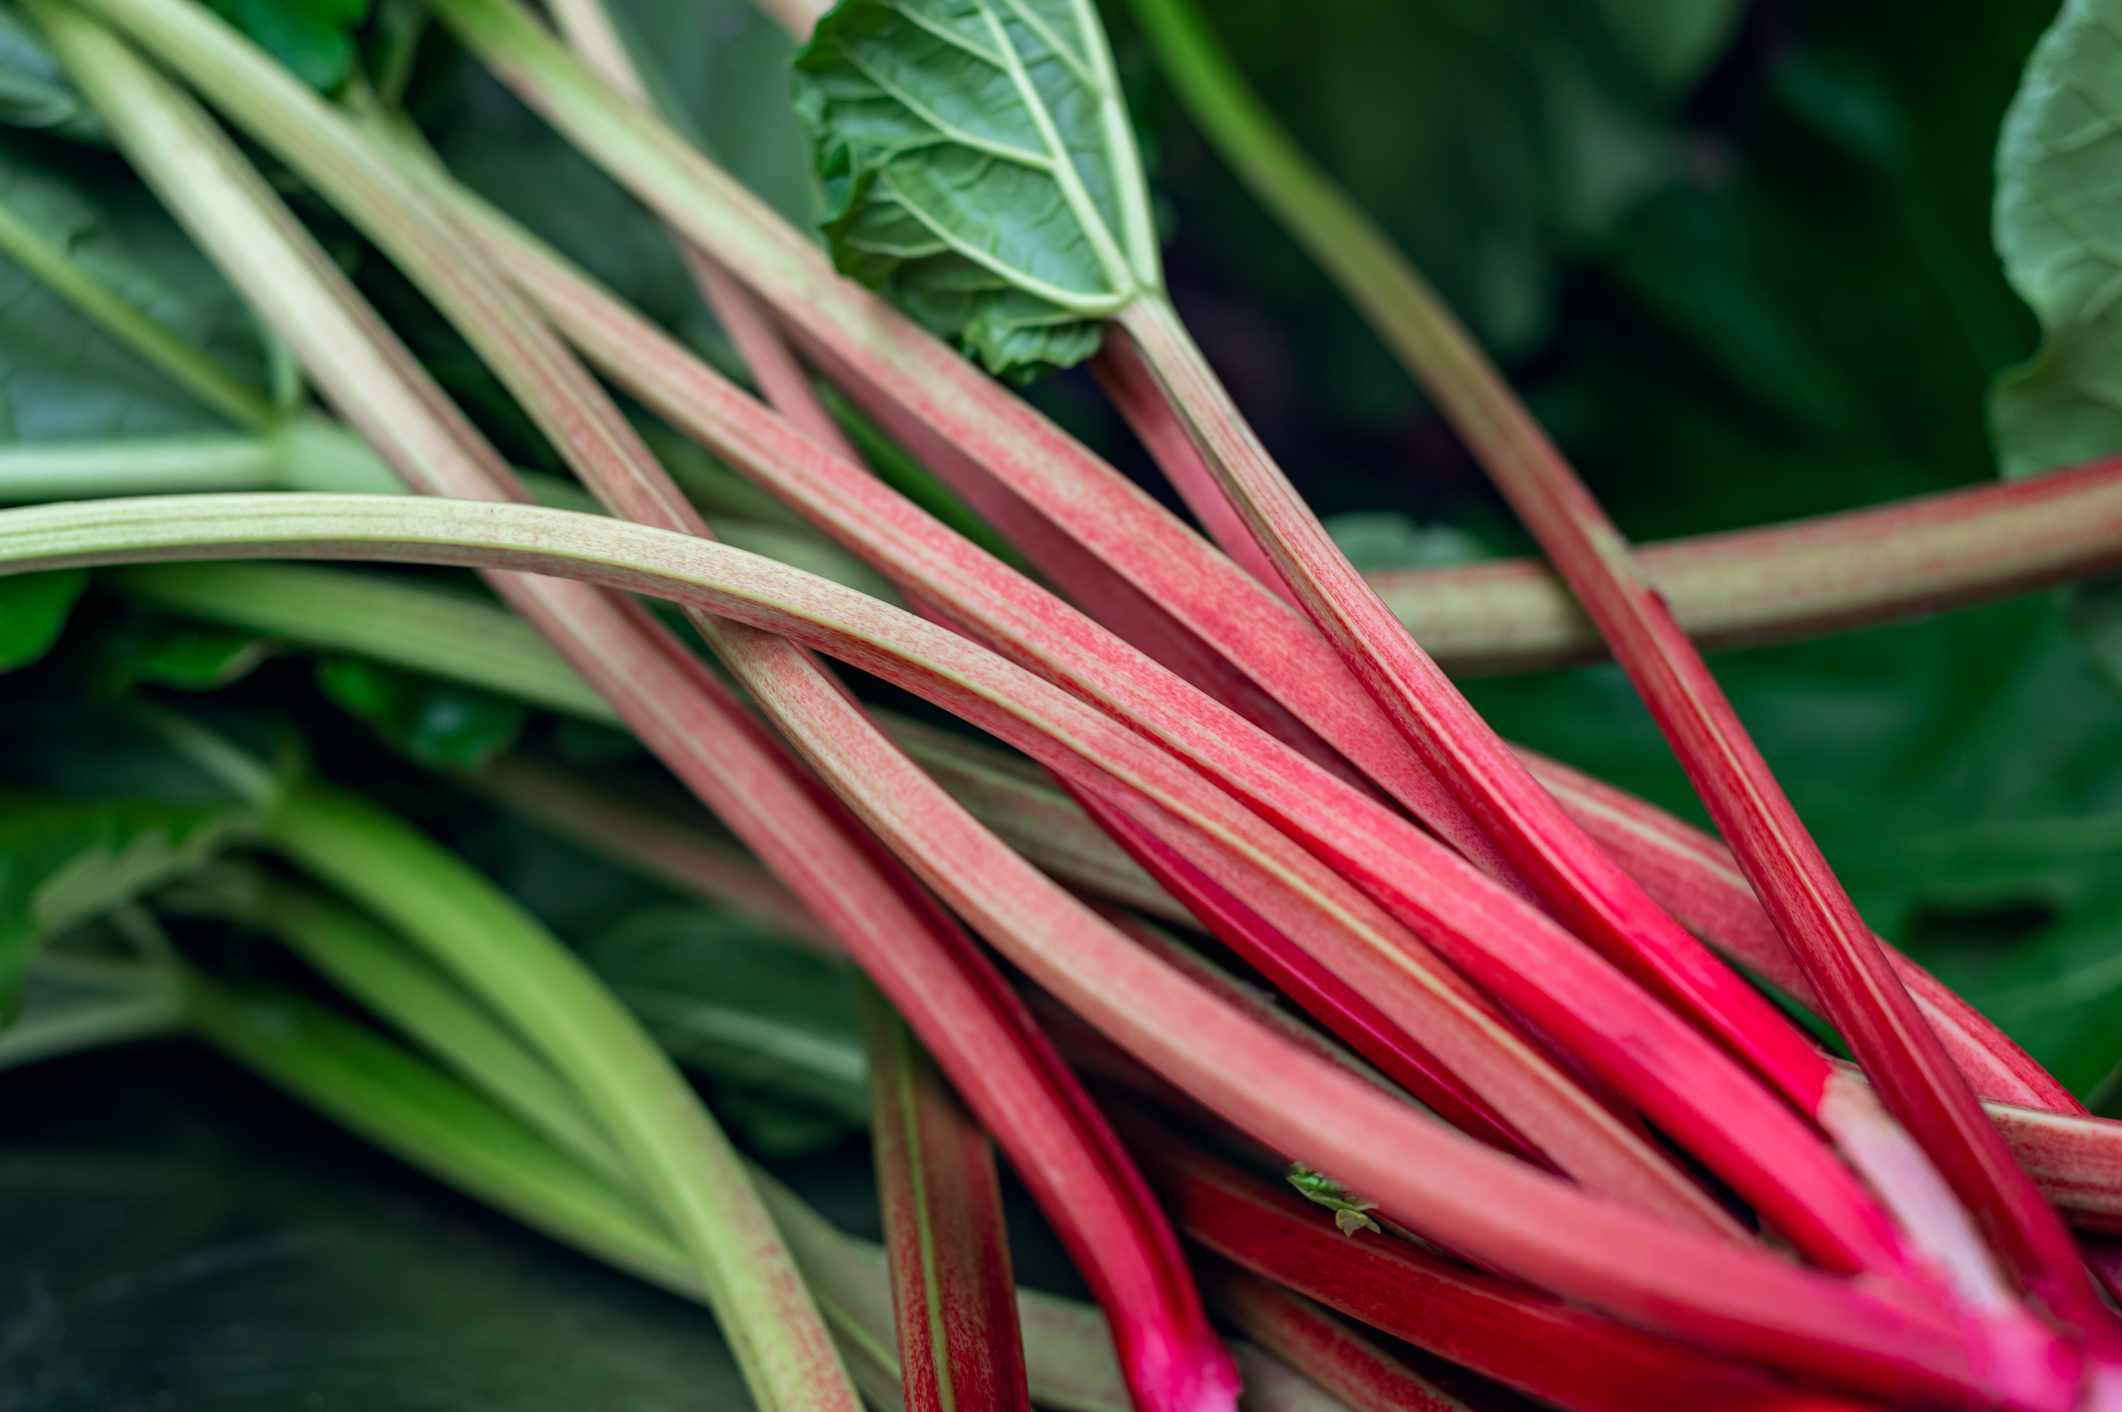
Rhubarb, with its vibrant crimson stalks and tart flavor, is a versatile perennial that can transform your culinary creations from ordinary to extraordinary. Whether you’re dreaming of homemade rhubarb pies, jams, or savory sauces, growing your own rhubarb ensures the freshest ingredients right at your fingertips. This hardy plant can thrive for decades with proper care, making it an excellent investment for your garden space. In this comprehensive guide, you’ll discover everything you need to know about growing rhubarb in different settings, from spacious garden beds to cozy indoor containers.
Understanding Rhubarb: The Basics
Before diving into cultivation methods, it’s important to understand what makes rhubarb unique among garden plants.
What is Rhubarb?
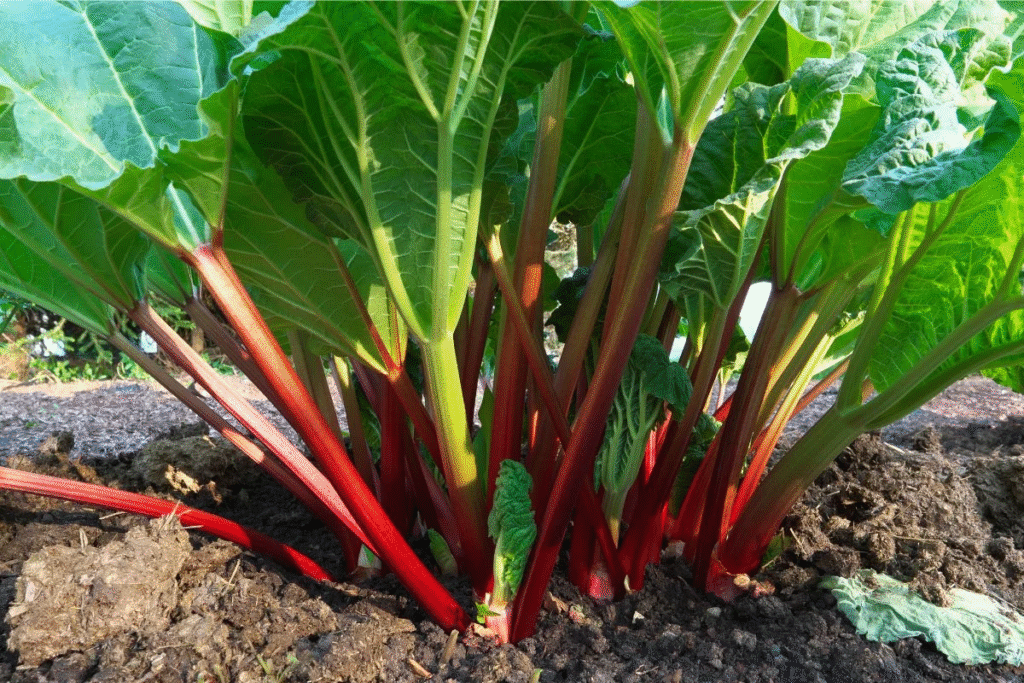
Rhubarb (Rheum rhabarbarum) is a perennial vegetable grown primarily for its edible stalks, though it’s often used as a fruit in culinary applications. It belongs to the Polygonaceae family and is known for its distinctive tart flavor that pairs wonderfully with sweeter ingredients.
According to the USDA Agricultural Research Service, rhubarb has been cultivated for thousands of years, initially for medicinal purposes before becoming popular in kitchens across America.
Popular Rhubarb Varieties for US Gardens
Several rhubarb varieties perform exceptionally well in US growing conditions:
- Victoria: An heirloom variety with green stems that develop a pink blush, known for its reliable production and excellent flavor
- Crimson Cherry: Features deep red stalks with superior sweetness compared to other varieties
- Canada Red: Produces sweet, tender stalks with intense red coloration throughout
- Holstein Bloodred: Offers exceptionally vibrant color and strong disease resistance
- Valentine: Known for its intense red color and vigor, especially in colder regions
Rhubarb Growing Zones
Rhubarb thrives in cooler climates and requires a period of winter dormancy to produce well. It grows best in USDA hardiness zones 3-8, with some varieties tolerating conditions in zone 9 with extra care.
Starting Rhubarb from Seeds
While most gardeners opt for crown divisions, growing rhubarb from seed is an economical option that allows you to experience the plant’s full development cycle.
Seed Starting Timeline
For optimal results, start rhubarb seeds indoors 8-10 weeks before your last spring frost date. This head start gives seedlings time to develop before transplanting outdoors.
Step-by-Step Seed Starting Process
- Prepare seed trays with a high-quality seed starting mix.
- Soak seeds for 24 hours in warm water before planting to improve germination rates.
- Plant seeds ¼ inch deep in individual cells or small pots.
- Maintain soil temperature between 70-75°F (21-24°C) for optimal germination.
- Provide bright light once seedlings emerge, using grow lights if necessary.
- Keep soil consistently moist but not waterlogged.
- Transplant seedlings to larger containers when they develop 2-3 true leaves.
- Harden off for 7-10 days before transplanting outdoors once soil temperatures reach 50°F (10°C).
Be patient when growing rhubarb from seed—plants started this way typically need 2-3 years before they’re ready for harvest.
Growing Rhubarb in Garden Beds
Garden beds provide the ideal environment for rhubarb to reach its full potential as a long-lived perennial.
Site Selection
Choose a location that offers:
- Full sun to partial shade (6+ hours of direct sunlight daily)
- Well-draining soil to prevent root rot
- Protection from strong winds that can damage tall stalks
- Sufficient space (plants need 3-4 feet between them when mature)
Soil Preparation
Rhubarb thrives in rich, fertile soil with:
- pH between 5.5-6.8 (slightly acidic to neutral)
- High organic matter content
- Good drainage capabilities
Before planting, amend your soil with:
- 2-4 inches of compost or well-rotted manure worked into the top 12 inches
- Optional addition of balanced organic fertilizer according to package directions
Planting Process for Crowns or Seedlings
- Dig planting holes approximately 12-18 inches wide and 8-10 inches deep.
- Create a small mound of soil in the center of each hole.
- Position the crown or seedling with buds or growth points 1-2 inches below soil level.
- Backfill carefully, ensuring good soil-to-root contact without air pockets.
- Water thoroughly after planting to settle the soil.
- Apply mulch around plants (but not touching stems) to conserve moisture and suppress weeds.
Seasonal Care Calendar
| Season | Maintenance Tasks | Watering Needs | Common Issues to Watch For |
|---|---|---|---|
| Spring | Apply compost around plants, remove flower stalks, begin light harvesting in third year | 1 inch weekly if rainfall insufficient | Slugs, crown rot if soil stays soggy |
| Summer | Continue removing flower stalks, maintain mulch layer | 1-2 inches weekly during dry periods | Leaf spot diseases, crown borer insects |
| Fall | Final harvest, clean up dead leaves | Reduce watering as growth slows | Fungal infections in wet conditions |
| Winter | Apply layer of compost or manure as mulch after ground freezes | No supplemental water needed | Frost heaving in freeze-thaw cycles |
Growing Rhubarb in Containers
Don’t have garden space? Rhubarb can thrive in containers with the right care approach.
Container Selection
Choose containers that:
- Are at least 18-24 inches in diameter and equally deep
- Have multiple drainage holes to prevent waterlogging
- Are made of durable material that can withstand freezing temperatures if kept outdoors year-round
Container-Specific Soil Mix
Create a nutrient-rich growing medium with:
- 60% high-quality potting soil
- 20% compost or well-rotted manure
- 20% perlite or coarse sand for drainage
- Optional slow-release fertilizer mixed in at planting time according to package directions
Maintenance for Potted Rhubarb
Potted rhubarb requires more attentive care than garden-grown plants:
- Watering: Check soil moisture daily during growing season; water when the top 1-2 inches feels dry
- Feeding: Apply liquid fertilizer monthly during the growing season
- Winter care: In zones 3-7, sink pots into the ground or move to an unheated garage for winter protection
- Dividing: Repot and divide container rhubarb every 3-4 years to maintain vigor
Growing Rhubarb Indoors
While challenging, growing rhubarb indoors is possible with careful attention to its needs.
Indoor Growing Requirements
To succeed with indoor rhubarb:
- Light: Position near a south-facing window or provide 12-14 hours of artificial grow light daily
- Temperature: Maintain 65-75°F (18-24°C) during active growth periods
- Humidity: Use a pebble tray with water or run a humidifier nearby to increase humidity
- Air circulation: Ensure good airflow to prevent fungal issues
Forcing Rhubarb Indoors
For off-season harvests, you can force dormant rhubarb crowns:
- Select mature plants that are at least 3 years old for forcing.
- Chill crowns by exposing them to temperatures below 40°F (4°C) for 8-10 weeks.
- Pot up chilled crowns in containers with moistened potting mix.
- Place in warm, dark location (60-70°F) until stalks reach 12-15 inches.
- Harvest stalks when they’ve reached full size but before leaves fully expand.
Note that forced plants should rest for at least two growing seasons before forcing again.
Common Challenges and Solutions
Even experienced gardeners encounter issues with rhubarb. Here’s how to address the most common problems:
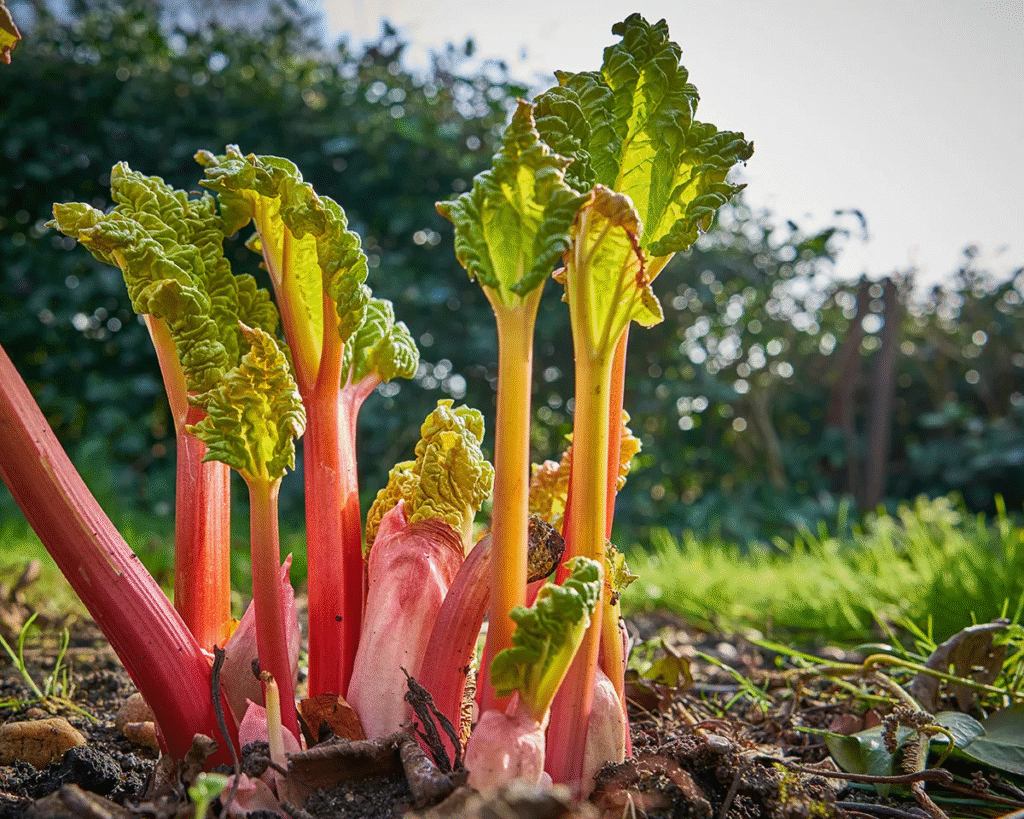
Pest Management
- Rhubarb curculio: Handpick these large snout beetles and remove dock plants (alternate hosts) from your yard
- Slugs and snails: Use diatomaceous earth barriers or beer traps around plants
- Aphids: Spray with strong water stream or insecticidal soap if infestations are severe
Disease Prevention and Treatment
- Crown rot: Ensure proper drainage and avoid overwatering; remove affected plants completely
- Leaf spot: Remove affected leaves promptly and improve air circulation
- Powdery mildew: Apply neem oil or potassium bicarbonate sprays at first signs of infection
Weather-Related Issues
- Frost damage: Cover young plants if late spring frosts threaten; damaged leaves will recover in time
- Heat stress: Provide afternoon shade and increase watering during heat waves
- Winter protection: Apply thick mulch around plants after ground freezes in colder regions
Harvesting and Using Your Rhubarb
The reward for your gardening efforts comes at harvest time when those crimson stalks are ready for the kitchen.
When and How to Harvest
- First harvest: Wait until the third year after planting from seed, or the second year after planting crowns
- Seasonal timing: Begin harvesting when stalks reach 12-18 inches in length, typically in late spring
- Technique: Grasp stalks near the base and pull with a gentle twisting motion, or cut with clean shears at soil level
- Quantity: Never harvest more than one-third of the plant’s stalks in a single season
- Late season: Stop harvesting by early July (mid-summer) to allow plants to store energy for next year
Post-Harvest Handling
Once harvested:
- Remove leaves immediately as they contain high levels of oxalic acid and are toxic
- Rinse stalks in cool water to remove soil
- Trim ends and remove any damaged portions
- Store unwashed stalks in perforated plastic bags in the refrigerator for up to 3 weeks
Culinary Uses for Your Homegrown Rhubarb
Your garden-fresh rhubarb works beautifully in:
- Sweet applications: Pies, crisps, compotes, jams, and sauces
- Savory dishes: Chutneys, glazes for meats, or roasted as a side dish
- Beverages: Infused syrups for cocktails, sodas, or iced tea
- Preserves: Pickled for long-term storage or frozen for year-round use
Market Potential for Homegrown Rhubarb
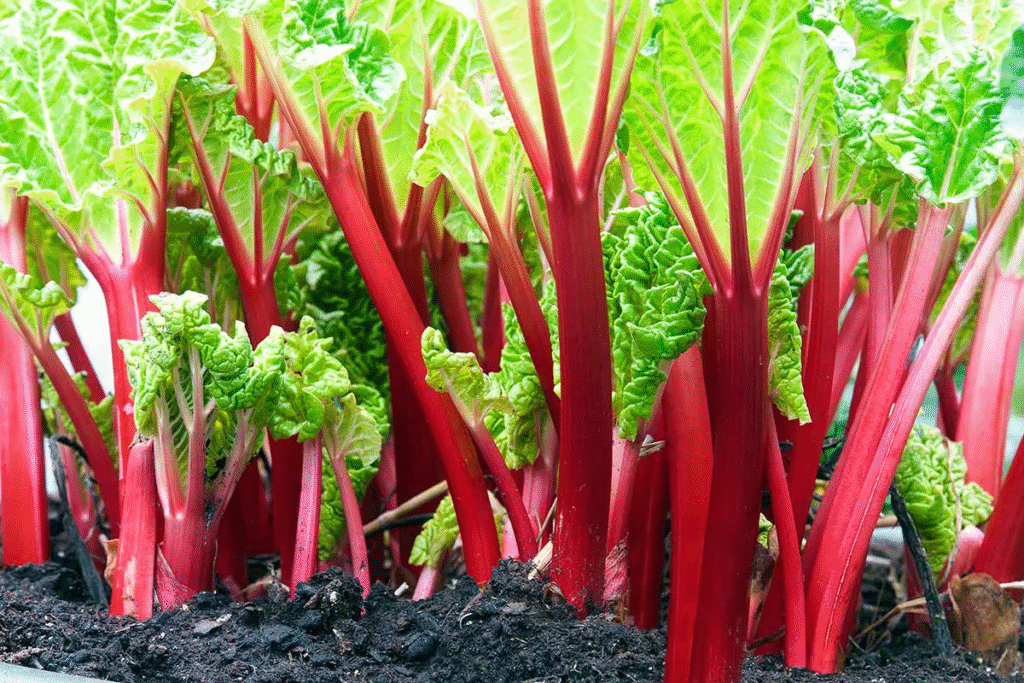
The US market for specialty produce like rhubarb continues to grow as consumers seek unique, locally-grown options.
Current Market Trends
According to the USDA Agricultural Marketing Service, small-scale rhubarb producers can find profitable outlets through:
- Farmers’ markets, where fresh rhubarb commands premium prices ($3-5 per pound)
- CSA (Community Supported Agriculture) programs
- Farm-to-table restaurant partnerships
- Value-added products like preserves or baked goods
Scaling Up Your Rhubarb Production
If you’re interested in commercial production:
- Focus on organic growing practices, which often command price premiums of 30-50%
- Consider specialty varieties with unique colors or flavor profiles
- Extend your season through succession planting and forcing techniques
- Develop relationships with chefs and specialty grocers seeking locally-grown produce
Conclusion
Growing rhubarb offers both culinary rewards and potential market opportunities. Whether you’re cultivating a single plant in a container or establishing a garden bed dedicated to this versatile perennial, the tartly sweet stalks will bring distinctive flavor to your kitchen for years to come. By following the guidance in this article, you’ll be well-equipped to grow thriving rhubarb plants in whatever space you have available.
Remember that patience is key with rhubarb—the investment of time in proper establishment pays dividends in decades of productive harvests. Start with quality seeds or crowns, provide the right growing conditions, and enjoy the satisfaction of growing this distinctive crop in your own garden space.
