How to Grow and Use Culinary Scallions: A Complete Guide
Scallions, also known as green onions, are versatile culinary herbs that add a mild onion flavor to countless dishes. With their crisp texture and bright flavor, scallions have become increasingly popular in American kitchens. According to the USDA Economic Research Service, onions (including scallions) are one of the most commonly consumed vegetables in the United States, with the average American consuming about 20 pounds annually.
Whether you have a spacious garden, a small balcony with pots, or just a sunny windowsill, you can successfully grow these flavorful alliums. In this comprehensive guide, we’ll explore everything you need to know about growing scallions in various settings, from seed selection to harvest techniques.
Understanding Scallions: The Basics
Before diving into growing methods, let’s understand what makes scallions special among the allium family.
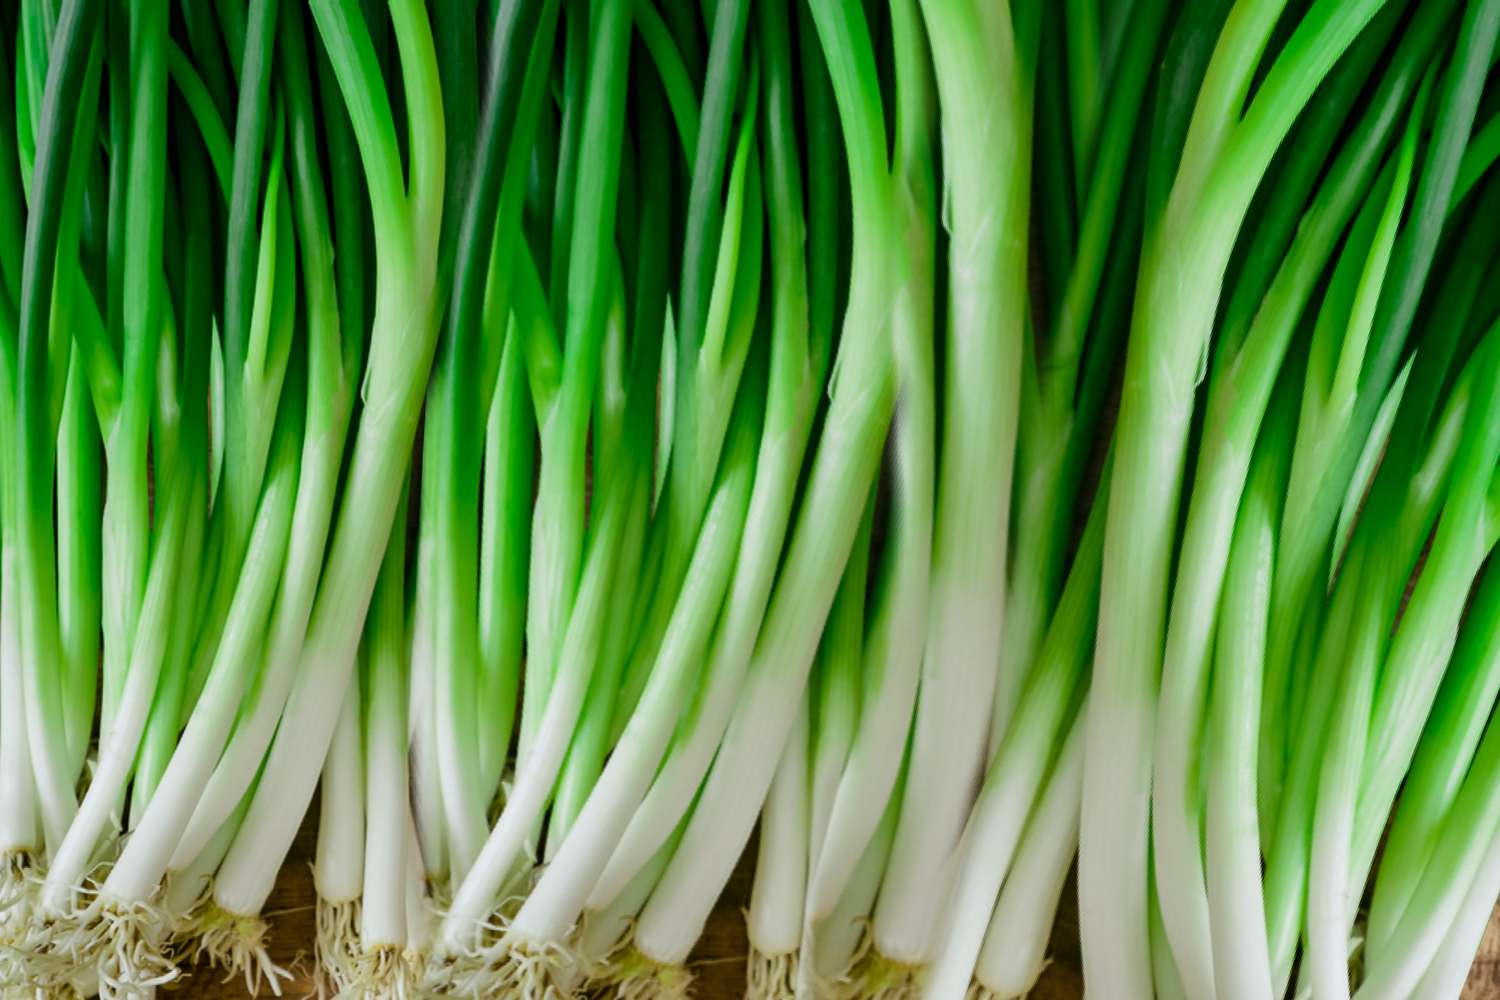
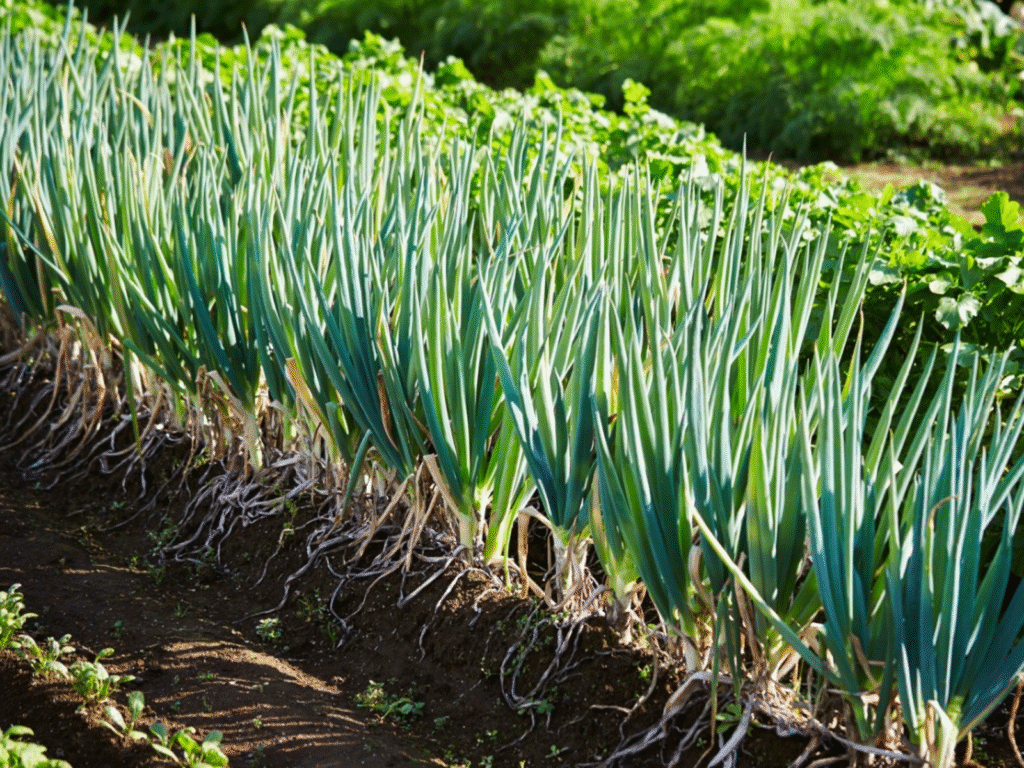
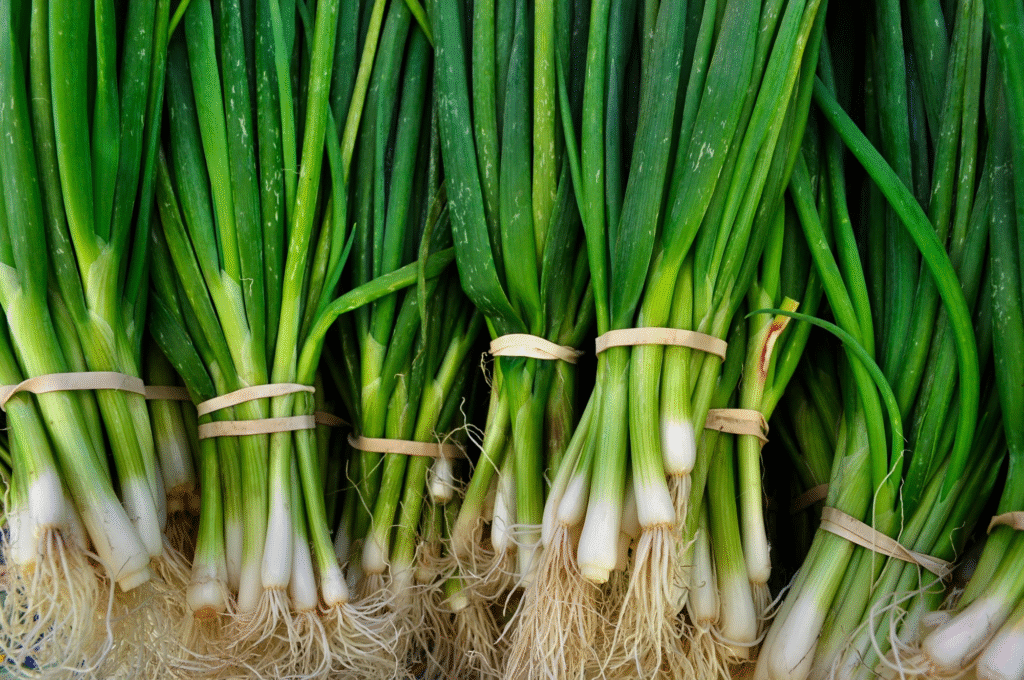
Scallions (Allium fistulosum) differ from regular onions because they don’t form a large bulb. Instead, they have a small white base that transitions into hollow green stems. What makes them particularly appealing to home gardeners is their quick growth cycle – you can harvest scallions as soon as 30 days after planting, compared to the months required for bulb onions.
The entire scallion plant is edible, from the white root end to the dark green tips, though many recipes call specifically for one section or the other. The white and light green parts offer a more pronounced onion flavor, while the darker green sections provide a milder, herbaceous note.
When and Where to Plant Scallions
Timing your scallion planting right can make all the difference in your success rate. Here’s a breakdown of when to plant based on your growing method:
Outdoor Garden Planting Schedule
Scallions are cool-weather crops that thrive in temperatures between 68°F and 77°F (20-25°C). For most regions in the US, this means:
| USDA Zone | Spring Planting | Fall Planting | Notes |
|---|---|---|---|
| 3-5 | April-May | August | Protect from late frosts |
| 6-7 | March-April | September | Can overwinter with protection |
| 8-9 | February-March | October | May struggle in summer heat |
| 10-11 | January-February | November | May need partial shade in summer |
According to the National Gardening Association, many gardeners find that succession planting scallions every 3-4 weeks provides a continuous harvest throughout the growing season.
How to Grow Scallions from Seeds
Growing scallions from seeds is economical and gives you access to a wider variety of cultivars. Here’s how to do it successfully:
Seed Starting Indoors
- Timing: Start seeds indoors 8-10 weeks before your last spring frost date.
- Seed preparation: Soak seeds in warm water for 24 hours before planting to improve germination.
- Planting medium: Use a seed-starting mix in shallow trays or cell packs.
- Seed depth: Plant seeds 1/4 inch deep.
- Spacing: Seeds can be placed close together initially (about 20-30 seeds per 4-inch pot).
- Watering: Keep soil consistently moist but not waterlogged.
- Light: Place in a sunny window or under grow lights for 14-16 hours daily.
- Temperature: Maintain around 70°F (21°C) for optimal germination.
- Germination time: Expect to see sprouts in 7-14 days.
- Thinning: When seedlings reach 3 inches tall, trim them with scissors to 2 inches to encourage stronger growth.
Direct Seeding Outdoors
If you prefer to plant directly in your garden:
- Soil preparation: Work in 2-3 inches of compost to create loose, fertile soil.
- Seed depth: Plant seeds 1/4 to 1/2 inch deep.
- Row spacing: Create furrows 12-18 inches apart.
- Seed spacing: Scatter seeds thinly along the furrow, aiming for about 1/2 inch between seeds.
- Thinning: When seedlings reach 3-4 inches tall, thin to 1-2 inches apart for smaller scallions or 3-4 inches for larger ones.
- Water needs: Keep soil consistently moist, especially during germination and early growth.
Growing Scallions in Containers
Don’t have garden space? No problem! Scallions are perfect for container growing:
Container Selection and Preparation
- Container size: Choose containers at least 6-8 inches deep with drainage holes.
- Soil mix: Use high-quality potting soil mixed with compost at a 3:1 ratio.
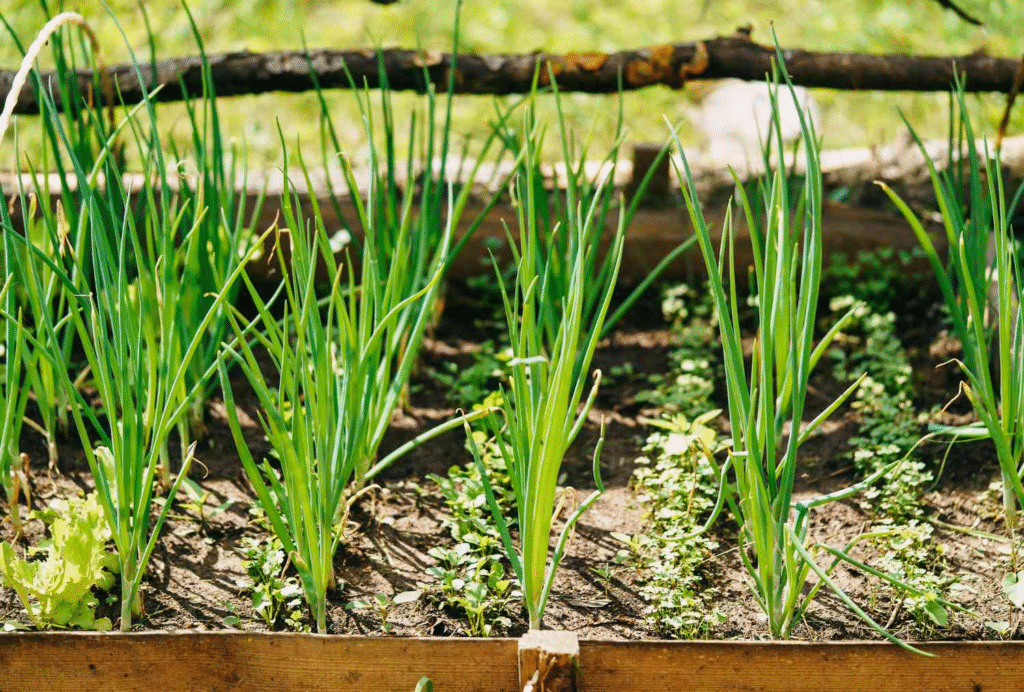
- Location: Place containers where they’ll receive at least 6 hours of sunlight daily.
Planting Process for Containers
- Fill your container with potting mix, leaving 1 inch of space at the top.
- Create shallow furrows about 1/4 inch deep and 3 inches apart.
- Sow seeds thinly along the furrows.
- Cover lightly with soil and water gently.
- Maintain moisture by checking the soil daily – container soil dries out faster than garden soil.
Special Care for Container Scallions
- Fertilization: Feed every 2-3 weeks with a half-strength liquid organic fertilizer.
- Water management: Never let containers dry out completely.
- Protection: Move containers to sheltered locations during extreme weather.
Indoor Scallion Growing Methods
You can enjoy fresh scallions year-round by growing them indoors. Here are two popular methods:
Windowsill Method
- Location selection: Choose a south or west-facing window that receives at least 5-6 hours of direct sunlight.
- Container setup: Use a shallow tray at least 2-3 inches deep with drainage holes.
- Growing medium: Fill with seed-starting mix or potting soil mixed with perlite for drainage.
- Planting: Sow seeds 1/4 inch deep and 1/2 inch apart.
- Care routine: Keep soil moist and rotate the container regularly for even growth.
- Supplemental lighting: Consider adding grow lights if your window doesn’t provide enough natural light, especially during winter months.
Regrowing from Kitchen Scraps
One of the most satisfying aspects of scallions is that you can regrow them from store-bought ones:
- Save the roots: When using store-bought scallions, keep the white portion with roots attached.
- Water method: Place root ends in a jar with enough water to cover the roots but leave the cut portion exposed. Change water every 1-2 days.
- Soil method: Plant root ends 1/2 inch deep in potting soil, keeping them 1 inch apart.
- Growth expectations: New green shoots will appear within days, and you can harvest them when they reach 6-8 inches tall.
- Continuing the cycle: Each time you harvest, leave about 1 inch of white with the roots to continue growing.
Ongoing Care for Healthy Scallions
Regardless of your growing method, these care tips will help ensure healthy, productive plants:
Watering Requirements
Scallions have shallow roots and require consistent moisture. Aim to:
- Keep soil evenly moist but not waterlogged
- Water when the top inch of soil feels dry
- Water at the base of plants to keep foliage dry
- Apply a thin layer of mulch around plants to retain moisture
Fertilization Schedule
Follow this feeding schedule for optimal growth:
- At planting: Mix in balanced, slow-release organic fertilizer.
- Every 3-4 weeks: Apply liquid fish emulsion or seaweed fertilizer diluted to half strength.
- After harvesting: If regrowing cut scallions, fertilize lightly after each harvest.
Common Pests and Diseases
While generally trouble-free, scallions can face some challenges:
- Onion thrips: Tiny insects that cause silvery streaks on leaves. Control with insecticidal soap or neem oil.
- Onion maggots: Larvae that feed on roots and stems. Prevent with row covers and crop rotation.
- Downy mildew: Creates purplish-gray fuzzy patches. Improve air circulation and avoid overhead watering.
- Root rot: Caused by overwatering. Ensure good drainage and don’t overwater.
The USDA Agricultural Research Service has found that intercropping scallions with herbs like basil or thyme can reduce pest pressure naturally.
Harvesting and Using Your Scallions
The reward for your efforts comes at harvest time. Here’s how to get the most from your crop:
Harvesting Techniques
You have several options for harvesting scallions:
- Cut-and-come-again method: Cut leaves about 1 inch above soil level, leaving the white base to regrow. Plants will produce new growth 2-3 times.
- Whole plant harvest: Pull the entire plant when the base is 1/2 to 3/4 inch in diameter.
- Baby scallion harvest: Thin plants when young and use the thinnings as delicate “baby” scallions.
- Timing tip: Harvest in the morning when essential oils are strongest for best flavor.
Storage Methods
To keep your scallions fresh after harvest:
- Short-term storage: Stand upright in a jar with 1 inch of water, cover loosely with plastic, and refrigerate for up to 2 weeks.
- Freezing: Chop clean, dry scallions and freeze in airtight containers or ice cube trays with water or oil.
- Drying: Use a dehydrator or hang small bunches to dry, then store in airtight containers.
Culinary Uses
Make the most of your harvest with these culinary applications:
- Raw applications: Add to salads, sandwiches, or as garnish for soups and stir-fries.
- Cooked applications: Include in stir-fries, omelets, and savory pancakes.
- Flavor infusions: Use to infuse oils, vinegars, or broths.
- Preservation ideas: Make scallion salt, compound butter, or fermented scallion kimchi.
Growing for the US Market
If you’re considering growing scallions commercially, the US market offers promising opportunities:
- The organic herb and vegetable market continues to grow at about 5-7% annually, according to the USDA National Agricultural Statistics Service.
- Restaurants, farmers’ markets, and CSA (Community Supported Agriculture) programs all represent viable sales channels.
- Value-added products like dried scallion mixes or scallion-infused oils can command premium prices.
Small-scale commercial producers typically focus on specialty varieties like ‘Red Beard,’ ‘Nabechan,’ or ‘Tokyo Long White’ to differentiate their products in the marketplace.
Conclusion: Enjoying the Fruits of Your Labor
Growing scallions is a rewarding experience that provides fresh flavor for your kitchen with minimal effort. Whether you’re harvesting from your garden, containers, or windowsill, there’s nothing quite like the satisfaction of adding homegrown herbs to your cooking.
By following the guidance in this article, you’ll be well on your way to scallion-growing success. Remember that like any gardening endeavor, growing scallions is a learning process. Don’t be discouraged by setbacks – each growing season brings new knowledge and better results.
