Designing a Garden Pathway: A Complete Guide for US Homeowners
A well-designed garden pathway does more than connect different areas of your outdoor space—it creates visual interest, establishes the flow of your landscape, and can significantly enhance your property’s curb appeal. Whether you’re looking to create a winding path through your flower beds or a direct route to your garden shed, designing the perfect garden pathway requires careful planning and consideration of various factors.
In this comprehensive guide, you’ll discover everything you need to know about designing a garden pathway that complements your landscape and meets your functional needs. From selecting materials that withstand your local climate to incorporating sustainable design principles, we’ll walk you through the entire process step by step.
Understanding Garden Pathway Basics
Why Your Garden Needs a Well-Designed Path
Garden pathways serve multiple purposes beyond simple navigation. They:
- Guide visitors through your garden space
- Protect plants from foot traffic
- Reduce soil compaction and erosion
- Create visual structure and rhythm in the landscape
- Define different garden zones or “rooms”
- Enhance accessibility for people of all mobility levels
- Add aesthetic value to your property
According to the National Association of Landscape Professionals, a thoughtfully designed garden pathway can increase your home’s value by 5-11%. Beyond financial benefits, pathways also make your garden more functional and enjoyable throughout the changing seasons.
Assessing Your Needs Before Breaking Ground
Before selecting materials or drawing up designs, ask yourself these essential questions:
- What is the primary purpose of your pathway? (Functional access, visual interest, or both?)
- Who will be using the path? (Consider mobility requirements)
- What is your regional climate? (This affects material choice)
- What is your budget?
- How much maintenance are you willing to commit to?
- Does your path need to accommodate wheelbarrows, garden carts, or other equipment?
The USDA’s Natural Resources Conservation Service provides excellent resources on sustainable landscape design that can help you make environmentally sound choices for your pathway project. You can learn more about soil conservation and proper drainage techniques at https://www.nrcs.usda.gov/conservation-basics/conservation-by-state.
Choosing the Right Materials for Your Climate Zone
The durability and performance of pathway materials vary significantly based on your local climate conditions. The United States spans multiple climate zones, from the arid Southwest to the humid Southeast, each presenting unique challenges for outdoor materials.
Popular Pathway Materials and Their Climate Compatibility
| Material | Initial Cost | Lifespan (Years) | Best Climate Zones | Maintenance Level | Eco-Friendly Rating |
|---|---|---|---|---|---|
| Gravel | $1-2/sq ft | 2-5 | All zones | Low-Medium | High |
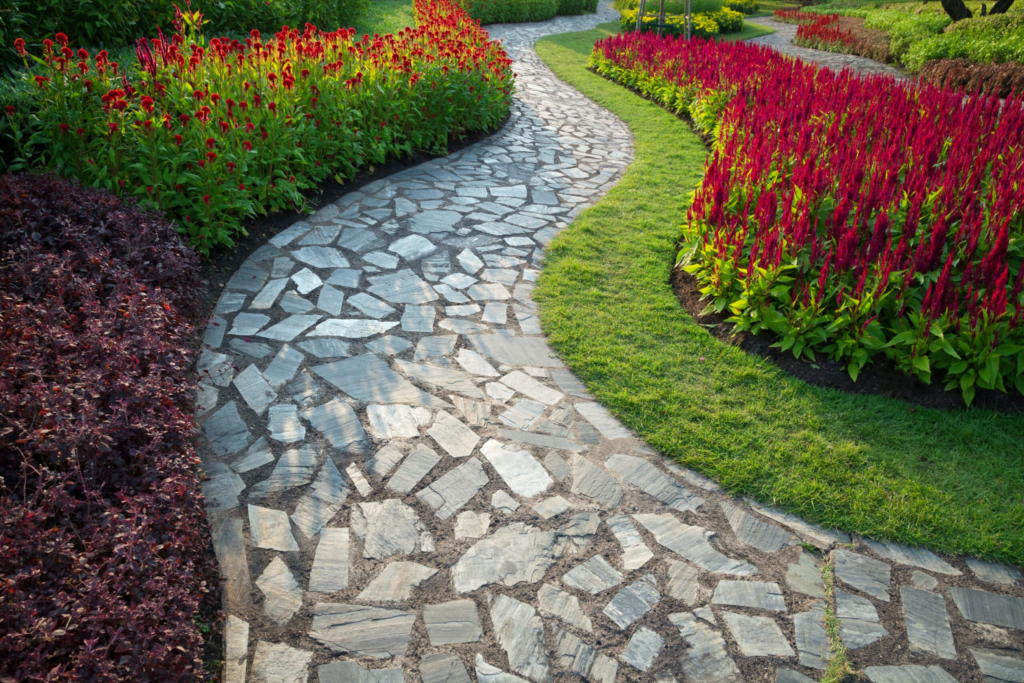
| Flagstone | $15-30/sq ft | 15-20+ | All zones | Low | Medium |
| Brick | $10-15/sq ft | 10-15 | Mild climates | Medium | Medium |
| Concrete | $6-12/sq ft | 25+ | All zones | Low | Low |
| Mulch | $1-2/sq ft | 1-2 | Mild, non-flooding | High | Very High |
| Wood Chips | $1-3/sq ft | 1-3 | Dry climates | High | High |
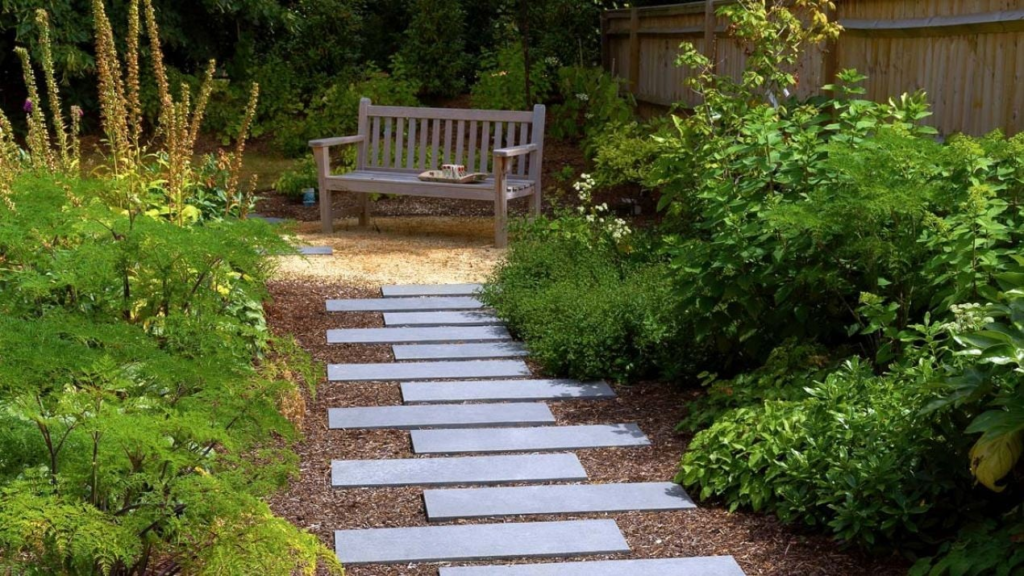
| Stepping Stones | $8-20/sq ft | 10-20+ | All zones | Low | Medium |
| Permeable Pavers | $15-30/sq ft | 20+ | All zones | Medium | High |
Note: Costs are estimates and may vary by region, quality of materials, and installation requirements.
Material Spotlight: Climate-Specific Considerations
For Hot, Dry Climates (Southwest)
If you live in Arizona, New Mexico, or Southern California, consider:
- Decomposed granite – provides excellent drainage and a natural desert look
- Flagstone – stays cool underfoot despite high temperatures
- Concrete – durable against UV exposure, though it can become hot to touch
Avoid: Wood chips and organic mulches that decompose quickly in intense sun
For Cold, Snowy Regions (Northeast, Midwest)
If you experience freezing winters in states like Minnesota, Wisconsin, or Maine:
- Concrete with proper reinforcement and drainage
- Permeable pavers with adequate base preparation to prevent heaving
- Gravel paths with edging to contain materials during snow removal
Avoid: Regular brick, which can crack under freeze-thaw cycles unless properly installed
For Humid, Rainy Areas (Southeast, Pacific Northwest)
In places like Florida, Louisiana, or Washington state:
- Stone or concrete with algae-resistant treatments
- Permeable materials that allow water to drain through
- Elevated wooden boardwalks for very wet areas
Avoid: Materials that become slippery when wet unless treated with anti-slip finishes
The Environmental Protection Agency (EPA) offers guidelines on using permeable materials to reduce stormwater runoff, which can be particularly beneficial in rainy regions. Visit https://www.epa.gov/soakuptherain/soak-rain-permeable-pavement for more information.
Designing Your Garden Pathway
Mapping Your Route: Straight vs. Curved Paths
The shape of your pathway significantly impacts the mood and style of your garden:
Straight Paths Straight paths create a sense of formality and purpose. They:
- Provide efficient, direct routes between destinations
- Work well in classical or geometric garden designs
- Make maintenance easier (edging, cleaning)
- Create strong visual axes, often leading to focal points
Curved Paths Winding or curved paths create a more relaxed, natural feeling. They:
- Encourage slower exploration of the garden
- Reveal views gradually as you move through the space
- Work well in naturalistic or cottage garden styles
- Can make small spaces feel larger by obscuring what’s ahead
A good rule of thumb: Match your path style to your home’s architecture and your existing landscape design. Colonial or formal homes often pair well with straight paths, while craftsman, cottage, or modern homes can accommodate more organic pathway designs.
Width Considerations for Comfort and Function
The width of your pathway should be determined by its primary function:
- 18-24 inches: Minimum for a single person walking
- 30-36 inches: Comfortable for one person, allows for wheelbarrows
- 48 inches: Allows two people to walk side by side
- 60+ inches: Accommodates wheelchair turning and provides a more generous experience
For primary pathways connecting major areas of your yard, err on the wider side. Secondary or tertiary paths that meander through planting beds can be narrower.
Creating Proper Drainage to Prevent Problems
Proper drainage is critical for pathway longevity and safety. A pathway that collects water will become slippery, promote weed growth, and deteriorate more quickly.
Key drainage techniques include:
- Sloping the path surface slightly (1-2%) to direct water runoff
- Installing a proper base layer of crushed stone or gravel beneath surface materials
- Using permeable materials that allow water to penetrate
- Incorporating French drains alongside paths in areas with poor drainage
- Positioning paths slightly above the surrounding landscape
The Federal Emergency Management Agency (FEMA) provides resources on managing home drainage systems that can be applied to pathway design. Their guidelines can help you prevent erosion and property damage from improper water management: https://www.fema.gov/emergency-managers/risk-management/building-science/mitigation-assessment-team.
Installation Techniques for Different Materials
DIY-Friendly Options for Weekend Warriors
If you’re planning to install your pathway yourself, some materials are more beginner-friendly than others:
Gravel Pathways
- Mark your path with stakes and string
- Excavate 4-6 inches of soil
- Install landscape fabric to prevent weed growth
- Add 2-3 inches of crushed stone base
- Top with 2-3 inches of decorative gravel
- Install edging to keep gravel contained
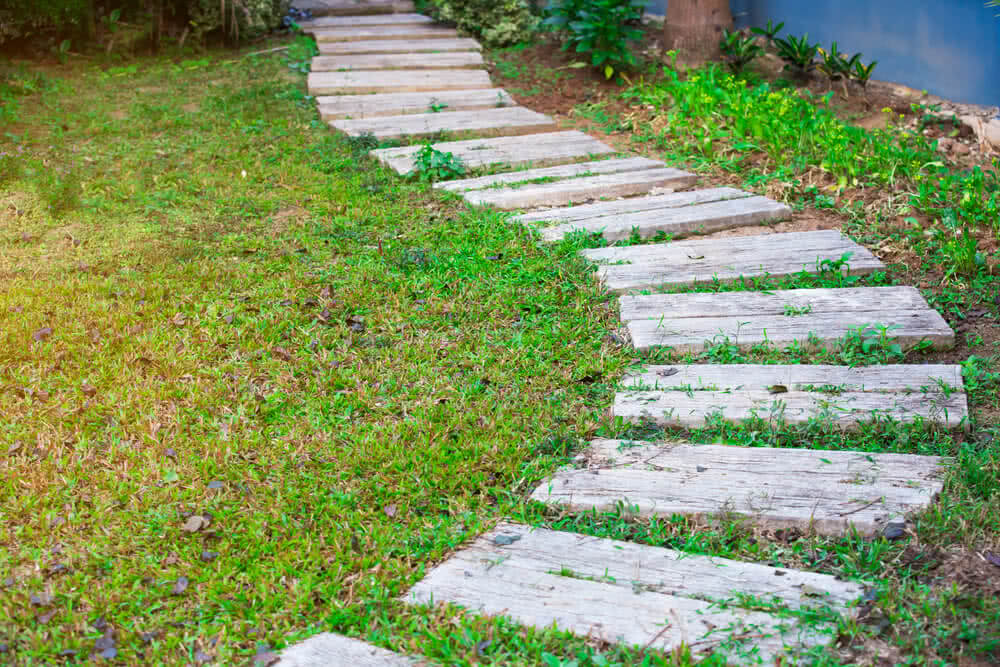
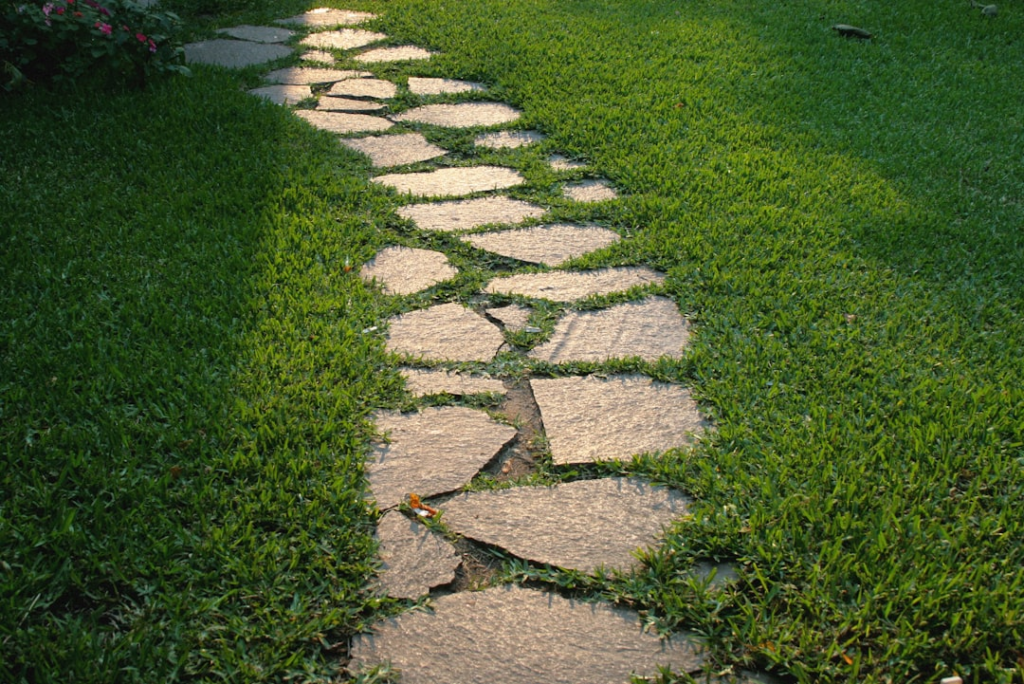
Stepping Stone Paths
- Lay out stones in your desired pattern
- Mark around each stone
- Remove 2-3 inches of soil at each mark
- Add sand or fine gravel for leveling
- Place stones, ensuring they’re level and stable
- Fill gaps with your choice of groundcover, mulch, or more gravel
Mulch or Wood Chip Paths
- Mark your pathway
- Remove grass and weeds
- Install landscape fabric
- Add 2-3 inches of mulch or wood chips
- Renew annually as materials break down
Professional Installation Considerations
Some pathway materials require specialized skills and equipment, making them better candidates for professional installation:
Concrete Pathways Professionals have the tools to properly prepare the subgrade, build forms, reinforce with rebar when needed, mix and pour concrete at the right consistency, and finish the surface for both beauty and durability.
Brick and Paver Pathways While DIY-possible, professionals ensure:
- Proper base preparation (crucial for preventing settling)
- Precise grading for drainage
- Expert pattern-laying for complex designs
- Professional-grade edge restraints
Natural Stone Pathways Professional stonemasons bring:
- Experience in selecting and fitting irregular stones
- Knowledge of proper mortar techniques if using mortar
- Equipment for handling heavy stones safely
- Skills in creating level walking surfaces from uneven materials
According to the National Association of Home Builders, professionally installed hardscape elements like stone pathways can recoup 80-120% of their cost at resale, making them a worthwhile investment for many homeowners.
Enhancing Your Pathway Design
Lighting Options for Safety and Ambiance
Pathway lighting serves dual purposes: safety after dark and creating evening ambiance. Consider these options:
Solar Path Lights
- Eco-friendly and easy to install
- No wiring required
- Best in areas with good sun exposure
- Usually provide subtle, ambient light
Low-Voltage Landscape Lighting
- More reliable than solar
- Requires transformer and wiring
- Various fixture styles available
- Can be controlled with timers or smart systems
LED Strip Lighting
- Modern, sleek appearance
- Can be installed under path edges
- Energy-efficient
- Available in different colors for dramatic effects
Moonlighting
- Soft lights installed in trees above the path
- Creates natural-looking illumination
- Mimics moonlight filtering through branches
- Requires professional installation
The U.S. Department of Energy offers guidance on selecting energy-efficient outdoor lighting options: https://www.energy.gov/energysaver/lighting-choices-save-you-money.
Planting Alongside Pathways
The right plants can transform a simple path into a sensory journey. Consider these strategies:
For Formal Paths
- Clipped hedges of boxwood or yew
- Symmetrical arrangements of ornamental grasses
- Lavender, roses, or other classic garden plants
- Consistent spacing and repetition of plants
For Casual, Naturalistic Paths
- Spilling plants that soften edges (creeping thyme, alyssum)
- Varied heights creating rhythm and movement
- Fragrant plants placed strategically (mint family herbs, jasmine)
- Native plants that attract pollinators
Practical Considerations
- Choose plants that won’t overgrow the path too quickly
- Consider bloom times for year-round interest
- Use plants that can withstand occasional foot traffic near edges
- Include evergreens for winter structure
The National Wildlife Federation provides excellent resources on selecting native plants by region that can enhance your pathway while supporting local ecosystems: https://www.nwf.org/Garden-for-Wildlife/About/Native-Plants.
Incorporating Focal Points and Destinations
Every well-designed pathway should lead somewhere meaningful. Consider these destination ideas:
- Garden bench or seating area for contemplation
- Small water feature like a fountain or birdbath
- Sculpture or art piece that reflects your personal style
- Arbor or pergola that frames the path’s end
- Vista point overlooking a particularly beautiful view
- Productive space like an herb garden or picking garden
- Fire pit or outdoor gathering space
Creating a sense of mystery by partially obscuring destinations encourages exploration. A path that curves around a large shrub or disappears behind a small hill creates intrigue and invites visitors to discover what lies beyond.
Maintaining Your Garden Pathway
Seasonal Maintenance Calendar
Spring Maintenance
- Repair winter damage to surfaces
- Refresh mulch or gravel that may have thinned
- Edge pathways to restore clean lines
- Check for and fix drainage issues from snow melt
Summer Maintenance
- Control weeds before they become established
- Trim back encroaching plants
- Clean surfaces of debris and moss growth
- Check lighting systems and replace failed components
Fall Maintenance
- Clear fallen leaves regularly (they can become slippery)
- Prepare surfaces for winter (sealing, where appropriate)
- Trim back perennials that may flop onto the path
- Check drainage systems before winter precipitation
Winter Maintenance
- Remove snow promptly (avoid metal shovels on delicate surfaces)
- Apply pet-safe de-icing products when necessary
- Check for and address frost heaving
- Plan for spring improvements during indoor months
Sustainable Maintenance Practices
Environmentally conscious pathway maintenance includes:
- Using manual weeding instead of chemical herbicides
- Choosing natural cleaning solutions (vinegar-based mixtures)
- Installing drip irrigation alongside paths to minimize water waste
- Composting organic debris from pathway cleaning
- Selecting local materials that don’t require long-distance shipping
The National Park Service provides guidance on sustainable maintenance practices that can be applied to home landscapes: https://www.nps.gov/subjects/culturallandscapes/sustainablemanagement.htm.
Conclusion: Pathways as Garden Stories
Your garden pathway is more than a utilitarian feature—it’s a narrative element that tells visitors how to experience your outdoor space. As you design your pathway, consider the story you want it to tell and the experiences you want to create.
By thoughtfully selecting materials appropriate for your climate, creating a design that complements your home’s architecture, and maintaining your pathway through the seasons, you’ll create a lasting landscape feature that enhances both the beauty and functionality of your garden.
Remember that pathways, like gardens themselves, evolve over time. Plants grow and mature, materials weather and develop character, and your own needs may change. Embrace this evolution and be willing to adapt your pathway design as your garden grows and transforms through the years.
Whether you’re creating a formal entrance to a stately home or a whimsical stepping stone path through a cottage garden, the principles outlined in this guide will help you create a garden pathway that brings joy and function to your outdoor space for years to come.
