DIY Garden Projects: Transform Your Outdoor Space with Creativity and Budget-Friendly Ideas
Transforming your outdoor living space doesn’t require a landscape architect or a hefty budget. With some creativity, basic tools, and recycled materials, you can create a personalized garden that reflects your style while supporting local ecosystems. DIY garden projects offer not only cost savings but also the satisfaction of crafting something unique with your own hands. This guide explores practical, inexpensive landscaping ideas for your backyard and provides step-by-step instructions for creating your own garden decorations and layouts.
Understanding Your Space: The Foundation of Good Design
Before diving into specific projects, taking time to assess your outdoor space sets the groundwork for successful garden design. Consider these essential steps:
- Site Analysis: Observe how sunlight moves across your yard throughout the day and across seasons. Note areas that receive full sun (6+ hours), partial sun (4-6 hours), or shade (less than 4 hours).
- Soil Assessment: Determine your soil type (clay, sandy, loam) and test its pH. Local extension offices often provide affordable soil testing services that can guide your plant selection and soil amendment strategies.
- Function Mapping: Identify how you want to use different areas of your yard—entertaining, relaxation, play spaces for children, growing food, or creating wildlife habitat.
- Existing Features: Take inventory of elements you want to keep, enhance, or screen from view.
With this information, you can develop a cohesive plan that works with your specific conditions rather than against them, saving both money and frustration.
Free Garden Designs and Layouts
Creating an effective garden layout doesn’t require expensive software or professional services. Try these approaches to design your garden:
Grid Method Design

This simple technique uses graph paper to create a scaled representation of your space:
Materials needed:
- Graph paper
- Pencil and eraser
- Measuring tape
- Colored pencils (optional)
Steps:
- Measure your yard’s dimensions and decide on a scale (e.g., 1 square = 1 foot).
- Draw the outline of your property, marking fixed elements like your house, trees, and hardscapes.
- Use tracing paper overlays to experiment with different arrangements without erasing your base map.
- Designate zones for different purposes: vegetable garden, seating area, play space, etc.
- Plan pathways to connect these areas, considering both function and visual flow.
Bubble Diagram Method

This more organic approach focuses on relationships between spaces:
Steps:
- Draw rough circles representing different activity areas.
- Connect related areas with lines.
- Consider traffic patterns and how people will move through the space.
- Gradually refine the bubbles into more defined shapes as your plan evolves.
Digital Design Tools
Several free online tools can help visualize your garden:
- Planter: A free app that helps with vegetable garden planning
- Garden Planner Online: Offers a free basic version for simple layouts
- Pinterest Boards: Create visual collections of plants and garden features you love
Regardless of which method you choose, incorporate these design principles:
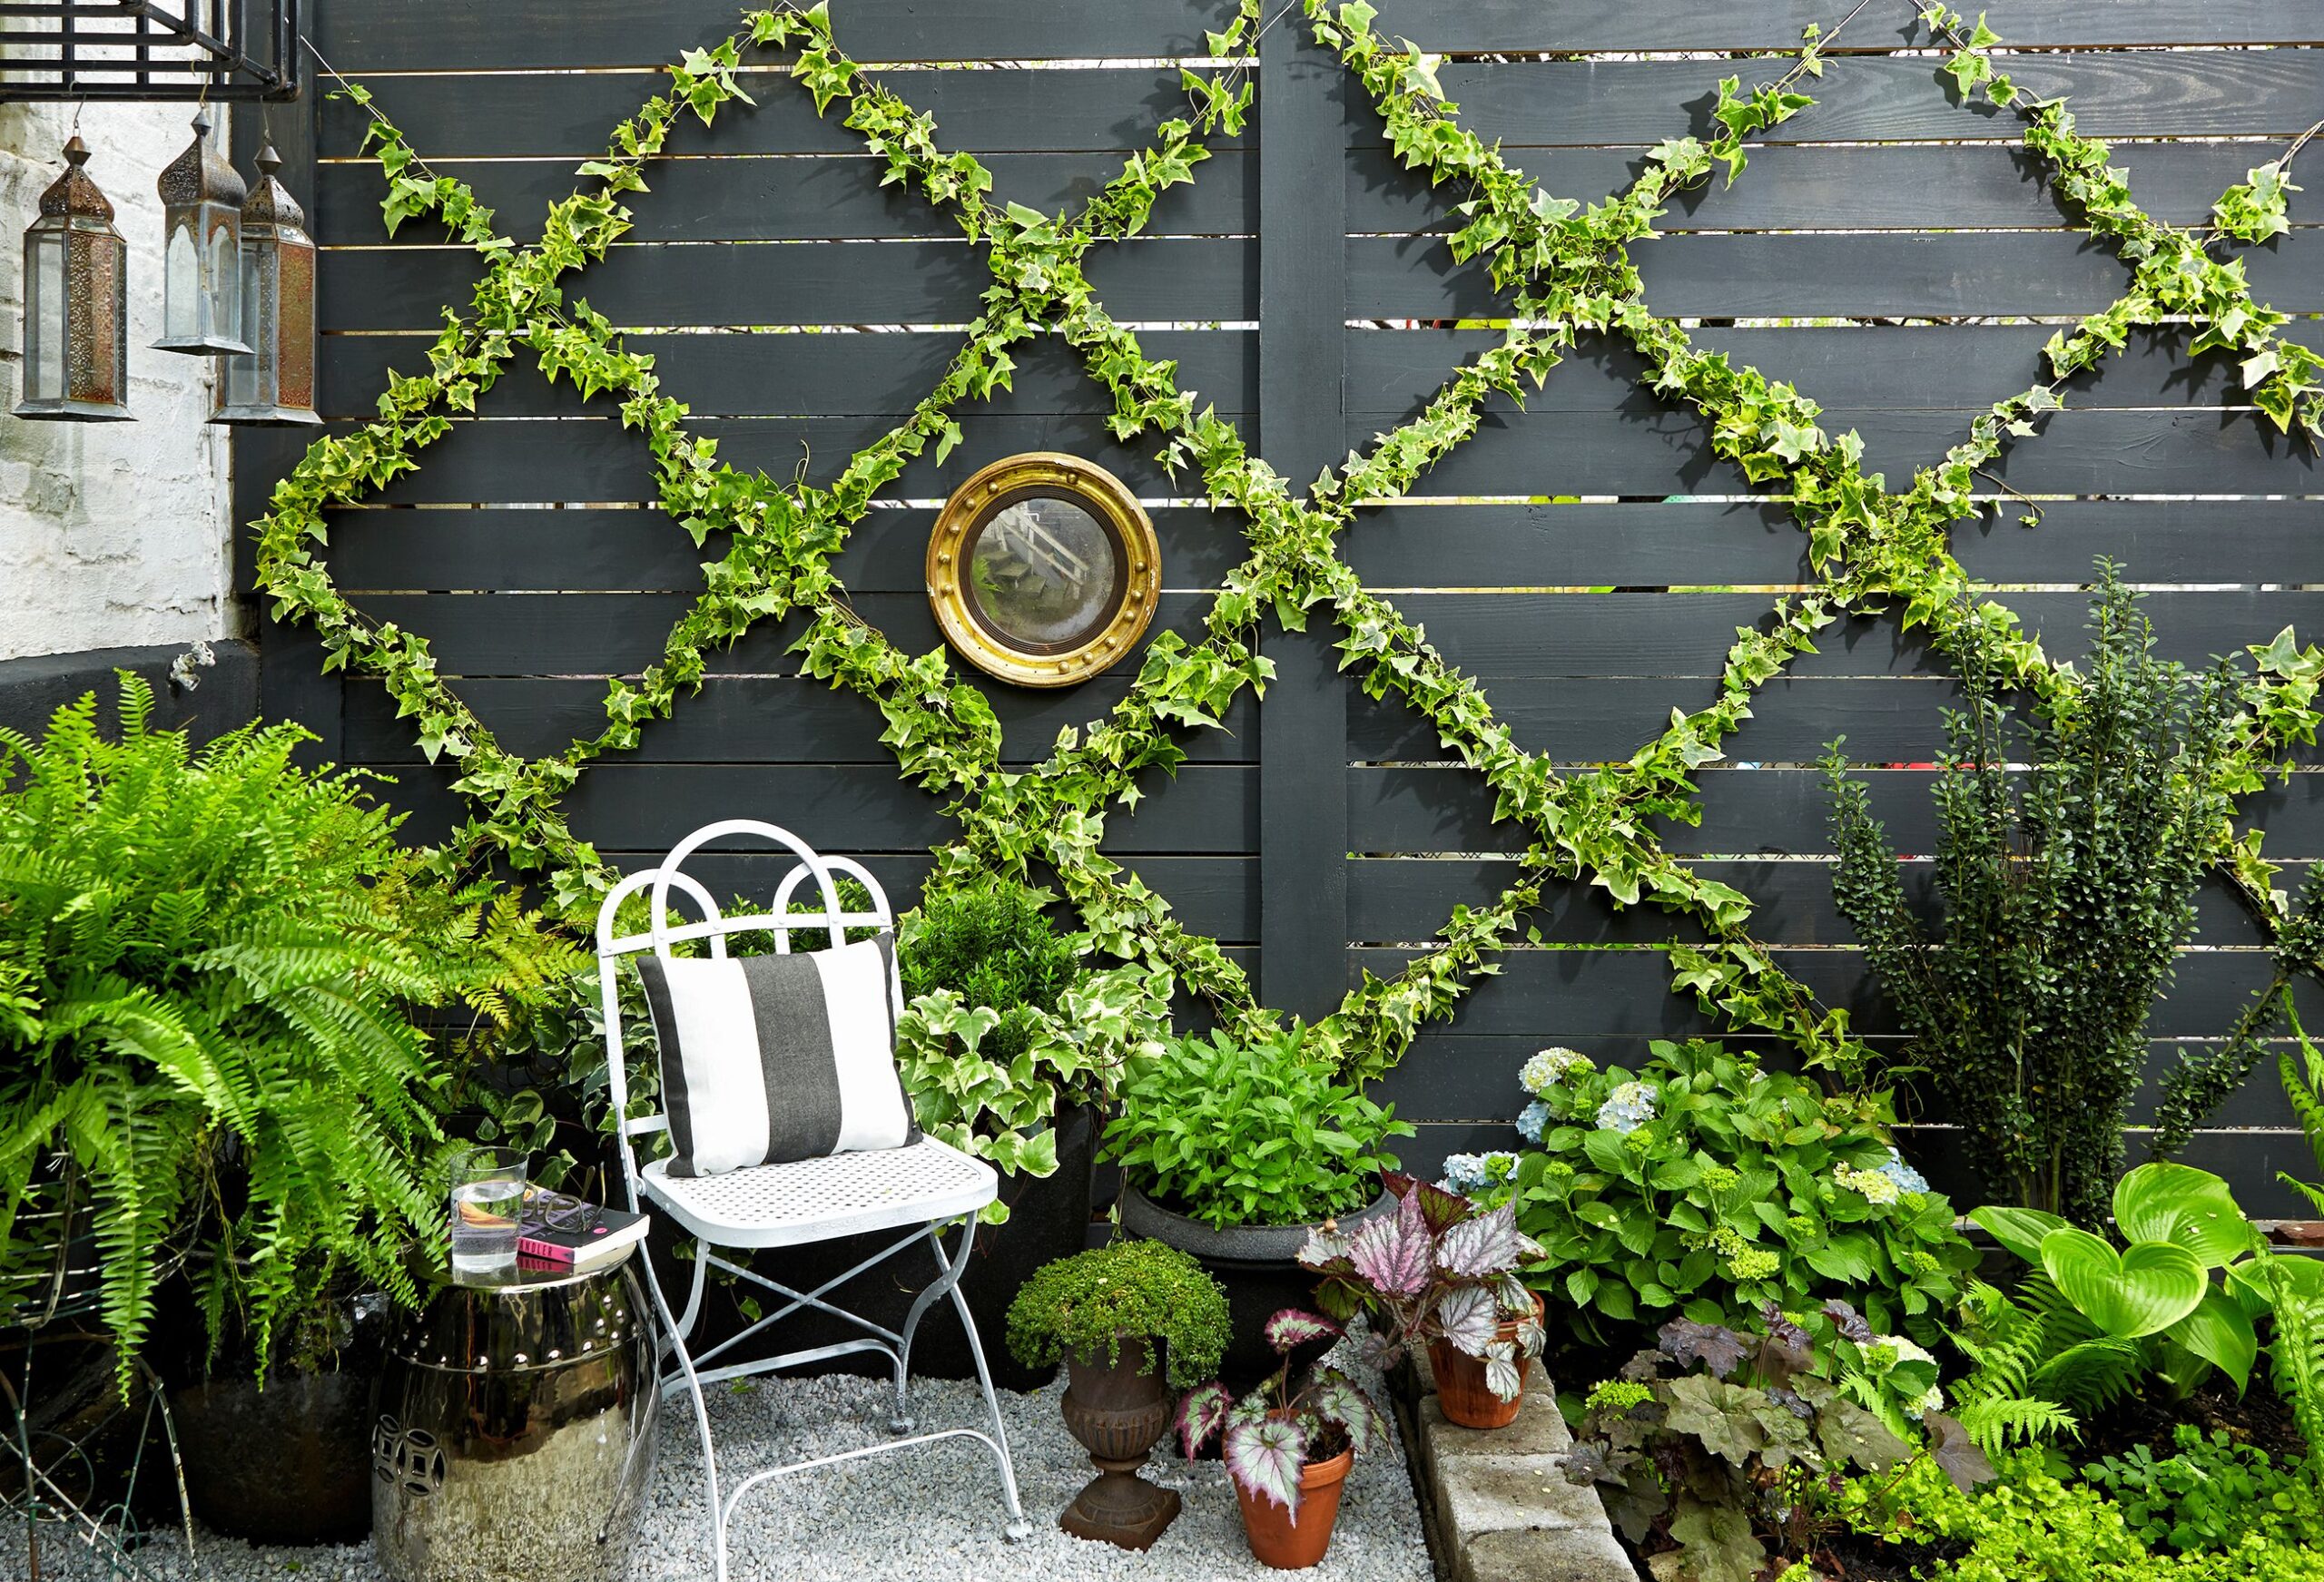
- Create focal points that draw the eye and provide visual interest
- Use repetition of colors, shapes, or plants for a cohesive look
- Consider scale so that elements relate well to one another
- Plan for four-season interest with a mix of perennials, evergreens, and plants with winter appeal
Inexpensive Landscaping Ideas for Backyards
Transform your backyard affordably with these budget-friendly approaches:
Defined Garden Beds with Recycled Materials

Materials:
- Reclaimed bricks, stones, or concrete pieces
- Old logs or fallen branches
- Wine bottles (pushed neck-down into soil)
- Pruned branches woven into low fencing
Steps:
- Outline your desired bed shape with a garden hose or rope.
- Dig a 2-3 inch trench along this outline.
- Place your chosen edging material in the trench, burying about 1/3 of its height.
- Backfill with soil to secure in place.
This simple technique instantly gives your garden structure and visually separates planting areas from lawn or pathways.
DIY Pathways

Materials for Mulch Path:
- Cardboard or several layers of newspaper
- Wood chips, pine needles, or other organic mulch
- Garden edging (optional)
Steps:
- Lay cardboard or newspaper over the grass, overlapping edges by 6 inches.
- Wet thoroughly to start the decomposition process.
- Cover with 3-4 inches of mulch material.
- Maintain annually by adding a fresh top layer of mulch.
Materials for Stepping Stone Path:
- Salvaged concrete pieces, large flat stones, or wood rounds from fallen trees
- Sand or fine gravel
- Level
Steps:
- Place stones/materials in your desired path configuration.
- Mark around each piece and remove grass/soil to a depth of 2 inches.
- Add 1 inch of sand or gravel for drainage and leveling.
- Place the stepping stones and use a level to ensure they’re even.
- Fill gaps between stones with ground cover plants, mulch, or pea gravel.
Vertical Gardening Solutions
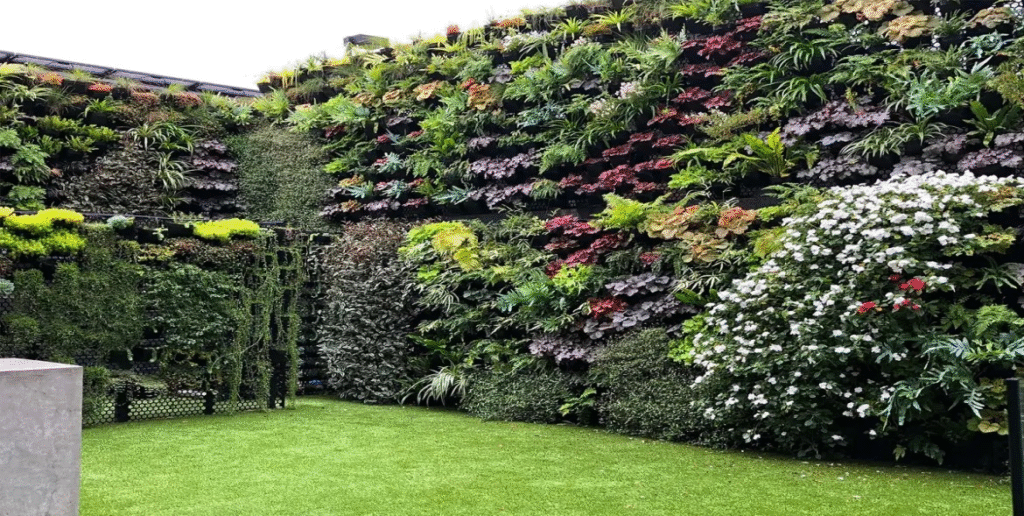
Making use of vertical space maximizes growing area without expanding your footprint:
Pallet Garden:
- Find a wooden pallet in good condition.
- Sand rough edges and consider whether to paint or stain (use non-toxic products).
- Staple landscape fabric to the back and bottom.
- Stand vertically against a wall or fence and fill pockets with soil.
- Plant with herbs, succulents, or trailing flowers.
Repurposed Ladder Plant Stand:
- Clean and sand an old wooden ladder.
- Apply outdoor sealant if desired.
- Place boards across the rungs to create shelves.
- Arrange potted plants at different heights.
Hanging Bottle Planters:
- Clean plastic bottles and cut a planting window in one side.
- Drill drainage holes in the bottom.
- Add soil and plants (herbs work especially well).
- Hang from shepherd’s hooks, fence posts, or tree branches.
Water Features on a Budget
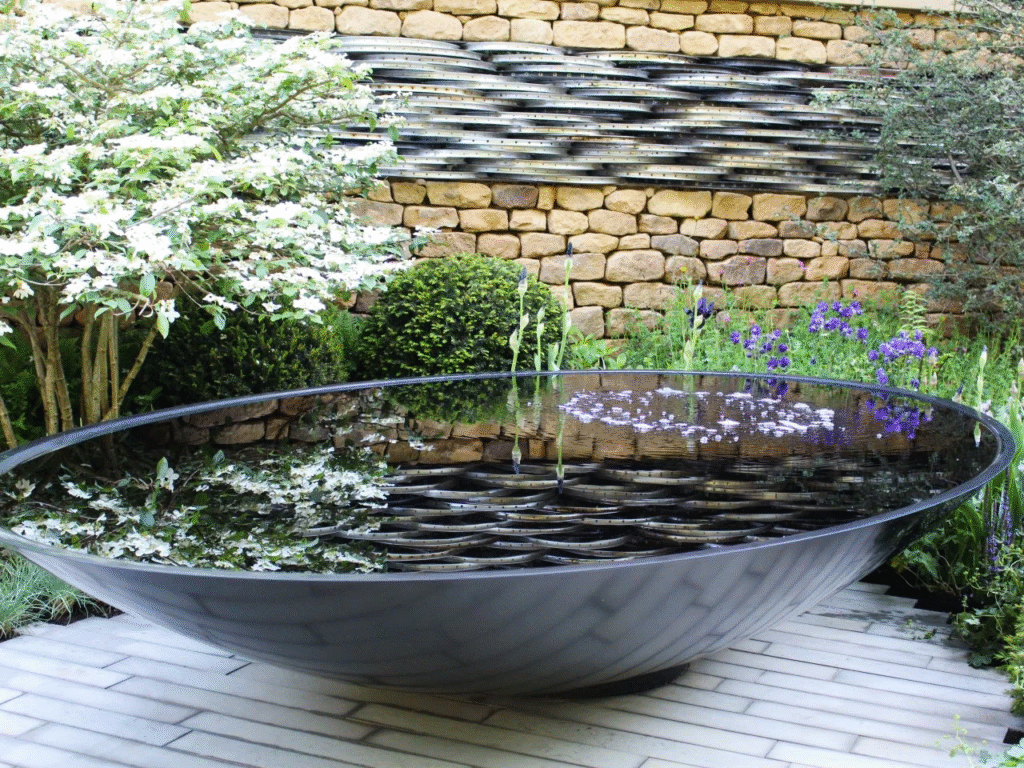
A water element adds tremendous appeal to a garden without requiring expensive equipment:
Simple Solar Fountain:
- Repurpose a large ceramic pot or galvanized tub.
- Add an inexpensive solar fountain pump (under $20).
- Place in a sunny spot where you can hear the gentle splashing.
DIY Bird Bath:
- Stack found items like a terracotta pot base and a large shallow bowl.
- Secure with waterproof adhesive.
- Place where birds have easy visibility and escape routes.
Rain Chain Installation:
- Disconnect a downspout and replace with a decorative chain.
- Place rocks or a rain barrel at the bottom to manage water flow.
- Enjoy the visual interest during rainstorms while directing water away from your foundation.
Create Your Own Garden Decorations
Personalize your outdoor space with handcrafted elements that reflect your style:
Hypertufa Planters
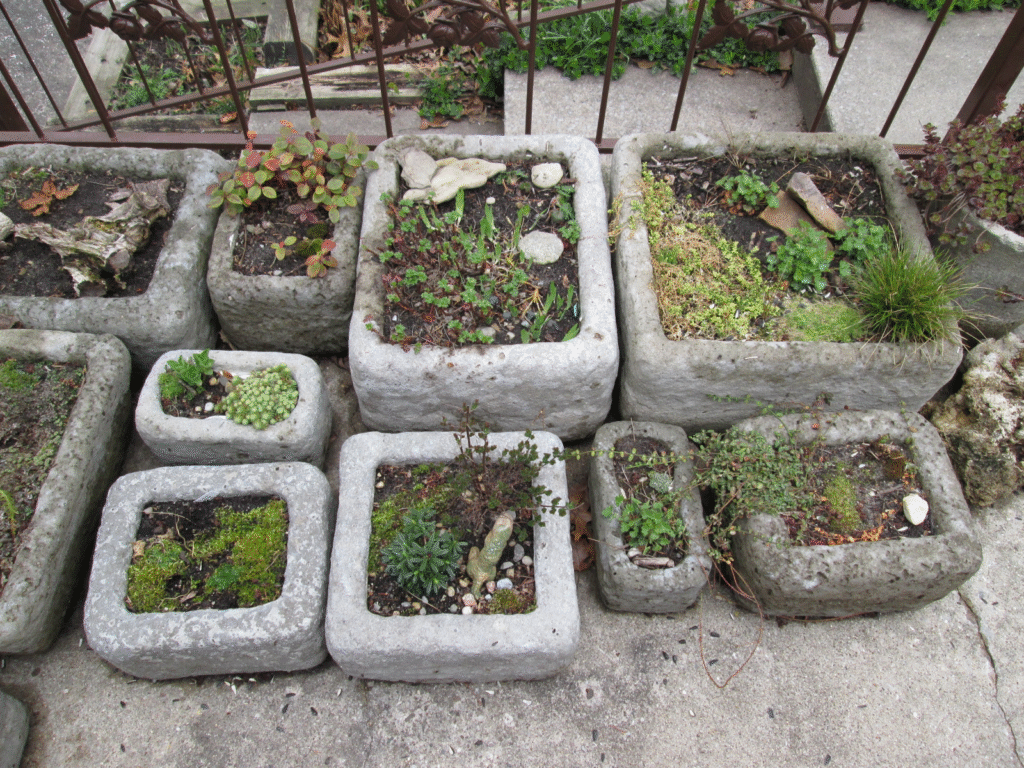
These lightweight concrete planters mimic weathered stone but cost a fraction of the price.
Materials:
- 1 part Portland cement
- 1.5 parts perlite or vermiculite
- 1.5 parts peat moss or coir
- Water
- Rubber gloves
- Plastic molds (bowls, boxes, etc.)
- Cooking spray
Steps:
- Mix dry ingredients thoroughly.
- Add water until the mixture resembles cottage cheese in consistency.
- Spray molds with cooking spray for easy release.
- Press the mixture into and around molds, creating a wall thickness of about 1 inch.
- Create drainage holes with a dowel.
- Cover with plastic and allow to cure for 24-48 hours.
- Remove from molds and cure for an additional 2-3 weeks before planting.
Mosaic Garden Art

Materials:
- Broken plates, tiles, or glass pieces
- Concrete stepping stone molds
- Pre-mixed concrete
- Tile nippers
- Protective gloves and eyewear
- Grout
Steps:
- Design your pattern on paper first.
- Pour concrete into mold, filling halfway.
- Arrange mosaic pieces in the partially set concrete.
- Allow to dry for 24-48 hours.
- Apply grout between pieces and wipe clean with a damp sponge.
- Seal if desired for outdoor durability.
Wind Chimes from Repurposed Materials

Materials:
- Found objects that make pleasing sounds: old silverware, keys, small metal pipes, etc.
- Fishing line or strong string
- Driftwood, branch, or metal ring for the top piece
- Drill with small bit
Steps:
- Drill small holes in the top of each hanging item.
- Thread fishing line through the holes.
- Attach all pieces to your top support at varying lengths.
- Add a center piece that will hit against the hanging elements.
- Hang in a breezy spot and enjoy the unique sound.
Painted Rock Garden Markers

Materials:
- Smooth, flat rocks
- Outdoor acrylic paint
- Clear sealer
- Fine paintbrushes
Steps:
- Clean rocks thoroughly and let dry.
- Apply a base coat of paint if desired.
- Paint plant names or decorative designs.
- Seal with clear outdoor sealer for weather resistance.
- Place at the base of plants for charming, permanent markers.
Design Your Own Garden Decorations with Theme Gardens
Creating themed garden spaces adds personality and focus to your landscape:
Butterfly and Pollinator Garden
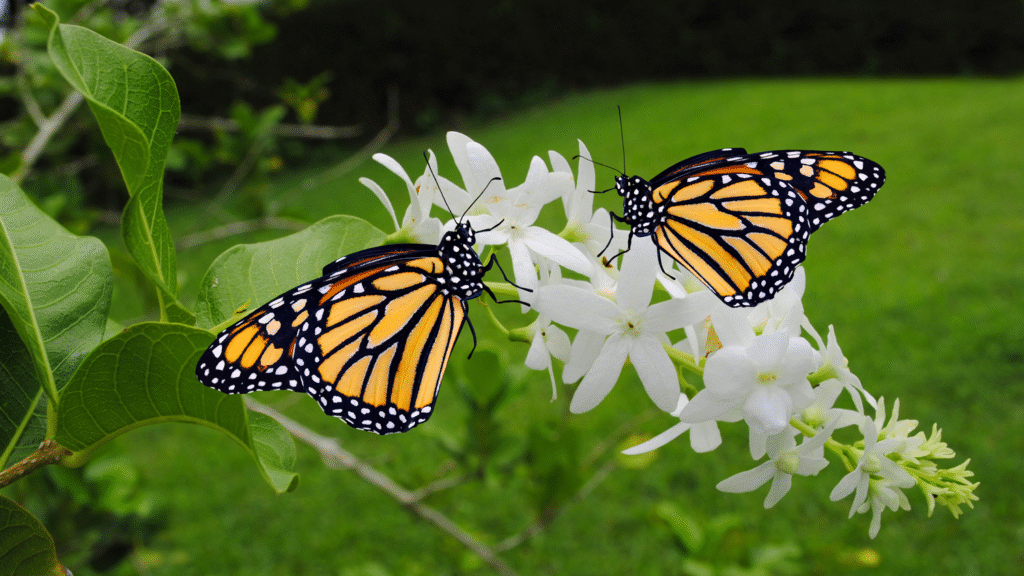
Design Elements:
- Shallow dish for water with landing stones
- Flat rocks for basking in the sun
- Native flowering plants in a range of heights and bloom times
- Host plants for caterpillars (milkweed, dill, parsley)
- Construct a simple box from untreated wood.
- Cut narrow vertical slits for butterfly entry.
- Add a sloped roof for rain protection.
- Mount on a post near nectar plants.
Upcycled Container Kitchen Garden

Design Elements:
- Old wheelbarrow planted with herbs
- Wooden crates stacked and planted with strawberries
- Hanging colanders with lettuce and trailing herbs
- Vertical trellis from old bed frame for climbing beans and peas
Steps:
- Ensure all containers have adequate drainage.
- Fill with quality potting soil mixed with compost.
- Group containers by water needs for efficient maintenance.
- Incorporate vertical elements to maximize growing space.
Memory Garden with Personal Artifacts
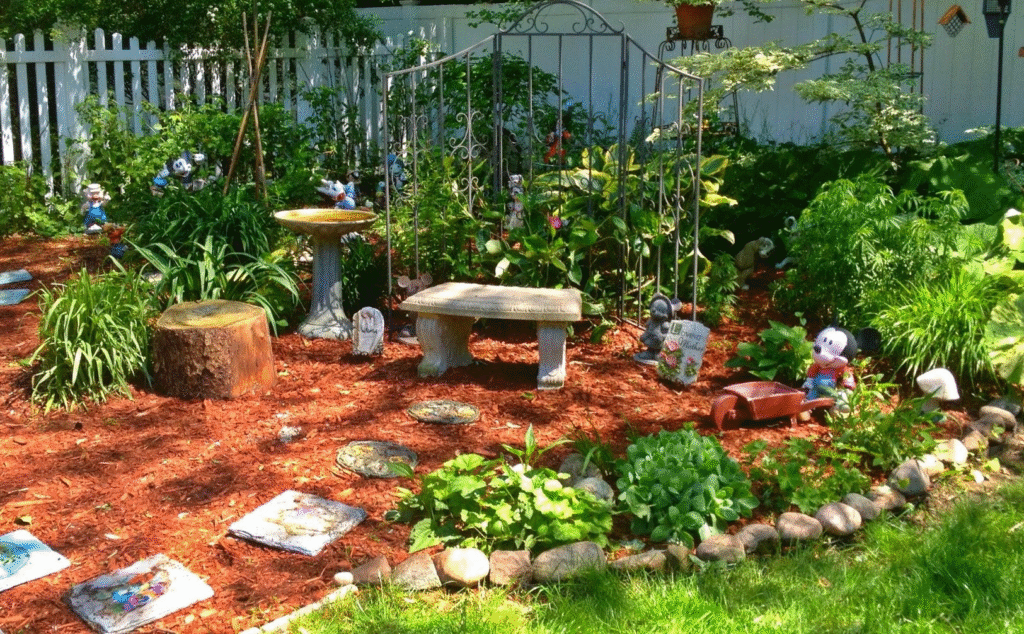
Design Elements:
- Plants passed down from family members
- Garden art incorporating meaningful objects
- Comfortable seating for reflection
- Wind chimes or bells for auditory interest
Memorial Display Idea:
- Fill a large, weather-resistant picture frame with chicken wire.
- Use it as a trellis for climbing flowers.
- Hang small mementos from the wire using garden twine.
Sustainable Practices for Long-Term Savings
Truly budget-friendly landscaping incorporates sustainability measures that reduce ongoing costs:
Rainwater Harvesting
Simple Rain Barrel Setup:
- Purchase a food-grade barrel or repurpose a large plastic container.
- Install a spigot near the bottom.
- Cut a hole in the top to connect to your downspout.
- Add mesh screening to prevent mosquito breeding.
- Consider painting or decorating the exterior with outdoor paint.
Composting System
Three-Bin System from Pallets:
- Collect four wooden pallets in good condition.
- Stand three pallets vertically to form a U-shape.
- Attach the fourth pallet as a removable front using hooks or rope.
- Add kitchen scraps and yard waste, turning regularly.
- Harvest finished compost from the bottom while adding new materials to the top.
Lawn Reduction Techniques
Sheet Mulching Process:
- Mow existing lawn as short as possible.
- Cover with cardboard or several layers of newspaper, overlapping edges.
- Water thoroughly to start decomposition and hold materials in place.
- Add 4-6 inches of compost or topsoil.
- Top with 2-3 inches of mulch.
- Plant directly into this new bed by cutting holes through the cardboard layer.
Seasonal Planning for Year-Round Interest
A well-designed garden offers visual appeal in every season without requiring constant replanting:
Spring Features
- Bulbs naturalized in lawn areas (less mowing, more beauty)
- Early-flowering native shrubs for pollinators
- DIY trellis systems for climbing sweet peas or clematis
Summer Highlights
- Drought-tolerant perennial beds that reduce watering needs
- Repurposed containers filled with colorful annuals
- Sun-loving ground covers that crowd out weeds
Fall Elements
- Plants with striking autumn foliage
- Seedheads and architectural forms that provide winter interest
- Native grasses that catch morning light
Winter Structure
- Evergreen foundation plantings
- Berried shrubs for birds and color
- Decorative branch structures highlighted by frost or snow
Community Resources for Budget Gardeners
Expand your gardening capabilities by tapping into community resources:
- Plant swaps: Exchange divisions from your garden for new varieties.
- Tool libraries: Borrow infrequently used equipment instead of purchasing.
- Community garden plots: Learn from experienced gardeners while sharing resources.
- Extension office workshops: Gain region-specific knowledge and free advice.
- Local conservation districts: Access native plant sales and discounted rain barrels.
Conclusion: The Evolving DIY Garden
The most successful DIY gardens evolve over time rather than materializing instantly. Start with smaller projects that deliver immediate satisfaction while working toward your longer-term vision. Document your progress with before-and-after photos to appreciate how far you’ve come. Remember that gardens are never truly “finished”—they grow and change with the seasons and years, just as our lives do.
By embracing creativity, repurposing materials, and working with nature rather than against it, you can create a stunning outdoor space that nourishes both body and spirit without depleting your bank account. The true value of DIY garden projects extends far beyond monetary savings—they connect us to natural cycles, provide creative outlets, and create lasting memories as we shape our personal landscapes.
