How to Grow and Use Culinary Herbs: A Complete Guide
Are you looking to elevate your cooking while saving money on store-bought herbs? Growing your own culinary herbs provides fresh flavors at your fingertips and adds beauty to your garden or kitchen windowsill. This comprehensive guide will walk you through everything you need to know about growing, harvesting, and using herbs in your culinary creations.
Understanding Culinary Herbs
Culinary herbs are aromatic plants used to flavor and garnish food. Unlike spices, which typically come from seeds, bark, roots, or fruits of plants, herbs generally consist of the leafy parts. According to the USDA’s Agricultural Research Service, herbs not only enhance flavor but also provide health benefits through essential oils and compounds.
Benefits of Growing Your Own Herbs
Before diving into the how-to, let’s explore why growing your own herbs is worthwhile:
- Fresh Flavor: Home-grown herbs deliver superior taste compared to dried store-bought options.
- Cost-Effective: A single herb plant costs roughly the same as one pre-packaged bunch but produces for months or years.
- Convenience: No more last-minute store runs when a recipe calls for herbs.
- Reduced Food Waste: Harvest only what you need, when you need it.
- Sustainability: Growing herbs at home reduces packaging waste and transportation emissions.
- Therapeutic Benefits: Gardening provides stress relief and satisfaction.
Getting Started: Indoor vs. Outdoor Herb Gardens
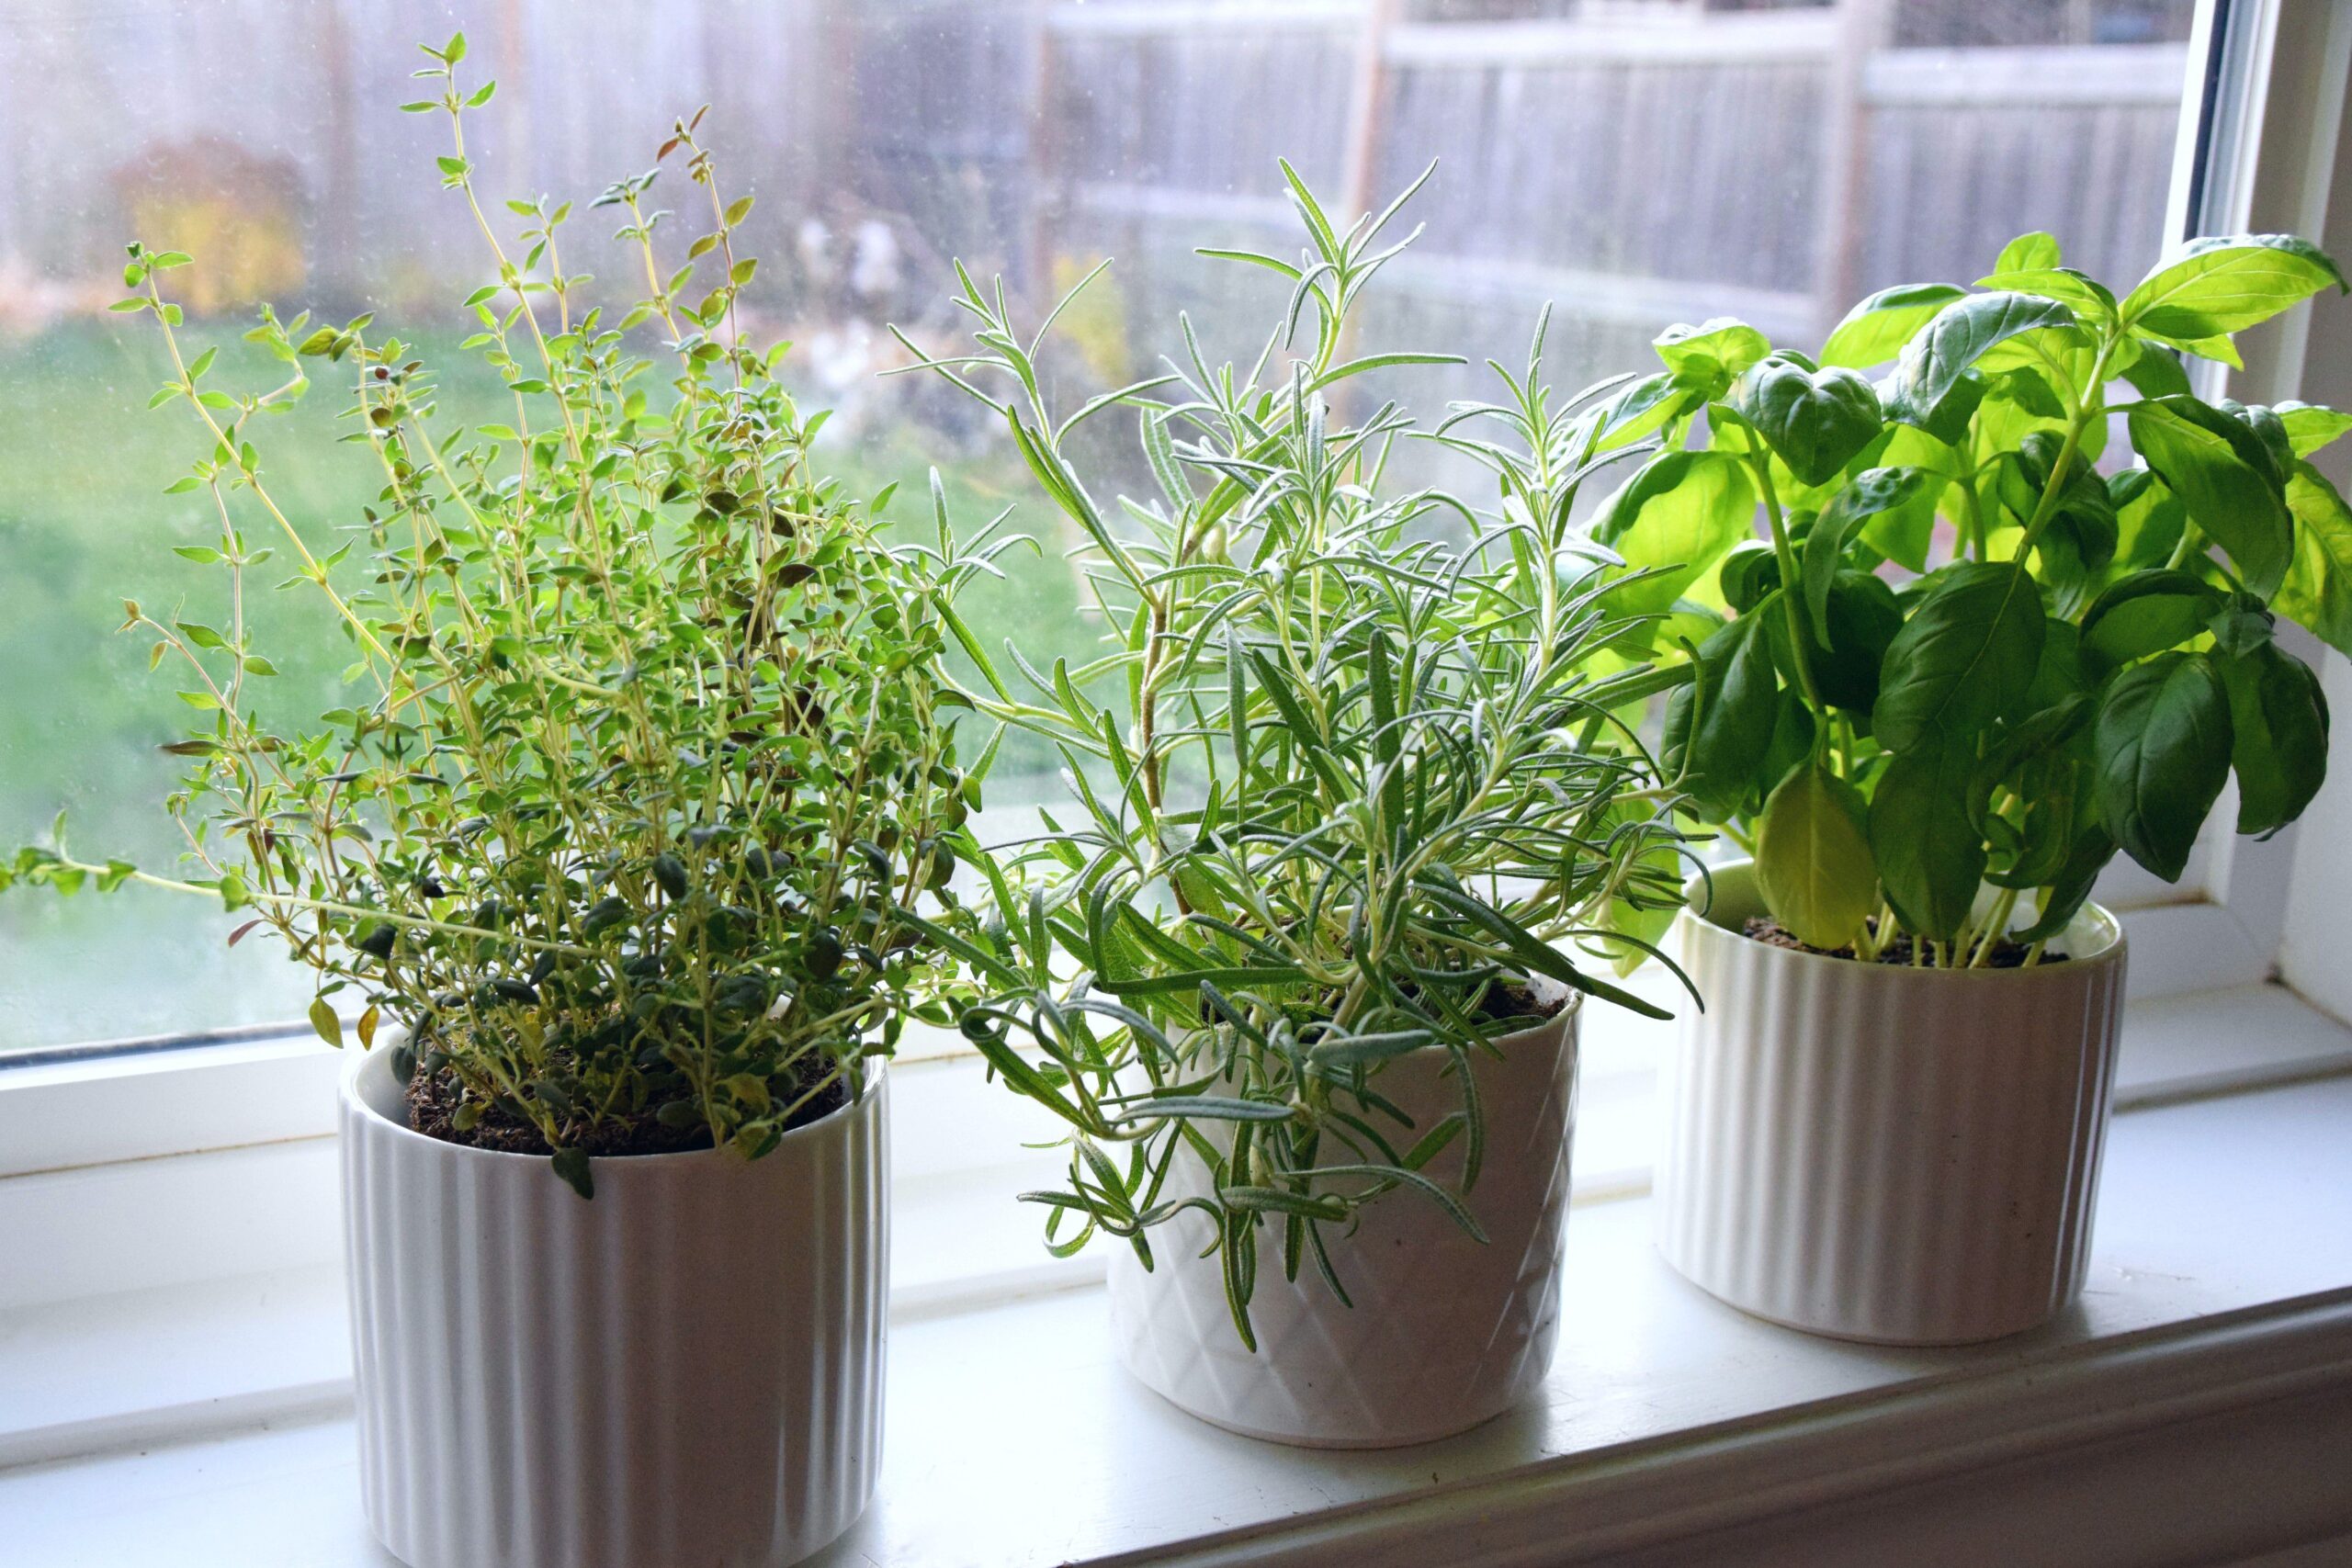
You can grow herbs either indoors or outdoors depending on your space, climate, and preferences.
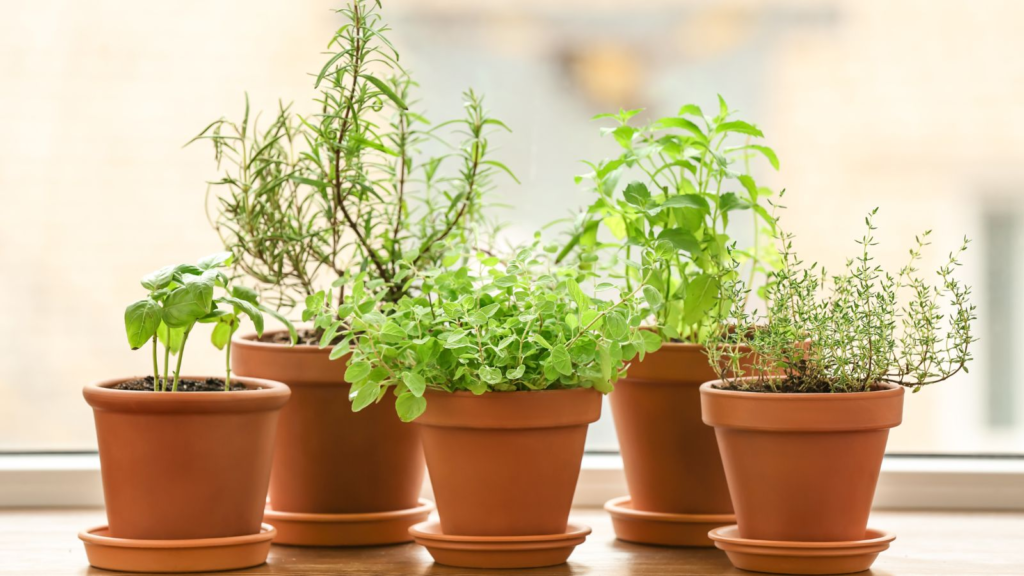
Indoor Herb Gardens
Indoor herb gardens are perfect if you:
- Live in an apartment or have limited outdoor space
- Want year-round herb access regardless of climate
- Prefer having herbs within arm’s reach while cooking
What You’ll Need:
- Containers with drainage holes
- High-quality potting soil
- A sunny windowsill (south or west-facing is ideal)
- Supplemental grow lights for winter months (optional)
- Watering can with gentle flow
Outdoor Herb Gardens
Consider an outdoor herb garden if you:
- Have adequate space in your yard or patio
- Live in a climate suitable for herbs (USDA hardiness zones 4-10)
- Want to incorporate herbs into your existing landscape
What You’ll Need:
- Garden space with well-draining soil
- Compost or organic matter for soil amendment
- Basic gardening tools (trowel, pruners, gloves)
- Mulch for moisture retention
- Watering system
Selecting the Right Herbs to Grow
When choosing which herbs to grow, consider:
- Your cooking preferences
- Growing conditions (light, space)
- Climate (if growing outdoors)
- Time commitment
Popular Culinary Herbs and Their Growing Requirements
| Herb | Light Requirements | Water Needs | Difficulty Level | Days to Germination | Growth Habit | Culinary Uses |
|---|---|---|---|---|---|---|
| Basil | Full sun | Moderate, keep soil moist | Easy | 5-10 days | Annual | Italian cuisine, pesto, tomato dishes |
| Chives | Full sun to partial shade | Moderate | Easy | 14-21 days | Perennial | Garnish, eggs, potatoes, soups |
| Cilantro | Partial shade | Moderate | Moderate | 7-10 days | Annual | Mexican, Asian cuisines |
| Dill | Full sun | Moderate | Easy | 7-14 days | Annual | Fish dishes, pickles, yogurt sauces |
| Mint | Partial shade | High | Very easy | 10-15 days | Perennial (invasive) | Teas, desserts, Mediterranean dishes |
| Oregano | Full sun | Low, drought-tolerant | Easy | 8-14 days | Perennial | Italian, Greek cuisines, tomato sauces |
| Parsley | Partial shade | Moderate | Easy | 14-21 days | Biennial | Garnish, soups, Mediterranean dishes |
| Rosemary | Full sun | Low, drought-tolerant | Moderate | 14-21 days | Perennial | Roasted meats, Italian cuisine |
| Sage | Full sun | Low, drought-tolerant | Moderate | 14-21 days | Perennial | Poultry, stuffing, butternut squash |
| Thyme | Full sun | Low, drought-tolerant | Easy | 14-21 days | Perennial | Soups, stews, roasted vegetables |
Step-by-Step Guide to Growing Herbs
Whether starting from seeds or seedlings, follow these steps for successful herb growing.
Starting from Seeds
- Select quality seeds: Purchase from reputable suppliers; the National Organic Program of the USDA provides certification information for organic seeds.
- Prepare containers: Use small pots or seed trays with drainage.
- Use proper soil: Choose seed-starting mix for best results.
- Plant at correct depth: Generally, plant seeds at a depth equal to twice their diameter.
- Provide adequate moisture: Keep soil consistently moist, not soggy.
- Ensure proper light: Most herb seeds need light to germinate, so cover very lightly with soil.
- Maintain temperature: Most culinary herbs germinate best between 65-75°F (18-24°C).
- Thin seedlings: Once true leaves develop, thin to allow proper growth.
Starting from Seedlings
- Choose healthy plants: Look for vibrant foliage and avoid plants with yellowing leaves or signs of pests.
- Transplant carefully: Water seedlings before transplanting and handle by the soil ball, not the stem.
- Plant at proper depth: Set the seedling at the same depth as it was in its original container.
- Water thoroughly: Give a deep initial watering to help establish roots.
- Provide transition time: If moving from indoors to outdoors, gradually acclimate plants to outdoor conditions.
Essential Care Tips for Thriving Herbs
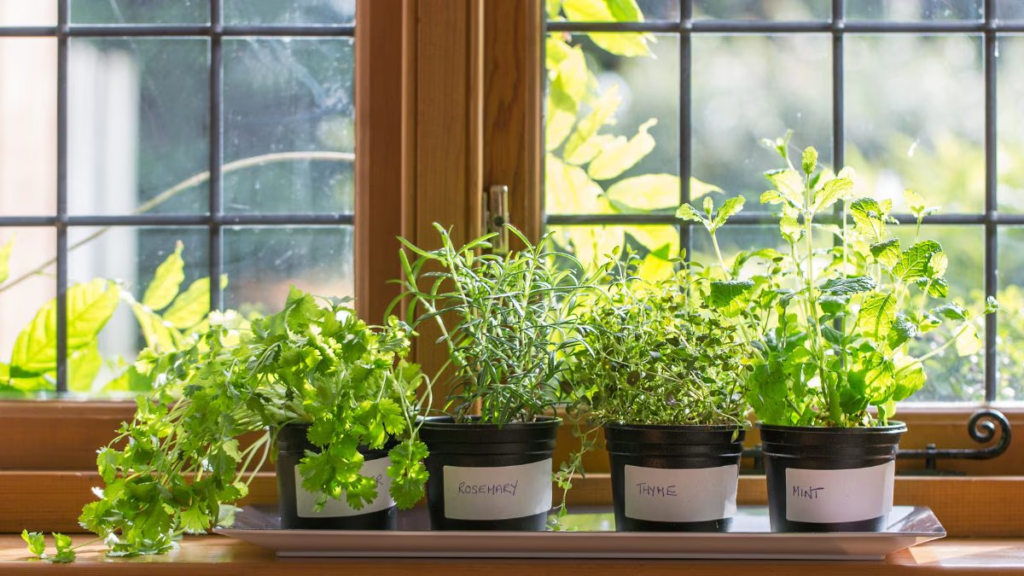
Watering
The number one cause of herb failure is improper watering. Follow these guidelines:
- Check moisture regularly: Stick your finger one inch into the soil—if it feels dry, it’s time to water.
- Water deeply but infrequently: This encourages stronger root development.
- Water at soil level: Avoid wetting leaves, which can promote disease.
- Adjust seasonally: Increase watering during hot, dry periods; reduce in cooler weather.
- Consider drainage: Never let herbs sit in standing water.
Light Requirements
Most culinary herbs are Mediterranean in origin and prefer plenty of sunlight:
- Outdoor herbs: Provide 6-8 hours of direct sunlight daily for sun-loving herbs.
- Indoor herbs: Place near south or west-facing windows. Rotate pots regularly for even growth.
- Supplemental lighting: Consider grow lights during winter months or in low-light environments.
Soil and Fertilizing
- Well-draining soil: Mix in perlite or coarse sand to improve drainage for herbs that prefer drier conditions.
- Moderate fertility: Most herbs prefer lean soil over rich, heavily fertilized medium.
- Fertilize lightly: Use half-strength organic fertilizer monthly during growing season.
- Compost: Incorporate compost when planting for slow-release nutrients.
Harvesting and Preserving Your Herbs
Harvesting Techniques
Proper harvesting not only provides fresh herbs for your kitchen but also promotes bushy, productive growth:
- Harvest in morning: Pick herbs after dew has dried but before the heat of the day.
- Use sharp tools: Clean scissors or pruners make clean cuts that heal quickly.
- Take from the top: For most herbs, pinch or cut just above a leaf junction.
- Harvest regularly: Frequent light harvesting encourages fuller growth.
- Don’t over-harvest: Never remove more than one-third of the plant at once.
Preservation Methods
When your herbs produce more than you can use fresh, consider these preservation methods:
Drying:
- Bundle 5-10 stems together.
- Hang upside down in a warm, dry, dark location with good air circulation.
- After 1-2 weeks, remove dried leaves from stems and store in airtight containers.
Freezing:
- Chop clean herbs finely.
- Pack into ice cube trays.
- Cover with water or olive oil and freeze.
- Transfer frozen cubes to freezer bags for long-term storage.
Herb-Infused Oils:
- Combine clean, dry herbs with high-quality oil.
- Keep refrigerated and use within one week, or follow proper canning procedures for longer preservation. The National Center for Home Food Preservation provides guidelines for safely preserving herb oils.
Using Herbs in Your Cooking
Cooking with Fresh Herbs
- Add at the right time: Add delicate herbs (basil, cilantro, dill) near the end of cooking; add robust herbs (rosemary, thyme, sage) earlier.
- Match herbs to dishes: Basil pairs with tomatoes; dill with fish; rosemary with lamb; mint with desserts.
- Use the right amount: Fresh herbs are less concentrated than dried—use 3 times the amount of fresh herbs as you would dried.
- Release flavors: Crush or chop leaves to release essential oils before adding to dishes.
Herb Combinations and Pairings
Classic Herb Blends:
- Herbes de Provence: Savory, marjoram, rosemary, thyme, oregano
- Fines Herbes: Parsley, chives, tarragon, chervil
- Italian Seasoning: Basil, oregano, thyme, rosemary, marjoram
- Bouquet Garni: Thyme, bay leaf, parsley (tied together for soups and stews)
Complementary Pairings:
- Basil with tomatoes, mozzarella, olive oil
- Cilantro with lime, chili, avocado
- Dill with cucumber, yogurt, salmon
- Mint with chocolate, lamb, fruit
- Rosemary with potatoes, chicken, bread
- Thyme with mushrooms, roasted vegetables
Common Problems and Solutions
Pest Management
Maintain vigilance for these common herb garden pests:
- Aphids: Spray with strong water stream or insecticidal soap.
- Spider Mites: Increase humidity and treat with neem oil.
- Whiteflies: Use yellow sticky traps and insecticidal soap.
- Slugs and Snails: Create barriers with diatomaceous earth or copper tape.
For organic pest management strategies, consult the USDA’s National Institute of Food and Agriculture resources.
Disease Prevention
- Powdery Mildew: Improve air circulation, avoid overhead watering.
- Root Rot: Ensure proper drainage, avoid overwatering.
- Leaf Spot: Remove affected leaves, avoid wetting foliage.
Troubleshooting
Yellowing Leaves:
- Potential causes: Overwatering, nutrient deficiency, insufficient light
- Solutions: Adjust watering schedule, provide light feeding, relocate to sunnier spot
Leggy Growth:
- Potential causes: Insufficient light, too much heat
- Solutions: Increase light exposure, pinch back regularly to encourage branching
Bitter Taste:
- Potential causes: Heat stress, flowering (bolting)
- Solutions: Provide afternoon shade, harvest regularly, replant cool-season herbs in fall
Seasonal Considerations
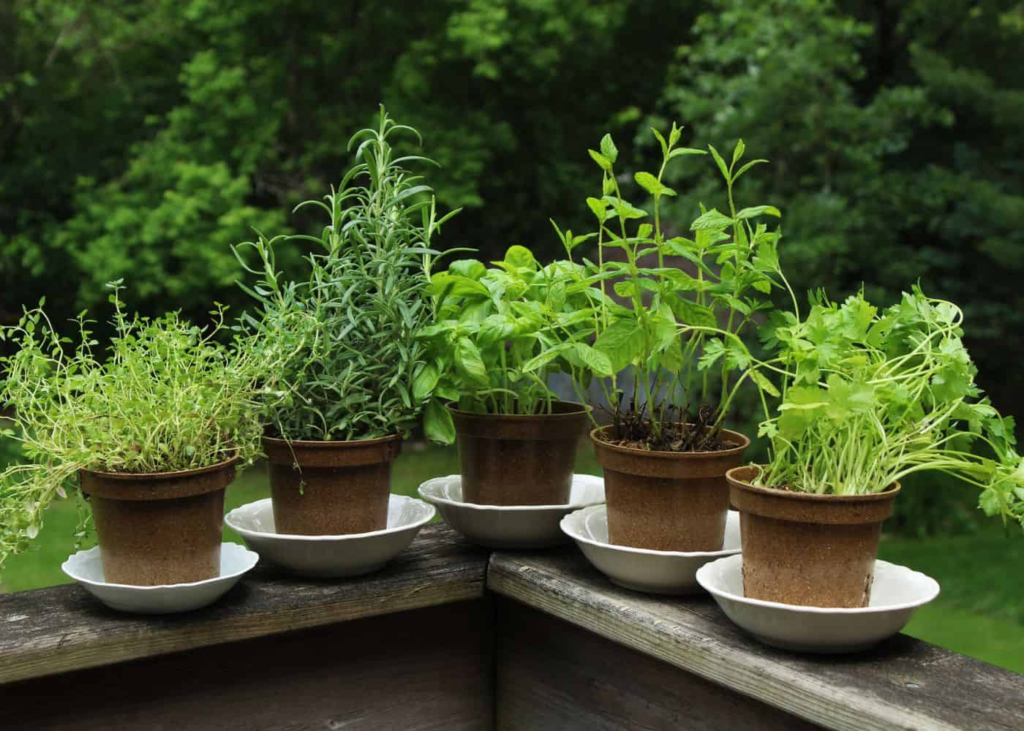
Spring
- Start seeds indoors 6-8 weeks before last frost.
- Prepare garden beds with compost.
- Plant cold-hardy herbs like chives, mint, and parsley directly outdoors.
- Wait until after frost danger to plant basil and other tender herbs.
Summer
- Increase watering during hot periods.
- Harvest frequently to prevent flowering.
- Provide afternoon shade for heat-sensitive herbs.
- Take cuttings for propagation.
Fall
- Plant a second crop of cool-season herbs.
- Begin bringing tender perennials indoors before first frost.
- Harvest and preserve herbs before cold weather.
- Mulch outdoor perennial herbs.
Winter
- Maintain indoor herbs near bright windows.
- Reduce watering frequency.
- Use supplemental lighting as needed.
- Harvest sparingly from indoor plants.
Conclusion
Growing your own culinary herbs connects you to the age-old tradition of cultivating flavor and medicine right outside your door. With minimal space, effort, and cost, you can establish a thriving herb garden that transforms your cooking and enhances your home. Start small with a few favorite herbs, expand as you gain confidence, and enjoy the satisfaction of growing, harvesting, and using your own fresh herbs year-round.
Whether you’re a seasoned gardener or a first-time herb grower, the journey from seed to plate is rewarding and accessible. By following the guidelines in this article, you’ll be well on your way to herb gardening success. Happy growing and bon appétit!
