How to Grow and Use Culinary Herbs: Growing Green Chilies at Home
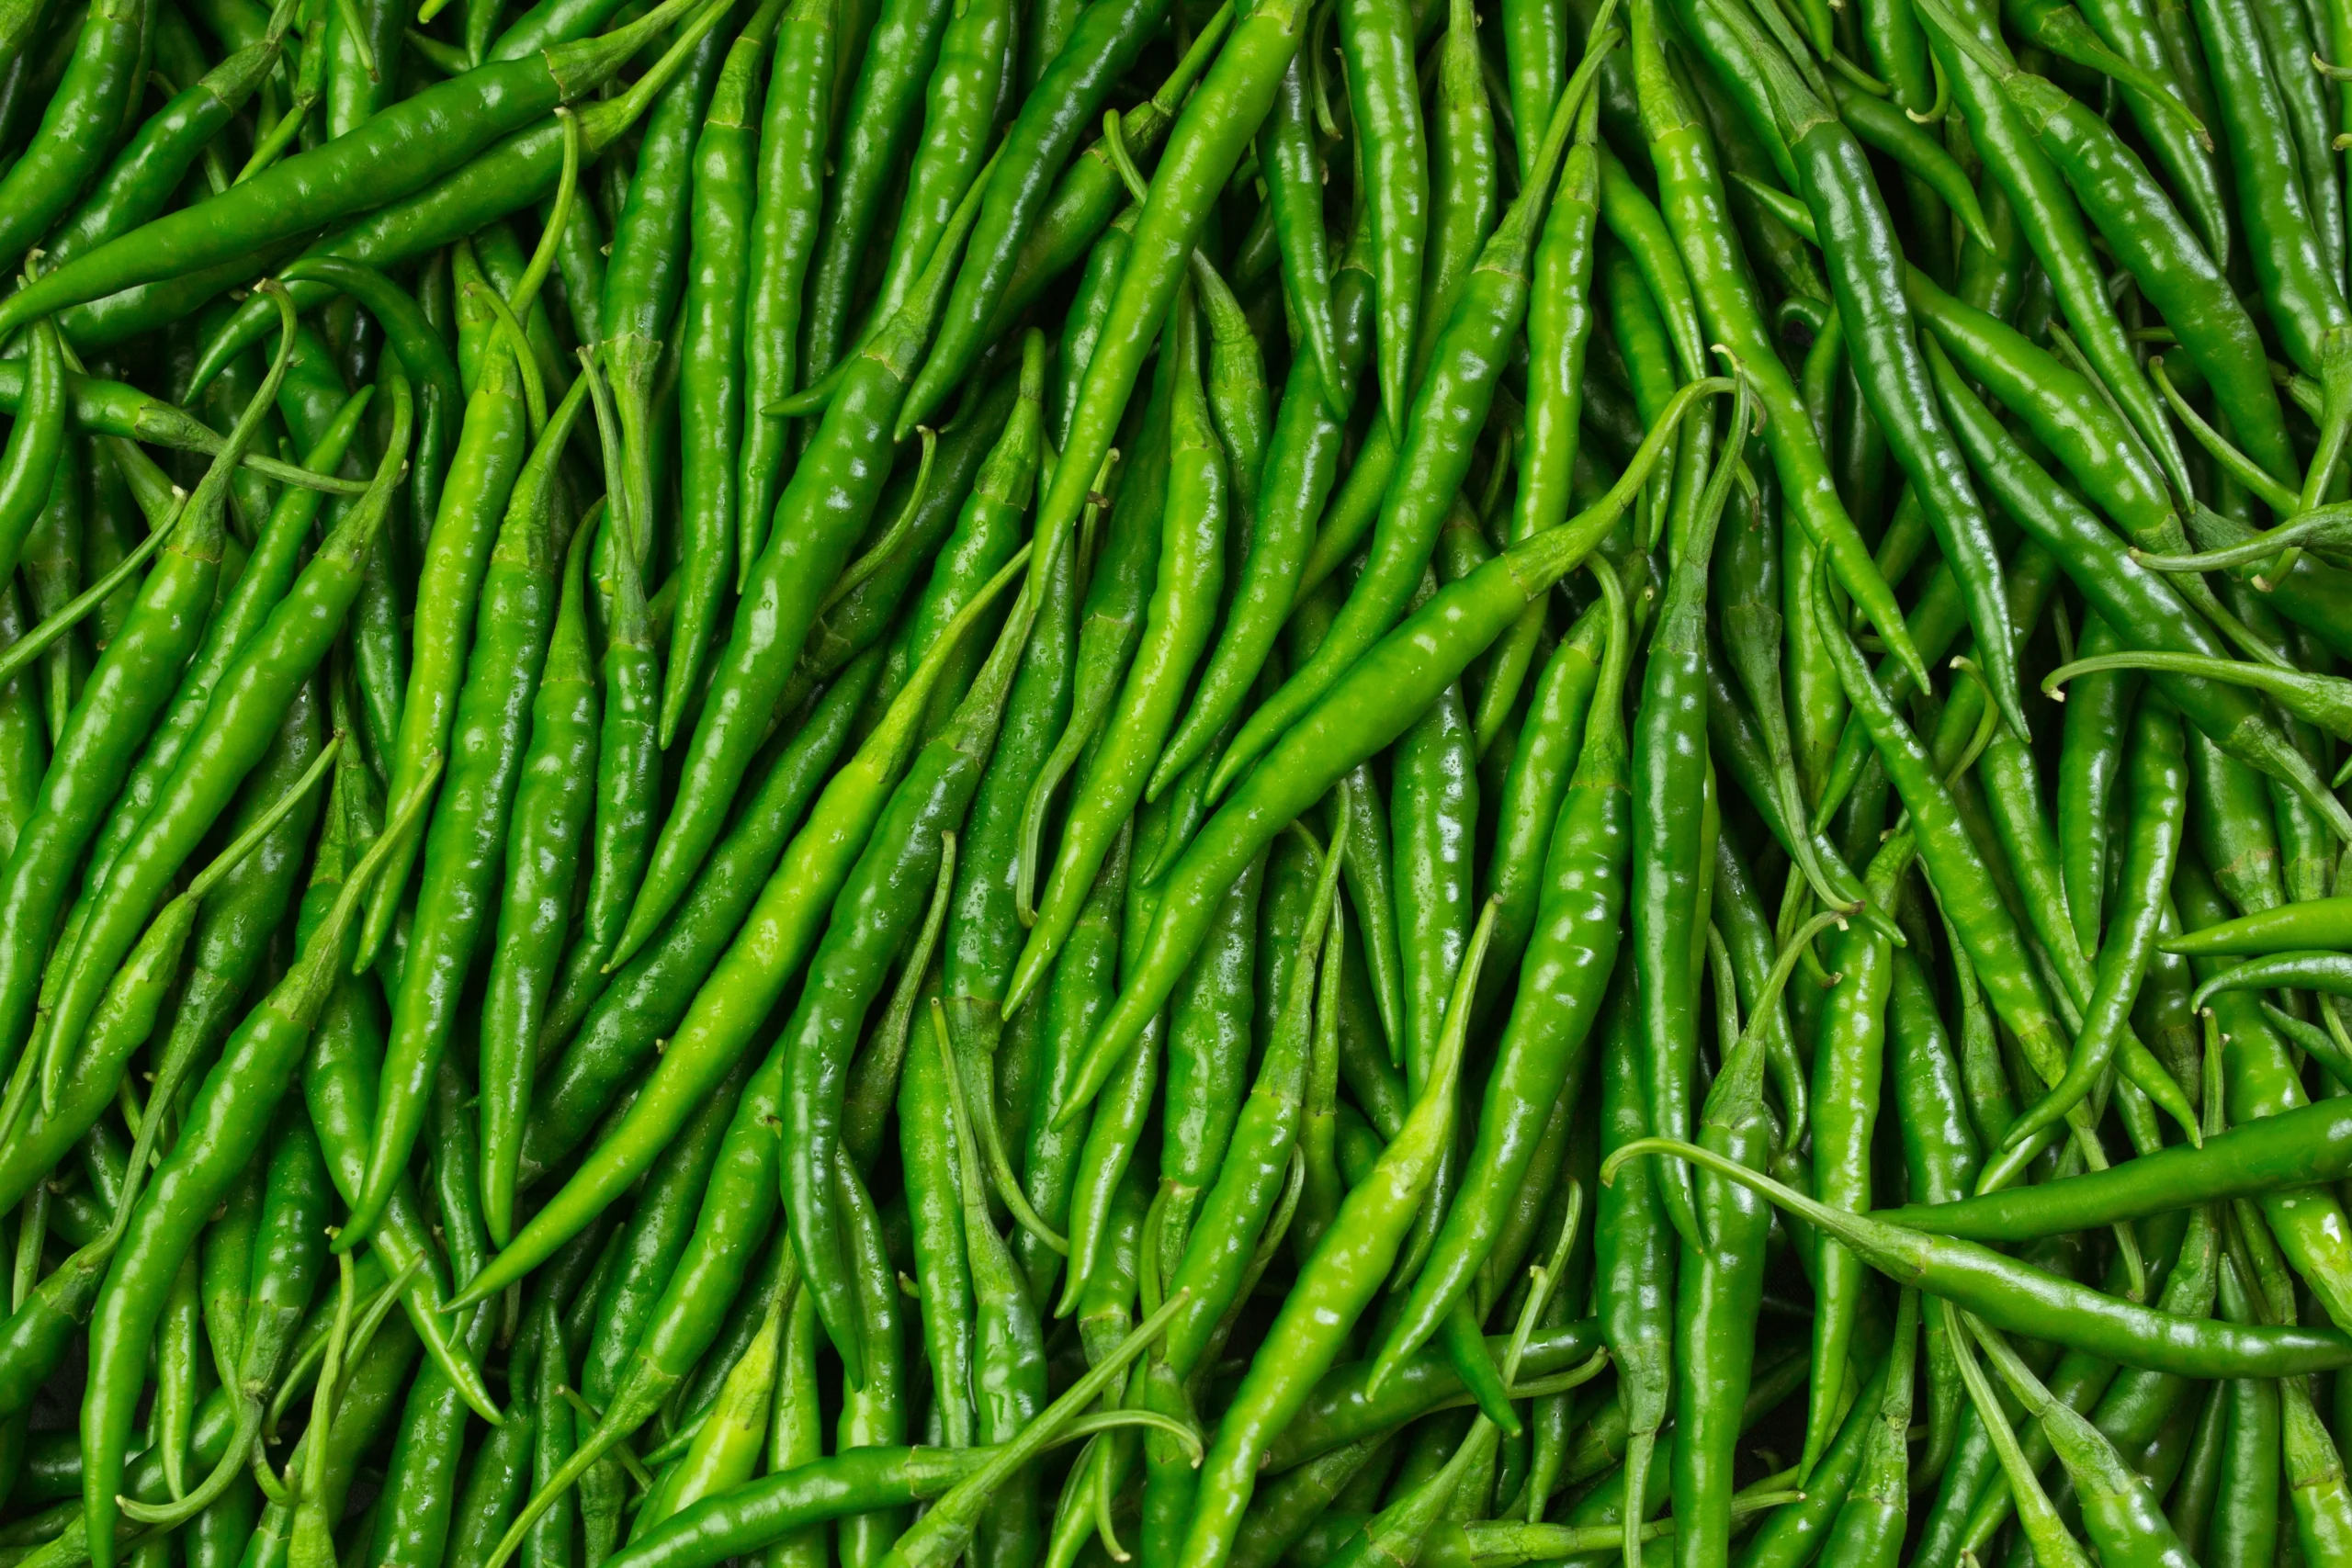
Green chilies are one of the most rewarding plants to grow in your home garden. Whether you have a spacious backyard, a small balcony with container pots, or just a sunny windowsill, you can successfully cultivate these spicy, versatile fruits that add flavor and heat to countless dishes. In the United States, homegrown chilies have become increasingly popular as more Americans embrace cooking with fresh ingredients and explore international cuisines.
According to the USDA, pepper consumption in the US has been steadily increasing, with green chilies being a favorite for home gardeners (USDA Agricultural Research Service). This comprehensive guide will walk you through everything you need to know about growing green chilies at home – from selecting the right varieties for your climate to harvesting and using your spicy bounty.
Choosing the Right Green Chili Varieties for Your Garden
Before you begin your green chili growing journey, it’s important to select varieties that will thrive in your specific growing conditions. The US market offers numerous green chili varieties with different heat levels, growing requirements, and culinary uses.
Popular Green Chili Varieties in the US
| Variety | Heat Level (Scoville Heat Units) | Days to Maturity | Growth Height | Best Growing Region | Special Features |
|---|---|---|---|---|---|
| Jalapeño | 2,500-8,000 SHU | 70-85 days | 24-36 inches | All US regions | Versatile, thick walls, good for containers |
| Anaheim | 500-2,500 SHU | 75-80 days | 24-30 inches | Southwest, West | Mild heat, large fruits, good for roasting |
| Poblano | 1,000-2,000 SHU | 65-80 days | 24-36 inches | South, Southwest | Broad, heart-shaped, perfect for stuffing |
| Serrano | 10,000-23,000 SHU | 75-85 days | 30-36 inches | South, Southwest | Compact plants, high yields, thin walls |
| Thai | 50,000-100,000 SHU | 70-80 days | 12-18 inches | All regions (indoor) | Compact, ornamental, extremely hot |
| Shishito | 50-200 SHU | 60-75 days | 18-24 inches | All regions | Mild, wrinkled surface, occasional hot one |
When selecting your varieties, consider:
- Your local climate and growing season length
- Available space (garden bed vs. containers)
- Your heat preference and culinary uses
- Whether you’ll grow outdoors or indoors
For beginners in cooler regions, jalapeños and Anaheim peppers are excellent choices as they’re relatively forgiving and adaptable. If you have limited space or plan to grow indoors, Thai chilies and compact jalapeño varieties work well in containers.
Starting Green Chilies from Seed: A Step-by-Step Guide
Growing green chilies from seed allows you to access a wider variety of peppers than what’s typically available as seedlings at garden centers. It’s also more economical and deeply satisfying to nurture plants from the very beginning.
When to Start Seeds
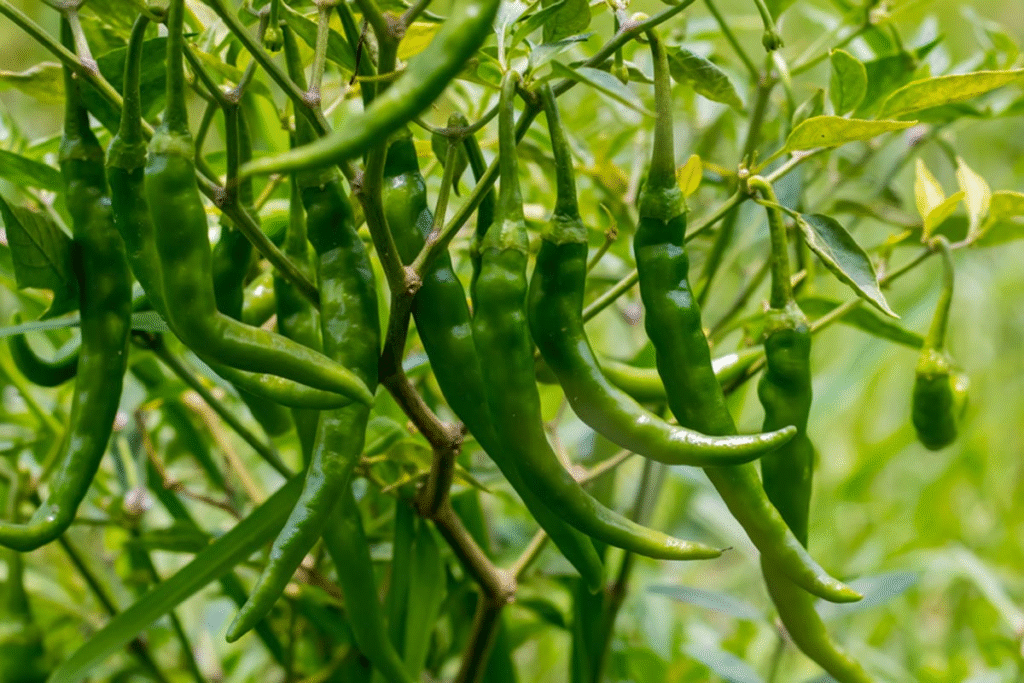
In most parts of the US, you’ll want to start your chili seeds indoors 8-10 weeks before your region’s last expected frost date. According to the National Gardening Association, proper timing is crucial as chilies need a long growing season to produce abundant fruits.
- Northern states: Start seeds mid-February to early March
- Central states: Start seeds late January to mid-February
- Southern states: Start seeds January or year-round in some areas
Seed Starting Materials You’ll Need
- High-quality green chili seeds
- Seed starting mix or potting soil with perlite
- Seed trays or small pots (3-4 inch)
- Clear plastic dome or plastic wrap
- Heat mat (optional but recommended)
- Grow lights or sunny window
- Spray bottle for watering
- Plant labels
Steps for Starting Green Chili Seeds
- Prepare your containers: Fill seed trays or small pots with moistened seed starting mix, leaving about ¼ inch from the top.
- Plant the seeds: Place 2-3 seeds in each cell or small pot, pressing them lightly into the soil about ¼ inch deep. Cover with a thin layer of soil.
- Create humidity: Cover the trays with a clear plastic dome or plastic wrap to create a mini greenhouse effect. This helps maintain humidity and warmth.
- Provide warmth: Place the trays on a heat mat set to 80-85°F (27-29°C). Green chilies germinate best in warm soil conditions.
- Wait for germination: Green chili seeds typically germinate in 7-21 days, depending on the variety and conditions. Be patient, as some varieties take longer than others.
- Remove the cover: Once seedlings emerge, remove the plastic cover to prevent damping off disease.
- Provide light: Place seedlings under grow lights or in a south-facing window. If using grow lights, keep them 2-3 inches above the seedlings for 14-16 hours per day.
- Water carefully: Use a spray bottle to water seedlings, keeping the soil moist but not soggy. Water from below once plants are established by filling the tray underneath.
- Begin fertilizing: When seedlings develop their first true leaves (not the initial seed leaves), start feeding with a half-strength liquid organic fertilizer every two weeks.
- Thin seedlings: If multiple seeds germinated in each container, snip the weaker seedlings at the soil line with scissors, keeping the strongest one.
Transplanting Seedlings
Once your seedlings have developed 4-6 true leaves and are about 6-8 inches tall, they’re ready for transplanting. About 7-10 days before transplanting outdoors, begin the hardening off process by gradually exposing plants to outdoor conditions:
- Start by placing seedlings outdoors in a sheltered location for a few hours a day.
- Gradually increase exposure time over a week.
- Avoid direct sunlight and wind during the initial hardening off period.
- Bring plants indoors at night if temperatures drop below 55°F (13°C).
Growing Green Chilies Outdoors in Garden Beds
Green chilies thrive in warm, sunny locations with well-draining soil. For successful outdoor cultivation, follow these guidelines:
Site Selection and Preparation
- Choose a location that receives at least 6-8 hours of direct sunlight daily.
- Select a spot sheltered from strong winds, which can damage plants and flowers.
- Test your soil pH; chilies prefer slightly acidic soil (pH 6.0-6.8). Testing kits are available from garden centers or through your local USDA Cooperative Extension Service.
- Prepare garden beds by removing weeds and incorporating 2-3 inches of compost or well-rotted manure.
- Consider raised beds in areas with poor drainage or heavy clay soil.
Planting in Garden Beds
- Wait until soil temperatures reach at least 65°F (18°C) and all danger of frost has passed.
- Dig holes twice the width of the root ball and slightly deeper.
- Space plants according to variety:
- Larger varieties (Anaheim, poblano): 18-24 inches apart
- Medium varieties (jalapeño, serrano): 14-18 inches apart
- Compact varieties (Thai): 12-14 inches apart
- Set plants slightly deeper than they were in their containers.
- Backfill with soil, firm gently, and water thoroughly.
- Apply a 2-3 inch layer of organic mulch around plants, keeping it away from stems.
Care Throughout the Growing Season
- Watering: Provide 1-2 inches of water weekly. Water at the base of plants to keep foliage dry. Consistent moisture is important, especially during flowering and fruiting.
- Fertilizing: Apply a balanced organic fertilizer (like 5-5-5) when planting, then switch to a lower-nitrogen, higher-phosphorus formula (like 5-10-10) when plants begin flowering to encourage fruit production.
- Support: Taller varieties or those producing heavy fruits may need staking or caging for support.
- Pruning: Remove the first few flowers that appear to encourage stronger plant growth. Pinch off the growing tips of plants when they reach about 12 inches tall to promote branching.
Growing Green Chilies in Containers
Container growing is an excellent option if you have limited space, poor soil conditions, or want to bring plants indoors during cooler weather. Many green chili varieties adapt well to container growing, with compact varieties being particularly suitable.
Container Selection
- Choose containers at least 12 inches deep and 12-14 inches in diameter for most varieties.
- Ensure containers have adequate drainage holes.
- Terra cotta pots work well as they allow soil to breathe, but plastic or fabric pots are also suitable.
- Dark-colored containers absorb heat, which chilies appreciate.
Potting Mix
Create a well-draining, nutrient-rich potting mix:
- 60% high-quality potting soil
- 20% compost
- 10% perlite
- 10% vermiculite or coconut coir
Avoid using garden soil in containers as it can compact and harbor diseases.
Container Growing Tips
- Place containers in a location that receives at least 6 hours of direct sunlight daily.
- Water when the top inch of soil feels dry. Containers dry out faster than garden beds, especially in hot weather.
- Feed more frequently than garden-grown plants, using a diluted liquid fertilizer every 2-3 weeks.
- Monitor for signs of nutrient deficiencies, which are more common in container-grown plants.
- Consider double-potting in extreme heat to insulate roots.
- Move containers to protected areas during extreme weather events.
Growing Green Chilies Indoors
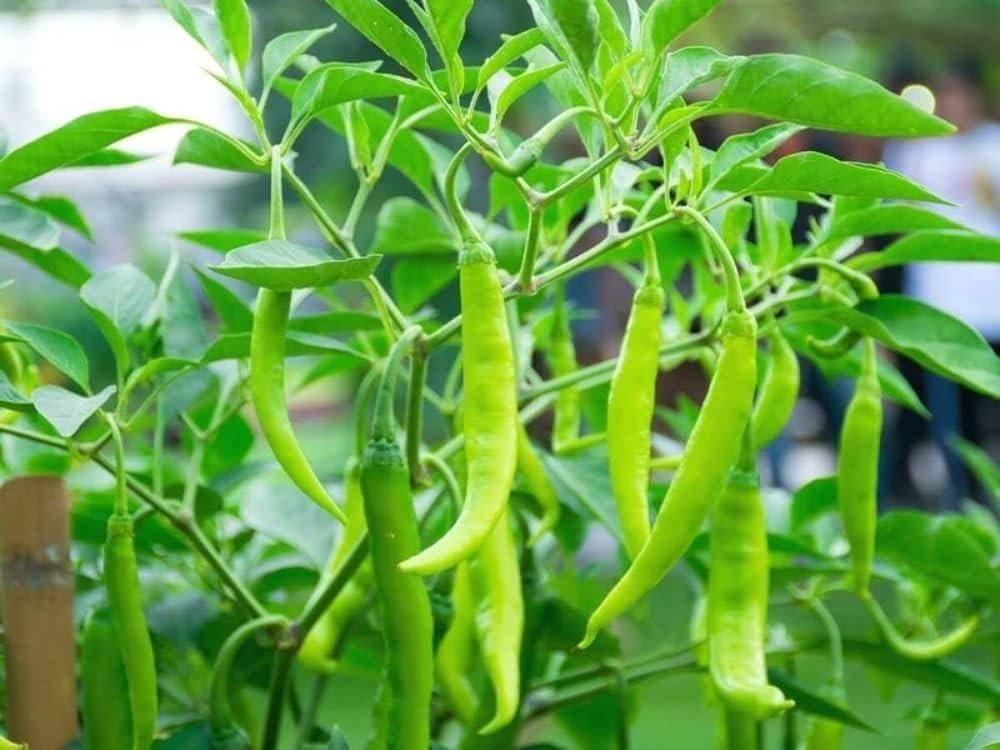
You can grow green chilies indoors year-round with the right setup. While yields may be smaller than outdoor-grown plants, having fresh chilies at your fingertips during winter months is well worth the effort.
Light Requirements
- Position plants in a south-facing window that receives at least 6 hours of direct sunlight.
- Supplement with full-spectrum LED grow lights positioned 6-12 inches above plants for 14-16 hours daily.
- Rotate plants regularly to ensure even growth.
Indoor Growing Environment
- Maintain temperatures between 70-80°F (21-27°C) during the day and no lower than 60°F (16°C) at night.
- Provide good air circulation with a small fan to prevent disease and strengthen stems.
- Maintain humidity between 50-60% using a humidifier or humidity tray if your home is dry.
Hand Pollination
Indoor-grown chilies often need help with pollination since there are no insects or wind to transfer pollen:
- Wait until flowers are fully open.
- Use a small paintbrush or cotton swab to gently transfer pollen between flowers.
- Alternatively, gently shake plants daily to distribute pollen.
Common Challenges and Solutions
Even with proper care, you may encounter some challenges when growing green chilies:
Pest Management
- Aphids: Spray with strong water jet or insecticidal soap solution.
- Spider mites: Increase humidity and apply neem oil.
- Whiteflies: Use yellow sticky traps and insecticidal soap.
- Pepper hornworms: Handpick and destroy; look for their frass (droppings).
Disease Prevention
- Bacterial leaf spot: Avoid overhead watering; remove and destroy affected leaves.
- Blossom end rot: Maintain consistent soil moisture and add calcium if needed.
- Powdery mildew: Improve air circulation and apply organic fungicide if necessary.
- Viruses: Remove and destroy affected plants; control insect vectors.
Environmental Issues
- Flower drop: Often caused by temperatures above 90°F (32°C) or below 60°F (16°C), or inconsistent watering.
- Slow growth: Usually indicates insufficient light, nutrients, or warmth.
- Curling leaves: May indicate pest infestation, overwatering, or heat stress.
Harvesting and Using Your Green Chilies
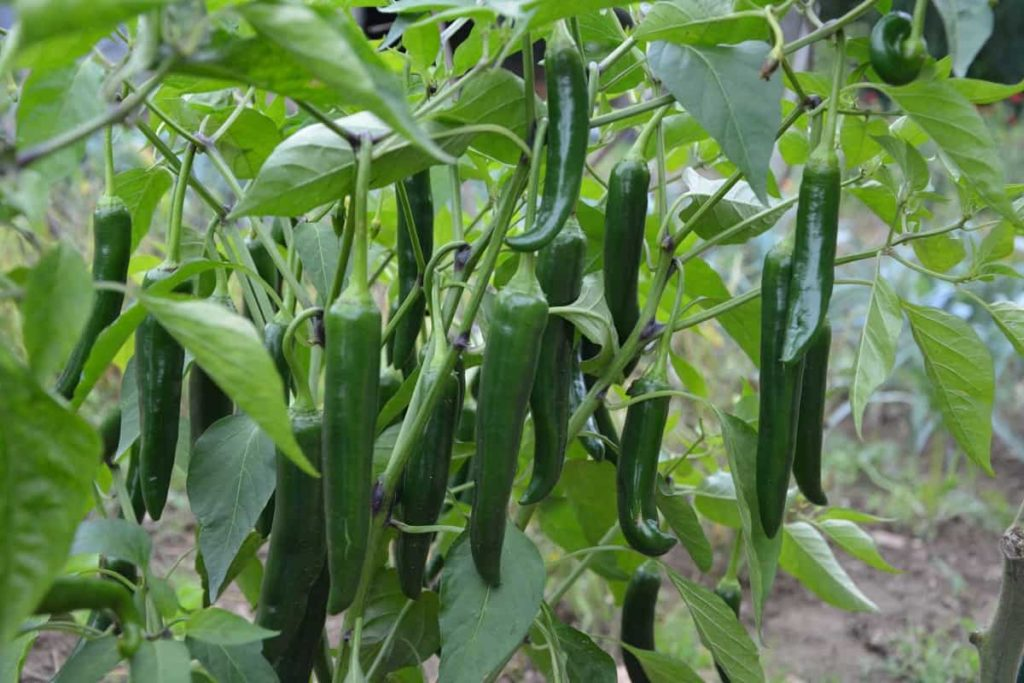
The moment you’ve been waiting for – harvesting your homegrown green chilies! Most varieties can be harvested when they reach their mature size but are still green, usually 65-85 days after transplanting.
Harvesting Tips
- Use sharp scissors or pruning shears to cut chilies from the plant, leaving a small portion of stem attached.
- Wear gloves when harvesting hot varieties to avoid skin irritation.
- Harvest regularly to encourage continued production.
- For hotter chilies, allow some fruits to mature fully and turn red (or their mature color).
Storage Methods
- Fresh: Store unwashed chilies in a paper bag in the refrigerator for up to two weeks.
- Freezing: Freeze whole or chopped in freezer bags for up to 6 months.
- Drying: String chilies together and hang in a warm, dry location, or use a food dehydrator.
- Pickling: Preserve in vinegar for extended shelf life and unique flavor.
Culinary Uses
- Add fresh chopped green chilies to salsas, guacamole, and salads.
- Roast whole chilies for enhanced flavor before using in recipes.
- Stuff larger varieties like poblanos or Anaheims with cheese, meat, or rice.
- Blend into sauces, marinades, and dressings.
- Infuse oils and vinegars for cooking and salad dressings.
- Make traditional American Southwest green chili stew.
Conclusion: Enjoying the Fruits of Your Labor
Growing green chilies at home provides not only a supply of fresh, flavorful ingredients but also tremendous satisfaction. From tiny seeds to spicy fruits, the journey of growing chilies connects you to thousands of years of agricultural tradition while providing modern culinary advantages.
As you become more experienced, consider saving seeds from your best-performing plants to grow next season, gradually selecting for traits that work best in your specific growing conditions. With each season, you’ll develop deeper knowledge and a personal relationship with these fascinating plants.
Whether you’re growing on a windowsill, in containers on a patio, or in a garden bed, green chilies offer tremendous variety, flavor, and nutritional benefits. So grab your seeds, prepare your soil, and embark on a spicy growing adventure that will enhance your meals and your gardening experience for years to come.
