Should You Consider Hydroseeding For Your Lawn?
Are you tired of looking at your patchy, brown lawn and wondering if there’s a better solution than traditional seeding methods? Whether you’re establishing a new lawn or rejuvenating a damaged one, hydroseeding might be the answer you’ve been searching for. This innovative lawn establishment technique has gained popularity among homeowners across the United States for good reason. In this comprehensive guide, we’ll explore everything you need to know about hydroseeding to help you decide if it’s the right choice for your outdoor space.
What Exactly Is Hydroseeding?
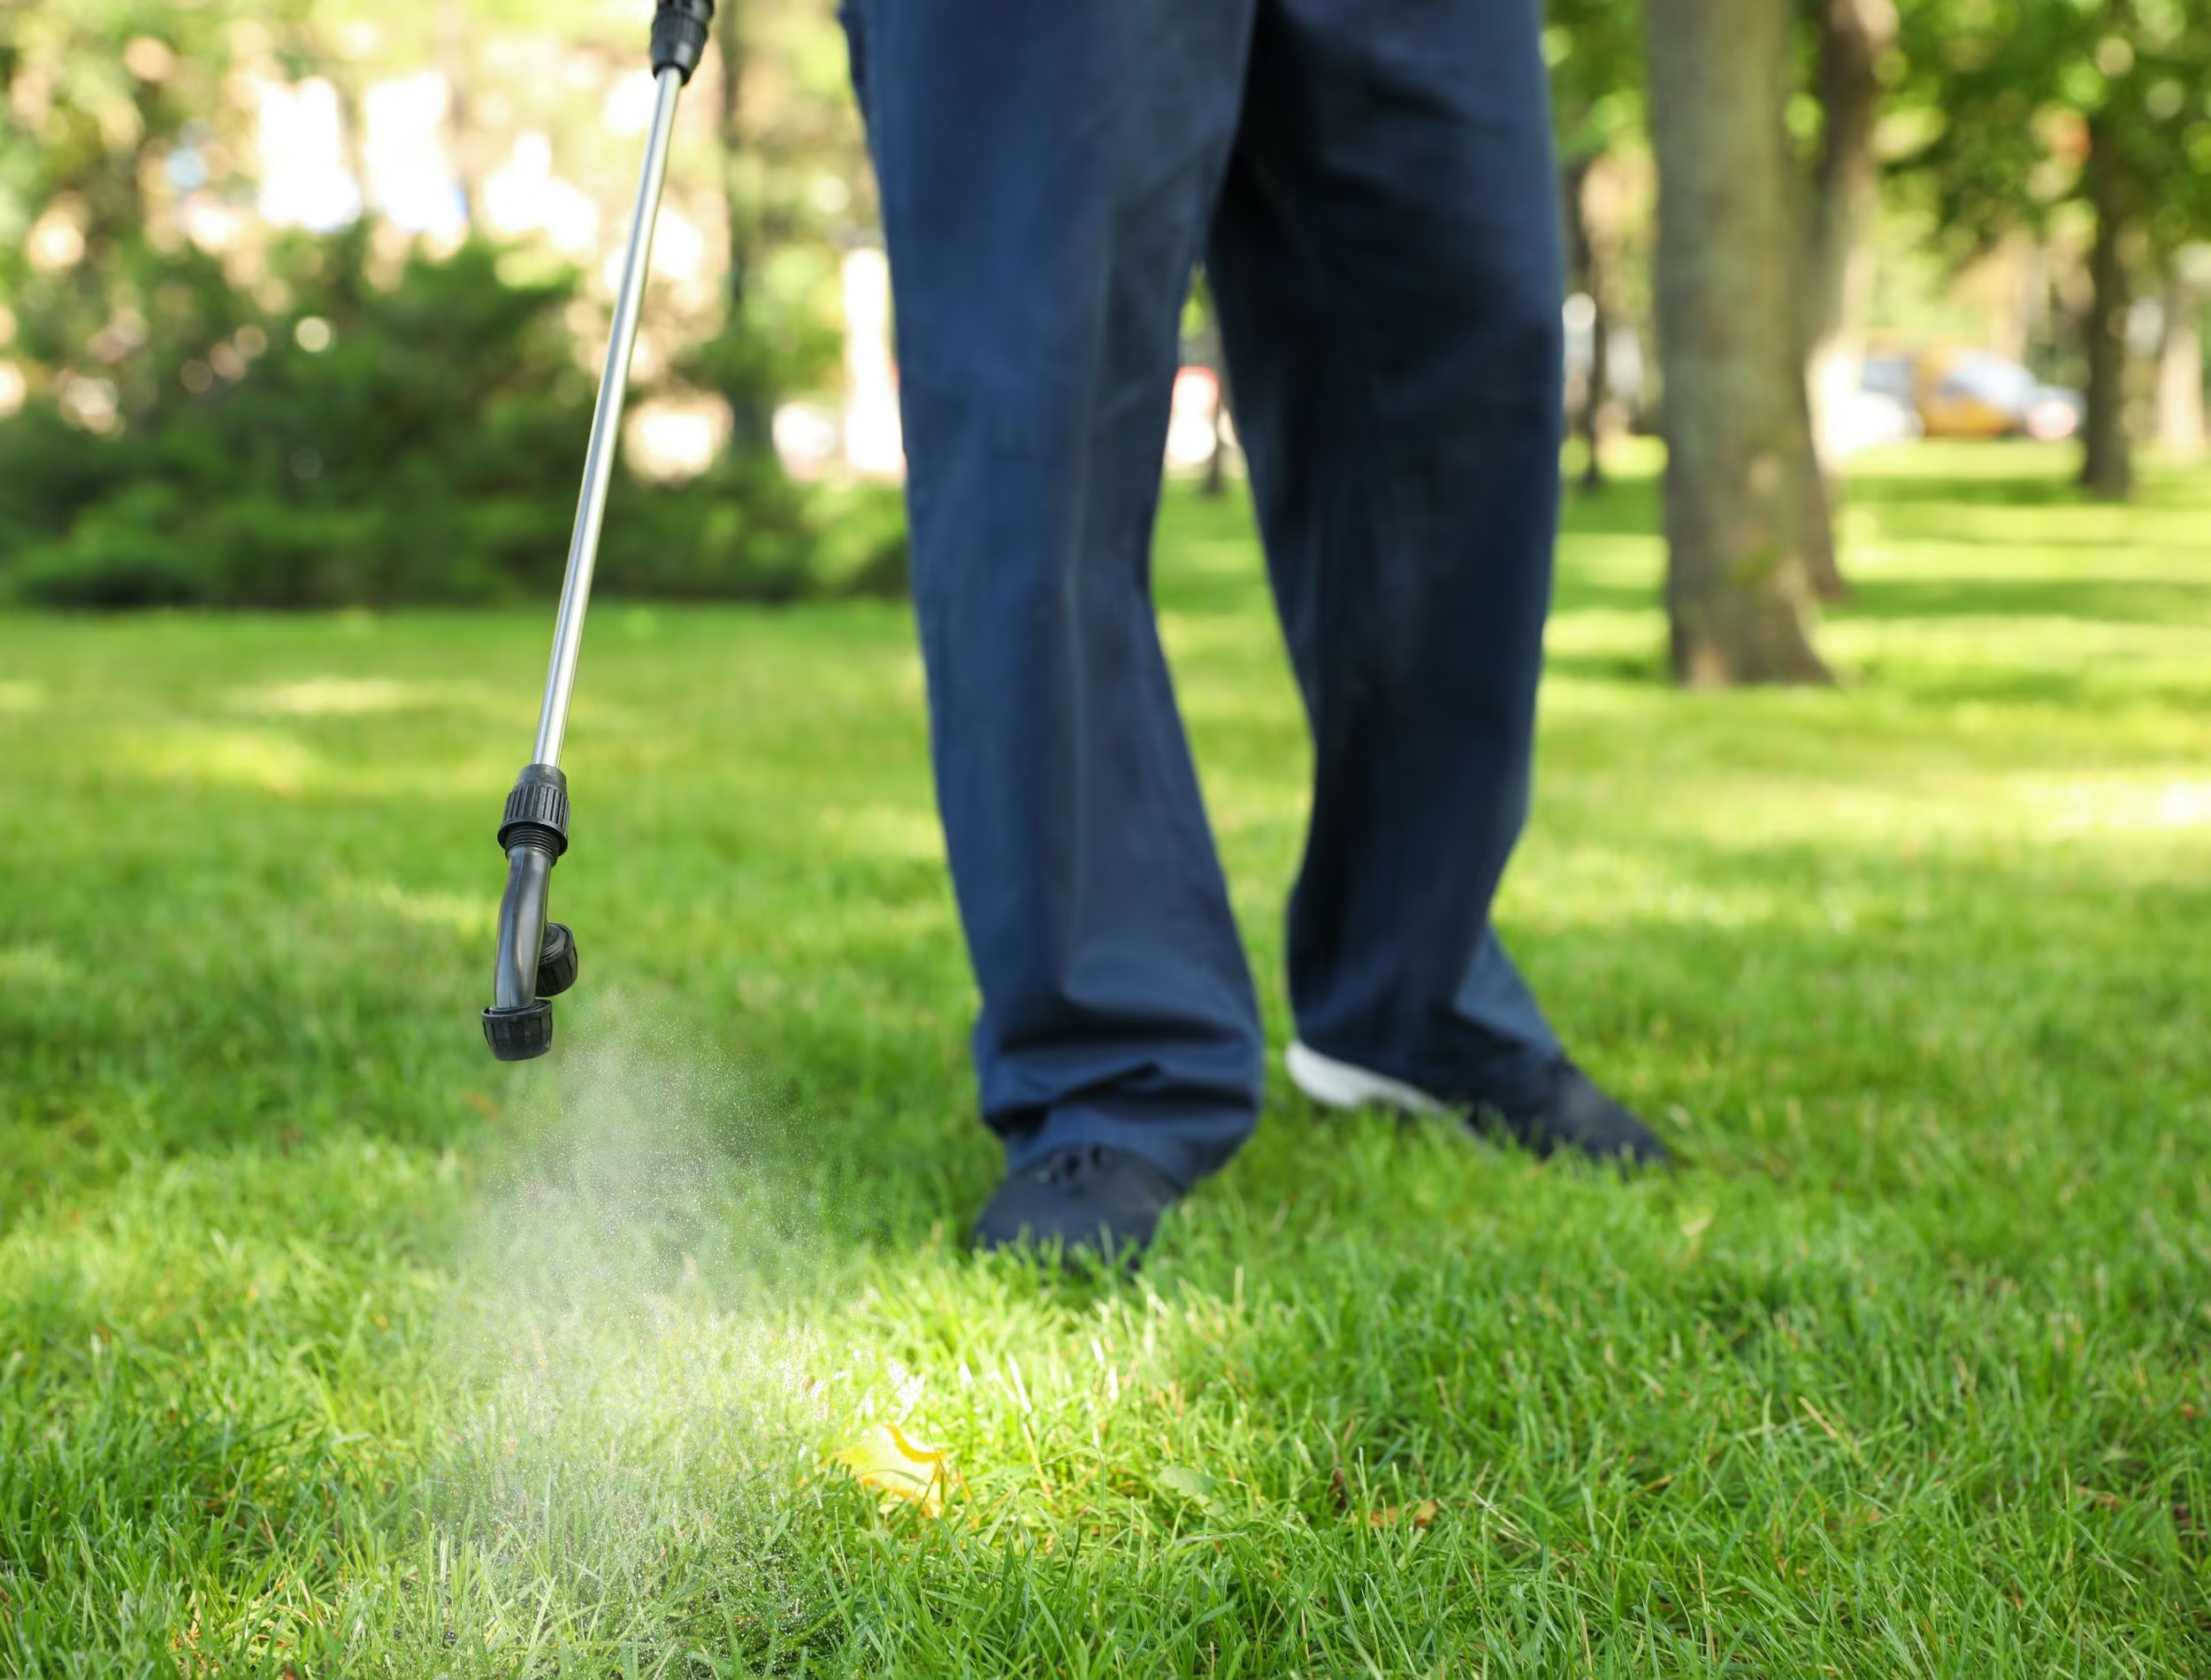
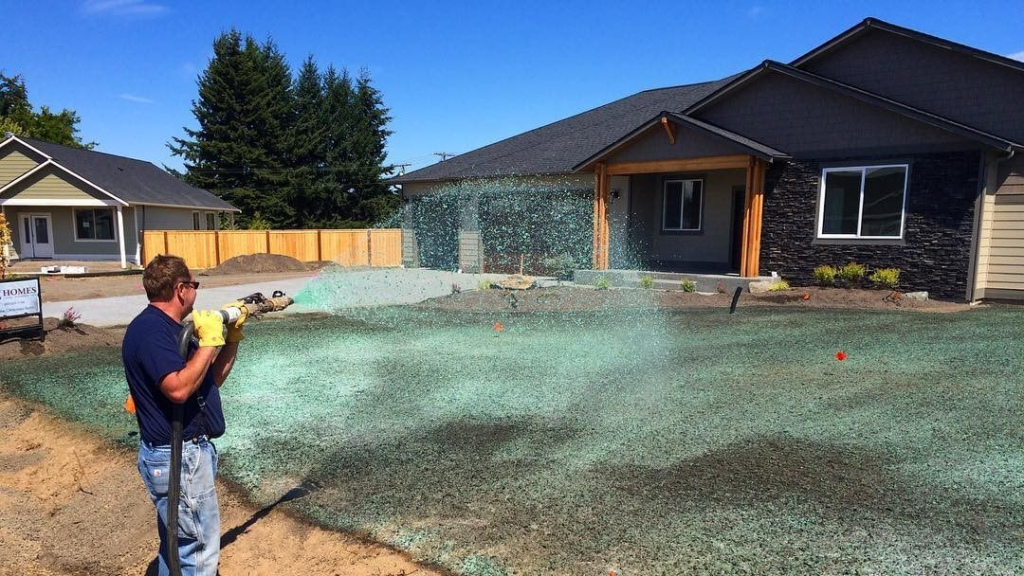
Hydroseeding (sometimes called hydromulching) is a process that applies a slurry mixture of grass seed, mulch, fertilizer, healthy soil amendments, and water to your lawn using specialized equipment. The mixture is sprayed uniformly over prepared soil, creating ideal growing conditions for grass seed. This technique was originally developed in the 1940s for commercial applications like highway medians and erosion control but has since become increasingly accessible to residential homeowners.
The slurry creates a nutrient-rich environment that helps seeds germinate quickly while protecting them from birds, wind, and washout. The mulch component retains moisture, providing a consistently damp environment that’s perfect for seed development. As the seeds germinate, the mulch gradually breaks down, continuing to feed the developing grass roots.
How Hydroseeding Differs From Traditional Methods
Unlike traditional dry seeding methods where you scatter seeds across your lawn and hope for the best, hydroseeding offers several distinctive advantages:
- The seeds are suspended in a moisture-retaining mixture that promotes faster germination
- The slurry contains nutrients that provide immediate nourishment to seedlings
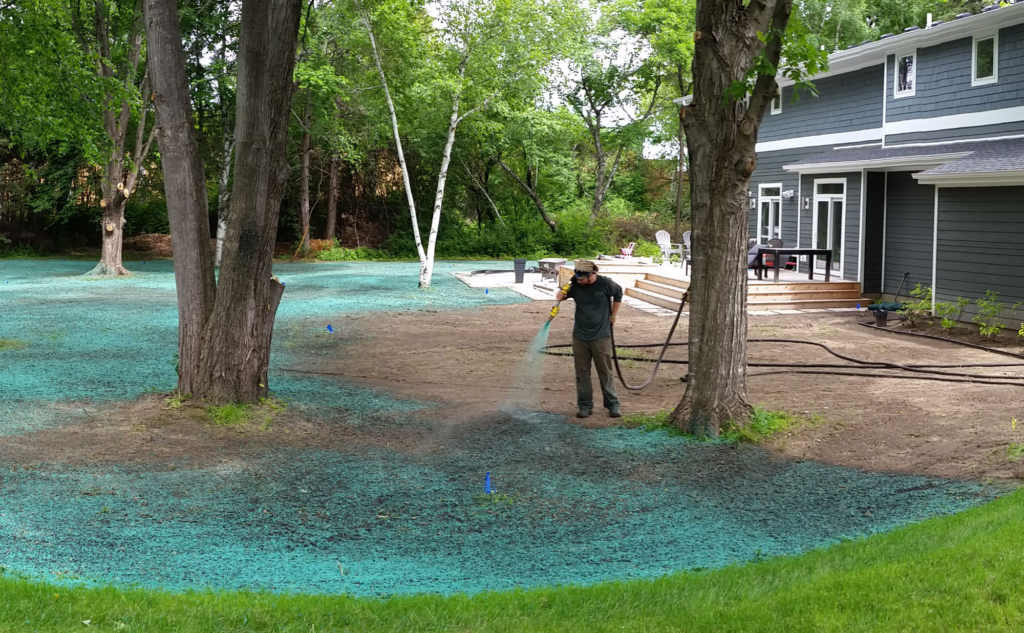
- The colored mulch (typically green or blue) makes it easy to identify treated areas
- The mixture adheres to the soil, reducing erosion and seed loss
- The even application eliminates bare spots common with hand seeding
Compared to sod installation, hydroseeding typically costs significantly less while still providing excellent results. Though it doesn’t deliver the “instant lawn” effect of sod, the germination and establishment process is accelerated compared to traditional seeding.
The United States Department of Agriculture (USDA) has recognized hydroseeding as an effective erosion control method, particularly on sloped terrain. According to their conservation guidelines, “[hydroseeding] provides immediate protection to exposed soils and can be particularly effective in areas where conventional methods might fail.” (Source: USDA Natural Resources Conservation Service)
The Benefits and Drawbacks of Hydroseeding Your Lawn
Before making any decision about your lawn, it’s important to consider both the advantages and potential limitations of hydroseeding.
Advantages of Hydroseeding
Even Coverage and Superior Results
One of the most significant benefits of hydroseeding is its uniform application. The slurry is applied with specialized equipment that ensures complete coverage of your lawn area, eliminating the patchy results often associated with traditional seeding. The result is a lush, even lawn with consistent color and texture.
Cost-Effectiveness
While hydroseeding costs more than traditional seeding, it remains significantly more affordable than installing sod. For large areas especially, the cost savings can be substantial.
Custom Seed Mixtures
Hydroseeding allows for customized seed mixtures tailored to your specific climate, soil conditions, and lawn usage. Whether you need a drought-resistant variety for the Southwest, a cold-hardy mix for the Northeast, or a blend that can withstand heavy foot traffic, hydroseeding provides flexibility that pre-grown sod simply cannot match.
Faster Establishment
Under ideal conditions, you may start seeing results in as little as 5-7 days, with a fully established lawn possible within 3-4 weeks. This is significantly faster than traditional seeding methods, which can take 30+ days to show similar progress.
Improved Soil Quality
Many hydroseeding mixtures contain soil amendments like lime, gypsum, or biochar that improve your soil’s structure and pH balance. These amendments help create an optimal growing environment not just for initial establishment but for the long-term health of your lawn.
Erosion Control
The Environmental Protection Agency (EPA) recognizes hydroseeding as an effective method for controlling soil erosion, especially on slopes and in areas prone to water runoff. The tacky mulch component holds seeds and soil in place, preventing loss during rain events. The EPA’s Stormwater Best Management Practices recommends hydroseeding for “rapid establishment of vegetation on disturbed soils.” (Source: EPA Stormwater Best Management Practices)
Potential Drawbacks
Not Quite Instant Results
If you’re looking for an instantly finished lawn, sod remains the only option. While hydroseeding establishes faster than traditional seeding, you’ll still need to wait a few weeks for full establishment.
Initial Watering Requirements
Newly hydroseeded lawns require careful attention to watering, especially during the first two weeks. Depending on your climate, you may need to water multiple times daily to keep the mulch matrix consistently moist.
Limited DIY Options
While some rental companies offer small hydroseeding equipment, the process generally requires professional equipment and expertise for optimal results.
Weather Considerations
Timing is crucial for hydroseeding success. Extreme heat, cold, or heavy rainfall immediately after application can negatively impact germination rates.
Temporary Appearance
The bright green or blue color of the initial mulch application can look somewhat artificial until the grass begins to grow through it.
Comparing Lawn Establishment Methods
To help you better understand how hydroseeding stacks up against other common lawn establishment methods, let’s examine them side by side:
| Factor | Hydroseeding | Traditional Seeding | Sod Installation |
|---|---|---|---|
| Average Cost (1,000 sq ft) | $150-$200 | $80-$120 | $450-$900 |
| Time to First Mowing | 3-4 weeks | 6-8 weeks | 2-3 weeks |
| Labor Intensity | Moderate (professional) | High (DIY) | Very High |
| Erosion Control | Excellent | Poor | Excellent |
| Root Development | Excellent | Good | Good-Fair |
| Variety Selection | Extensive | Extensive | Limited |
| Water Requirements | High (initially) | High | Very High |
| Season Flexibility | Spring/Fall optimal | Spring/Fall optimal | Year-round possible |
| DIY Friendly | Limited | Very | Moderate |
As you can see, hydroseeding occupies a middle ground between the affordability but slower results of traditional seeding and the immediate but expensive option of sod installation.
Is Your Property Suitable for Hydroseeding?
Not all properties benefit equally from hydroseeding. Several factors determine whether your lawn is a good candidate for this approach.

Ideal Conditions for Hydroseeding Success
Lot Size Considerations
Hydroseeding becomes increasingly cost-effective as the size of your lawn increases. For very small areas (under 500 square feet), the setup and equipment costs may make traditional seeding or even sod more economical. However, for medium to large yards, the economics quickly shift in favor of hydroseeding.
Terrain Features
Properties with slopes, berms, or uneven terrain particularly benefit from hydroseeding. The adhesive nature of the slurry helps seeds stay in place on inclines where traditional seeds would wash away. According to the USDA Natural Resources Conservation Service, hydroseeding can reduce soil erosion by up to 95% compared to bare soil.
Soil Quality
While hydroseeding can help improve soil quality through added amendments, starting with reasonably good soil will enhance your results. Extremely poor soils (heavy clay, very sandy, or highly acidic) may need additional preparation before hydroseeding.
Climate Considerations
Your local climate significantly impacts hydroseeding success. The ideal time to hydroseed varies by region:
- Northeast and Midwest: Early fall or spring
- Southeast: Fall or early spring
- Southwest: Fall or very early spring
- Northwest: Early fall or spring
- Mountain States: Late spring to early summer
Site Preparation Requirements
Proper preparation is crucial for hydroseeding success. Your lawn area will need:
Soil Testing
Before hydroseeding, consider having your soil tested through your local extension office. This inexpensive test provides valuable information about pH levels and nutrient deficiencies that can be addressed before hydroseeding. Many state universities provide soil testing services through their agricultural extension offices.
Clearing and Grading
All debris, rocks, and existing vegetation must be removed from the area to be hydroseeded. The soil surface should be graded to ensure proper drainage and prevent water pooling.
Soil Amendments
Based on soil test results, you may need to incorporate lime, sulfur, compost, or other amendments to optimize growing conditions. These can either be tilled into the soil before hydroseeding or included in the hydroseeding mixture itself.
Irrigation Access
Ensure you have adequate water sources to maintain moisture levels during the critical establishment period. Properties without in-ground irrigation systems may require temporary sprinklers or frequent hand watering.
The Hydroseeding Process: What to Expect
Understanding the hydroseeding process helps you know what to expect if you choose this option for your lawn.
Professional Application Steps
Initial Consultation
The process begins with a consultation where a professional evaluates your property, discusses your lawn goals, and helps select the appropriate seed mixture for your location and intended lawn use.
Custom Mixture Preparation
Based on your needs, a custom slurry is prepared containing:
- Grass seed varieties appropriate for your climate zone
- Wood or paper mulch fibers
- Fertilizer (typically starter fertilizer high in phosphorus)
- Tackifier (a natural or synthetic adhesive)
- Soil amendments as needed
- Water
- Green dye (to track application and retain heat)
Application Procedure
On application day, the hydroseeding team will:
- Make a final inspection of your prepared soil
- Mix the slurry components in their specialized tank
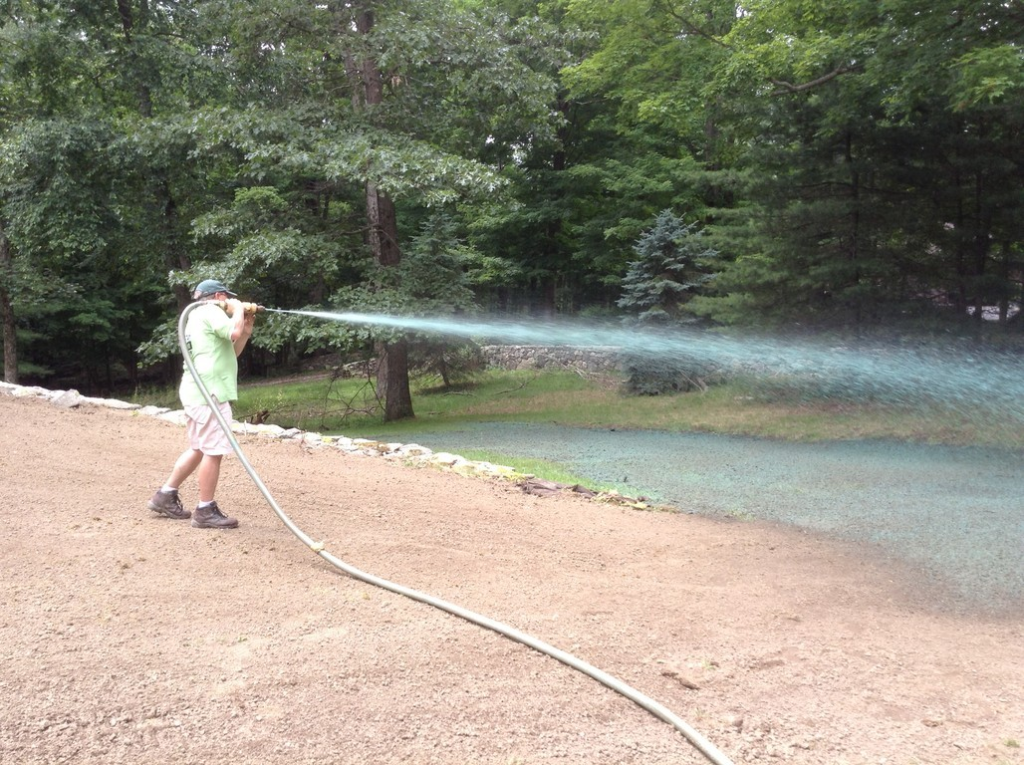
- Apply the mixture evenly using high-pressure hoses
- Provide detailed aftercare instructions
The entire application process for an average suburban lawn typically takes just a few hours.
Post-Application Care
Watering Schedule
The most critical aspect of post-hydroseeding care is maintaining proper moisture levels:
- Days 1-10: Keep the surface consistently moist with light, frequent waterings (2-3 times daily)
- Days 11-21: Reduce to once daily, increasing duration
- After 3 weeks: Transition to deep, infrequent watering
Traffic Restrictions
You should avoid walking on the hydroseeded area until after the first mowing, which typically occurs 3-4 weeks after application.
First Mowing Guidelines
Wait until your new grass reaches approximately 3-4 inches in height before the first mowing. Set your mower blade high (never remove more than 1/3 of the grass blade) and ensure your mower blades are sharp to avoid pulling young plants from the soil.
Fertilization Plan
Most hydroseeding mixtures contain enough starter fertilizer to support initial growth. However, plan to apply a balanced fertilizer approximately 4-6 weeks after hydroseeding to support continued development.
Cost Analysis: Is Hydroseeding Worth the Investment?
Understanding the full cost implications helps determine if hydroseeding provides good value for your specific situation.
Typical Cost Factors
Regional Price Variations
Hydroseeding costs vary significantly by region. The following table provides average cost ranges by U.S. region:
| Region | Average Cost (per 1,000 sq ft) | Factors Affecting Regional Pricing |
|---|---|---|
| Northeast | $180-$230 | Higher labor costs, shorter season |
| Southeast | $140-$190 | Longer season, challenging grass varieties |
| Midwest | $150-$200 | Average labor costs, moderate season length |
| Southwest | $170-$240 | Water scarcity, specialty drought-resistant mixes |
| Northwest | $160-$210 | Rainfall considerations, erosion control needs |
| Mountain West | $175-$225 | Short season, specialty altitude mixes |
These prices typically include basic soil preparation, the hydroseeding application, and sometimes a follow-up inspection.
Additional Cost Considerations
Beyond the base hydroseeding cost, budget for:
- Extensive soil preparation (if needed): $50-$200+ per 1,000 sq ft
- Premium seed mixtures: Additional $20-$40 per 1,000 sq ft
- Slope stabilization on steep terrain: Additional $50-$100 per 1,000 sq ft
- Starter fertilizer (if not included): $15-$30 per 1,000 sq ft
Long-Term Value Assessment
When evaluating cost, consider these long-term factors:
- Reduced need for reseeding bare spots (common with traditional seeding)
- Lower water consumption after establishment compared to sod
- Improved drought resistance with deep root development
- Reduced erosion and topsoil loss
- Potentially fewer pest and disease problems due to stronger establishment
The U.S. Department of Energy has noted that properly established lawns can reduce energy costs by providing natural cooling around homes. According to their energy efficiency resources, “A healthy lawn can be 31 degrees cooler than asphalt and 20 degrees cooler than bare soil.” (Source: Department of Energy’s Energy Saver Guide)
DIY vs. Professional Hydroseeding: Making the Right Choice
While professional hydroseeding is most common, some homeowners consider DIY options.
Available DIY Options
Rental Equipment
Some equipment rental companies offer small-scale hydroseeding machines. These typically cost $150-$300 per day to rent, plus the cost of materials.
Hydroseeding Kits and Alternatives
Several manufacturers offer “DIY hydroseeding” products:
- Handheld sprayers with premixed hydroseeding solution
- “Hydro Mousse” and similar products that approximate hydroseeding on a small scale
- Tackifier additives for traditional seed/mulch mixtures
Limitations of DIY Approaches
Before choosing DIY, consider these limitations:
- Smaller equipment means multiple refills for large areas
- Less powerful equipment may not apply material as evenly
- Limited access to professional-grade seed and amendment mixtures
- Lack of warranty or guarantees on results
- Potential for improper application techniques
Professional Service Benefits
Expertise and Equipment
Professional hydroseeding companies offer:
- Commercial-grade equipment capable of even application
- Local knowledge of soil conditions and appropriate seed mixtures
- Proper calibration of slurry components
- Experience handling difficult terrain or soil conditions
Service Packages
Most professionals offer tiered service packages:
- Basic application only
- Application with follow-up inspection
- Complete packages including soil preparation and aftercare
Selecting a Reputable Contractor
To find a qualified hydroseeding professional:
- Check customer reviews and ask for references
- Verify they carry appropriate insurance and licenses
- Request seed mix specifications in writing
- Ask about their warranty or guarantee
- Get detailed quotes from multiple providers
The Cooperative Extension System, a nationwide network supported by the USDA, can help connect you with reputable lawn care professionals and provide region-specific information about lawn establishment. Find your local office through the National Institute of Food and Agriculture.
Seasonal Timing: When to Schedule Your Hydroseeding Project
Timing significantly impacts hydroseeding success. Different grass types and climates dictate different optimal windows for application.
Cool-Season Grasses
For northern states where cool-season grasses like Kentucky bluegrass, perennial ryegrass, and fescues dominate:
Fall: The Ideal Window
Early to mid-fall offers several advantages:
- Soil remains warm from summer, promoting germination
- Cooler air temperatures reduce moisture stress
- Fewer weed competitors emerge in fall
- Extended cool, wet conditions favor root development
- Plants establish before winter dormancy
Aim for hydroseeding 6-8 weeks before the first expected frost in your area.
Spring: A Secondary Option
Early spring hydroseeding can work well if:
- You schedule as soon as soil temperatures reach 50-55°F
- You complete hydroseeding before summer heat arrives
- You’re prepared for more intensive weed management
Warm-Season Grasses
For southern states where warm-season grasses like Bermuda, zoysia, centipede, and St. Augustine thrive:
Late Spring: Prime Time
Late spring to early summer provides:
- Soil temperatures above 65°F needed for warm-season grass germination
- Plenty of time to establish before fall cooling
- Natural rainfall patterns that support establishment
Early Fall: Limited Window
Early fall hydroseeding of warm-season grasses is possible only in the most southern regions where warm temperatures extend well into autumn.
Climate-Specific Considerations
Drought-Prone Areas
In regions with water restrictions or drought conditions:
- Time hydroseeding to coincide with seasonal rainfall patterns
- Consider drought-resistant seed varieties
- Discuss water-retention additives with your contractor
- Install soil moisture sensors to optimize watering
Heavy Rainfall Regions
In areas with high precipitation:
- Schedule hydroseeding after heavy rain seasons
- Ensure proper grading for drainage
- Request additional tackifier in the mixture
- Consider erosion control measures for sloped areas
The National Oceanic and Atmospheric Administration (NOAA) provides seasonal climate outlooks that can help you plan the timing of your hydroseeding project. Their Climate Prediction Center offers temperature and precipitation outlooks that extend several months into the future.
Conclusion: Making Your Hydroseeding Decision
After considering all factors, is hydroseeding right for your lawn? The answer depends on your specific situation, goals, and resources.
Hydroseeding offers a compelling middle ground between traditional seeding and sod installation. It provides faster results than conventional seeding at a significantly lower cost than sod, while potentially delivering superior long-term results than either alternative.
The ideal hydroseeding candidate has:
- A medium to large lawn area
- A reasonable timeframe for lawn establishment (3-4 weeks)
- The ability to maintain proper watering during establishment
- Challenging terrain features like slopes or erosion-prone areas
- Interest in custom seed blends tailored to specific conditions
If you decide to move forward with hydroseeding, remember these key success factors:
- Choose the right seasonal timing for your grass type and climate zone
- Prepare your soil properly before application
- Select a reputable, experienced hydroseeding contractor
- Follow watering instructions diligently during establishment
- Develop a long-term maintenance plan for your new lawn
Your local extension office can provide valuable resources and region-specific advice as you make your decision. The Cooperative Extension System, supported by the USDA’s National Institute of Food and Agriculture, offers research-based information to help you make informed choices about your lawn and landscape.
With proper planning and execution, hydroseeding can transform your property with a lush, healthy lawn that enhances your home’s appearance, increases its value, and provides an enjoyable outdoor space for years to come.
