Transform Your Backyard With This Ultimate Vegetable Garden Layout Guide
Creating an effective vegetable garden layout is both an art and a science. Whether you’re working with a small urban plot or a sprawling backyard, thoughtful planning will maximize your harvest while creating a beautiful and functional space. This comprehensive guide will walk you through the process of designing, planning, and implementing the perfect vegetable garden layout for your specific needs and growing conditions.
Understanding Your Garden’s Potential
Before diving into layouts and templates, it’s essential to assess what you’re working with. The foundation of any successful vegetable garden begins with understanding your unique environment.
Your garden’s microclimate affects everything from plant selection to spacing. Take time to observe your space throughout the day, noting how sunlight moves across the area. Most vegetables require 6-8 hours of direct sunlight, so identifying your sunniest spots is crucial for placing sun-loving crops like tomatoes and peppers.
Consider your soil quality as well. Garden soil should be well-draining yet moisture-retentive, rich in organic matter, and teeming with beneficial microorganisms. If you’re starting fresh, conduct a soil test through your local extension office to determine pH and nutrient levels.
“Understanding your site conditions before planning saves countless hours of frustration and plant loss,” explains Sarah Jenkins, Master Gardener and urban farm consultant. “The most beautiful layout won’t succeed if it doesn’t account for the realities of your specific growing environment.”
Designing Your Vegetable Garden Layout
Once you understand your garden’s conditions, it’s time to explore layout options. Several classic designs have stood the test of time, each with distinct advantages.
Row Gardening: The Traditional Approach

Row gardening arranges crops in parallel lines with pathways between them. This conventional approach works well for larger spaces and makes maintenance straightforward.
Materials Needed:
- Garden stakes
- String
- Measuring tape
- Garden fork or tiller
- Compost
- Mulch materials
Step-by-Step Process:
- Mark the garden boundaries with stakes
- Create north-south oriented rows for maximum sun exposure
- Space rows appropriately based on plant mature width
- Create pathways at least 18 inches wide between rows
- Amend soil in planting rows with compost
- Plant according to seed packet or transplant spacing guidelines
- Mulch pathways to suppress weeds
Row gardening excels in larger spaces but can be inefficient for small yards. It tends to require more water and weeding than some alternative methods but allows for easy access with wheelbarrows and garden tools.
Raised Bed Layout: Maximizing Small Spaces
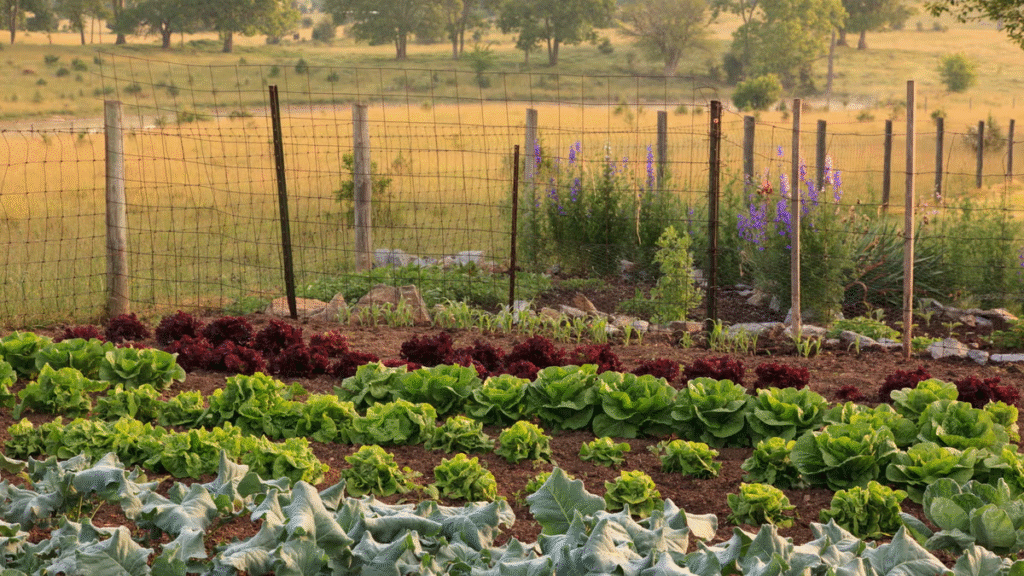
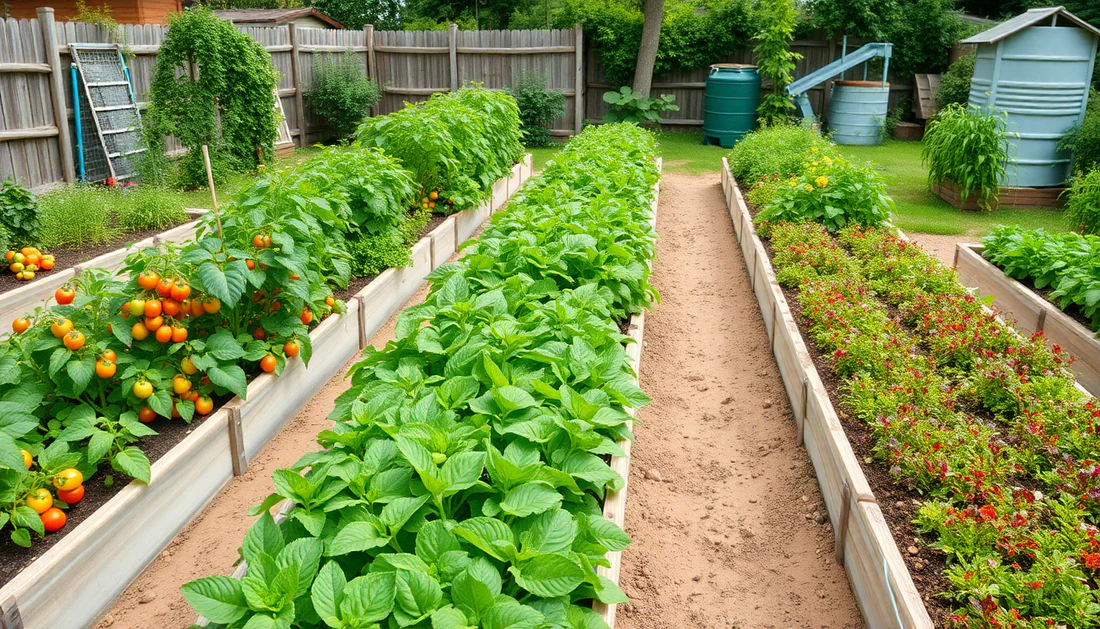
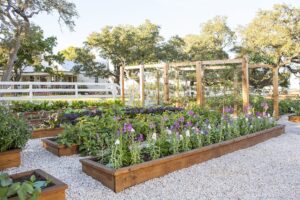
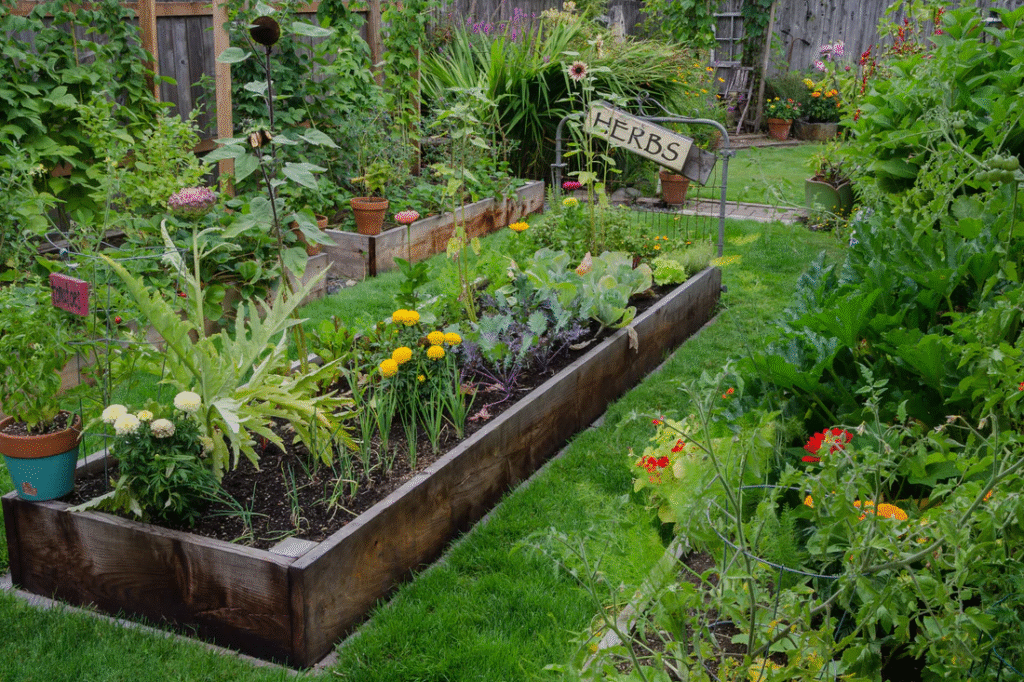
Raised beds have become increasingly popular, especially for urban and suburban gardeners. They offer superior drainage, prevent soil compaction, and warm earlier in spring.
Materials Needed:
- Lumber (cedar or other rot-resistant wood) or stone
- Screws and drill (for wooden beds)
- Landscape fabric (optional)
- Quality garden soil and compost mix
- Square-foot grid markers (optional)
Step-by-Step Process:
- Select bed locations with proper sun exposure
- Build rectangular beds no wider than 4 feet (to reach center from either side)
- Space beds with 2-3 foot pathways between them
- Fill with quality soil mixture (1/3 compost, 1/3 vermiculite, 1/3 peat moss or coir)
- Divide beds into planting grids if using square foot gardening method
- Plant according to spacing guidelines for intensive gardening
- Add trellises or supports for vertical growing
Raised beds offer excellent returns in small spaces by allowing for intensive planting. The defined boundaries also create a neat, organized aesthetic that works well in visible locations.
Garden Blocks: The Efficient Alternative
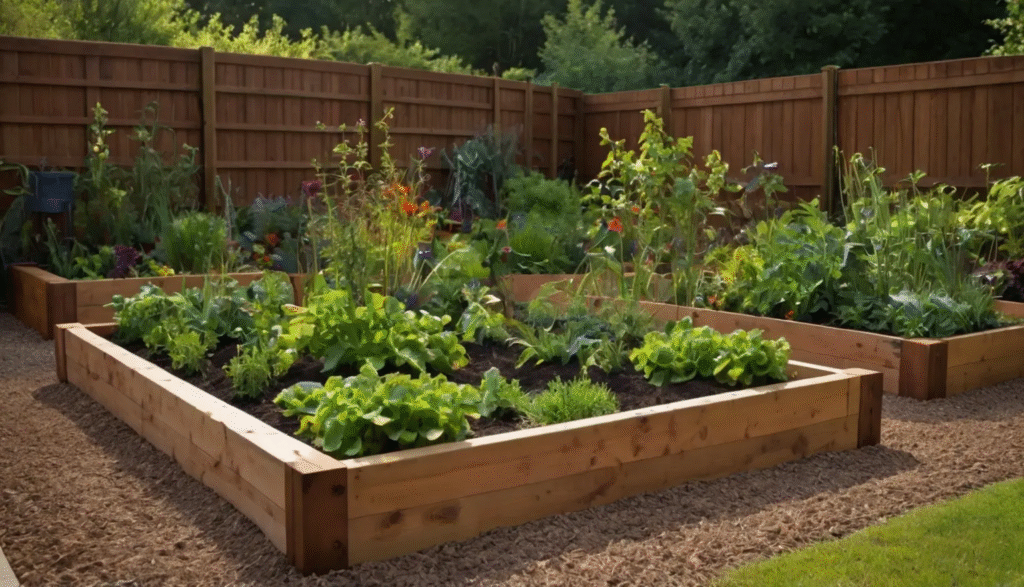
Block planting arranges crops in wide bands rather than single rows, creating densely planted areas with minimal pathways.
Materials Needed:
- Garden stakes and string
- Compost and soil amendments
- Mulch materials
- Irrigation system (recommended)
Step-by-Step Process:
- Mark garden area with stakes and string
- Create planting blocks 3-4 feet wide
- Make pathways 18-24 inches wide between blocks
- Amend soil thoroughly throughout planting blocks
- Plant in triangular or grid patterns within blocks
- Group plants by water and fertilizer needs
- Mulch blocks heavily to suppress weeds
Block planting maximizes growing space by reducing the area dedicated to pathways. It creates beneficial microclimates where plants shade soil and suppress weeds, resulting in less maintenance and water use.
Using Free Printable Vegetable Garden Layouts
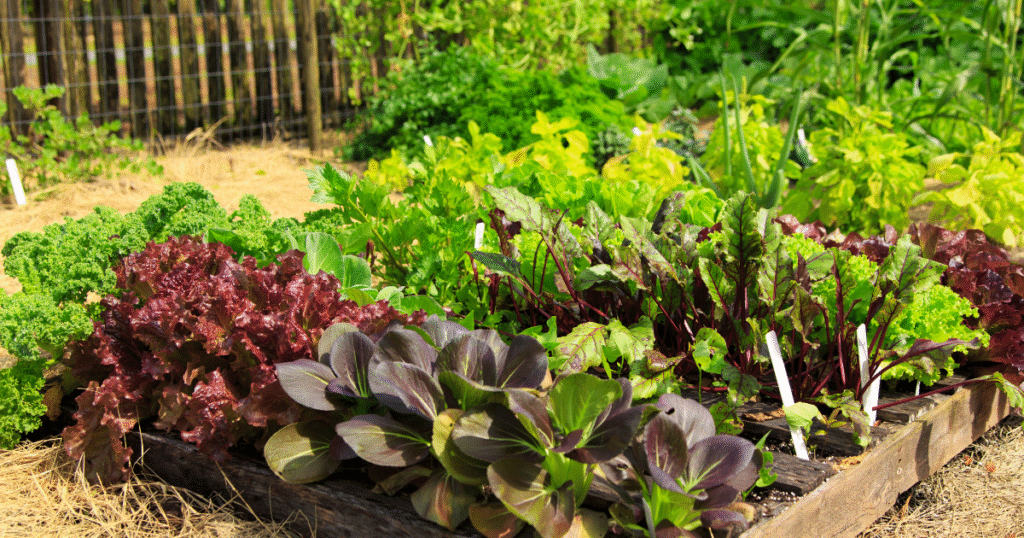
For those who appreciate visual planning tools, free printable vegetable garden layouts can be invaluable. These templates provide a starting point that can be customized to your specific needs.
Several excellent resources offer free printable vegetable garden layout templates:
- University Extension Offices: Many state university extension services provide region-specific layout guides optimized for local growing conditions.
- Online Garden Planners: Websites like GrowVeg, Smart Gardener, and the Old Farmer’s Almanac offer free basic planning tools with printable layouts.
- Garden Magazines: Publications like Mother Earth News and Fine Gardening frequently share seasonal layout templates through their websites.
When using these templates, remember they’re starting points rather than rigid prescriptions. Adapt them to account for your specific growing zone, available space, and family preferences.
A vegetable garden layout template becomes most useful when combined with a personalized plant list. Consider creating a customized planning binder that includes:
- Printed garden layouts for each season
- Planting calendars specific to your growing zone
- Seed inventory sheets
- Garden journal pages for recording successes and challenges
- Reference sheets for companion planting combinations
“Templates provide structure, but gardening success comes from adapting these frameworks to your unique conditions,” notes Miguel Rodriguez, urban farm educator. “The best layouts evolve over multiple seasons as you learn what works in your specific microclimate.”
Seasonal Planning with Garden Layout Tools

One significant advantage of using a free vegetable garden layout planner is the ability to visualize your garden throughout the growing season. Many digital tools allow you to plan succession planting and see how your garden will evolve from spring through fall.
Effective seasonal planning involves:
- Spring Layout: Focus on cool-season crops like lettuce, peas, and radishes, with space allocated for warm-season transplants.
- Summer Transition: Map the gradual replacement of spring crops with heat-loving vegetables like tomatoes, peppers, and cucumbers.
- Fall Planning: Designate areas for second plantings of cool-season crops as summer harvests conclude.
- Winter Considerations: Identify spaces for season-extending structures or overwintering crops in milder climates.
Most online garden planning tools allow you to print layouts for each season, creating a visual roadmap for your garden’s evolution throughout the year.
Incorporating Design Elements from Backyard Vegetable Garden Pictures
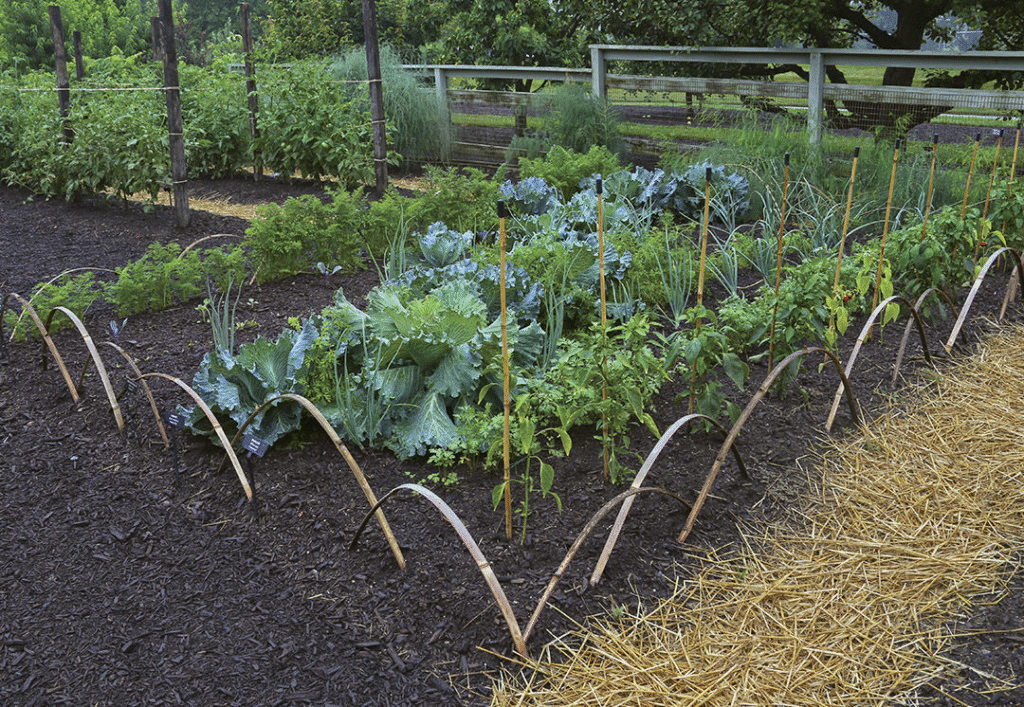
Drawing inspiration from backyard vegetable garden design pictures can help you create a space that’s both productive and beautiful. Professional garden designs often incorporate elements that balance aesthetics with functionality.
Key design elements to consider:
Focal Points and Visual Interest
Create visual anchors using:
- Decorative obelisks or trellises
- Central herb spirals
- Colorful varieties of common vegetables (purple cauliflower, rainbow chard)
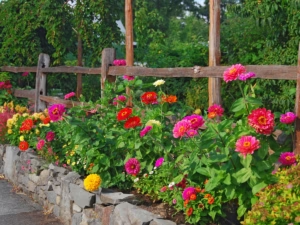
- Flowering companion plants to attract pollinators
Defined Boundaries and Transitions
Establish garden structure with:
- Uniform raised bed materials
- Consistent pathway widths and materials
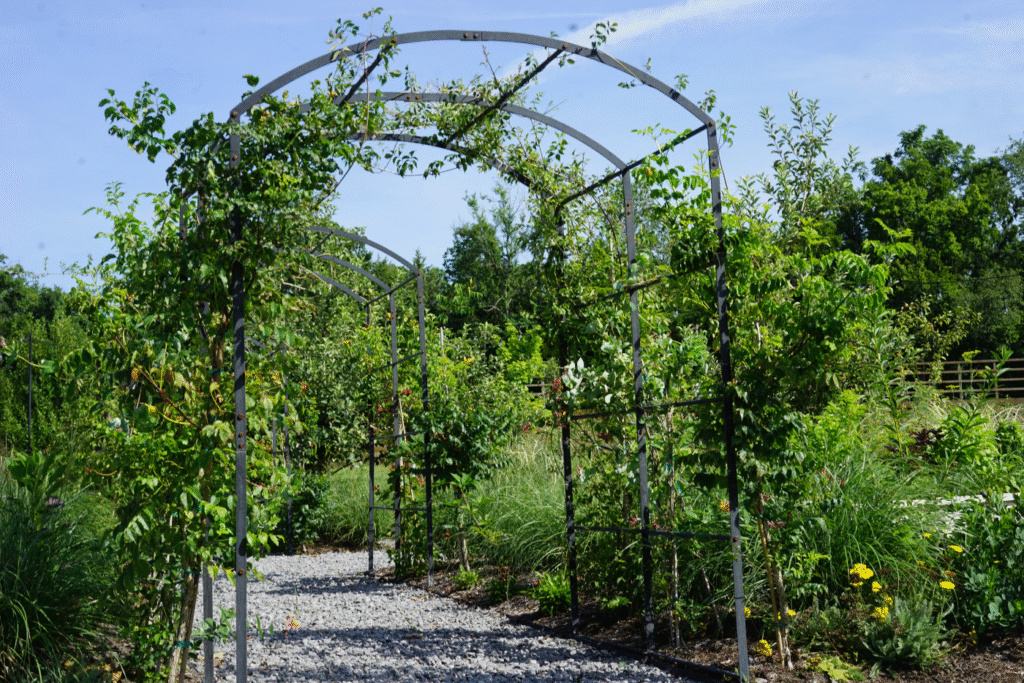
- Archways between garden rooms
- Low hedges or border plantings
Vertical Elements for Space Maximization
Incorporate upward growth with:
- A-frame trellises for cucumbers and peas
- Wall-mounted planters for herbs
- Cattle panel arches for squash and melons
- Espalier fruit trees as garden boundaries
“The most successful vegetable gardens combine productivity with personal aesthetic,” explains landscape designer Elena Martinez. “Your layout should reflect not just what grows well, but what brings you joy as you work in the space.”
Expert Tips for Optimizing Your Vegetable Garden Layout
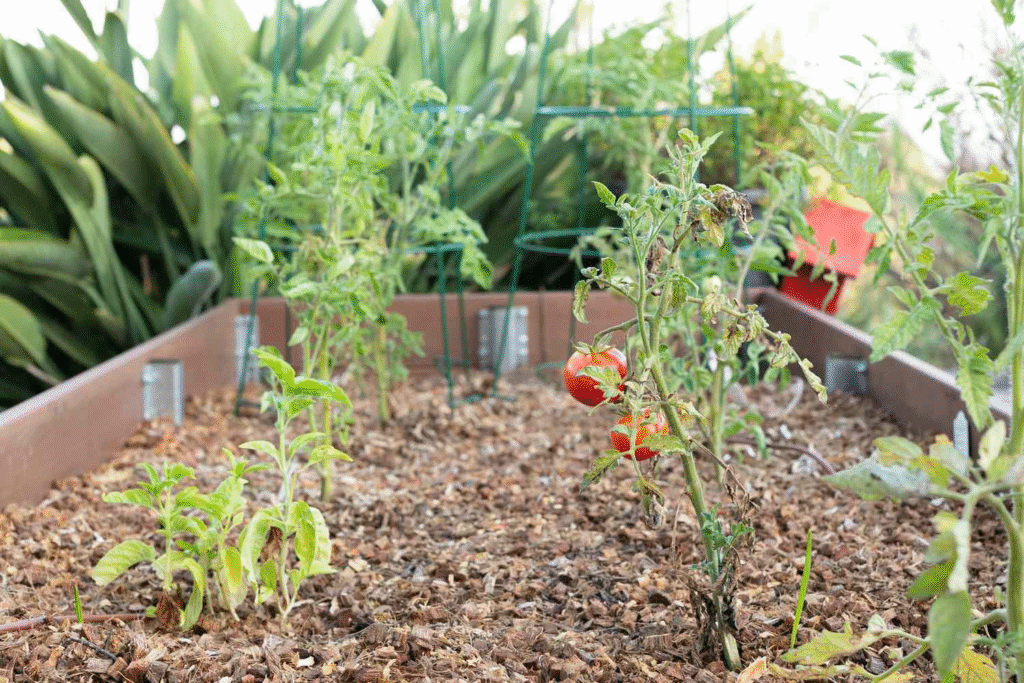
Professional gardeners and landscape designers employ several strategies to maximize both productivity and enjoyment in vegetable garden layouts:
Companion Planting Integration
Incorporate complementary plant combinations into your layout:
- Interplant basil with tomatoes to enhance flavor and repel pests
- Edge carrot beds with onions to deter carrot fly
- Plant nasturtiums near cucumbers to draw aphids away
- Include marigolds throughout the garden to suppress nematodes
Crop Rotation Planning
Design your layout with future seasons in mind:
- Divide garden into sections based on plant families
- Rotate plant families through sections annually
- Keep detailed records of what grows where each season
- Plan a four-year rotation minimum for disease prevention
Accessibility Considerations
Ensure your garden remains workable as it grows:
- Design pathways wide enough for necessary equipment
- Place frequently harvested crops in easily accessible locations
- Install water sources at strategic points to minimize hose dragging
- Consider raised beds at varying heights for ergonomic harvesting
Microclimates Utilization
Leverage site-specific conditions:
- Plant heat-loving crops along south-facing walls or fences
- Use taller plants to create shade for heat-sensitive crops in summer
- Create windbreaks to protect delicate seedlings
- Install water features to moderate temperature extremes
Avoiding Common Layout Mistakes
Even experienced gardeners sometimes make layout errors that compromise their garden’s success. Awareness of these common pitfalls can help you avoid them:
Overcrowding
The most common mistake is placing plants too close together. While intensive planting has benefits, extreme crowding:
- Reduces air circulation, increasing disease risk
- Creates competition for nutrients and water
- Makes harvesting difficult
- Can decrease overall yields despite increased plant numbers
Poor Pathway Planning
Inadequate access routes often lead to:
- Soil compaction when you’re forced to step in beds
- Difficulty maintaining far reaches of the garden
- Inefficient workflows during busy harvest times
- Abandoned areas when maintenance becomes too challenging
Inappropriate Plant Placement
Mismatching plants to conditions results in:
- Stunted growth when sun-loving crops are placed in shade
- Scorched leaves when shade-preferring plants receive too much sun
- Moisture problems when high-water and drought-tolerant plants share space
- Nutrient competition when heavy and light feeders are intermingled
Ignoring Vertical Space
Failing to grow upward wastes valuable garden real estate:
- Ground-sprawling plants like squash and melons can be trellised
- Vertical growing increases air circulation, reducing fungal issues
- Wall and fence spaces offer additional growing areas
- Vertical elements add architectural interest to garden design
Creating Your Personalized Garden Layout
With knowledge of classic layouts, planning tools, and design principles, you’re ready to create a customized plan. Follow this process for developing your ideal vegetable garden layout:
Step 1: Measure and Map Your Space Create a scaled drawing of your available area, noting:
- Dimensions
- Existing features (trees, structures, hardscaping)
- Sun patterns throughout the day
- Water sources
- Access points
Step 2: List Your Priorities Consider what matters most for your garden:
- Specific vegetables your family enjoys
- Quantity needed for fresh eating vs. preserving
- Maintenance time available
- Aesthetic preferences
- Budget constraints
Step 3: Select a Base Layout Style Choose the framework that best suits your situation:
- Traditional rows for larger spaces and mechanized maintenance
- Raised beds for defined structure and poor native soil
- Block planting for maximum growing area
- Or a hybrid approach combining elements of multiple styles
Step 4: Customize With Specific Plants Add your desired crops to the layout, considering:
- Mature plant size
- Companion planting opportunities
- Succession planting possibilities
- Crop rotation requirements
Step 5: Incorporate Infrastructure Plan for necessary garden elements:
- Irrigation systems
- Compost areas
- Tool storage
- Season-extending structures
- Seating or gathering spaces
Step 6: Review and Refine Critically evaluate your plan:
- Is there adequate spacing for mature plants?
- Can all areas be easily accessed for maintenance?
- Are high-maintenance crops conveniently located?
- Does the plan account for seasonal changes?
Maintaining Your Garden Layout Over Time
A successful vegetable garden evolves as you gain experience and learn what works in your specific conditions. Implement these practices to refine your layout over multiple growing seasons:
Record Keeping
Maintain detailed notes on:
- Varieties planted and their performance
- Harvest yields and timing
- Disease or pest issues
- Successful and unsuccessful companion combinations
- Weather patterns and their effects
Seasonal Evaluation
After each growing season, assess your layout:
- Were pathways adequately sized for comfortable work?
- Did any areas become neglected due to access difficulties?
- Were plants appropriately spaced for mature growth?
- Did sun/shade patterns match your expectations?
Incremental Improvements
Make thoughtful adjustments based on experience:
- Widen problematic pathways
- Reorganize plant groupings based on maintenance needs
- Add vertical elements where space was constrained
- Implement irrigation improvements to problem areas
“The most beautiful garden designs develop through an iterative process,” says master gardener Thomas Wilson. “Each season brings new insights that allow you to refine your approach for greater success.”
Conclusion: Your Living Garden Plan
Remember that the perfect vegetable garden layout isn’t created in a single season. It evolves through observation, experimentation, and adjustment. The free printable vegetable garden layouts and planning tools discussed here provide valuable starting points, but your garden will ultimately become a reflection of your unique growing conditions and personal preferences.
By combining classic design principles with modern planning resources and your own growing experience, you’ll develop a vegetable garden that’s not only productive but also a source of pride and joy. Whether you’re working with a small urban plot or an expansive rural garden, thoughtful layout planning is the foundation of gardening success.
Your vegetable garden is more than just a source of food—it’s a living laboratory where you’ll continually discover new possibilities. Embrace the process of refinement, learn from both successes and challenges, and watch as your garden layout evolves into a system perfectly tailored to your needs and environment.
