Transform Your Yard With These 10 Inexpensive Raised Garden Bed Ideas
Why Raised Garden Beds Are Worth Your Investment
Raised garden beds represent the perfect intersection of practicality and aesthetic appeal for home gardeners. These elevated growing spaces solve numerous gardening challenges while creating visual interest in your landscape. By lifting your growing medium above ground level, raised beds improve drainage, prevent soil compaction, reduce back strain, and create clear boundaries that minimize weed encroachment. Most importantly, they allow you to grow thriving plants even when dealing with poor native soil.
While store-bought raised bed kits offer convenience, their cost can quickly add up, especially when outfitting a larger garden. Fortunately, creating beautiful, functional raised beds doesn’t require breaking the bank. With some creativity and basic DIY skills, you can construct durable raised beds using budget-friendly or even free materials.
This guide explores ten affordable raised garden bed solutions that combine practicality with visual appeal. Each option includes materials needed, step-by-step instructions, and tips for maximizing longevity while minimizing costs. Whether you’re working with a suburban backyard or small urban space, these ideas will help you create productive growing areas without emptying your wallet.
Planning Your Raised Bed Project: Essential Considerations
Before diving into construction, take time to thoughtfully plan your raised garden bed project:
Location Selection: Choose a spot receiving at least 6-8 hours of direct sunlight daily for vegetables and herbs. For shade-tolerant ornamentals, 4-6 hours may suffice. Ensure the area has access to water and protection from strong winds.
Size Determination: Most raised beds work best between 3-4 feet wide (allowing easy reach from both sides) and 8-12 feet long. Keep beds narrower (2-3 feet) if accessible from only one side. For depth, aim for at least 8-12 inches for vegetables, though 6 inches can work for shallow-rooted plants.
Material Lifespan: While this guide emphasizes budget options, consider how long materials will last before requiring replacement. Some inexpensive materials may need more frequent replacement, creating higher long-term costs and maintenance requirements.
Soil Volume Calculation: Determine how much soil you’ll need using this formula: Length (ft) × Width (ft) × Depth (ft) = Cubic feet of soil needed. A standard 4×8×1 foot bed requires 32 cubic feet of soil—potentially the most significant expense in your raised bed project.
With these considerations in mind, let’s explore ten budget-friendly raised bed options that balance cost, functionality, and aesthetic appeal.
1. Repurposed Wooden Pallet Raised Beds
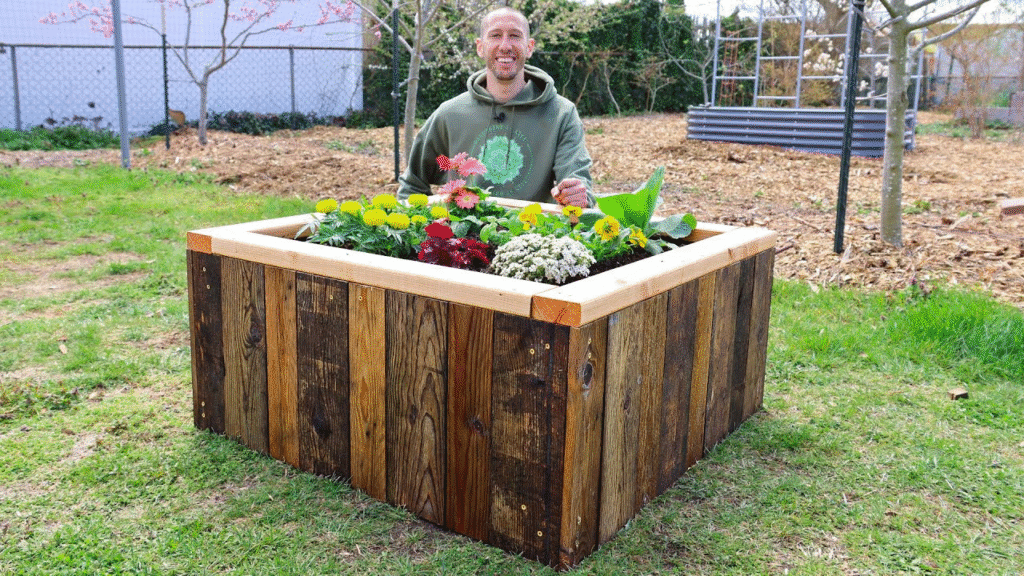
Wooden pallets represent perhaps the most accessible free material for DIY raised garden beds, widely available behind retail stores and warehouses. However, not all pallets are suitable for growing food.
Materials Needed:
- 2-3 untreated wooden pallets (look for “HT” heat-treated stamps, avoid chemical treatments)
- Hammer or pry bar
- Reciprocating saw or handsaw
- Heavy-duty stapler
- Landscape fabric
- Deck screws (2.5-3 inches)
- Sandpaper
- Linseed oil (optional for preservation)
Step-by-Step Instructions:
- Inspect pallets thoroughly for the “HT” stamp indicating heat treatment rather than chemical preservation. Avoid pallets with chemical spills or strong odors.
- Dismantle pallets by removing nails with a hammer or pry bar. Alternatively, cut boards using a reciprocating saw.
- Sand rough edges to prevent splinters and create a more finished appearance.
- Construct a rectangular frame using the longer pallet boards, securing corners with deck screws.
- Add remaining boards to create sides, leaving small gaps for drainage if using the bed directly on soil.
- For longer-lasting protection, apply linseed oil to all wooden surfaces and allow to dry completely.
- Line the inside with landscape fabric to prevent soil from escaping through gaps and slow wood deterioration.
- Position your bed, fill with growing medium, and plant.
Expert Tips:
- Pallet wood typically lasts 2-4 years depending on wood type and exposure conditions.
- Create multiple smaller beds rather than one large bed to maximize usable pallet parts.
- Consider raising the bed on concrete blocks to increase airflow underneath, extending wood life.
Cost Breakdown:
- Pallets: Free (with permission)
- Screws: $5-8
- Landscape fabric: $5-10
- Linseed oil: $10 (optional)
- Total: $10-28 per bed
2. Concrete Block Raised Beds: Industrial-Modern Appeal

Standard concrete blocks (also called cinder blocks) create instantly functional raised beds with a contemporary industrial look. These beds require no construction skills and can be disassembled and reconfigured easily.
Materials Needed:
- Standard concrete blocks (8×8×16 inches)
- Landscape fabric
- Cardboard or newspaper
- Optional: Concrete adhesive for permanent installation
Step-by-Step Instructions:
- Clear and level your selected garden area.
- Arrange blocks in a rectangle, positioning them with holes facing upward for additional planting space.
- For a standard 4×8 foot bed, you’ll need approximately 20 blocks (6 on each long side, 4 on each short side).
- For added stability in permanent installations, apply concrete adhesive between blocks.
- Line the inside with cardboard or newspaper, then landscape fabric to prevent soil loss.
- Fill with growing medium and plant both the main bed and the block holes (perfect for herbs or flowers).
Expert Tips:
- The hollow openings in blocks create perfect spaces for shallow-rooted plants like strawberries, herbs, or annual flowers.
- Paint blocks with exterior masonry paint for a more decorative appearance.
- These beds work especially well in hot climates as the thermal mass of concrete retains heat beneficial for warm-season crops.
Cost Breakdown:
- Concrete blocks: $1.50-2.50 each ($30-50 for a standard bed)
- Landscape fabric: $5-10
- Concrete adhesive: $8 (optional)
- Total: $35-68 per bed
3. Corrugated Metal and Wood Hybrid Beds: Modern Farmhouse Style
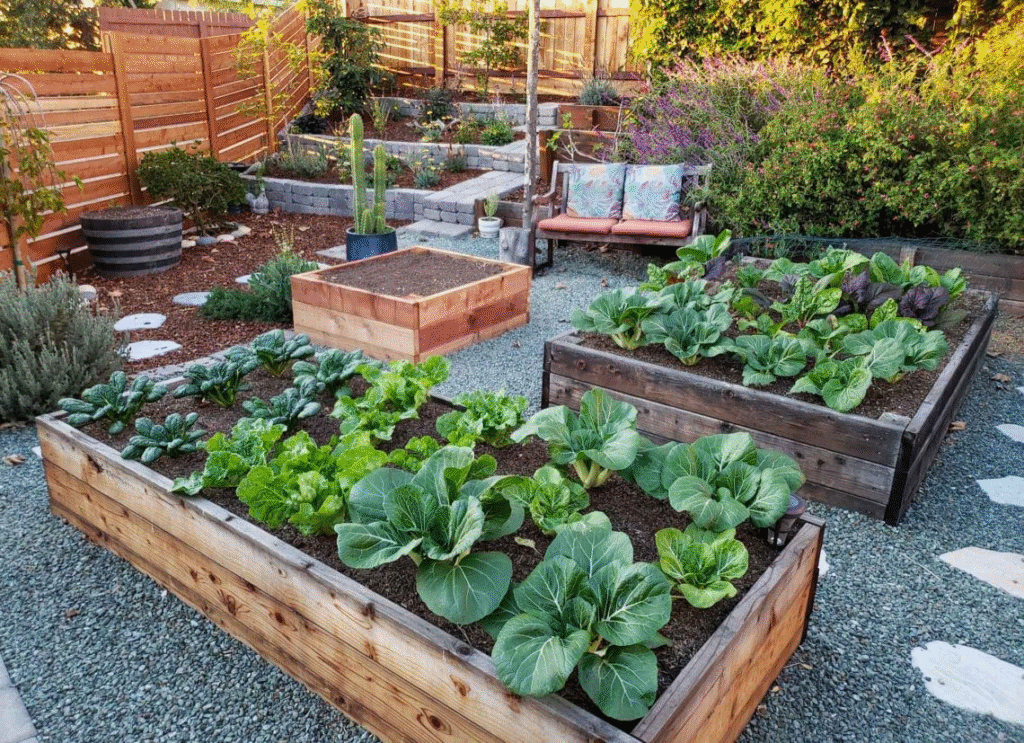
This combination creates visually striking beds that blend rustic and contemporary design elements. The metal sides prevent wood rot while creating excellent heat retention for early-season growing.
Materials Needed:
- Used corrugated metal roofing or siding panels
- Pressure-treated 2×4 lumber for corner posts and top rails
- Deck screws
- Tin snips or circular saw with metal-cutting blade
- Work gloves (metal edges are sharp)
- Cedar 1×4 boards for top cap (optional)
Step-by-Step Instructions:
- Cut pressure-treated 2×4s to create four corner posts at your desired bed height (typically 12-24 inches).
- Cut corrugated metal panels to length, adding 1-2 inches of height to bury in soil for stability.
- Cut additional 2×4s to connect the tops of the corner posts, creating a frame.
- Attach metal panels to the wooden frame using screws with rubber washers to prevent leaks.
- For a finished look, add cedar 1×4 boards as a cap around the top perimeter.
- Position the bed, secure corner posts slightly into the ground, and fill with growing medium.
Expert Tips:
- Source free or low-cost corrugated metal from local roofing companies, farm supply stores, or demolition sites.
- The metal sides will heat up significantly in summer sun—ideal for heat-loving crops but potentially problematic in very hot climates.
- Add a thick wood cap over metal edges to prevent accidental cuts during gardening.
Cost Breakdown:
- Corrugated metal: $0-25 (repurposed) or $15-30 (new)
- Pressure-treated 2×4s: $20-30
- Cedar 1×4 cap: $15-25 (optional)
- Screws: $5-8
- Total: $40-93 per bed
4. Woven Willow or Hazel Branch Raised Beds: Rustic Charm

For a truly rustic aesthetic with zero cost (if you have access to the materials), woven branch beds create beautiful, biodegradable growing spaces reminiscent of traditional European garden design.
Materials Needed:
- Flexible branches from willow, hazel, or similar pliable woods (¼-½ inch diameter)
- Sturdy stakes (¾-1 inch diameter) from the same or harder wood
- Garden twine (optional)
- Heavy-duty garden pruners
Step-by-Step Instructions:
- Harvest branches during dormancy (late winter to early spring) when they’re most pliable.
- Cut 8-12 sturdy stakes 12-18 inches longer than your desired bed height.
- Mark your bed outline and drive stakes 6-8 inches into the ground at 12-inch intervals around the perimeter.
- Beginning at the bottom, weave flexible branches horizontally between the vertical stakes, alternating over-under with each stake.
- Continue weaving to your desired height, tucking branch ends behind previous rows.
- For greater stability, secure the top with garden twine wrapped around each stake.
- Fill with soil and plant.
Expert Tips:
- Soak harvested branches in water for 24-48 hours before weaving to increase flexibility.
- These beds naturally decompose over 2-4 years, gradually enriching surrounding soil.
- Harvest your own materials from landscape pruning or ask local landscapers for pruned branches.
Cost Breakdown:
- Branches: Free (if harvested yourself)
- Garden twine: $3-5
- Total: $0-5 per bed
5. Reclaimed Brick or Stone Raised Beds: Classic Elegance

Salvaged bricks or stones create permanent raised beds with excellent thermal properties and timeless visual appeal. While requiring more effort to construct, these beds can last decades with minimal maintenance.
Materials Needed:
- Reclaimed bricks or flat stones
- Sand
- Masonry adhesive or mortar mix (optional for permanent installation)
- Level
- Rubber mallet
- Tape measure
Step-by-Step Instructions:
- Clear and level your planting area, removing all vegetation.
- Mark the bed outline with string or garden hose.
- For a dry-stacked bed (no mortar):
- Lay the first layer of bricks/stones, checking level as you go.
- Stagger joints in subsequent layers for stability.
- Build to desired height (typically 2-4 layers).
- For mortared construction (more permanent):
- Prepare a 2-inch sand base.
- Mix mortar according to package directions.
- Apply mortar between layers and joints.
- Allow to cure for 24-48 hours before filling.
- Fill with growing medium and plant.
Expert Tips:
- Check demolition sites, community boards, or local stonemasons for free or low-cost materials.
- Curved or circular designs often have greater structural integrity than rectangular beds.
- Incorporate seating height sections (18-24 inches) along portions of the bed to create functional garden seating.
Cost Breakdown:
- Reclaimed bricks/stones: $0-50 depending on source
- Sand: $5-10
- Mortar (optional): $10-15
- Total: $5-75 per bed
6. Fabric Grow Bags: Flexible Apartment Gardening
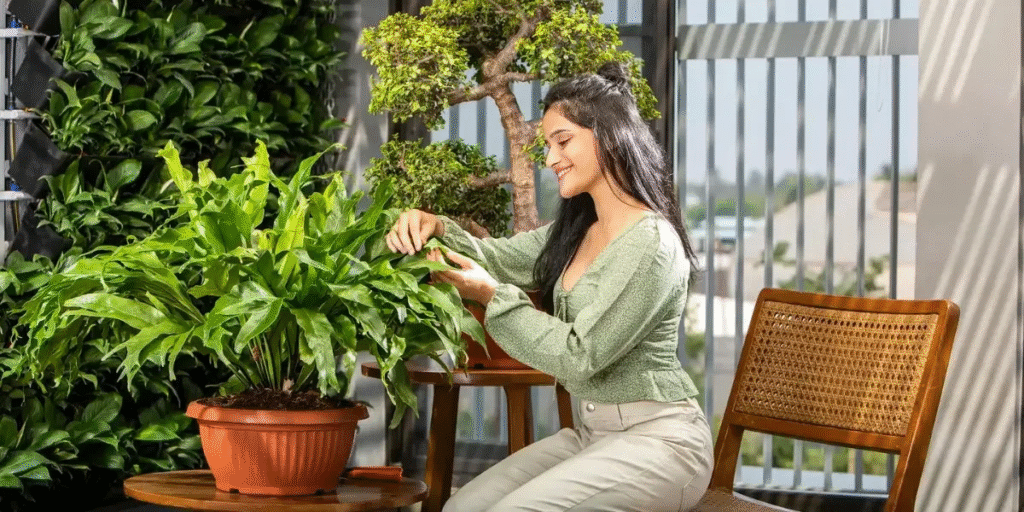
While not traditional raised beds, large fabric grow bags provide the same benefits with exceptional portability—perfect for renters, balcony gardeners, or those testing garden locations.
Materials Needed:
- Commercial fabric grow bags (15-100 gallons) or
- DIY version using landscape fabric and heavy-duty thread
- Sewing machine (for DIY version)
- Growing medium
Step-by-Step Instructions:
- For commercial bags:
- Simply unfold, position in your garden space, and fill with growing medium.
- For DIY fabric beds:
- Cut two circles of landscape fabric for the base (desired diameter).
- Cut a strip of landscape fabric for sides (circumference × height).
- Sew the side strip into a cylinder.
- Sew the bottom circle to the cylinder, reinforcing seams.
- Fold over the top edge and sew to prevent fraying.
- Fill with growing medium.
Expert Tips:
- Look for UV-resistant landscape fabric for longer-lasting DIY beds.
- Group multiple sizes together for visual interest and diverse planting options.
- For winter protection in cold climates, these can be easily moved to sheltered locations.
Cost Breakdown:
- Commercial grow bags: $7-35 depending on size
- DIY version: $10-20 for materials (makes multiple beds)
- Total: $7-35 per bed
7. Log-Bordered Natural Raised Beds: Woodland Garden Style
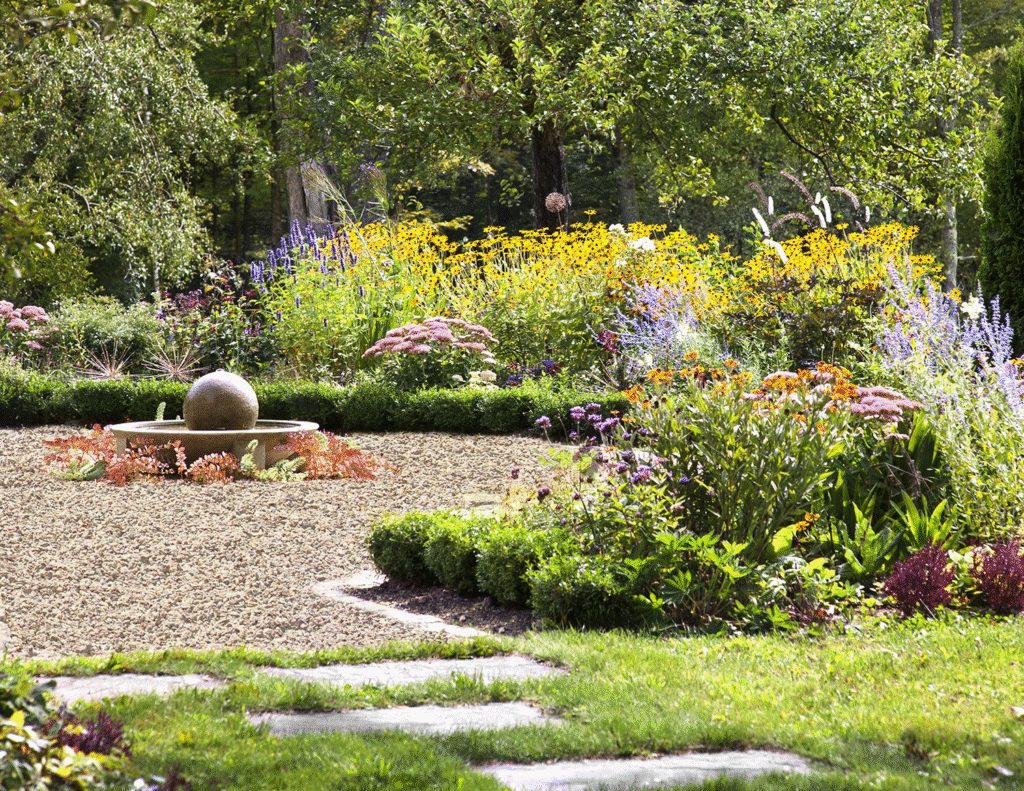
Fallen logs or purchased landscape timbers create naturally beautiful raised beds perfect for cottage or woodland garden styles. As they slowly decompose, they enrich the soil with organic matter.
Materials Needed:
- Fallen logs or landscape timbers (6-12 inches diameter)
- Steel rebar (12-24 inches long)
- Hammer or mallet
- Drill with large bit
- Landscape fabric (optional)
Step-by-Step Instructions:
- Select logs approximately 4-8 inches in diameter, avoiding wood from black walnut or allelopathic species.
- Cut logs to desired lengths for bed sides.
- Position logs to form your bed outline.
- For stability, drill holes through logs at corners and midpoints.
- Drive rebar through holes and at least 8 inches into the ground.
- For multiple layers, stack logs in a cabin-style pattern at corners.
- Line with landscape fabric if desired.
- Fill with growing medium and plant.
Expert Tips:
- Cedar, locust, oak, and redwood offer the longest decay resistance (3-7 years).
- Pine and softer woods decompose faster (2-3 years) but are often more readily available.
- Plant shade-tolerant woodland natives around the exterior to complement the natural aesthetic.
Cost Breakdown:
- Logs: Free (if harvested from your property) to $25
- Rebar: $10-15
- Landscape fabric: $5-10 (optional)
- Total: $15-50 per bed
8. Straw Bale Raised Beds: Instant Planting Solutions
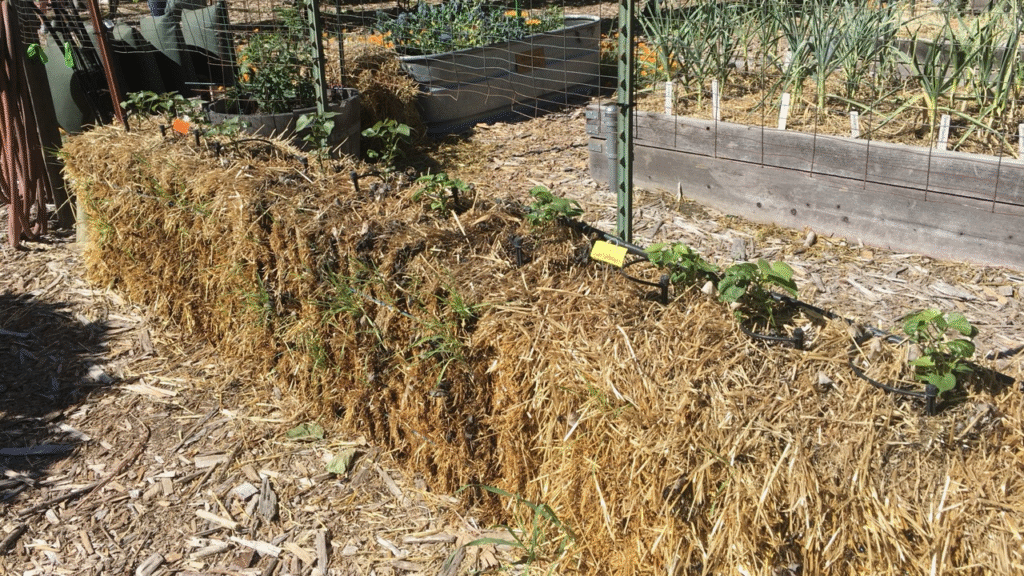
For immediate garden gratification with minimal construction, straw bale beds provide a unique solution that creates planting space and eventually composts into rich garden soil.
Materials Needed:
- Straw bales (not hay, which contains seeds)
- High-nitrogen fertilizer
- Garden soil or compost
- Water source
- Soaker hose (optional)
Step-by-Step Instructions:
- Arrange straw bales with cut sides up in your desired bed configuration.
- Position bales with strings facing sideways (not up/down) to prevent premature breakdown.
- Condition bales by watering thoroughly, then applying high-nitrogen fertilizer every other day for 10-14 days.
- Monitor internal temperature—when no longer hot to touch, bales are ready for planting.
- Create planting pockets by pulling apart small sections of straw and filling with garden soil.
- Plant directly into these pockets and water regularly.
Expert Tips:
- These beds last one full growing season, after which they can be composted.
- The internal decomposition generates heat, making them excellent for extending early spring growing.
- Create U-shaped arrangements for maximum growing space and easier access.
Cost Breakdown:
- Straw bales: $5-8 each
- Fertilizer: $10-15
- Garden soil: $15-20
- Total: $30-43 for a small bed (using 2-3 bales)
9. Gabion-Style Wire and Rock Raised Beds: Modern Industrial Design

Wire cages filled with rocks create stunning contemporary raised beds with excellent drainage and thermal properties. These beds combine industrial elements with natural materials for unique visual interest.
Materials Needed:
- Heavy-gauge wire fencing (2×4 inch openings or smaller)
- Wire cutters
- Rocks or recycled concrete pieces
- Landscape fabric
- Cable ties or wire for assembly
Step-by-Step Instructions:
- Cut wire fencing to create sides of your desired bed dimensions.
- Form into a rectangle or square, securing corners with cable ties or wire.
- Line the inside with landscape fabric to prevent soil loss.
- Fill the space between wire and fabric with rocks, broken concrete, or similar materials.
- Add growing medium inside the fabric liner.
- Plant, ensuring adequate irrigation as these beds drain exceptionally well.
Expert Tips:
- Source free rock from construction sites, landscaping companies, or property clearing.
- Create visual interest by using sorted rocks by size or color in visible exterior layers.
- These beds work particularly well for drought-tolerant plants and herbs that prefer sharp drainage.
Cost Breakdown:
- Wire fencing: $15-30
- Landscape fabric: $5-10
- Rocks: $0 (salvaged) to $40 (purchased)
- Cable ties/wire: $3-5
- Total: $23-85 per bed
10. Upcycled Container Raised Beds: Creative Repurposing
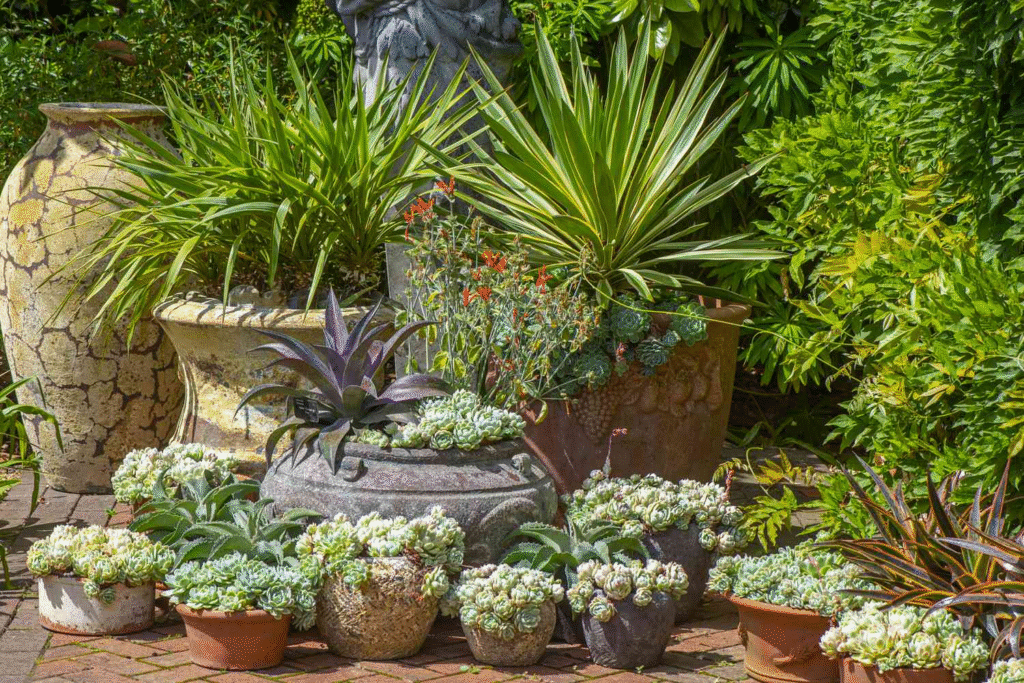
Transform abandoned items into distinctive garden features with these upcycled container ideas. These smaller raised beds add whimsical character while preventing usable items from entering landfills.
Potential Container Sources:
- Old metal washtubs or stock tanks
- Broken wooden dressers (drawers become individual planters)
- Damaged wooden boats or canoes
- Discarded plastic wading pools
- Large wooden cable spools
- Retired wheelbarrows
- Old porcelain bathtubs or sinks
General Instructions:
- Ensure adequate drainage by drilling multiple holes in the bottom if not already present.
- For wooden items, line with landscape fabric to slow deterioration.
- For metal containers, consider adding a layer of stones at the bottom for improved drainage.
- Fill with lightweight growing medium instead of heavy garden soil to prevent excessive weight.
- Position considering sunlight needs and water access before filling.
- Plant with appropriate-sized plants for the container dimensions.
Expert Tips:
- Check local classified ads, thrift stores, and neighborhood free piles for potential containers.
- Group multiple different containers at varying heights for visual interest.
- Consider mobility needs—add wheels to the bottom of heavy containers before filling with soil.
Cost Breakdown:
- Upcycled containers: $0-30 depending on source
- Drainage materials: $5-10
- Landscape fabric: $5-10
- Total: $10-50 per bed
Soil Mixing: The Most Cost-Effective Approach
Regardless of which raised bed design you choose, soil purchase represents the largest expense. Create an optimal growing medium while managing costs with this DIY soil formula:
Basic Soil Recipe (by volume):
- 1 part topsoil
- 1 part compost
- 1 part coconut coir or peat moss
Cost-Saving Soil Tips:
- Purchase materials in bulk rather than bags when filling multiple beds.
- Contact local landscaping companies about purchasing partial truckloads.
- Make your own compost from kitchen scraps and yard waste.
- Check with local municipalities for free compost programs.
- Consider the “lasagna gardening” method for the bottom half of deep beds (layering cardboard, leaves, and compost).
- Use free wood chips as the bottom layer in very deep beds, topping with 8-12 inches of growing medium.
Maintenance Tips for Extended Bed Life
Maximize your investment with these maintenance practices:
For Wooden Beds:
- Apply food-safe preservatives like linseed oil annually
- Keep soil away from direct contact with wood using plastic barriers
- Replace individual boards as needed rather than entire beds
For All Bed Types:
- Add 1-2 inches of compost annually to replenish nutrients
- Practice crop rotation to reduce pest and disease pressure
- Install drip irrigation to prevent water damage to bed materials
- Use mulch to retain moisture and reduce soil splashing onto sides
- Consider installing permanent trellises on north sides for climbing crops
Final Thoughts: Mixing Materials for Unique Garden Spaces
The most distinctive garden spaces often combine multiple raised bed styles to create visual interest while maximizing growing potential. Consider these combination approaches:
Tiered Garden Approach:
- Use stone or concrete block beds for lower, permanent tiers
- Add wooden beds for middle-height growing spaces
- Incorporate fabric bags for seasonal accents and experimental plants
Material Zoning Strategy:
- Use long-lasting materials (stone, concrete) for perennial plantings
- Choose mid-range materials (metal, treated wood) for annual vegetables
- Select compostable options (straw bales, untreated wood) for areas where you might redesign frequently
Remember that a productive garden develops over seasons and years. Start with one or two raised beds using readily available materials, then expand as your confidence, skills, and budget allow. The perfect garden blends functionality with personal expression—creating growing spaces that nourish both body and spirit.
Whether you choose pallets, concrete blocks, woven branches, or creative upcycled containers, your raised bed project will transform your outdoor space while providing years of growing enjoyment without breaking your budget.
